But don't worry, you don't have to live with it. Reclaiming your home's exterior is a manageable DIY project. We're here to walk you through everything, step-by-step, just like a friendly expert over the phone. We’ll cover how to assess the problem, clean it up safely, and most importantly, prevent those feathered friends from making a mess in the future.
Why You Need to Clean Bird Droppings Immediately
Leaving bird droppings to accumulate is a bad idea for several reasons. Here’s why you should tackle this problem sooner rather than later:
- Serious Health Risks: Bird droppings can harbor over 60 different transmissible diseases. According to the Centers for Disease Control and Prevention (CDC), airborne spores from dried droppings can lead to respiratory illnesses like Histoplasmosis, Cryptococcosis, and Psittacosis when inhaled.
- Corrosive Property Damage: Bird droppings contain high levels of uric acid, which is incredibly corrosive. This acid can eat away at roofing materials, dissolve paint, stain wood, and even etch concrete and stone surfaces over time, leading to expensive repairs.
- Slip Hazards: A buildup of droppings on walkways, decks, or patios can become extremely slippery and dangerous when wet, creating a serious fall risk.
- Attracting Other Pests: Abandoned bird nests and accumulated droppings can attract other unwelcome guests, including insects, mites, and even rodents.
By taking action, you're not just cleaning up a mess—you're protecting your property and your family's health.
Your Game Plan: From Assessment to Prevention
Ready to get started? We’ve broken this down into three simple phases: assess the situation, perform a safe and thorough clean-up, and set up defenses to keep your home bird-free.
Step 1: Assess the Bird Activity
Before you grab a bucket and brush, take about 15 minutes to play detective. Understanding the scope of the problem will help you choose the right solution.
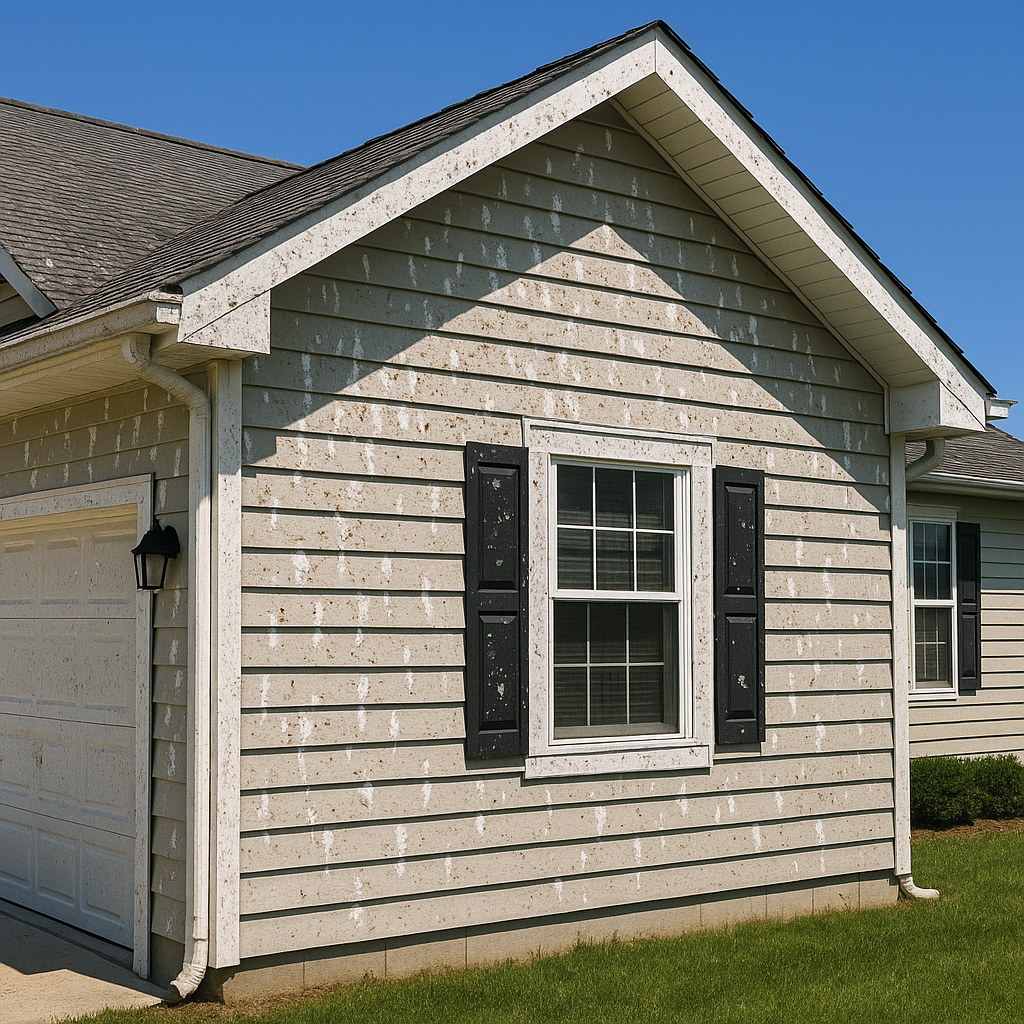
- Walk the Perimeter: Take a slow walk around your house. Look up at the eaves, check the gutters, and inspect any ledges or recessed areas. Are there any visible bird nests?
- Pinpoint Problem Areas: Note where the droppings are most concentrated. Is the issue mainly on the roof? Or are your walls, windowsills, and the ground below taking the brunt of it?
- Identify the Culprits: Try to observe the birds for a few minutes. Are you dealing with smaller birds like sparrows and finches, or larger ones like pigeons or starlings? The size of the bird will influence which type of deterrent works best.
A Crucial Safety Warning: If you find a nest that appears active (meaning it has eggs or young, chirping chicks), stop. Many bird species are protected by federal laws like the Migratory Bird Treaty Act, which makes it illegal to disturb active nests. In this situation, your best bet is to call a licensed pest control or wildlife professional. They can advise you on the proper, legal way to proceed.
Step 2: The Big Clean-Up
Once you've confirmed there are no active nests, it’s time to get cleaning. Safety first! Bird droppings can be hazardous, so gearing up properly is non-negotiable.
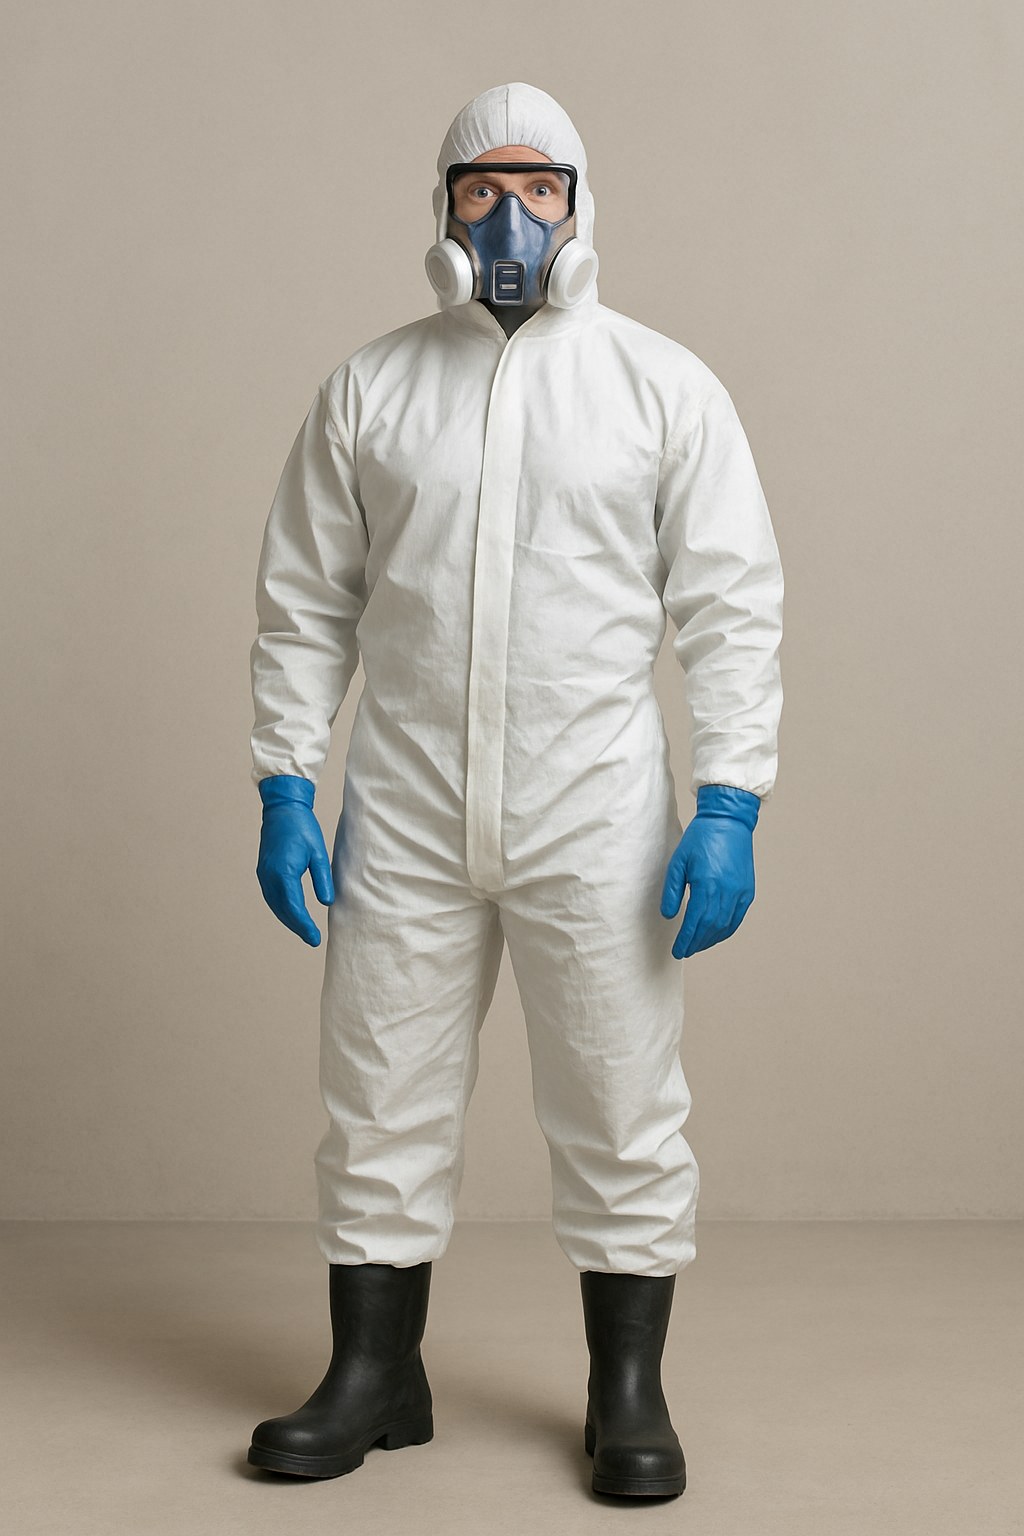
Your Safety Toolkit:
- N95 Respirator Mask: To prevent inhaling dangerous airborne particles from dried droppings.
- Disposable Gloves: To keep your hands clean and protected.
- Safety Goggles: To protect your eyes from splashes.
- Non-Slip Rubber Boots: Essential for staying safe if you're working on a roof or wet surface.
Removing Inactive Nests
If you found old, empty nests, they need to go.
- Dampen the Nest: Use a pump sprayer filled with water to lightly spray the nest. This weighs down dust and spores, preventing them from becoming airborne.
- Scrape and Dispose: Use a plastic scraper or putty knife to carefully lift the nest material directly into a trash bag.
- Seal and Toss: Immediately seal the bag tightly and dispose of it in an outdoor garbage bin.
- Scrub the Area: Mix a solution of oxygen bleach powder and water. Use a stiff brush to scrub the spot where the nest was to kill any remaining bacteria or parasites.
- Rinse: Use a hose on low pressure to rinse the area clean.
Cleaning Surfaces
The cleaning method depends on where the mess is.
For Roofs, Eaves, and Gutters:
This is a more difficult task that requires strict adherence to ladder safety.
- Set Up Safely: Place a sturdy extension ladder on level ground. If possible, have a helper hold it steady and use a rope to tie it off for extra security.
- Prepare Your Cleaner: An oxygen bleach solution works wonders here. It's less harsh than chlorine bleach but still highly effective at disinfecting and cleaning. A hose nozzle with a built-in soap reservoir is perfect for this job.
- Apply and Wait: Spray the solution onto all the soiled areas on your roof and eaves. Let it sit for about 10-15 minutes to break down the droppings.
- Rinse Thoroughly: Use the hose to rinse the surfaces clean, working from the top down.
 safely on a ladder, cleaning bird droppings from the eaves of a house)
For Walls and Ground Surfaces (Patios, Walkways):
This is typically an easier and safer job.
- Clear Debris: Use a stiff broom and dustpan to sweep up any loose, dry droppings.
- Scrub Down: Mix your oxygen bleach solution in a bucket. Use a long-handled, stiff-bristled brush to scrub the stained walls and concrete. Put some elbow grease into it!
- Final Rinse: Use a hose to wash away the solution and grime.
Step 3: Set Up Your Defenses (Bird Deterrents)
Cleaning is only half the battle. To stop the problem from coming back, you need to make your home a less inviting place for birds to perch and nest.
First, if you already have some deterrents like old spikes or netting, inspect them. Are the spikes bent or broken? Is the netting sagging or torn? Tighten loose screws and patch any holes with zip ties before moving on.
If you’re starting from scratch, choose your deterrent based on the type of bird.
For Larger Birds (Pigeons, Starlings): Install Bird Spikes
Bird spikes sound intimidating, but they are a humane deterrent. They don’t harm birds; they simply create an uneven, unstable surface that birds can’t land on. They are perfect for ledges, railings, eaves, and beams.
How to Install:
- Clean the Surface: Wipe the installation area with rubbing alcohol to ensure a strong bond. Let it dry completely.
- Measure and Cut: Use tin snips to cut the plastic spike strips to the desired length.
- Apply Adhesive: Squeeze a continuous bead of exterior-grade silicone adhesive along the bottom of the spike strip.
- Press and Hold: Firmly press the strip onto the ledge or surface. Hold it in place for about 30 seconds to let the adhesive set.
- Cover All Spots: Repeat the process until all the popular perching spots are covered.
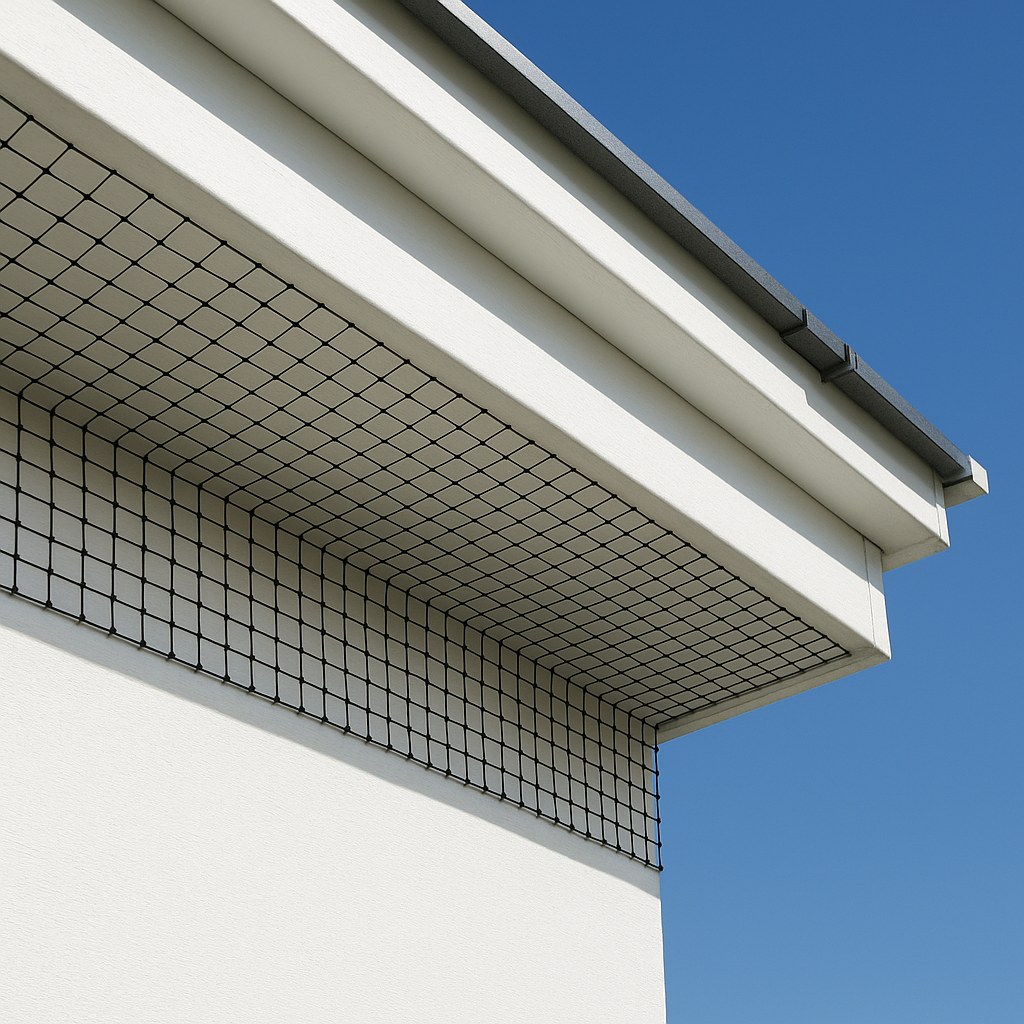
For Smaller Birds (Sparrows, Finches): Install Bird Netting
Smaller birds can sometimes navigate around spikes. For them, netting is the ideal solution. It creates a physical barrier that prevents them from getting into semi-enclosed spaces like eaves, rafters, or under patio covers.
How to Install:
- Measure and Cut: Use a tape measure to determine the size of the area you need to cover, then cut the bird netting to size with scissors, leaving a little extra.
- Install Anchors: Screw eye bolts into the surrounding trim or wood every 18 inches or so.
- Create a Frame: Thread a sturdy nylon cord through the eye bolts to create a tight perimeter frame.
- Attach the Netting: Use zip ties to attach the netting to the cord. Pull it taut as you go to eliminate any gaps or sagging.
- Trim the Excess: Once the net is secure, trim any excess material for a clean finish.
What If the Problem Persists? When to Call a Pro
You’ve cleaned, you’ve installed deterrents, but after a week, the birds are back at it. Sometimes, a persistent or large-scale problem requires professional help. You should call a licensed wildlife or pest control professional if:
- You discover active nests.
- Your DIY deterrents aren’t working.
- The infestation is too large for you to handle safely.
Hiring a professional for bird control can cost anywhere from $300 to $1,500 or more, according to Angi, depending on the severity of the problem and the solutions required. While it's an investment, it guarantees the job is done safely, legally, and effectively.
Keep Your Home in Top Shape with Casa
Taking care of a home means being ready for anything—from running toilets to uninvited birds. By following this guide, you’ve successfully tackled a tough but important home maintenance task. You’ve protected your home’s value and your family’s well-being.
For more expert guides, personalized maintenance checklists, and a direct line to vetted professionals for the jobs you can’t handle alone, download the Casa app today! We’re here to make homeownership easier, one project at a time.


&w=1920&q=75)