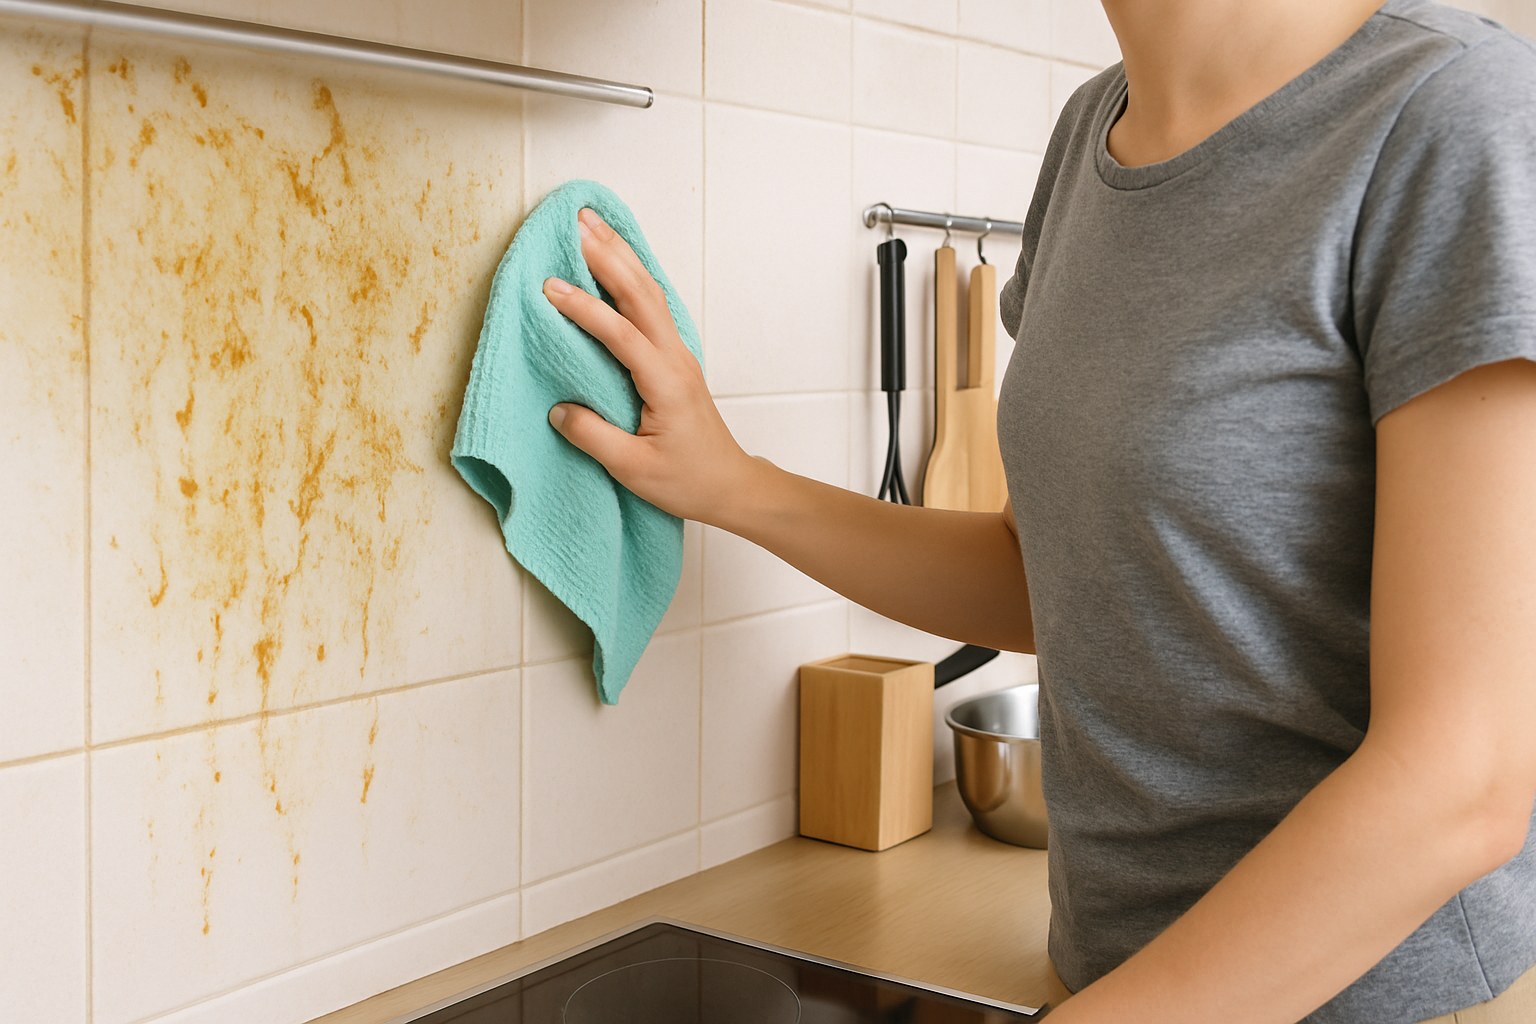
This buildup is a natural byproduct of cooking. Tiny particles of oil and fat become airborne with steam and smoke, eventually settling on every available surface. When mixed with dust and household grime, they create a stubborn, yellowish layer that can be incredibly difficult to remove.
Not only is this greasy film unsightly, but it can also be unhygienic and even damage your cabinet finishes over time. The good news? You don’t need to call in a professional cleaning crew just yet. With the right techniques and a little bit of elbow grease, you can restore your kitchen to its former glory.
In this guide, we’ll walk you through everything you need to know about how to clean kitchen grease, just like we would over the phone. Let’s get started.
First, Let’s Understand the Enemy: Why is Kitchen Grease So Stubborn?
Kitchen grease isn't like a simple spill. When cooking oils are heated, they undergo a process called polymerization. This chemical reaction causes the oil molecules to link together, forming a sticky, resin-like substance that bonds tightly to surfaces. This is why a simple wipe with a wet cloth often just smears the grease around instead of removing it. To beat it, you need a strategy that can break down these tough polymers.
Step 1: Assess the Grease Problem
Before you start spraying and scrubbing, take a moment to figure out the scope of the problem. Is the grease concentrated in one area, or has it staged a full-kitchen takeover? This will help you choose the right cleaning approach and save you time and effort.
- Safety First: Make sure all your stovetop burners are off and have cooled down completely.
- Do a Visual Scan: Stand in the middle of your kitchen and look for areas with a tell-tale shine or a slightly yellow tint. Pay close attention to the surfaces closest to your stove, such as the backsplash, the range hood, and the cabinets directly above and adjacent to it.
- The Touch Test: Put on a pair of gloves and run your fingers over various surfaces: cabinets, countertops, the oven door, and even the floor in front of the stove. If it feels tacky or sticky, you’ve found grease.
- Paper Towel Test: For a more definitive check, wipe a small spot on each surface with a dry paper towel. If it comes away with a yellowish or brownish residue, you’ll know that area needs degreasing.
Based on your assessment, you’ll likely fall into one of two categories: localized grease or widespread grease.
Step 2: How to Clean Localized Grease (Stovetop & Backsplash)
If the grime is mostly contained to the immediate cooking area, you can perform a targeted cleaning. This is common in kitchens where the range hood is used consistently and effectively.
What You'll Need:
- An all-purpose degreaser spray
- Microfiber cloths
- A non-abrasive scrub brush or sponge
- Warm water and dish soap
Instructions:
- Spray the Surfaces: Generously spray your stovetop and backsplash with the degreaser. Don’t be shy—you want a light, even coat covering all the greasy areas.
- Let it Sit: This is the most important step! Walk away for 2-5 minutes. This gives the degreaser time to work its magic and break down the polymerized oils, making your job much easier.
- Wipe It Down: Using a clean microfiber cloth, wipe the surfaces in circular motions. You should see the grease lifting off easily.
- Scrub Stubborn Spots: For any caked-on bits that remain, use a soft scrub brush to gently work them loose. Avoid using steel wool or highly abrasive pads, as they can scratch your surfaces.
- Rinse and Dry: Wet a new cloth with warm water and wipe down the surfaces again to remove any cleaning residue. Finish by drying everything with a clean, dry microfiber cloth to prevent water spots and leave a streak-free shine.
- Don’t Forget the Knobs: Pull the control knobs off your stove. Wash them in a sink of warm, soapy water, rinse, dry them completely, and pop them back on.
Once this is done, the area should be clean. But to keep it clean, we need to address the root cause of the buildup.
Step 3: Check Your Range Hood—The Unsung Hero of a Clean Kitchen
Your range hood is your number one defense against grease. Its fan pulls oily steam and smoke out of the air, trapping it in a filter before it can settle on your cabinets. If that filter is clogged, it can’t do its job effectively.
How to Tell if Your Range Hood Needs Cleaning:
Turn on the fan. Hold a piece of paper towel or a tissue up to it. If the fan has strong suction and holds the paper in place, it’s likely working well. If the paper barely moves or falls away immediately, the filter is probably clogged with grease and needs a deep clean.
Basic Range Hood Maintenance:
- Power Down: Turn off the range hood fan. For safety, unplug it if possible.
- Remove the Filter: Most range hood filters are designed to be easily removed. They usually slide or pop out from a frame on the underside of the hood.
- Give it a Hot Soak: Fill your sink with the hottest water you can get from the tap. Add a few tablespoons of a strong, grease-cutting dish soap (the kind used for washing dishes by hand) and swish it around to create suds.
- Submerge and Wait: Place the greasy filter in the hot, soapy water and let it soak for at least 10-15 minutes.
- Scrub Gently: After soaking, use a soft scrub brush to gently scrub both sides of the filter. You should see the grease dissolving away.
- Rinse Thoroughly: Rinse the filter under hot running water until the water runs clear and all the soap is gone.
- Dry Completely: Shake off the excess water and let the filter air-dry completely before reinstalling it. A wet filter can harbor mold and mildew.
- Wipe the Hood: While the filter is drying, spray the underside of the range hood with your degreaser and wipe it clean with a microfiber cloth.
- Reinstall and Test: Once dry, put the filter back in place. Turn the fan on and perform the paper towel test again. The suction should be noticeably stronger.
If you clean the filter and the fan still seems weak, you may have a more significant issue with the motor. At that point, it’s best to call an appliance technician.
Step 4: The Deep Clean for Widespread Kitchen Grease
If your initial assessment revealed that the grease has spread beyond the stove to your cabinets, countertops, and even the floor, it’s time for a more comprehensive deep clean.
Instructions:
- Ventilate: Open a window or door to ensure good airflow while you’re cleaning.
- Clear the Decks: Remove everything from your countertops.
- Start with the Stove Area: Clean the stovetop and backsplash using the method described in Step 2.
- Tackle the Cabinets: Working from top to bottom, spray the faces of your cabinets with the degreaser. Let it sit for a minute, then wipe clean with a microfiber cloth. Rinse your cloth frequently in a bucket of warm water to avoid spreading the grease around.
- Degrease Countertops: Spray and wipe down your countertops, following the same process.
- Mop the Floors: Grease can make floors dangerously slick. Mix 1 cup of white vinegar with 1 gallon of warm water. Use a microfiber mop to clean the floor, paying special attention to the area in front of the stove and oven. Dry the floor with a towel afterward to prevent slipping.
Special Care: How to Deep Clean Sticky Natural Wood Cabinets
Painted, laminate, or metal cabinets can usually handle an all-purpose degreaser. Natural wood, however, requires a gentler touch to avoid damaging the finish.
If your wood cabinets still feel sticky after a light cleaning:
- Create a Gentle Solution: Mix 1 tablespoon of grease-cutting dish soap with about a quart of warm water.
- Wipe with the Grain: Dip a soft microfiber cloth into the solution and wring it out until it’s just damp. Gently wipe the cabinet doors and drawer fronts, always moving in the direction of the wood grain.
- For Stubborn Spots: If you encounter a particularly stubborn spot, you can try using a small amount of mineral spirits on a corner of your cloth. Important: Test this on a hidden, inconspicuous area first (like the back of a cabinet door) to ensure it doesn’t damage the finish. Rub the spot gently, then immediately wipe the area with a clean, damp cloth before drying it.
- Dry Immediately: Never let water sit on wood cabinets. Use a soft, dry cloth to thoroughly dry each cabinet as you clean it.
If your wood cabinets remain sticky even after this deep clean, the finish itself may have started to break down. In this case, you may want to consult a professional cabinet refinisher.
How Much Does a Professional Kitchen Cleaning Cost?
While this DIY method is highly effective, it does take time. If you’re short on time or the job feels too overwhelming, you can hire a professional. The cost for a deep kitchen cleaning from a professional service can range from $150 to $400 or more, depending on the size of your kitchen and the extent of the grease buildup. By tackling it yourself, you can save a significant amount of money.
Your Kitchen is Clean—Now What?
Congratulations! Your kitchen should now be sparkling and free of that sticky, greasy film. To keep it that way, prevention is key.
- Wipe Down After Cooking: After each meal, give your stovetop and backsplash a quick wipe.
- Use Your Range Hood: Turn on the fan every single time you cook, especially when frying or searing.
- Clean the Filter Regularly: Make it a habit to clean your range hood filter every 1-3 months, depending on how often you cook.
For more expert home maintenance guides, proactive reminders, and a direct line to trusted professionals when you need them, download the Casa app today! Casa is your partner in home care, empowering you to handle DIY fixes with confidence and connecting you with the pros for the jobs you can’t. Keep your home running smoothly with Casa.
Related Reading


