But don't panic. While it might seem like a job that requires an immediate call to a professional, many common window breaks—especially those involving older, single-pane windows—are surprisingly manageable as a DIY project.
We're here to walk you through it, from the initial safety assessment to the final, satisfying installation of a brand-new pane of glass. Think of us as your expert on the line, guiding you through each step. Let’s get that window fixed and your home secure again.
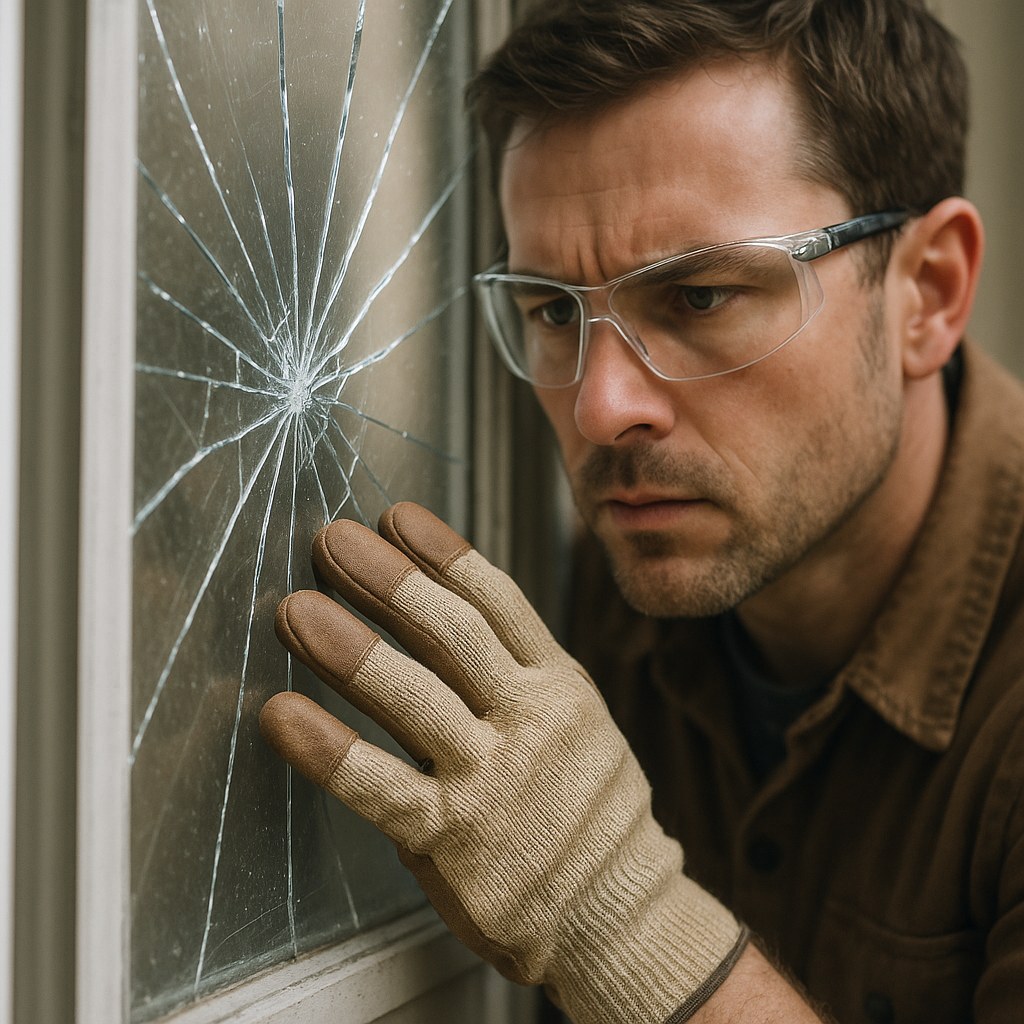
First Things First: Safety and Damage Assessment
Before you do anything else, you need to assess the situation safely. Broken glass is incredibly sharp, and taking a few moments to prepare can save you from a nasty cut.
Here's what you need to do:
- Gear Up: Put on a pair of thick work gloves and safety glasses. Do not skip this step. Tiny shards of glass can fly further than you think.
- Prepare the Area: Lay a drop cloth or an old blanket on the floor directly below the window. This will catch any fragments that fall while you're working.
- Inspect the Damage: Carefully examine the window glass. Is it a simple crack, or is the pane shattered with missing pieces? The answer will determine your next steps.
- Check the Frame: Look at the window frame and the surrounding trim. Is it cracked, splintered, or otherwise damaged? If the frame itself is compromised, you'll likely need to call a professional.
Once you've safely assessed the damage, you can move on to a temporary fix to secure your home while you prepare for the full replacement.
The Quick Fix: How to Temporarily Secure Your Window
Your approach here depends on whether the glass is cracked or completely shattered. The goal is to make the area safe and protect your home from the elements until you can perform a permanent repair.
Scenario 1: The Glass is Cracked but Mostly Intact
If you have one or more cracks but the glass is still firmly in the frame, you can stabilize it to prevent the cracks from spreading and to keep drafts out.
- Clean the Surface: Gently wipe any dust and debris from the cracked glass with a dry cloth. Be careful not to apply too much pressure.
- Apply Tape: Take a roll of clear packing tape and press a strip firmly over the entire length of one crack. Smooth it down to ensure good adhesion.
- Cover All Cracks: Continue applying overlapping strips of tape until all the cracks are covered on the inside of the window.
- Tape the Other Side: If you can safely reach the outdoor side of the window, repeat the process there. This creates a much stronger and more weatherproof temporary seal.
- Clean Up: Use a broom and dustpan to sweep up any tiny glass shards that may have fallen onto your drop cloth or the floor. Dispose of them in a sturdy cardboard box, not a regular trash bag where they could poke through.
This temporary fix will keep your home secure and prevent the damage from getting worse while you gather the materials for a full replacement.
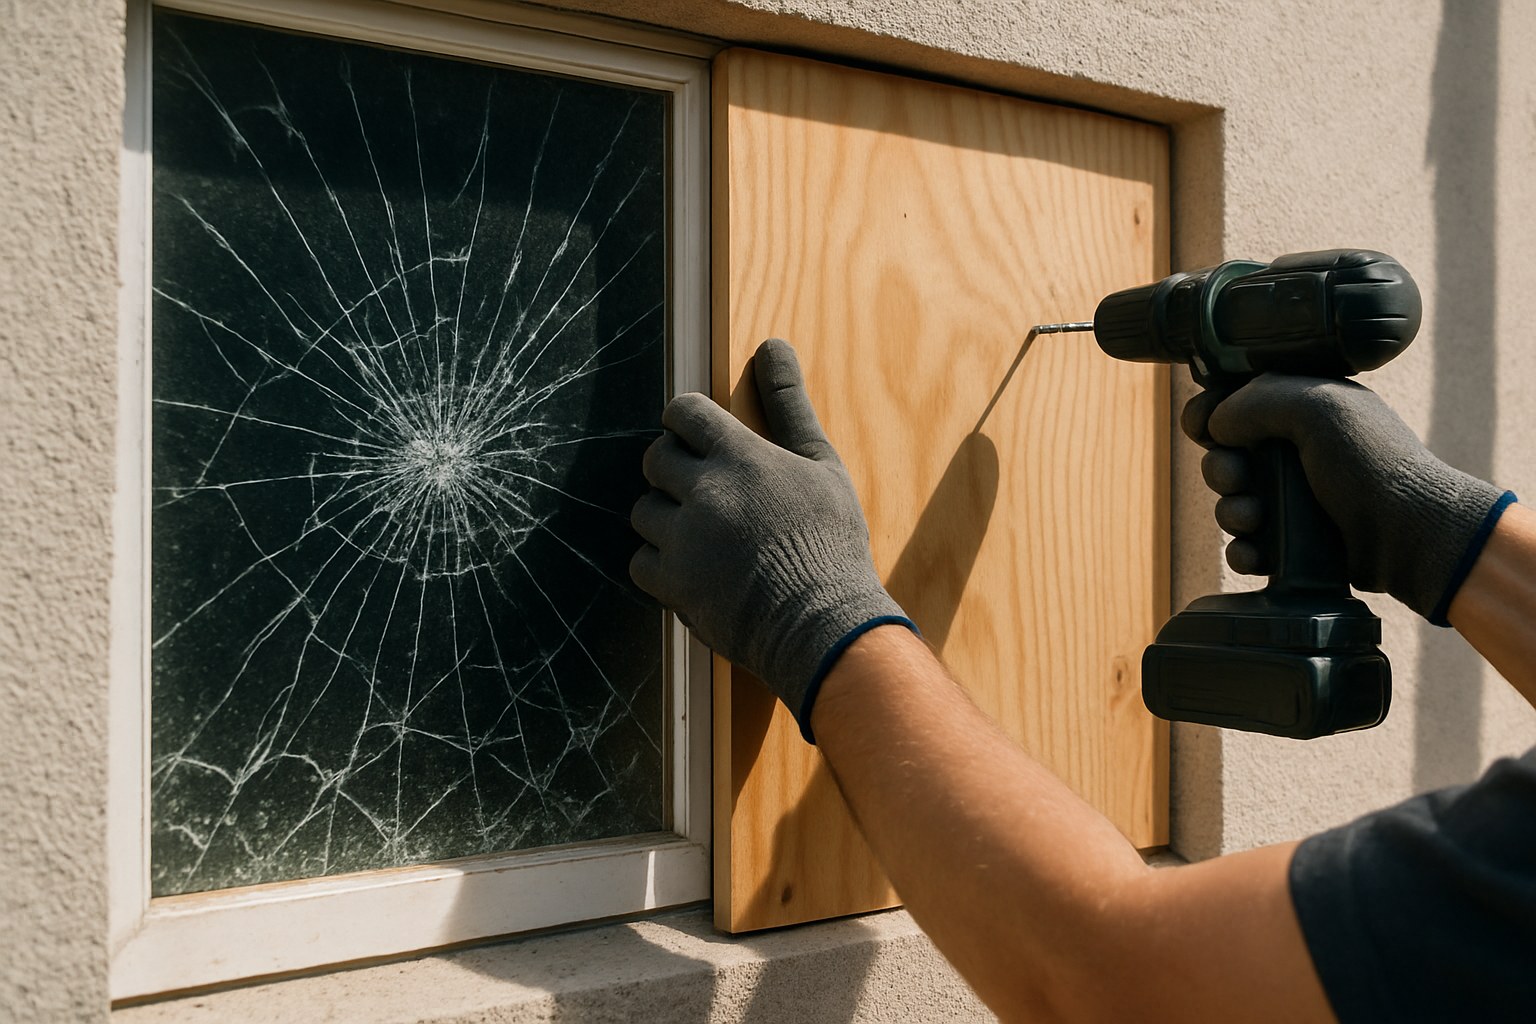
Scenario 2: The Glass is Shattered with Missing Pieces
If the window is shattered and there's a gaping hole, taping it won't be enough. You'll need to board it up.
- Remove Loose Shards: Wearing your work gloves and safety glasses, carefully remove any large, loose glass shards from the frame. Place them directly into a sturdy cardboard box for disposal.
- Clean the Area: Sweep the window sill and the floor below with a broom to get rid of all the smaller fragments.
- Measure the Opening: Use a tape measure to get the height and width of the window opening.
- Cut a Board: You’ll need a piece of plywood or a similar sturdy board. Cut it so that it’s at least 1 inch larger than your measurements on all sides. This will allow you to secure it to the frame.
- Secure the Board: Place the plywood against the exterior side of the window frame, ensuring it covers the entire opening.
- Drive in Screws: Use a drill to drive four wood screws through the corners of the plywood and into the wooden window frame.
- Seal the Edges: For better weather protection, run a bead of caulk around the edges of the plywood where it meets the frame. This will keep rain and wind out until you can replace the glass.
The Permanent Solution: How to Replace Single-Pane Window Glass
If you've determined you have a single-pane window with an undamaged frame, you're in luck! Replacing the glass is a very doable DIY project. It requires patience, but the results are well worth it.
Difficulty: Moderate to Hard
Working Time: About 1 hour
Total Time: 1 hour plus 24-48 hours for putty to cure
Step 1: Gather Your Tools and Materials
Before you start, make sure you have everything you need:
- Work gloves and safety glasses
- New single-strength glass pane, cut to size
- Glazing putty
- Glazing points (small metal tabs that hold the glass in place)
- Putty knife
- Heat gun
- Long-nose pliers
- Tape measure
Step 2: Remove the Sash and Old Glass
- Carefully remove the sash (the part of the window that holds the glass) from the main window frame and lay it on a flat, stable work surface.
- The old glazing putty around the glass is likely hard and brittle. Use a heat gun on a low setting to gently warm it for about 30 seconds at a time. This will soften it up.
- Once softened, use your putty knife to pry and scrape the old putty out of the frame.
- As you remove the putty, you'll expose the old glazing points. Use long-nose pliers to pull them out.
- Continue this process on all four sides until the broken glass can be lifted out freely. Be sure to clean the channel (the rabbet) thoroughly.
Step 3: Measure and Install the New Glass
- Measure the height and width of the rabbet where the glass will sit. Your new pane of glass should be cut ⅛ inch smaller in both height and width. This small gap allows for expansion and contraction and ensures a good fit.
- Knead some new glazing putty in your hands until it's soft and pliable. Roll it into a thin rope (about ⅛ inch in diameter).
- Press this thin rope of putty into the bottom of the channel on all four sides. This creates a bedding for the new glass.
- Carefully set the new glass pane into the frame, pressing it gently but firmly into the putty bed.
- Secure the glass by inserting new glazing points every 8 inches or so. Press them in with the tip of your putty knife.

Step 4: Apply the Final Glazing
- Roll out more glazing putty into thicker ropes (about ½ inch in diameter).
- Press the putty into the space between the glass and the wood frame, covering the glazing points.
- Use your putty knife to smooth the putty into a clean, 45-degree angle from the glass to the edge of the frame. This creates a neat, professional-looking seal that will shed water.
- Allow the glazing putty to cure. This can take anywhere from 24 hours to several days, depending on the product and the weather. Check the instructions on the container. Do not paint it until it has fully cured.
- Once cured, reinstall the sash into the window frame and test it to make sure it opens and closes smoothly.
How Much Does It Cost to Fix a Broken Window?
The cost can vary significantly depending on the type of window and whether you do it yourself.
- DIY Single-Pane Replacement: You can expect to spend between $20 and $70 on materials (glass, putty, glazing points).
- Professional Repair: According to Forbes Home, hiring a professional to replace a single pane of glass typically costs between $100 and $400. For double-pane or more complex windows, that cost can rise to $250-$1,000 or more.
Doing it yourself can clearly save you a significant amount of money if you have the right kind of window.
When Should You Call a Professional?
This DIY guide is perfect for single-pane windows, but some jobs are best left to a window repair specialist. Call a pro if:
- You have a double-pane or triple-pane window. These are sealed insulated glass units (IGUs) that require special equipment to replace.
- The window frame itself is damaged.
- The glass is specialty glass, like tempered or laminated safety glass.
- You simply don't feel comfortable or safe handling the repair yourself.
Your Home, Fixed
Fixing a broken window is a project that boosts both your confidence and your home's well-being. By following these steps, you can tackle the problem head-on, saving money and learning a valuable skill in the process.
For more expert home maintenance guides, troubleshooting tips, and instant access to trusted local professionals for the jobs you can't handle alone, download the Casa app today. We're here to help you keep your home safe, comfortable, and running smoothly.


