The good news is that many common ceiling fixture problems have surprisingly simple solutions that you can handle yourself. You don’t always need to call an electrician right away. With a little bit of systematic troubleshooting, you can often diagnose and fix the issue in under an hour.
In this guide, we’ll walk you through the process step-by-step, just like we’re on the phone with you. We’ll start with the easiest fixes and work our way up to more involved checks, always keeping safety as our top priority. Let's shed some light on this problem!

Safety First: What to Do Before You Start
Working with electricity requires caution, but don't let that intimidate you. By following a few basic safety rules, you can confidently tackle this task.
- Turn Off the Switch: Before you touch the fixture or bulbs, always make sure the corresponding wall switch is in the "OFF" position. This is the first and most crucial step.
- Grab a Backup Light: Since you'll be turning off the light you're trying to fix, have a flashlight, headlamp, or a lamp plugged into a different circuit nearby. This will ensure you can see what you're doing.
- Know Your Breaker Box: For any steps that involve inspecting wiring, you will need to turn off the power at the circuit breaker. We'll cover this in more detail later, but it's a good idea to know where your electrical panel is located.
A Step-by-Step Guide to Fixing Your Ceiling Light
Let's start troubleshooting. We'll move from the most likely (and easiest) culprits to the more complex ones.
Step 1: Is It Just the Fixture or a Bigger Problem?
First, we need to determine the scope of the issue. Is it isolated to this one ceiling light, or is something larger going on?
Flip the switch for the faulty fixture to the OFF position. Now, go to another light or outlet that you know is on the same circuit. Try turning on that lamp or plugging in your phone charger.
- If other lights and outlets on the circuit are also dead: The problem is likely not your fixture itself, but the circuit. This almost always points to a tripped circuit breaker. Let's head to Step 2.
- If everything else on the circuit works fine: The problem is isolated to your ceiling fixture. This could be anything from a burnt-out bulb to a loose wire. Jump ahead to Step 3.
Step 2: Check the Circuit Breaker
A circuit breaker is a safety switch that automatically shuts off power to a circuit when it detects an overload or a fault. It's a common reason for a whole section of your home to lose power.
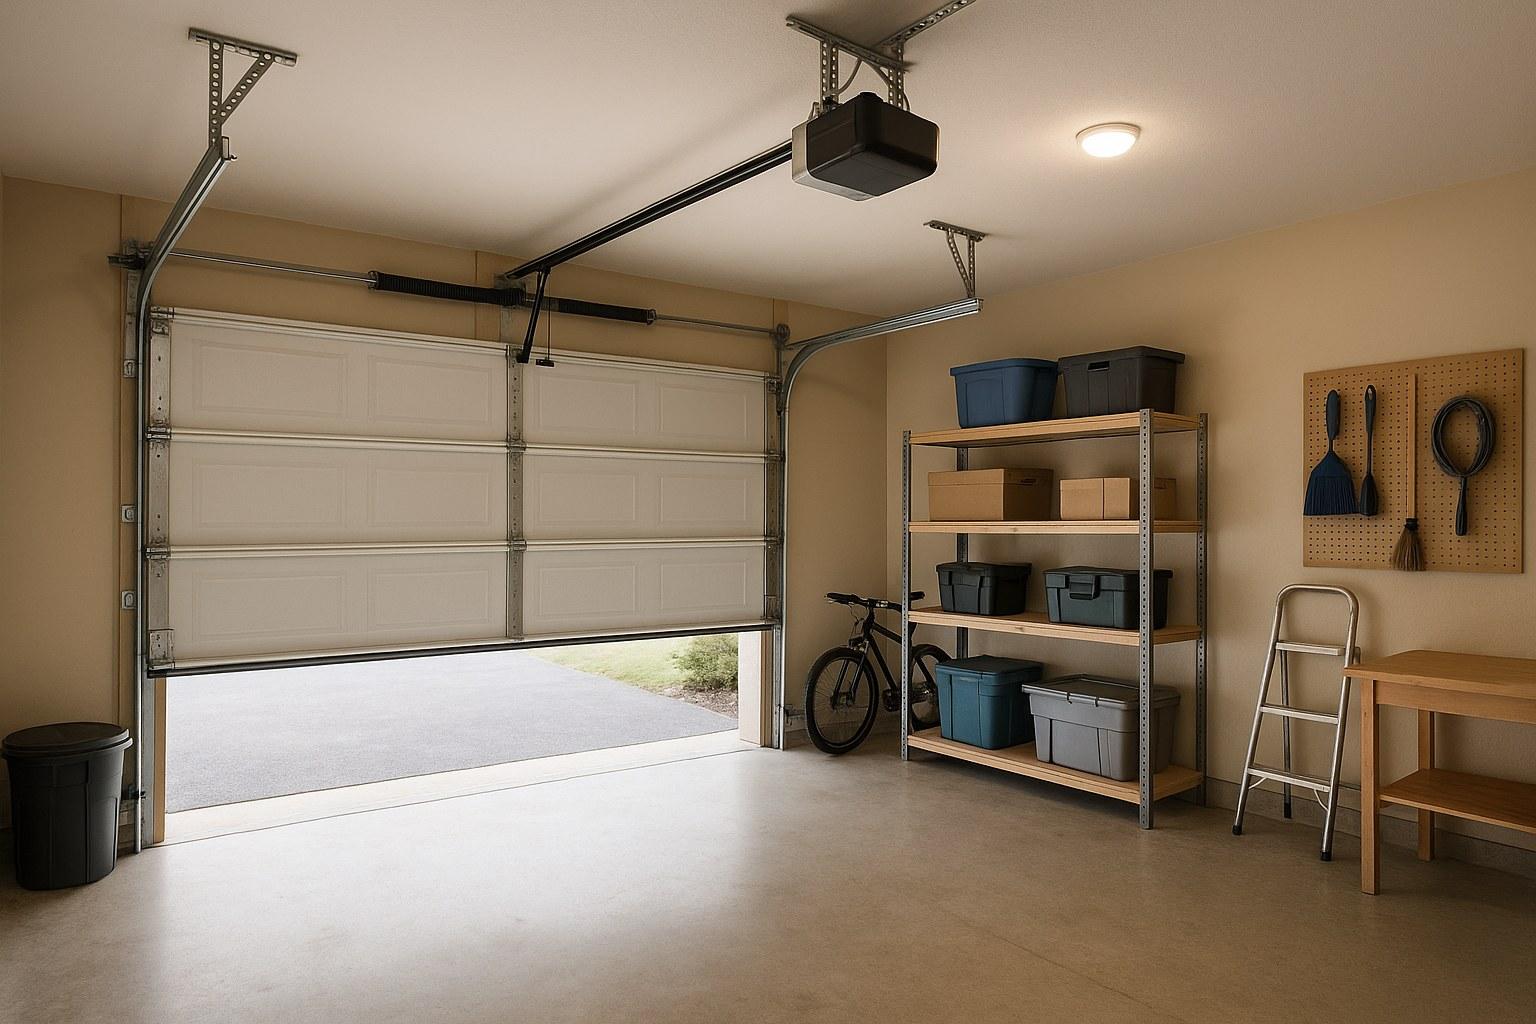
- Locate Your Electrical Panel: This is usually a gray metal box located in a basement, garage, utility closet, or hallway.
- Look for a Tripped Breaker: Open the panel door. You'll see rows of switches. Most should be aligned in the "ON" position. A tripped breaker will be in the middle position, between ON and OFF, or sometimes will be fully in the "OFF" position. It might even have a small red or orange window showing.
- Reset the Breaker: To reset it, you must first push the switch firmly to the "OFF" position, and then flip it back to "ON." You should feel a solid click.
- Test the Light: Go back to the room and try the light switch again. If it works, you've solved it! A breaker can sometimes trip for a temporary reason, like a power surge. However, if it trips again immediately or frequently, you have an overload or a short circuit. At that point, it's best to leave the breaker off and call a licensed electrician.
Step 3: The Easiest Fix of All—The Light Bulb
If the breaker was fine, let’s check the most common culprit: the bulb itself. It sounds obvious, but you’d be surprised how often a dead bulb is the simple answer.
- Turn the Wall Switch OFF.
- Let it Cool: If the light was on recently, give the bulb a few minutes to cool down before touching it.
- Check for Tightness: Carefully try tightening the bulb. Sometimes a bulb can work itself loose from vibrations, breaking the connection. If it was loose, try the switch again.
- Inspect and Replace: If tightening didn't work, unscrew the bulb. Look for dark, smoky spots inside the glass or a broken, dangling filament. These are sure signs of a burnt-out bulb. Replace it with a new, known-good bulb. Make sure the wattage is appropriate for the fixture (it's usually printed on a sticker near the socket).
- Turn the Wall Switch ON. If the light comes on, congratulations! You've just made one of the easiest home repairs possible.
Step 4: A Quick Check for Plug-In Fixtures
While most ceiling fixtures are hardwired, some (like swag lamps) plug into a wall outlet. If this is your setup, the outlet itself could be the issue.
- Unplug the Fixture: Unplug the light from its current outlet.
- Test the Outlet: Plug a different, working lamp into that same outlet to confirm the outlet has power.
- Check for a GFCI Reset: Some outlets, especially in bathrooms or kitchens, are GFCI outlets with "TEST" and "RESET" buttons. If the button has popped out, press "RESET" firmly and try the light again.
- Try a Different Outlet: Plug your ceiling fixture into another outlet that you know works. If the light turns on, the problem is with the original outlet or its wiring, and you should call an electrician. If the fixture still doesn't work, the problem lies within the fixture's cord or the fixture itself.
Step 5: Inspect the Wiring (For Confident DIYers)
If you've tried everything above and the light still isn't working, the issue might be a loose connection at the wall switch or in the ceiling electrical box.
Warning: This step requires turning off the power at the circuit breaker and working with wires. If you are not 100% comfortable and confident, this is the time to call a professional. Your safety is paramount.
Tools Needed:
- Philips and flathead screwdriver
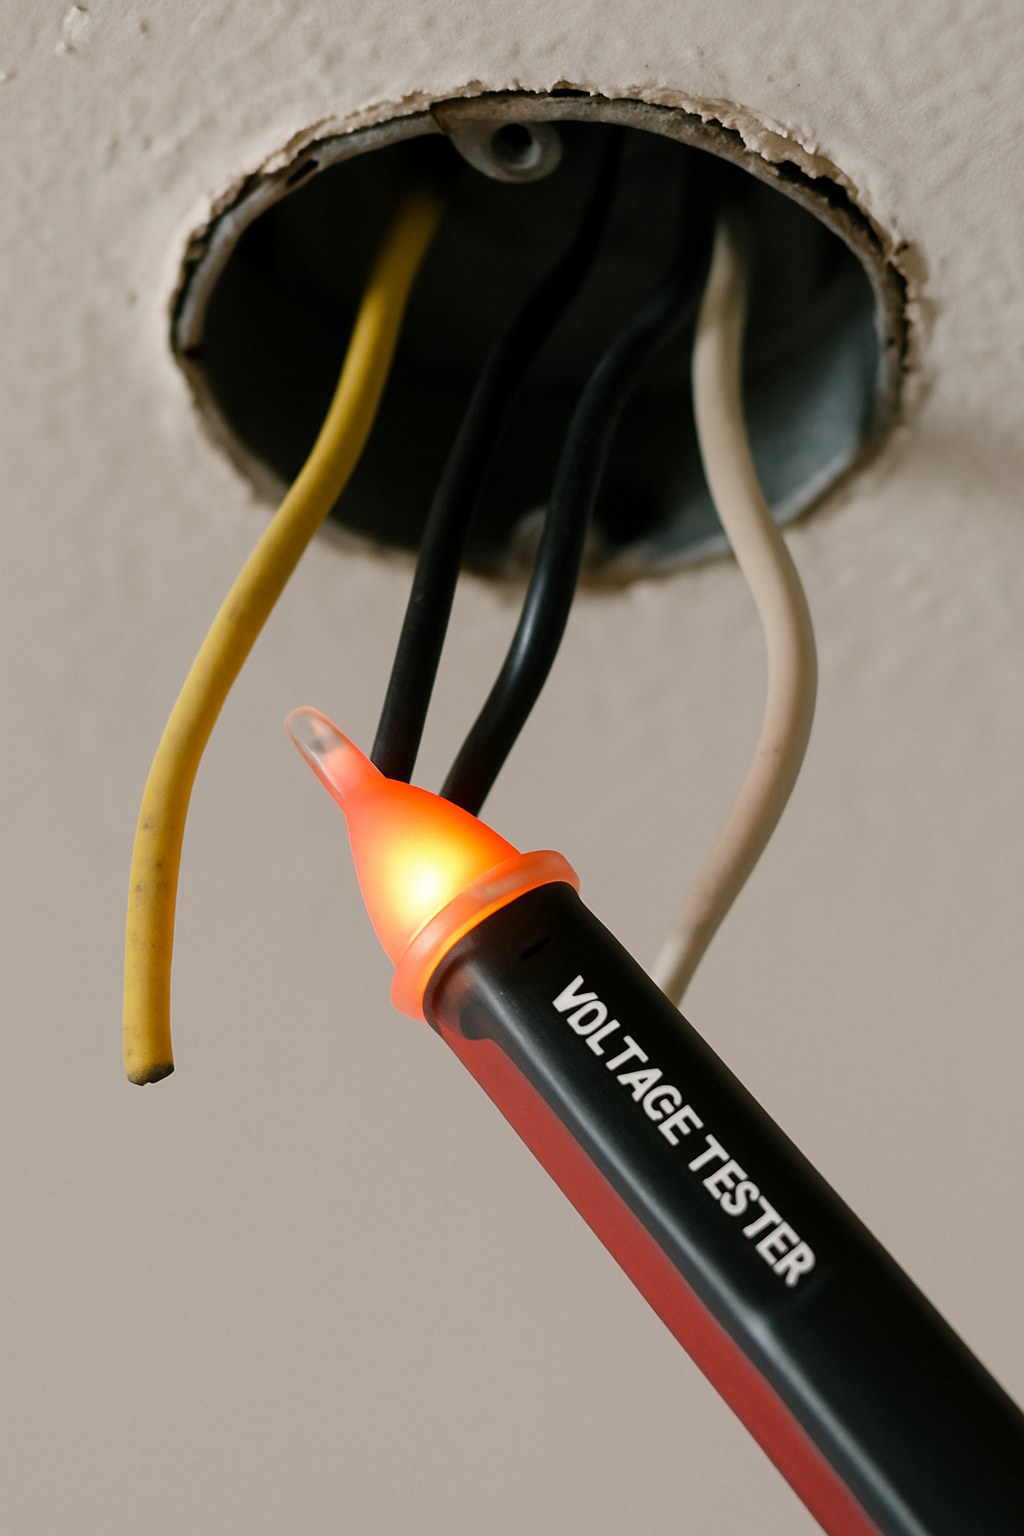
- Non-contact voltage tester (an essential, inexpensive tool for electrical safety)
- Flashlight or headlamp
- TURN OFF THE POWER: Go to your electrical panel and flip the correct circuit breaker to the "OFF" position.
- VERIFY THE POWER IS OFF: Go back to the room and flip the wall switch on and off. The light should not turn on. For an extra layer of safety, use your non-contact voltage tester on the switch and inside the ceiling box (after exposing the wires) to confirm there is no live current. The tester should not beep or light up.
- Check the Wall Switch: Unscrew the switch's faceplate. Gently pull the switch out from the wall. Check that the wires are securely fastened to the terminal screws. If any are loose, tighten them with a screwdriver and reinstall the switch.
- Check the Ceiling Box: Carefully unscrew the canopy of the light fixture where it meets the ceiling. Gently lower it to expose the wiring inside the ceiling box. You should see several wires held together by plastic wire connectors (wire nuts).
- Inspect the Connections: Look for any obvious issues like a wire that has come loose from a connector, scorch marks, or melted plastic insulation. If you see scorching or melting, stop immediately and call an electrician. If a wire is simply loose, you can fix it. Unscrew the wire nut, ensure the copper ends of the wires are twisted together tightly in a clockwise direction, and screw a new wire nut on firmly.
- Put it Back Together: Gently tuck the wires back into the box, reattach the fixture canopy, and then go turn the circuit breaker back ON. Test the light.
If the light now works, a loose connection was the problem! If not, you've exhausted the common DIY fixes, and it's time for professional help.
When to Stop and Call an Electrician
DIY is empowering, but knowing your limits is smart. According to sources like HomeAdvisor, the cost to hire an electrician for a small repair can range from $150 to $500, but it's a small price for safety and peace of mind. Call a licensed electrician if:
- The circuit breaker trips repeatedly.
- You see scorch marks, melted wires, or smell a burning odor.
- The troubleshooting steps above don't solve the problem.
- You are uncomfortable at any point with performing these checks.
Take Control of Your Home Maintenance with Casa
Fixing a ceiling light is a great confidence booster. But for every easy fix, there's a project that might feel just out of reach. That's where we come in.
Download the Casa app today to get access to thousands of easy-to-follow DIY guides for all your home maintenance needs. And for those jobs that require a professional touch, Casa connects you with vetted, trusted electricians and other pros in your area. Stop guessing and start fixing with confidence. Your home is in good hands with Casa.