The good news is that warming up your attic (and by extension, your home) is often a manageable DIY project. According to the U.S. Environmental Protection Agency's ENERGY STAR program, homeowners can save an average of 15% on heating and cooling costs by air sealing their homes and adding insulation in attics and crawl spaces. That's a significant saving that adds up year after year.
So, if you're ready to make your home cozier and more energy-efficient, let's walk through how to fix a cold attic. We'll guide you through identifying your attic type, diagnosing the specific problem, and implementing the right solution.
Why Your Attic is the Gateway for Cold Air
Before we jump into the fix, it helps to understand why your attic gets so cold and why it matters. The primary villain here is a phenomenon known as the "stack effect." In winter, the warm, conditioned air your furnace produces is less dense, so it naturally rises. If your attic isn't properly sealed and insulated, this warm air escapes through gaps and cracks in the ceiling. As it leaves, it creates a vacuum effect, pulling cold, unconditioned air into your home through cracks in the foundation, windows, and doors.
This cycle leaves you with two problems: a cold attic and a drafty house. The most common reasons for this are:
- Inadequate Insulation: Insulation is rated by its "R-value," which measures its resistance to heat flow. If your attic's insulation is old, compressed, or simply not thick enough for your climate zone, heat will pass right through it.
- Air Leaks and Drafts: Small gaps around light fixtures, plumbing pipes, the attic hatch, and wiring penetrations act like open windows for your heated air to escape.
- Imbalanced Ventilation: While attic ventilation is crucial for preventing moisture buildup in the summer, excessive or poorly balanced ventilation in the winter can draw too much cold air in, making the space frigid and contributing to heat loss from the living area below.
Step 1: Get to Know Your Attic – Identifying Its Type
The first step in our investigation is to figure out exactly what kind of attic you're working with. The solution for a finished living space is different from that for an unfinished storage area.
Before you head up, grab some essential safety gear: work gloves, an N95 mask to protect you from dust and insulation fibers, and a good flashlight. Set up your ladder securely and open the attic access hatch.
Once you're able to peek inside, here’s what to look for:
- Finished Attic: Does it look like a livable room? Look for finished walls (drywall or paneling), a proper floor, a finished ceiling, and possibly heating vents. This is common for bonus rooms or converted attic bedrooms.
- Storage Attic: Do you see a plywood floor and lots of boxes, but the roof rafters are exposed? This space is primarily used for storage, and the main thermal boundary should be the attic floor.
- Vented/Unfinished Attic: Is it mostly empty with exposed rafters, visible insulation on the floor between joists, and no flooring? You can likely see vents along the eaves (soffit vents) or at the peak of the roof (ridge vent). This is the most common type of attic.
Got it figured out? Great! Now we can move on to diagnosing the problem.
Step 2: Pinpoint the Problem in Your Attic
With your attic type identified, you can now perform a more targeted inspection to find the root cause of the cold.
For Finished Attics or Bonus Rooms
In a finished attic, the insulation is in the ceiling and "knee walls" (the short walls that meet the sloped ceiling).
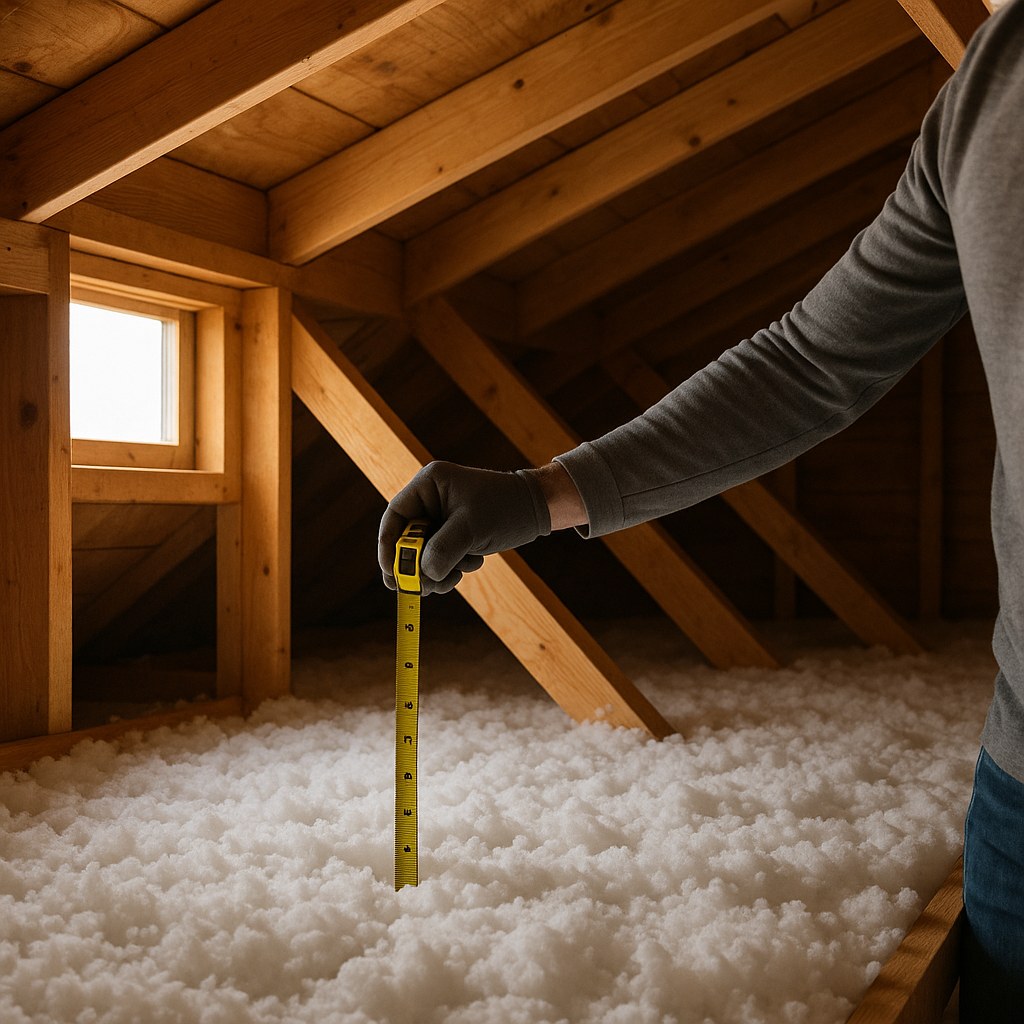
- Check Insulation Levels: If possible, find an accessible spot between the rafters. Use a measuring tape to check the thickness of the insulation. Compare this to your region's recommended R-value. For most cold climates, you'll want at least R-30 in the roof deck.
- Hunt for Drafts: This is where you become a detective. Carefully run your hand along window frames, skylights, and the perimeter of the attic access hatch. Do you feel a cold draft? Also, check where any HVAC ducts or plumbing pipes enter the space. Visible light is a dead giveaway for an air leak.
For Storage Attics
In a storage attic, the insulation is on the floor, acting as a thermal blanket between the attic and your living space below.
- Measure Insulation Depth: You may need to move some boxes. Use your measuring tape to see how deep the insulation is on the attic floor. For most cold climates, ENERGY STAR recommends 10 to 14 inches of insulation, which corresponds to an R-value of R-30 to R-38. If your insulation doesn't even cover the tops of the floor joists, you almost certainly need more.
- Look for Air Leaks: Inspect the attic floor for unsealed gaps. Pay close attention to areas where electrical wires or light fixtures penetrate the ceiling below. Dark, dusty stains on the insulation are often signs of air leaking through from the house.
For Vented/Unfinished Attics
Here, the goal is to have a cold, dry, and well-ventilated attic, but a very well-insulated and air-sealed floor to keep that cold from affecting your home.
- Check Floor Insulation: Just like with a storage attic, measure the depth of the insulation. You're aiming for R-38 or higher in colder regions.
- Inspect Ventilation Balance: Look for daylight coming through the soffit vents at the eaves. They should be clear and unobstructed by insulation. Likewise, ensure the ridge vent at the peak is clear. If you have an attic fan, check its thermostat setting; it shouldn't be set to run at cold temperatures. Signs of frost or moisture can indicate a ventilation problem.
Step 3: The Fix – A Tailored Approach for Your Attic
Now that you've diagnosed the issue, it's time to fix it. We'll break down the solutions based on your findings.
Warming Up a Finished Attic
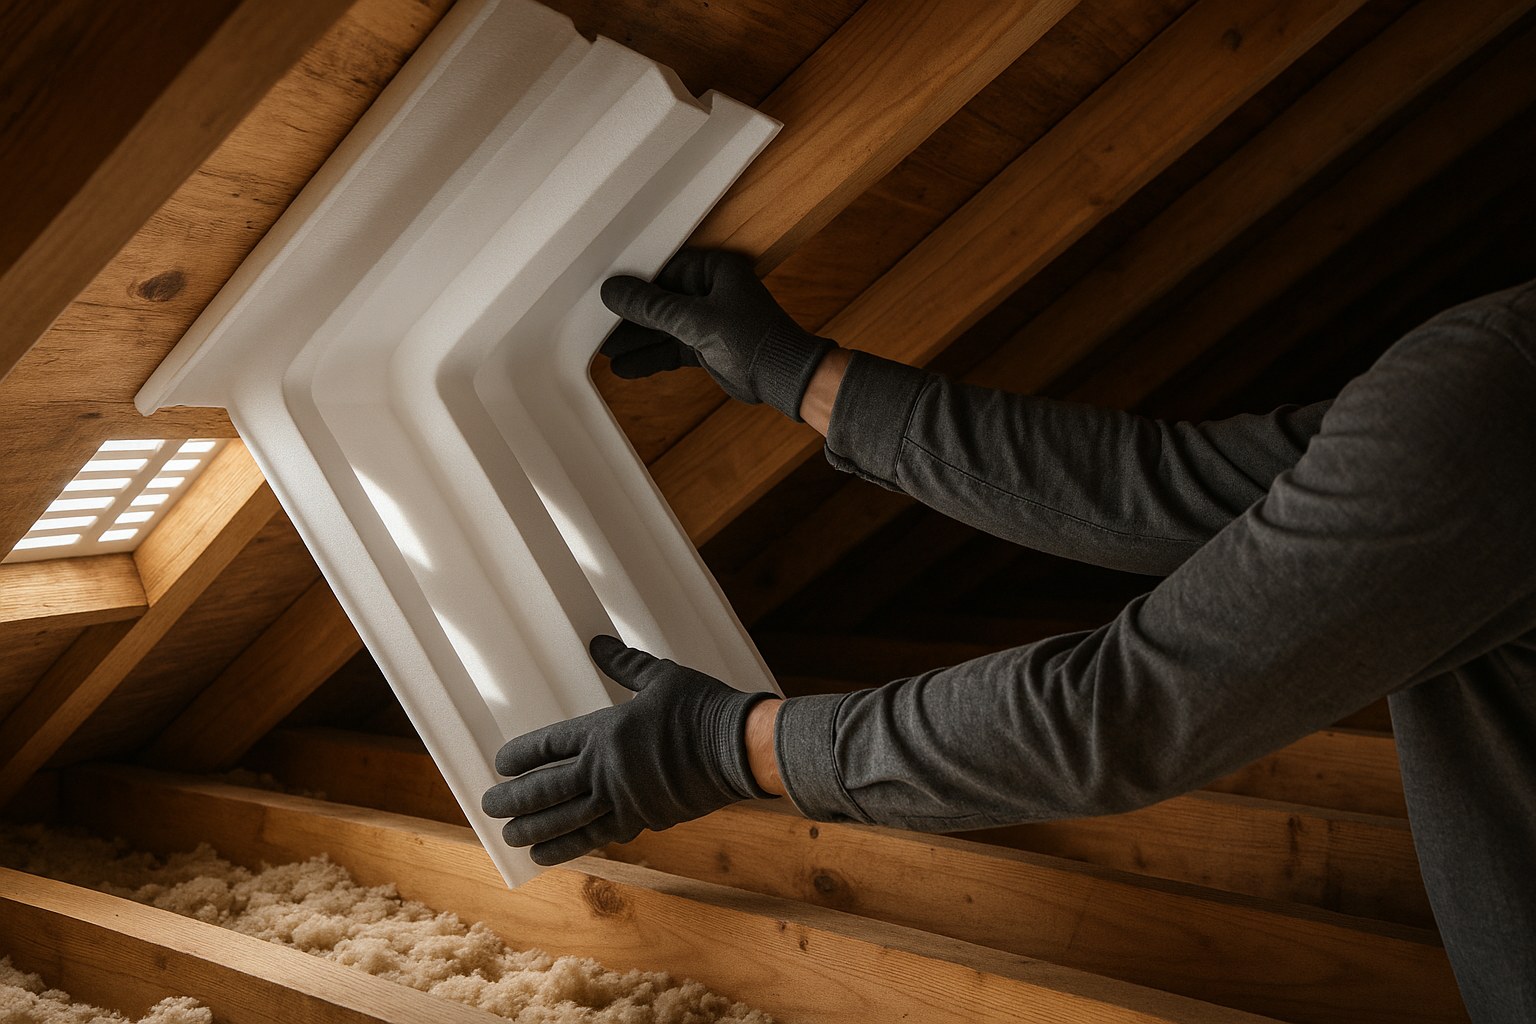
- If Insulation is Low: The best solution is to add mineral wool batt insulation between the rafters. Purchase batts with the R-value you need and cut them to fit snugly. If there's existing insulation, press it against the roof deck before adding the new layer. Be sure to maintain a 1-inch air gap between the insulation and the roof sheathing for ventilation by using foam baffles.
- If You Found Drafts: Time to seal them up! Apply weatherstripping foam tape around the attic access hatch for a tight seal. Use a caulk gun with acrylic caulk to seal gaps around window and skylight frames. For larger cracks around pipes or ducts, use low-expansion spray foam.
Improving a Storage or Vented Attic
The process for both of these attic types is similar, as the focus is on the attic floor.
- If Insulation is Low: Purchase unfaced fiberglass batt insulation (R-30 or R-38 is common). Lay the new batts perpendicular to the floor joists, directly on top of your existing insulation. This will cover the tops of the joists and prevent heat loss through the wood. Never compress insulation, as this reduces its R-value.
- Safety Note: Be extremely careful to only step on the joists! Wear knee pads for comfort and keep a 3-inch clearance around any recessed light fixtures that are not IC-rated (Insulation Contact rated).
- If You Found Air Leaks: Seal them before adding new insulation. Use caulk for small gaps where wires penetrate the floor and low-expansion spray foam for larger gaps around plumbing stacks or ducts. Don't forget to apply weatherstripping to the attic hatch.
- If Ventilation is Blocked: If you noticed insulation blocking your soffit vents, pull it back and install foam baffles. These inexpensive channels ensure air can flow from the soffits up to the ridge, keeping your attic dry.
The Investment: How Much Does It Cost?
Fixing a cold attic is one of the most cost-effective home improvements you can make.
- DIY Costs: You can expect to spend between $0.50 and $1.50 per square foot for materials like fiberglass or mineral wool batts. Caulk, spray foam, and weatherstripping will add another $30-$50 to your project total.
- Professional Costs: If the job feels too big or you prefer blown-in insulation, hiring a professional is a great option. According to HomeAdvisor, professional attic insulation typically costs between $1.50 and $3.50 per square foot, depending on the material and labor rates in your area.
When you weigh these costs against the potential 15% annual savings on your energy bills, the project often pays for itself in just a few years.
Know Your Limits: When to Call in the Pros
While many of these fixes are DIY-friendly, there are times when it’s best to call a professional HVAC technician or insulation contractor:
- If you have signs of moisture, mold, or animal infestation.
- If large areas of your attic are inaccessible.
- If you need spray foam insulation, which requires specialized equipment.
- If you suspect your ventilation system needs a major overhaul.
- If you've sealed and insulated but the problem persists, an energy professional can perform a blower-door test to pinpoint hard-to-find leaks.
A Warmer Home is Within Reach
A cold attic is more than just an uncomfortable space—it's a major drain on your home's energy efficiency and your wallet. By taking the time to identify your attic type, inspect for issues, and implement the right fixes, you can create a more comfortable living environment and enjoy significant savings for years to come.
Feeling overwhelmed or want more personalized guidance? Download the Casa app today! Casa provides step-by-step DIY guides for hundreds of home maintenance tasks and can connect you with vetted, trusted professionals in your area when you need a helping hand. Take control of your home's comfort and efficiency with Casa.


