The good news is that you don’t have to live with a lopsided life. Straightening a crooked wall fixture is one of the most satisfying and straightforward DIY projects you can tackle. In most cases, it takes just a few minutes and some basic tools to restore order and peace of mind.
In this guide, I’ll walk you through how to diagnose why your fixture is crooked and provide simple, step-by-step instructions to fix it—whether it’s a lightweight photo, a heavy mirror, or a shelf held up by adhesive strips. Let’s get things back on the level!
Why Do Wall Fixtures Go Crooked in the First Place?
Understanding the root cause of the problem is the first step to a permanent fix. A fixture rarely becomes crooked for no reason. Here are the most common culprits:
- The Wrong Hardware: This is the number one reason for sagging shelves and tilted art. Using a single, small nail in drywall to hang anything with significant weight is a recipe for failure. The nail will eventually loosen and pull downward.
- Missing a Stud: For heavy items like large mirrors, TVs, or loaded bookshelves, securing the fixture to the wall studs (the vertical wooden beams that frame your walls) is non-negotiable. Drywall alone is not strong enough to support heavy loads.
- Vibrations: Everyday life can take its toll. Slamming doors, running through the house, or even traffic outside can create subtle vibrations that slowly nudge a fixture out of place.
- House Settling: All homes settle over time. These tiny, imperceptible shifts in the structure can be enough to tilt a once-perfectly-level frame.
- Humidity: Changes in humidity can cause walls to slightly expand and contract, which can loosen the grip of nails and screws over time.
Now that we know the "why," let's figure out how to solve it.
Step 1: Diagnose the Situation Like a Pro
Before you grab a hammer, take five minutes to assess the fixture and its mounting. This will tell you exactly what tools and techniques you’ll need.
- Estimate the Weight: Is the fixture lightweight or heavy? A simple rule of thumb is the "10-pound bag of sugar" test. If your item feels significantly heavier than that, you should treat it as a heavy fixture.
- Identify the Mounting Method: How is the fixture attached to the wall? Look closely. Do you see a single nail or hook? Are there visible screws going directly into the wall or into a mounting bracket? Or is it attached with adhesive strips?
- Know Your Wall Type: Are you dealing with drywall, plaster, or something solid like brick or concrete? For most modern homes, it’s likely drywall. You can test this by knocking on it—drywall sounds hollow between the studs. Plaster is harder and denser. Knowing your wall material is critical for choosing the right anchors if needed.
- Confirm the Crookedness: Grab a level (a bubble level, laser level, or even a level app on your phone will work) and place it on top of the fixture. The bubble should be perfectly centered. If it’s leaning to one side, you’ve officially confirmed the problem.
Once you’ve gathered this information, you can move on to the right solution.
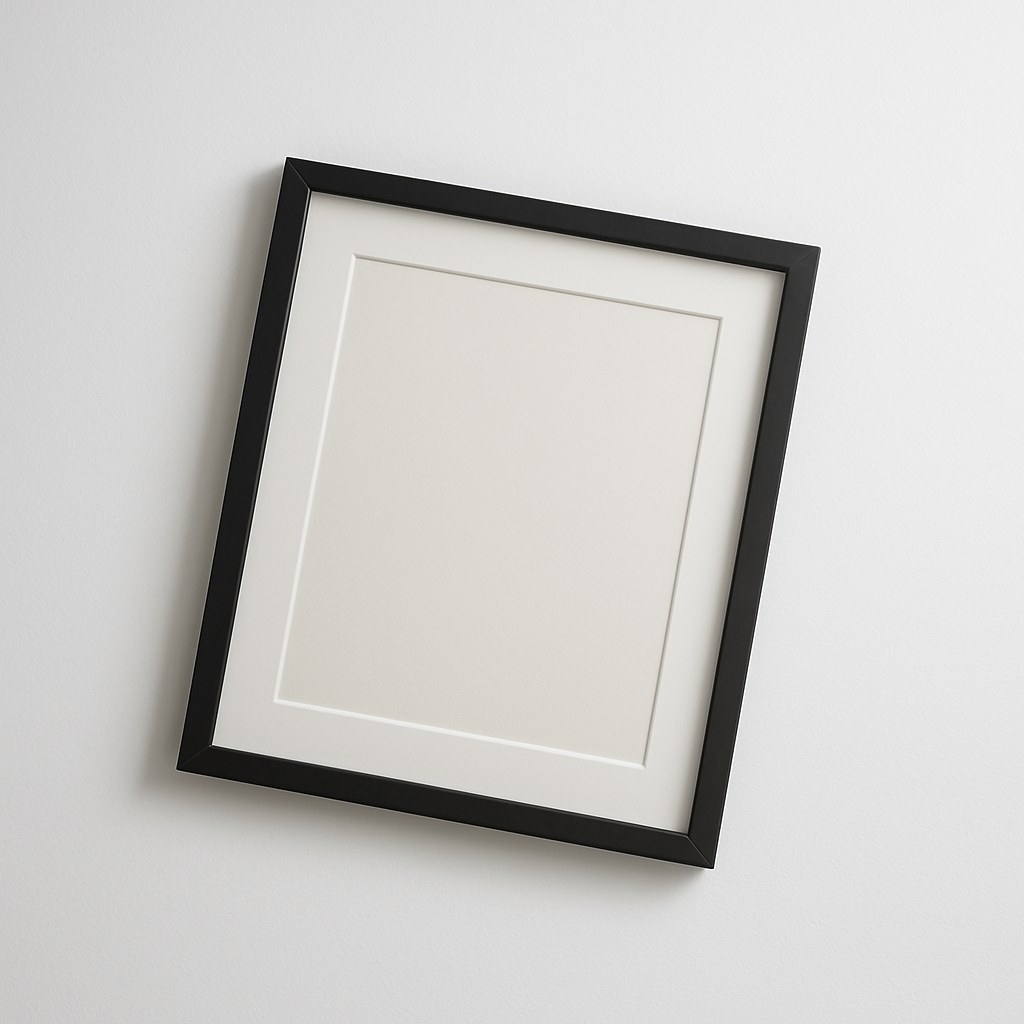
Fixing Lightweight Fixtures (Under 10 lbs)
This category includes most picture frames, small art pieces, and lightweight decor. These are typically hung on a single nail or hook, making the fix quick and easy.
Tools you’ll need:
- Hammer
- Pliers (optional)
- Small rubber bumpers (optional, but highly recommended!)
- A level
Instructions:
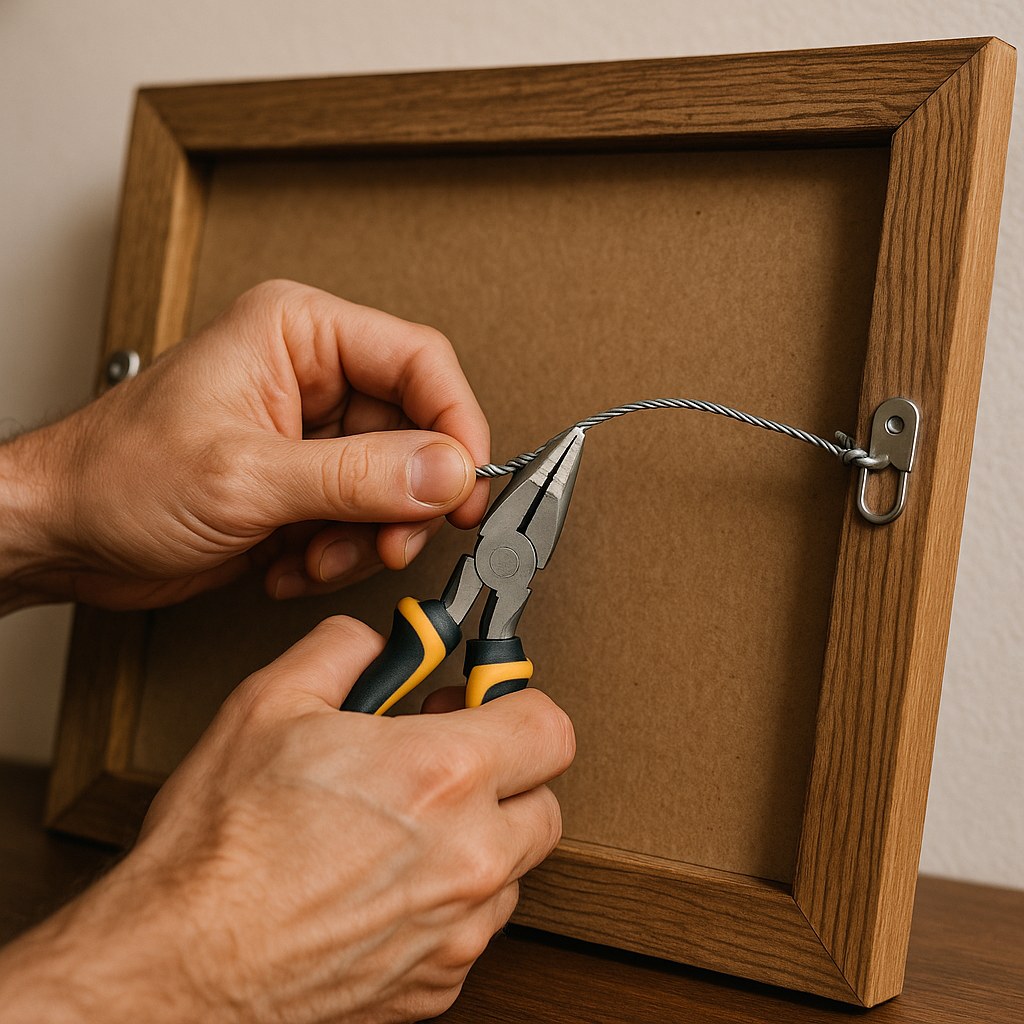
- Remove the Fixture: Carefully lift the item off the wall and place it face-down on a soft surface, like a towel or rug, to prevent scratches.
- Inspect the Hanger: Look at the back of the frame. If it has a hanging wire, check if it’s loose or has stretched. Use pliers to tighten any loops. If it has a sawtooth hanger, make sure it’s securely attached to the frame.
- Adjust the Nail: The nail in the wall might have loosened. You can often fix this by gently hammering it back in at a slight upward angle (around 30 degrees) to give it more grip. If the hole has become too large, it’s best to remove the nail, move it half an inch to the side, and create a new hole.
- Re-hang and Level: Place the fixture back on the hook. Put your level on top and gently nudge the bottom corners until the bubble is perfectly centered.
- Add Bumpers for Stability (The Pro-Tip!): This is a simple trick that makes a huge difference. Stick small, self-adhesive rubber bumpers on the two bottom corners on the back of the frame. These bumpers grip the wall just enough to prevent the fixture from shifting due to vibrations.
Securing Heavy Fixtures (Over 10 lbs)
This is where safety becomes the top priority. Heavy items like mirrors, cabinets, and large shelves can cause serious damage or injury if they fall. For this job, it's always best to have a helper.
Tools you’ll need:
- A helper!
- Stud finder
- Drill with bits
- Screwdriver
- Wall anchors (toggle bolts are excellent for heavy items)
- A level
Part A: Find the Studs
The goal for any heavy item is to anchor it into wall studs.
- Get Help: Ask your helper to securely hold the fixture against the wall while you work.
- Locate the Studs: Use a stud finder to scan the wall behind the fixture. Mark the locations of the studs with a pencil. Ideally, your fixture should be secured to at least one stud, preferably two.
Part B: If Your Screws are in a Stud
If your stud finder beeps over the existing screw locations, you’re in luck! The fixture is probably crooked because the screws have loosened over time.
- Loosen and Level: With your helper still supporting the fixture, use a screwdriver to loosen (but not remove) the mounting screws.
- Adjust the Bracket: Place your level on top of the fixture or its mounting bracket. Adjust it until it’s perfectly level.
- Tighten Securely: While holding the bracket level, tighten the top screws first, then the bottom ones. Check for any wobble. If it feels solid and level, you’re done!
Part C: If Your Screws are NOT in a Stud
This is a very common issue and the primary reason for sagging heavy fixtures. You need to reinforce the mounting with proper wall anchors.
- Remove the Fixture: Have your helper assist you in taking the fixture completely off the wall and setting it safely aside.
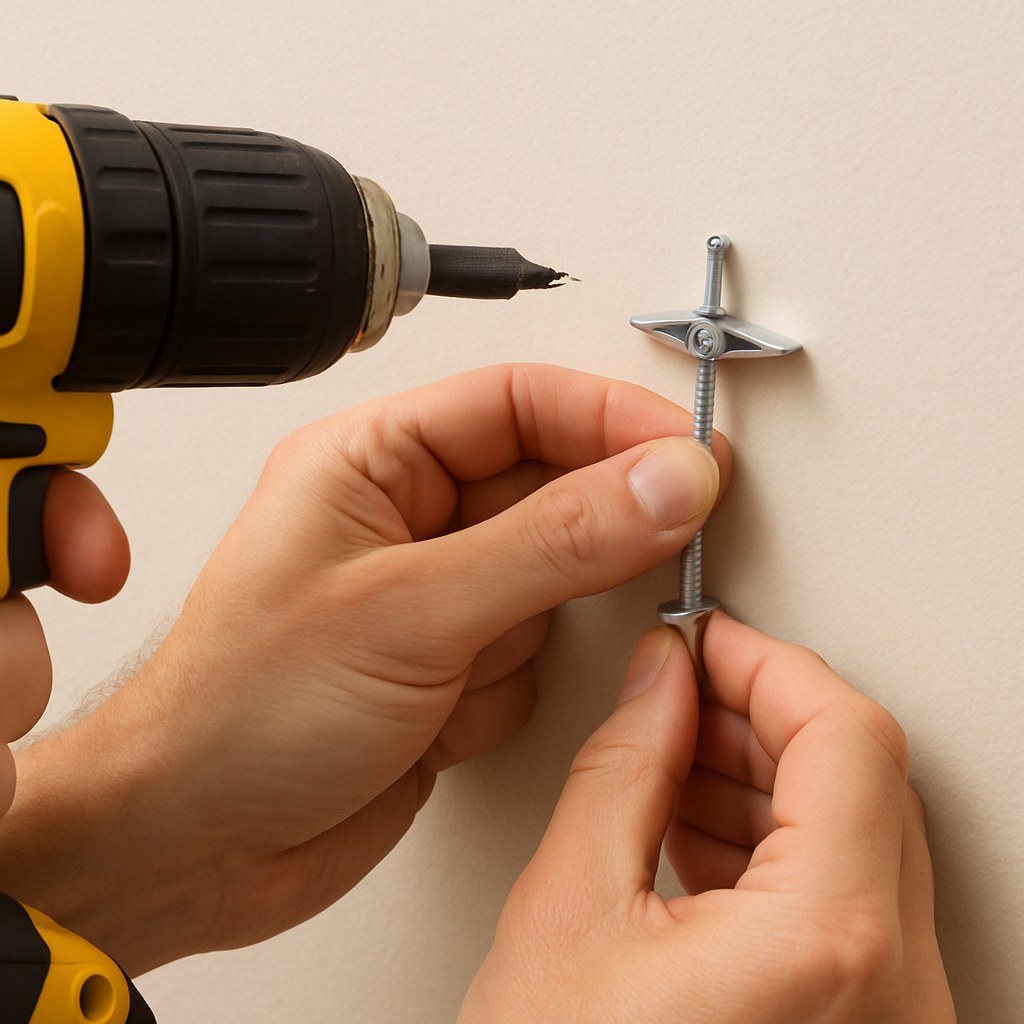
- Choose Your Anchors: For heavy items in hollow drywall, toggle bolts are one of the strongest and most reliable options. They have spring-loaded wings that open up inside the wall, distributing the weight over a larger area.
- Drill New Holes: If you can’t reposition the fixture to hit a stud, you’ll install anchors. Following the instructions on the anchor package, drill holes in the desired locations. For toggle bolts, you'll need to drill a hole large enough for the folded wings to pass through.
- Install the Anchors: Insert the toggle bolts through the holes in your mounting bracket first, then pinch the wings and push them through the holes in the wall. You’ll hear a "snap" as the wings open inside the wall cavity.
- Level and Tighten: Hold the mounting bracket against the wall, place your level on it, and tighten the bolts with a screwdriver until the bracket is snug and perfectly level.
- Re-hang the Fixture: Carefully re-attach your mirror, shelf, or cabinet to the now-secure bracket. Give it a gentle push to ensure there’s no wobble.
When You Should Call a Professional
While most crooked fixtures are a straightforward DIY fix, there are times when it’s smarter and safer to call for backup. Consider hiring a professional handyman if:
- The item is extremely heavy or valuable: Think oversized mirrors, antique cabinets, or expensive art.
- You're mounting on a difficult surface: Drilling into brick, concrete, or old, crumbling plaster requires special tools and expertise.
- You can't find the studs or the wall feels unstable: A professional can assess the situation and ensure a secure installation.
- You're not comfortable using a power drill: It’s always better to be safe than sorry.
Hiring a handyman for a job like this is typically affordable. According to Forbes Home, a handyman can cost between $60 and $125 per hour, and mounting a fixture is usually a quick job.
A Level Home is a Happy Home
Fixing that one crooked picture or wobbly shelf does more than just improve your home’s appearance—it brings a sense of order and accomplishment. By correctly diagnosing the problem and using the right hardware, you can ensure your favorite wall decor stays exactly where it belongs: safe, secure, and perfectly level.
Ready to tackle more home projects? Download the Casa app today! Our app is filled with easy-to-follow guides, maintenance reminders, and a direct line to trusted, vetted professionals for those jobs you’d rather leave to an expert. Take control of your home maintenance with Casa.


