Seeing a scratched, dented, or sticking door can be frustrating, and your first thought might be the costly prospect of a full replacement. But hold on! The great news is that most common door damage is surprisingly fixable with a bit of patience and some basic DIY skills. You can restore your door's good looks and functionality without breaking the bank.
In this guide, we'll walk you through everything you need to know about how to fix a damaged door. We'll start with a simple assessment and then dive into step-by-step repairs for superficial and minor structural issues on both wood and non-wood doors. Let’s get that door looking and working like new again!
Why Bother Fixing a Damaged Door?
Before we grab our tools, let's talk about why this is a project worth your time.
- Curb Appeal and Aesthetics: A well-maintained door boosts your home's appearance. Scratches and chips can make a space feel neglected.
- Functionality: A door that sticks, sags, or doesn't latch properly is more than an annoyance—it can be a daily hassle.
- Security: Damage around locks or hinges can compromise your home's security. A solid, properly functioning door is your first line of defense.
- Cost Savings: Repairing a door is significantly cheaper than replacing it. A new exterior door can cost anywhere from $500 to over $2,000, while the average professional repair cost is around $229. A DIY fix? Often less than $50 in materials.
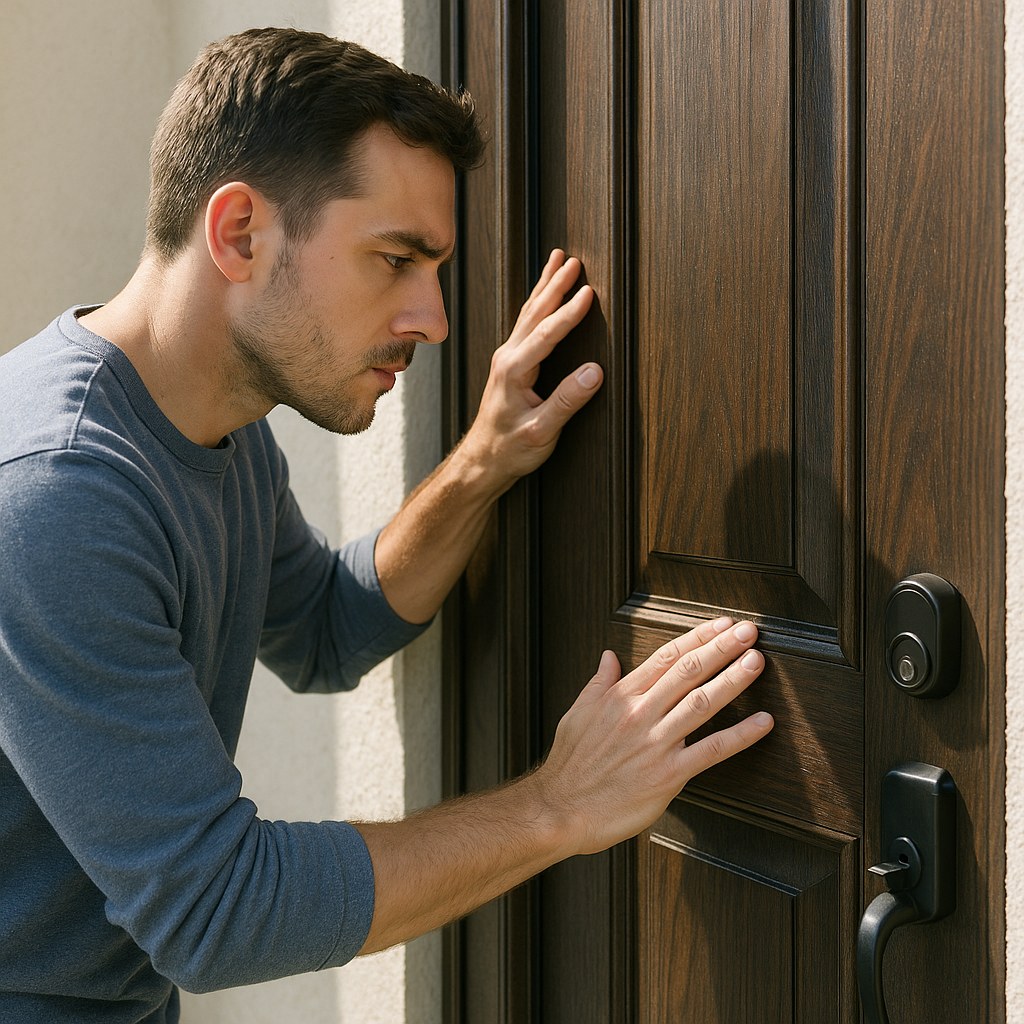
Step 1: First, Assess the Damage
You can't fix a problem until you know exactly what you're dealing with. A thorough inspection will tell you whether you're looking at a quick cosmetic touch-up or a more involved structural repair. Find some good lighting and give your door a once-over.
Here’s what to look for:
- Inspect the Surface: Look closely for superficial issues like scratches, small dents, and chipped or peeling paint. These are the most common and easiest problems to fix.
- Check for Rot: Gently press on different areas of the door, especially near the bottom where moisture can collect. If the wood feels soft or spongy, you’re likely dealing with rot, which is a more serious issue.
- Look for Warping and Cracks: Stand back and look down the edges of the door. Does it look straight, or is it bowed or warped? Check for any cracks, especially around the panels or joints.
- Test its Operation: Open and close the door several times. Does it stick in the frame? Does it sag on its hinges? Is the latch difficult to engage? This points to issues with alignment or the door's structure.
Once you’ve identified the type of damage, you can move on to the right repair.
Step 2: Repairing Superficial Damage (Scratches, Dents, and Chips)
Cosmetic damage is the most common complaint, but thankfully, it's also the simplest to remedy. The approach depends on the material your door is made from.
How to Fix a Damaged Wood Door
Wood is forgiving and relatively easy to repair. With a few materials, you can make scratches and small dents disappear.
What You’ll Need:
- Damp cloth
- Medium-grit sandpaper
- Tack cloth
- Wood filler and putty knife
- Clothes iron (for dents)
The Steps:
- Clean the Area: Start by cleaning the damaged section with a damp cloth to remove any dirt or grime. Let it dry completely.
- Sand it Down: Lightly sand the scratch or chipped area with medium-grit sandpaper. The goal is to smooth out any rough edges and prepare the surface for filler. Wipe away all the dust with a tack cloth.
- Fix Dents with Steam: For shallow dents (not scratches), you can often use steam to make the compressed wood fibers swell back to their original shape. Place a damp cloth over the dent, then press a hot clothes iron (on a medium setting) over the cloth for about 10 seconds. Check your progress and repeat if necessary. This trick works wonders!
- Apply Wood Filler: For deeper scratches or gouges, use a putty knife to apply a small amount of wood filler. Press it firmly into the damaged area, slightly overfilling it to account for shrinkage as it dries.
- Sand Again: Once the filler is completely dry (check the product instructions, usually 20-30 minutes), sand it smooth so it's perfectly flush with the rest of the door surface. Wipe away the dust.
At this point, your repair is complete! However, the repaired spot probably won't match the rest of the door. If you need to refinish the area for a seamless look, it's time to paint or stain. Simply apply a matching coat of paint or stain over the repaired area, blending it into the surrounding surface.
How to Fix a Damaged Metal or Fiberglass Door
Repairing a non-wood door uses a different type of filler, but the process is just as straightforward.
What You’ll Need:
- Mild detergent and a cloth
- Fine-grit sandpaper
- Tack cloth
- Auto-body filler and a plastic spreader
- Hair dryer or heat gun (for metal dents)
- Primer and paint for metal/fiberglass
The Steps:
- Clean the Surface: Wash the area with a mild detergent and water, then dry it thoroughly.
- Sand the Damage: Lightly sand the scratch or dent to scuff up the surface, which helps the filler adhere better. Wipe away the dust.
- Pop Out Dents (for Metal Doors): For shallow dents in a steel door, you can sometimes use rapid temperature change to your advantage. Gently heat the dent with a hair dryer for about 30 seconds. If you can access the other side, a gentle push might pop it back into place.
- Apply Filler: Mix and apply the auto-body filler according to the package directions. Use a plastic spreader to apply a thin, even layer over the dent or scratch.
- Sand Smooth: Once the filler has hardened, use fine-grit sandpaper to sand it perfectly smooth and level with the door's surface.
To finish the job, apply a coat of primer designed for metal or fiberglass over the repair. Once dry, apply a matching topcoat of paint. Using spray cans can often yield the smoothest, most professional-looking finish.
Step 3: Tackling Minor Structural Damage (Cracks and Warping)
If your door has small cracks or is slightly warped, you'll need to step up to a more robust repair using epoxy. For this job, it's best to take the door off its hinges.
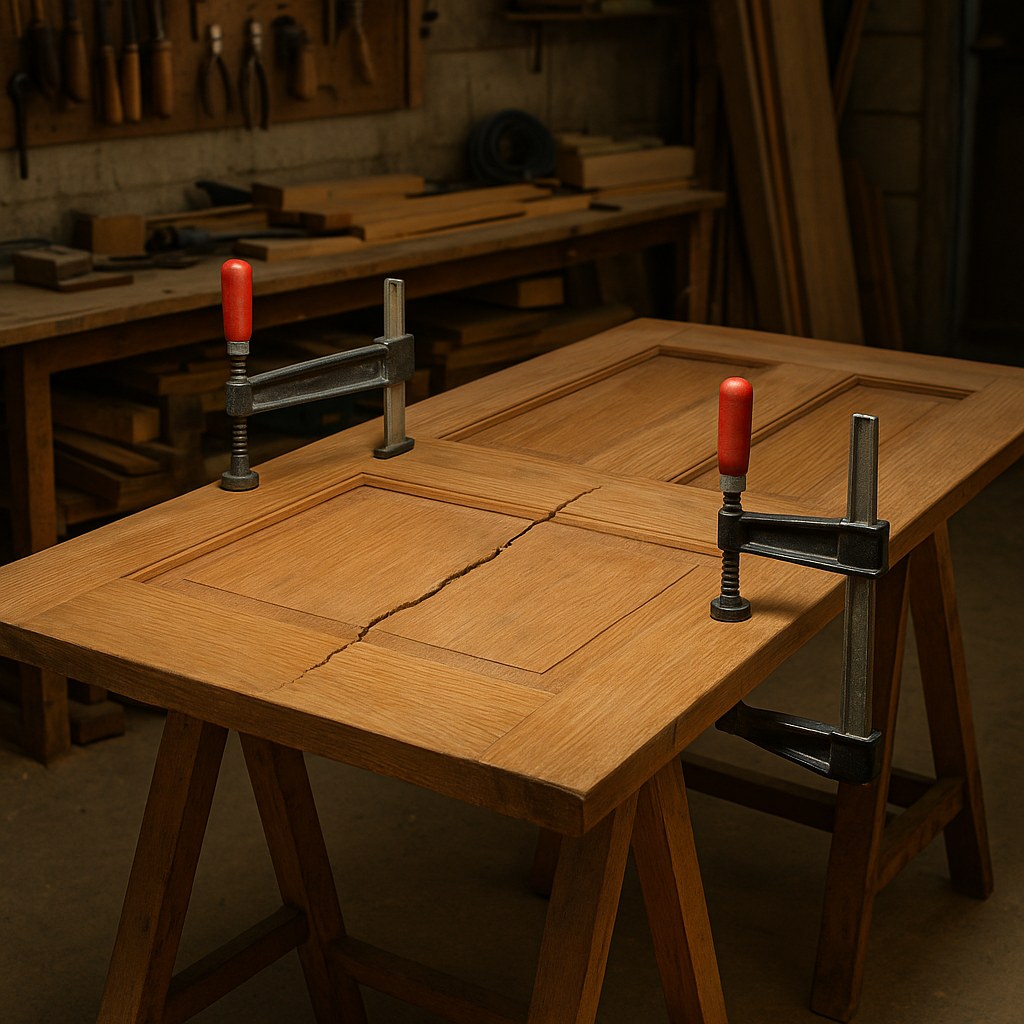
How to Fix a Cracked Door:
- Remove the Door: Lay a drop cloth down and carefully tap out the hinge pins with a nail set and hammer to remove the door. Place it on a pair of sawhorses.
- Prepare the Crack: Use the tip of a utility knife to clean out any loose wood from inside the crack. This ensures the epoxy will have a solid surface to bond to.
- Inject Epoxy: Use a syringe to inject a strong wood epoxy deep into the crack until it's completely filled.
- Clamp and Cure: Use bar clamps to squeeze the crack tightly closed. Wipe away any excess epoxy that seeps out. Let it cure for the time recommended by the manufacturer (often several hours).
- Sand and Finish: Once cured, remove the clamps and sand the repaired area smooth. You can then prime and paint to match.
For minor warping, you can sometimes place a straight board across the warped section and use clamps to gently pull it back into shape while the epoxy in any related cracks cures.
Step 4: Reinforcing Loose Hardware
Does your door sag? Does the handle feel wobbly? Often, the problem isn't the door itself but stripped screw holes in the hinge or lock area. This is an easy and incredibly effective fix.
- Remove the Hardware: Unscrew the loose hinge or lockset.
- Fill the Screw Holes: Squirt a little wood glue into the stripped screw holes. Then, pack them tightly with wooden toothpicks or golf tees until you can't fit any more in.
- Break and Dry: Snap the toothpicks off so they are flush with the surface of the door. Let the glue dry completely.
- Reinstall: Once dry, you’ll have a solid wood surface to work with again. Drill new pilot holes and reinstall the hardware. The screws should now bite firmly, securing your door.
When Should You Call a Professional?
While DIY is great, it’s important to know your limits. It's time to call a professional handyman or carpenter if you encounter:
- Extensive Rot: Soft, crumbling wood indicates a serious moisture problem that often requires replacing a section of the door or the entire door.
- Severe Warping or Cracks: If your door is severely bowed or has large cracks that compromise its structure, a simple fix won't be enough.
- A Problem You Can't Diagnose: If you've tried these fixes and the door still isn't working right, a pro can quickly identify the root cause.
Your Door is Fixed! What's Next?
Fixing a damaged door is a rewarding project that restores beauty, function, and security to your home. By following these steps, you can tackle the most common door issues yourself and save a significant amount of money.
Feeling proud of your work? Ready to take on your next home maintenance challenge? Download the Casa app today! Casa is your trusted partner for all things home care. Our app provides easy-to-follow DIY guides just like this one, helps you keep track of your home's needs, and connects you with vetted professionals for those jobs you'd rather leave to an expert. Take control of your home maintenance with Casa.


