According to the U.S. Department of Energy, drafts can waste anywhere from 5% to 30% of your home's energy use. Sealing these air leaks is one of the most cost-effective ways to improve your home's comfort and lower your utility bills.
The great news is that fixing a door that's leaking air is usually a straightforward DIY project you can tackle in an afternoon. In this guide, we'll walk you through everything you need to know, from finding the source of the leak to sealing it up for good. Let's get that door sealed and make your home cozy again!
Why Your Door is Leaking Air: Common Culprits
Before you can fix the problem, you need to understand what’s causing it. Air leaks around doors typically happen for a few common reasons. Here’s what you should be looking for:
- Door Misalignment: Over time, a house can settle, or hinges can become loose, causing the door to sag. This creates uneven gaps between the door and the frame, providing a perfect pathway for air to sneak through.
- Worn-Out Weatherstripping: The flexible seal that runs along the top and sides of your door frame is called weatherstripping. It's designed to compress when the door closes, creating an airtight seal. When it becomes old, cracked, brittle, or flattened, it can no longer do its job effectively.
- A Missing or Damaged Door Sweep: The seal at the very bottom of your door is called a door sweep. If this component is missing, cracked, or the bristles are worn down, you’ll feel a significant draft right at your feet.
- Gaps Around the Door Frame: Sometimes the leak isn't with the door itself, but with the frame. Small cracks or gaps can form between the door frame and the wall, especially as your home ages.
Now that you know what to look for, let's pinpoint exactly where your drafts are coming from.
Step 1: Perform an Inspection to Find the Leaks
You can’t seal a leak you can’t find. This quick inspection will help you identify every drafty spot around your door. For best results, do this on a windy day or turn on your furnace or bathroom exhaust fans to create negative pressure, which will help pull outside air in.
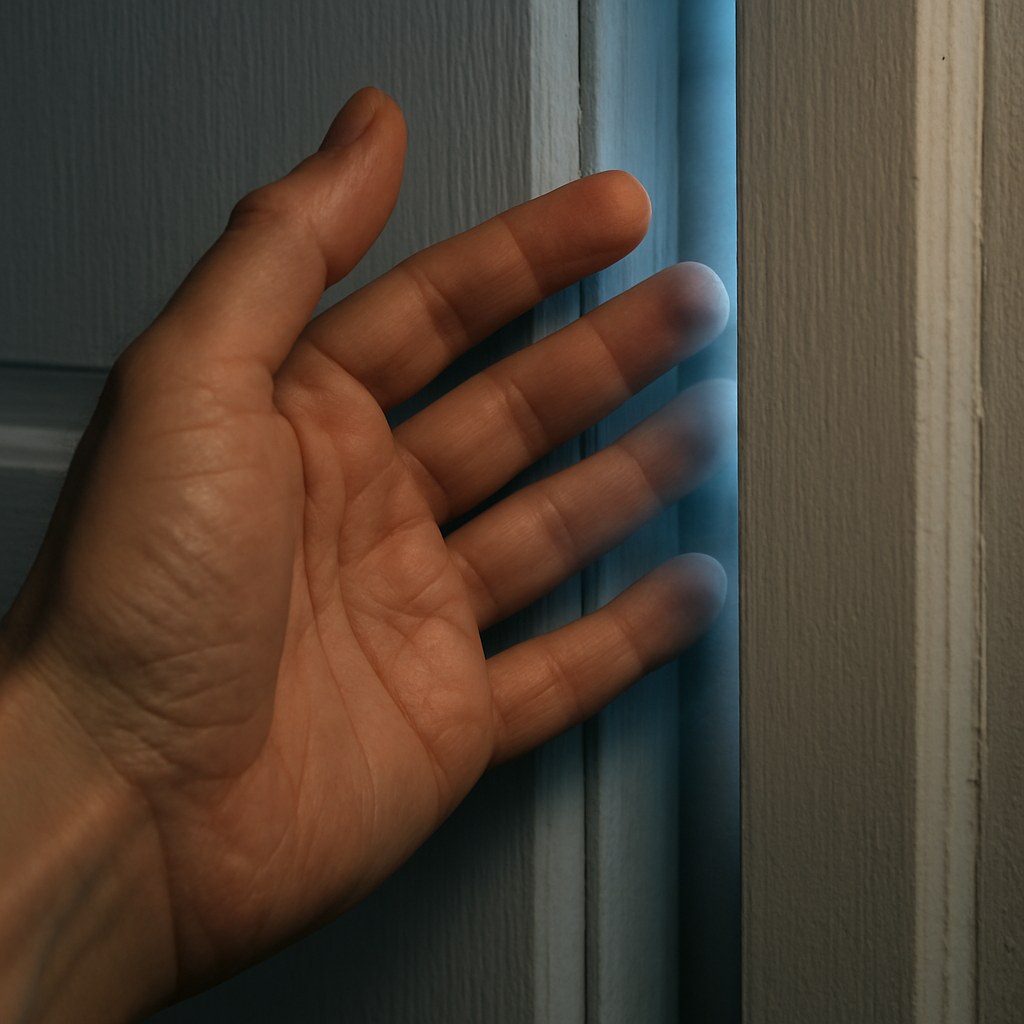
- The Hand Test: Close the door and slowly move your hand around the entire perimeter—along the top, sides, and bottom. If you feel a noticeable temperature difference or a cool breeze, you’ve found a leak.
- The Smoke Test: For a more precise method, light an incense stick or a smoke pencil. Hold it a few inches away from the door's edges. Watch the smoke closely. If it blows sideways or gets sucked toward the door, you’ve pinpointed an air leak.
- Visual Inspection:
- Check the Hinges: Open the door and examine the hinges. Are the screws tight? Does the door feel loose or wobbly?
- Examine the Weatherstripping: Look for any sections that are torn, compressed flat, or have visible gaps.
- Inspect the Door Sweep: Check the seal at the bottom of the door. Is it making good contact with the threshold? Is it cracked or missing pieces?
- Look at the Frame: Check for any visible cracks or gaps between the door frame and the wall.
Once you’ve identified the sources of the leaks, you can move on to the fixes.
Step 2: Fix the Leaks with These Simple Solutions
We’ll tackle the most common issues one by one, starting with the easiest fixes.
Solution 1: Adjust the Door's Alignment
If you noticed an uneven gap around your door, it might be sagging. A simple hinge adjustment can often solve this.
Difficulty: Easy
Working Time: 15 minutes
- Tighten the Hinge Screws: With the door open, use a Phillips screwdriver to tighten all the screws on the top and bottom hinges. Sometimes, just snugging them up is enough to pull the door back into alignment.
- Use a Longer Screw: If tightening the existing screws doesn't work, the screw holes may be stripped. For the top hinge, remove one of the screws closest to the door frame and replace it with a 3-inch-long wood screw. This longer screw will bite into the solid wood of the wall stud, pulling the entire door upward and toward the jamb, which can close a gap on the handle side.
- Check Your Work: Close the door and check the gap again. If it’s even and you no longer feel a draft, you’re done! If not, the door itself may be warped, and you may need to consult a professional.
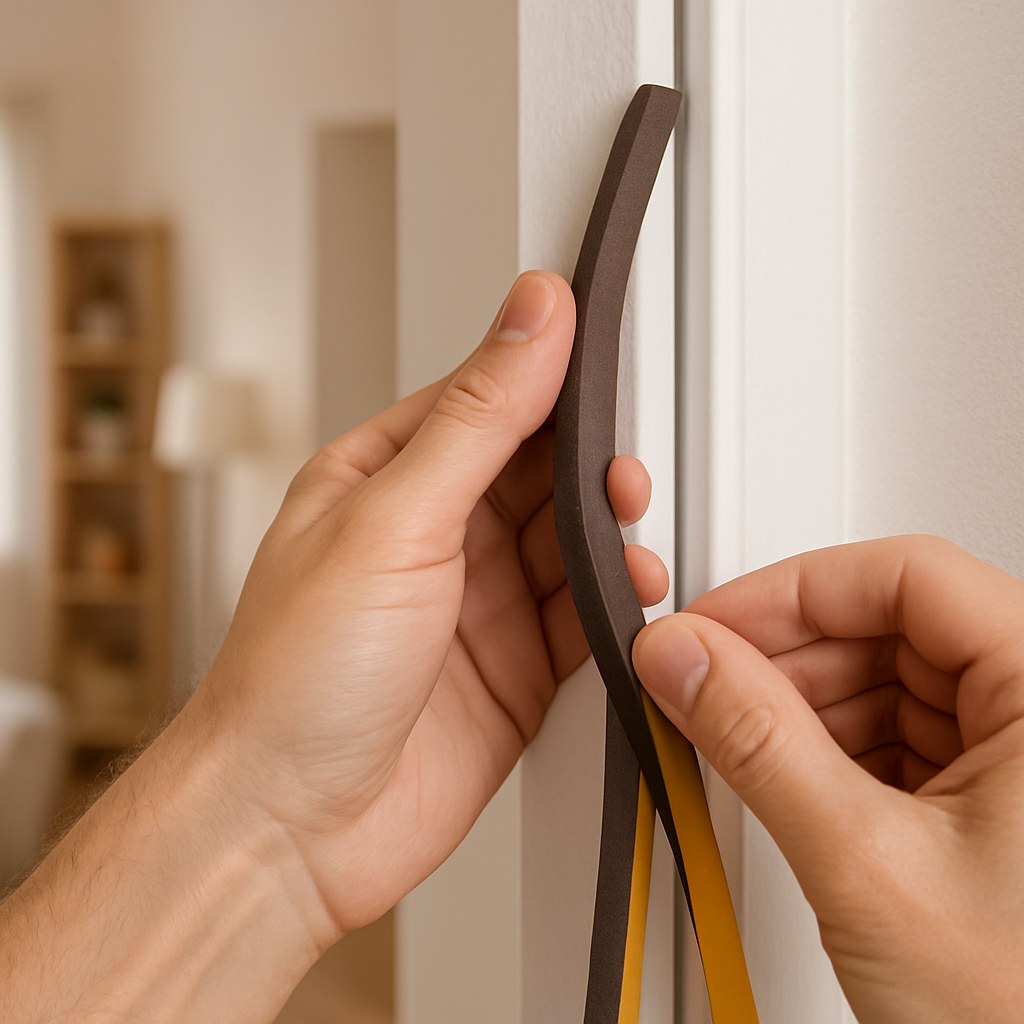
Solution 2: Replace the Door Weatherstripping
Old, worn-out weatherstripping is one of the most common causes of a drafty door. Replacing it is an easy and inexpensive fix that makes a huge difference.
Difficulty: Easy
Working Time: 30 minutes
- Remove the Old Stripping: Gently pull the old weatherstripping off the door frame. If it’s stuck, you can use a putty knife to help pry it off.
- Clean the Surface: Use a rag with some mild soap and water or an all-purpose cleaner to remove any leftover adhesive or grime from the door jamb. A clean surface is essential for the new weatherstripping to stick properly. Let it dry completely.
- Measure and Cut: Measure the top and each side of the door frame where the stripping will go. Use scissors to cut your new self-adhesive foam or rubber weatherstripping to these lengths.
- Apply the New Stripping: Starting at a top corner, peel back a few inches of the adhesive backing and press the weatherstripping firmly into place along the door stop (the thin strip of wood the door rests against when closed). Work your way down, peeling the backing as you go to avoid it sticking to itself.
- Test the Seal: The goal is to have the bulb of the weatherstripping compress lightly against the door when it's closed. It should create a seal without making the door difficult to latch. Close the door and perform the hand or smoke test again to ensure the leak is gone.
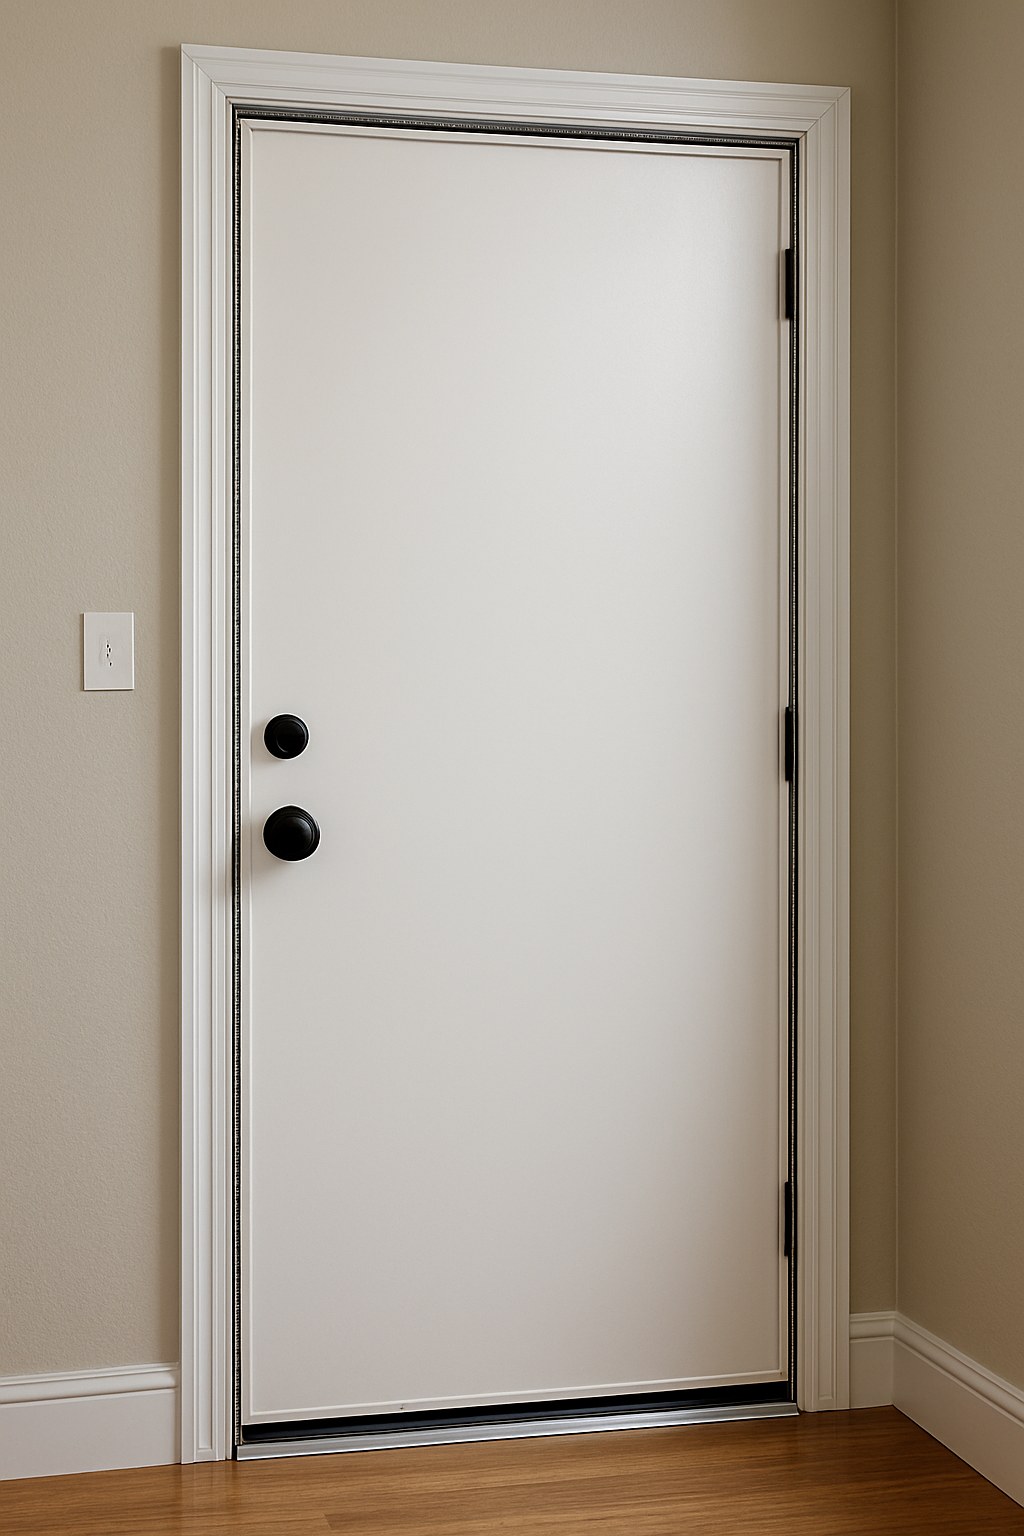
Solution 3: Install or Replace the Door Sweep
A draft coming from under the door is a clear sign that your door sweep needs attention.
Difficulty: Easy
Working Time: 20 minutes
- Remove the Old Sweep: If there's an old sweep, simply unscrew it from the door and slide or pull it off.
- Measure and Cut: Measure the width of your door. Use a hacksaw to cut the metal part of your new door sweep and a utility knife to trim the vinyl fin to the correct length.
- Position and Attach: Close the door and position the new sweep on the inside bottom edge. Adjust it so the vinyl fin makes light contact with the top of the threshold. You want it to create a seal without dragging too much, which can wear it out quickly.
- Secure the Sweep: Once positioned correctly, use a drill or screwdriver to drive the provided screws through the slots in the sweep and into the door.
Solution 4: Seal Gaps Around the Door Frame
If you found leaks between the door frame and the wall, a little caulk or foam can seal them up tight.
Difficulty: Easy
Working Time: 30 minutes (plus drying time)
- Clean the Gaps: Use a putty knife to clean out any old, cracked caulk, paint, or debris from the gaps.
- For Small Gaps (Under 1/4 inch): Apply a continuous bead of high-quality, paintable exterior caulk directly into the gap. Smooth the bead with a wet finger or a caulk tool for a clean finish.
- For Larger Gaps (Over 1/4 inch): First, push a foam backer rod into the gap to fill most of the space. Then, apply caulk over it. For very large gaps, use a can of low-expansion spray foam. This is crucial—high-expansion foam can actually warp your door frame. Once the foam has cured (hardened), use a utility knife to trim any excess so it's flush with the wall, then caulk and paint to match.
Cost of Fixing a Drafty Door: DIY vs. Pro
One of the best parts about this project is how affordable it is.
- DIY Cost: You can typically buy all the materials you need—weatherstripping, a door sweep, and a tube of caulk—for around $20 to $70.
- Professional Cost: If you hire a contractor or handyman to seal your door, you can expect to pay anywhere from $100 to $300 or more, depending on the extent of the work required. According to HomeAdvisor, the national average for professional weatherstripping is around $170.
By tackling this yourself, you can save a significant amount of money and enjoy the satisfaction of a job well done.
Your Home is Now Sealed and Secure
Fixing a door that's leaking air is a simple but powerful home improvement project. With just a little bit of time and a few basic materials, you can make your home significantly more comfortable, quiet, and energy-efficient. No more chilly drafts or wasted dollars on your heating and cooling bills!
Want to tackle more simple projects around the house? Download the Casa app today! Casa offers easy-to-follow, step-by-step guides for all your home maintenance needs. And if you ever run into a problem that's too big to handle, we can connect you with trusted, local professionals. Take control of your home with Casa.


