Whatever the symptom, a faulty dryer timer can bring your entire laundry routine to a screeching halt. The good news is that you don't always need to call for a pricey repair service right away. Many common timer issues can be fixed with a bit of simple troubleshooting. Whether you have a modern dryer with a digital display or an older model with a mechanical dial, this guide is for you.
Think of me as your friendly expert on the other end of the line. I'll walk you through how to diagnose the problem, perform some basic checks, and hopefully get your dryer—and your laundry day—back on track.
Why Is My Dryer Timer Not Working?
Before we dive into the fixes, let’s quickly cover what might be going wrong. A dryer timer, whether electronic or mechanical, is the brain of the operation. It tells the heating element when to turn on and the drum when to tumble. When it fails, it's often due to one of these culprits:
- A simple glitch: Modern electronic controls can sometimes freeze up, just like a computer.
- A bad connection: A wire inside the control panel may have come loose.
- A faulty timer motor: In mechanical models, the small motor that turns the dial can wear out.
- A failed control board: This is the main circuit board in digital dryers and can be a more complex issue.
- A broken door switch: If the dryer doesn't know its door is closed, it won't start or advance the timer.
Now, let's figure out which one is causing your headache.
Step 1: Gather Your Information and Tools
First things first, let's get prepared. A little prep work makes the whole process smoother and safer.
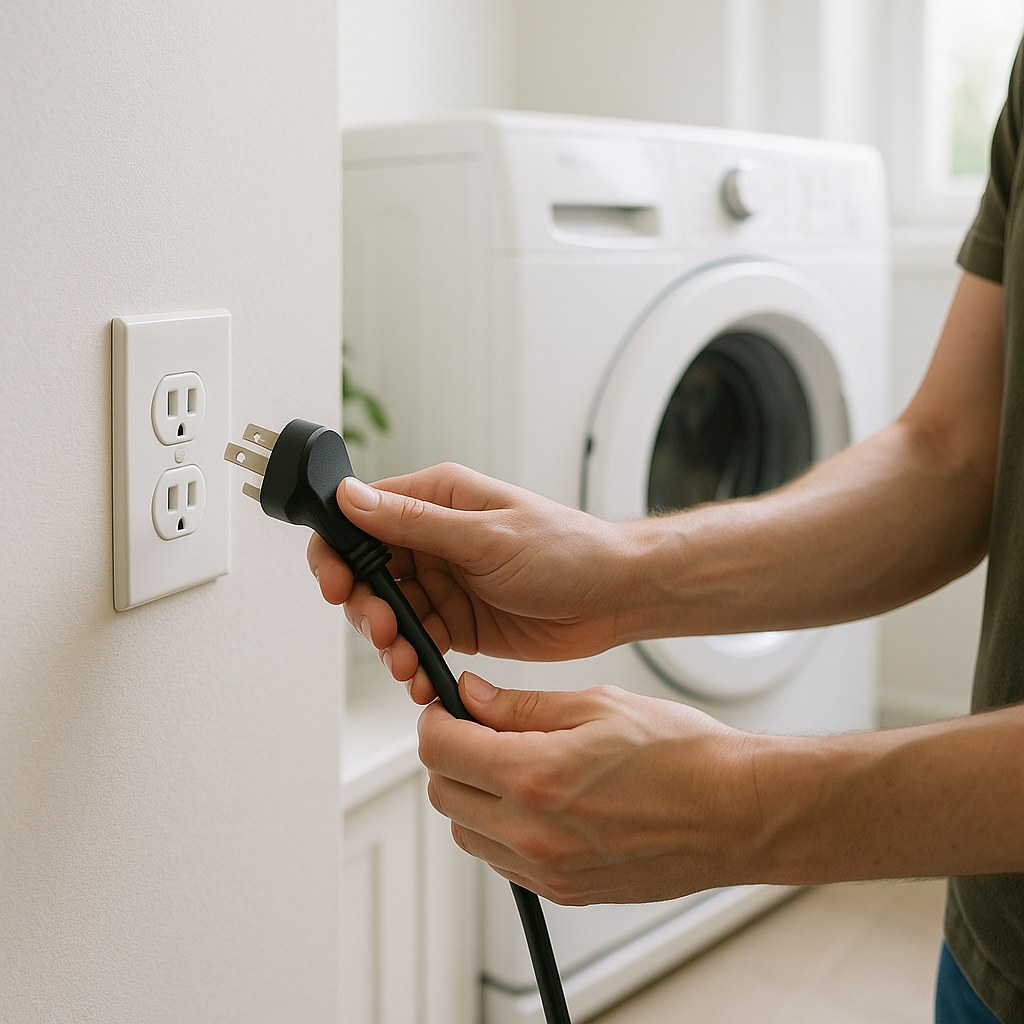
Safety First! Before you do anything else, unplug your dryer from the electrical outlet. This is non-negotiable. We're dealing with electrical components, and your safety is the top priority.
1. Identify Your Timer Type:
Look at your dryer's control panel. Do you see a digital screen where the time is displayed, or do you have a physical dial that you turn to set the cycle?
- Digital/Electronic Timer: Has an LED or LCD screen.
- Mechanical Timer: Has a physical knob that clicks as you turn it.
This is the most important question, as the troubleshooting steps are different for each.
2. Find Your Model Number:
Open the dryer door and look for a sticker or plate around the frame. This is the model tag, which contains the full model and serial number. Take a picture of it or write it down. You'll need this if you have to look up an error code or order a replacement part.
3. Grab Your Tools:
You won't need a full workshop, but a couple of tools will be essential:
- Phillips screwdriver: For removing the back panel of the control console.
- Multimeter (optional but helpful): This device tests for electrical continuity. It’s a must-have for any serious DIYer and can help you definitively diagnose a faulty part like a door switch or timer motor.
Step 2: How to Fix a Digital Dryer Timer
If your dryer has a digital display, we'll start with the easiest fixes first. These often resolve issues caused by minor software glitches.
Check for Error Codes and Perform a Soft Reset
Modern dryers are great at telling you what's wrong—if you know how to listen.
- Plug the dryer back in and close the door firmly.
- Wake up the control panel by pressing any button.
- Look for an error code. Is there a combination of letters and numbers flashing on the display (e.g., "F1," "E3," "d80")?
- If you see a code, write it down and consult your dryer's user manual or search for it online along with your dryer's model number (e.g., "Whirlpool model X error code F1"). The manual will tell you what the code means and suggest troubleshooting steps.
- Perform a reset. Most error codes can be cleared by performing a hard reset. Unplug the dryer, wait a full 60 seconds to allow the internal capacitors to discharge, and then plug it back in.
- Try running a timed dry cycle and watch the display for at least a minute. If the timer counts down normally, your problem is solved!
Try a Circuit Breaker Reset
Sometimes the issue isn't with the appliance but with the power it's receiving.
- Go to your home's main electrical panel (the circuit breaker box).
- Locate the breaker for your dryer (it's usually a double-breaker).
- Flip it to the full "OFF" position, wait another 60 seconds, and then flip it back "ON."
- Head back to the dryer and test it again.
Check the Wiring Harness
If a reset didn't work and there's no error code, a loose connection might be the culprit.
- UNPLUG THE DRYER AGAIN. I can't stress this enough.
- Use your Phillips screwdriver to remove the screws holding the control console's top or back panel in place.
- Gently tilt the control panel forward to expose the main control board and its wiring.
- You'll see several plastic connectors plugged into the board. This is the wiring harness. Carefully and firmly press on each connector to ensure it's seated securely. Sometimes vibrations can work them loose over time.
- Re-secure the control panel, plug the dryer in, and run another test cycle.
If the timer now works consistently, a loose wire was the problem. If it's still not working, you may have a faulty control board, and it might be time to call a professional.
Step 3: How to Fix a Mechanical Dryer Timer
If you have a trusty old-school dryer with a dial, your troubleshooting path is a bit more hands-on.
Feel and Listen to the Dial
The timer on a mechanical dryer is essentially a clock.
- With the dryer unplugged, turn the timer dial through a full cycle. Do you feel it click into its various settings? It should feel relatively smooth, with distinct "clicks" for each cycle.
- If the dial is completely stuck, hard to turn, or spins freely without engaging, the timer mechanism itself is likely broken and will need to be replaced.
- Set the dial to a timed dry setting and listen closely. You should hear a very faint, slow ticking sound. This is the timer motor, and hearing it is a good sign that it's receiving power. If you hear nothing, the motor may be burned out.
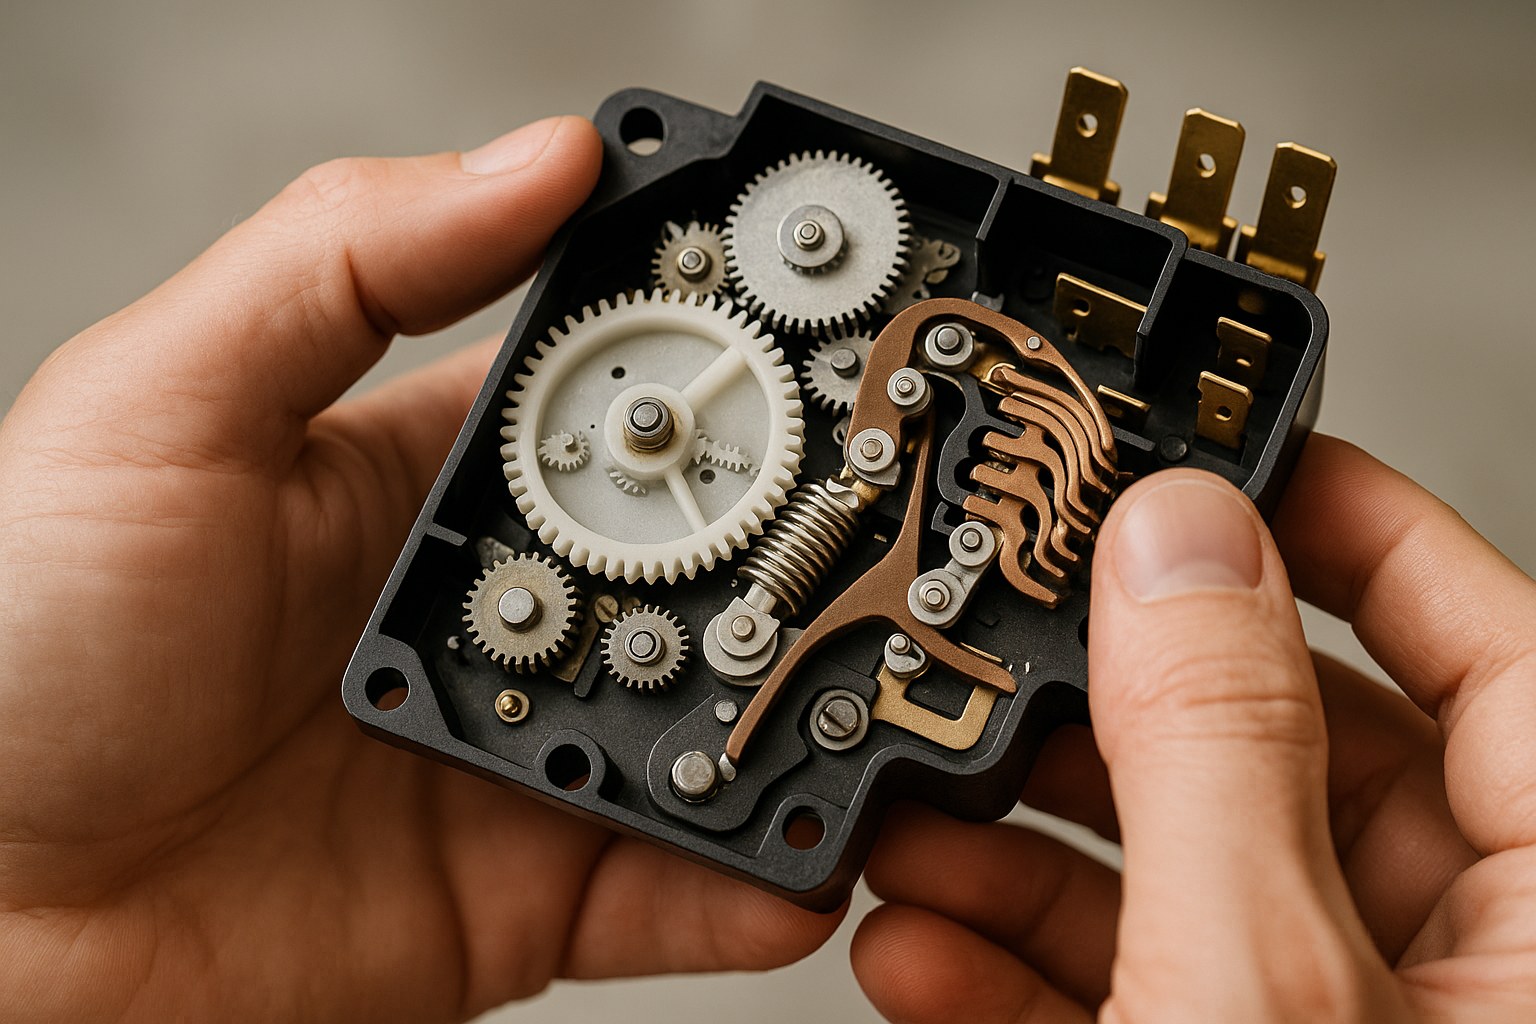
Inspect the Timer Motor and Contacts
If the basic checks point to an internal issue, it's time to look inside.
- UNPLUG THE DRYER.
- Pull the timer knob straight off the shaft. You may need to wiggle it a bit.
- Remove the screws securing the control panel and tilt it forward to access the back of the timer assembly.
- Look for visual damage. Do you see any black, sooty marks or obviously burnt or broken metal contacts inside the timer's plastic housing? If so, the timer needs to be replaced.
- Test the timer motor (requires a multimeter). Set your multimeter to the continuity setting (it often looks like a sound wave symbol). Touch the two probes to the two terminals on the small timer motor. If the motor is good, the multimeter should beep or show a reading near zero. If it's silent or reads "OL" (open loop), the motor is dead.
- Clean the contacts. If the contacts just look dirty or tarnished, you can try cleaning them. Gently rub them with a cotton swab lightly dampened with isopropyl alcohol.
- Reassemble everything, plug the dryer in, and test it. If cleaning the contacts did the trick, you're back in business!
A Final Check for All Dryer Types: The Door Switch
A faulty door switch is a common problem that can mimic a bad timer. If the dryer's control board doesn't get the signal that the door is shut, it will not allow the timer to advance.
- Locate the small plastic peg or button along the door frame that gets pushed in when the door closes.
- Press and release it manually. You should hear a distinct "click" each time. If it feels mushy or makes no sound, it might be broken.
- For a definitive test (with a multimeter): Unplug the dryer, disconnect the two wires from the switch terminals, and test for continuity. When you press the switch, the multimeter should beep. When you release it, it should go silent. If it fails this test, the switch needs to be replaced.
When Should You Call a Professional?
DIY is empowering, but it's also important to know your limits. It's time to call an appliance repair technician if:
- You've tried all the troubleshooting steps and the timer still doesn't work.
- You've diagnosed a bad main control board or a faulty timer motor that you're not comfortable replacing yourself.
- You see any signs of burnt wires or smell a strong electrical odor.
Hiring a professional for dryer repair can cost anywhere from $100 to over $400, depending on the part that needs replacing. While it's an investment, it's often cheaper than buying a whole new dryer.
Take the Stress Out of Home Maintenance with Casa
A broken dryer timer is just one of many issues homeowners face. Keeping track of maintenance, troubleshooting problems, and finding trusted professionals can feel overwhelming.
That's where the Casa app comes in. Casa is your all-in-one partner for home care. With our app, you can access easy-to-follow DIY repair guides just like this one, get timely maintenance reminders, and connect with vetted, local pros for the jobs you can't handle yourself.
Stop letting home repairs disrupt your life. Download the Casa app today and manage your home with confidence


