The good news is that you don't have to live with a lackluster entrance. Restoring your driveway's color and vitality is often a very manageable weekend project. Not only will it instantly boost your home's appearance, but it can also increase its value. In fact, studies have shown that homes with high curb appeal can sell for 7% to 14% more than similar homes with a less inviting exterior.
In this guide, we'll walk you through everything you need to know about how to fix a faded driveway, no matter what it's made of. Let's get that curb appeal back!
First Things First What Type of Driveway Do You Have
Before you can start any work, you need to know what you're working with. The method for reviving a driveway depends entirely on its material. Let’s figure out which one you have.
- Asphalt: This is a popular choice known for its deep, black finish when new. It's a mixture of stone aggregate and bitumen (a sticky, black petroleum product). It feels slightly flexible and solid underfoot. When it fades, it turns a light gray color.
- Concrete: The classic driveway material. It’s very hard, durable, and typically a light gray color. You can often see the small stones (aggregate) mixed into the surface. Faded concrete can look chalky, whitish, or just dull.
- Pavers: These driveways are made from individual interlocking bricks, stones, or concrete blocks. They come in various shapes, colors, and textures. Fading on pavers can be uneven, making some stones look washed out while others retain their color.
- Gravel: A simple and rustic option, these driveways consist of a layer of loose stones. A "faded" gravel driveway usually means the gravel has thinned out, become compacted with dirt, or has bare spots where the underlying soil is showing through.
Once you’ve identified your driveway type, you can move on to the specific steps to bring it back to life.
Restoring Your Faded Asphalt Driveway
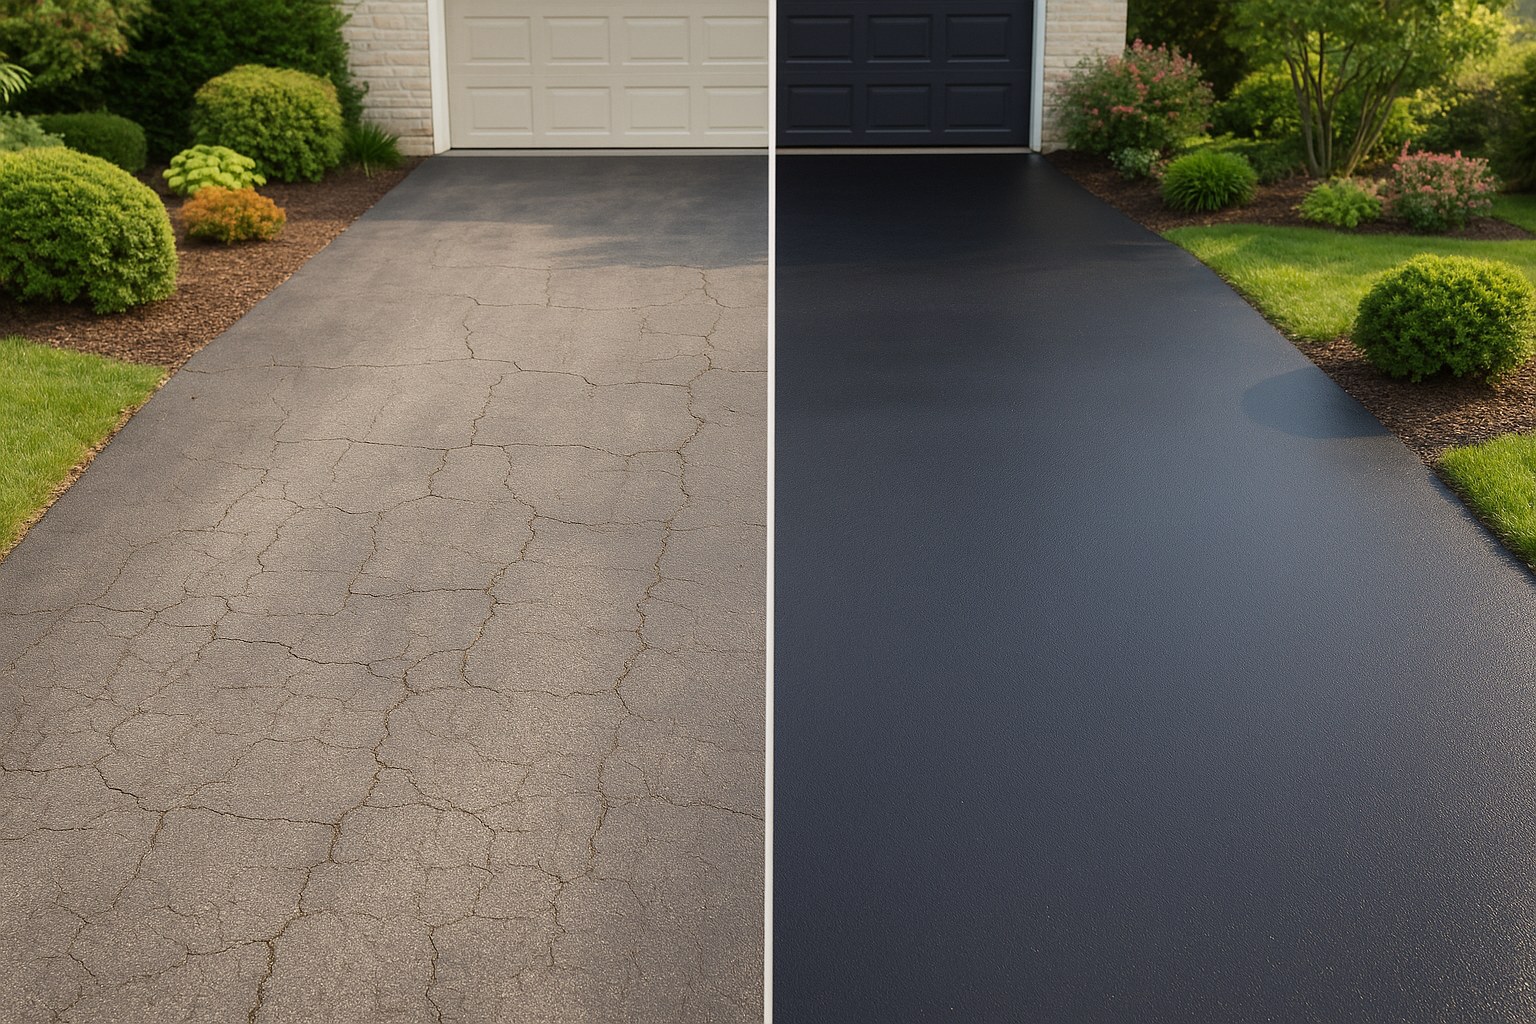
An asphalt driveway gets its rich black color from the bitumen binder. Over time, UV rays from the sun and oxidation break down this binder, causing the color to fade to a dull gray. Sealing it not only restores the color but also protects it from water, oil, and further sun damage.
Step 1 Assess the Damage
Before you start sealing, take a walk around your driveway. Grab a broom and sweep off any loose dirt and leaves so you can get a good look at the surface.
You’re looking for two things: general fading and serious damage.
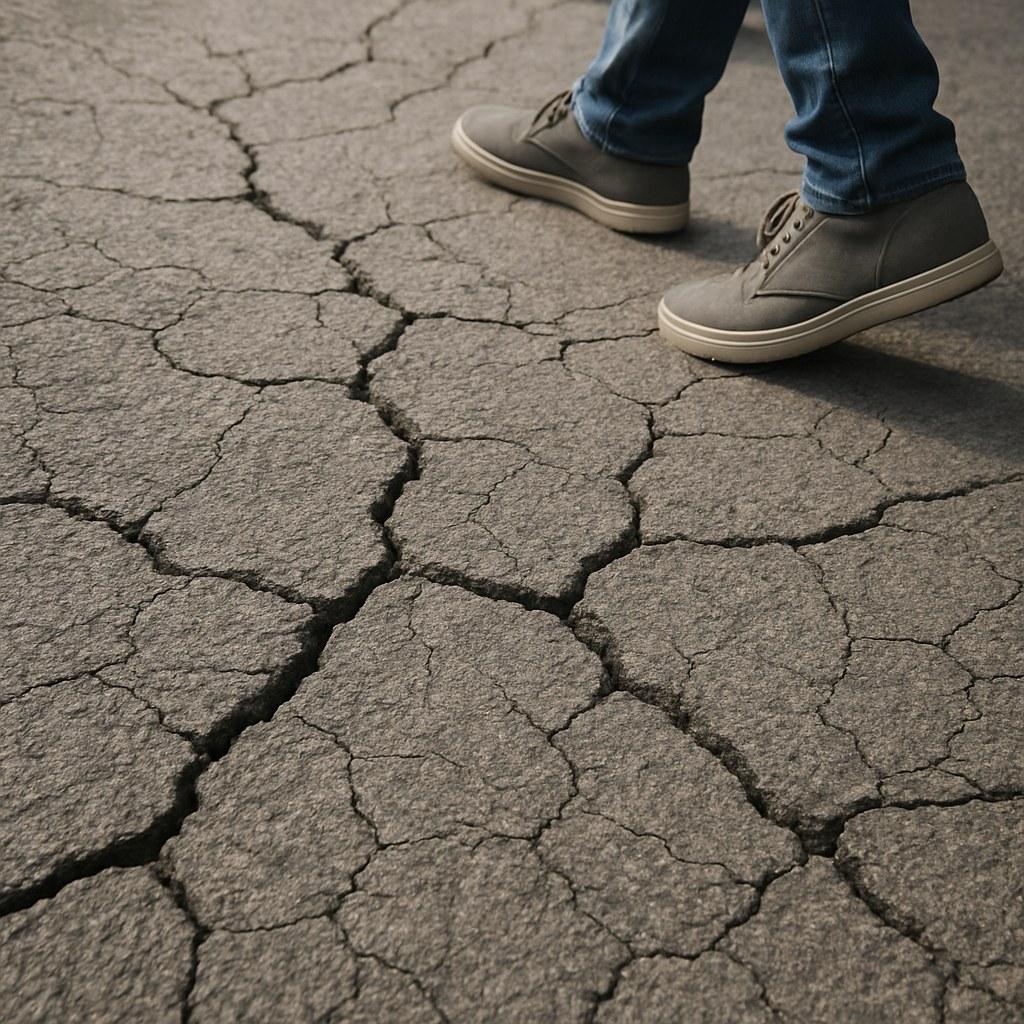
- Serious Damage: Are there cracks wider than a quarter-inch? Do you see any potholes? If so, sealing alone won't be enough. These issues point to problems with the driveway's foundation and should be repaired by a professional to prevent them from getting worse.
- General Fading: If the damage is limited to hairline cracks and a washed-out gray color, you’re in good shape for a DIY fix. Also, think about the last time it was sealed. Asphalt should typically be resealed every 2 to 3 years. If it’s been longer, it’s definitely time.
Step 2 The Fix Clean and Seal
If your driveway is free of major damage, it's time to restore its color.
- Prep and Clean: A clean surface is crucial for the sealer to adhere properly. Sweep the driveway thoroughly. Then, use a pressure washer with an asphalt-safe cleaner to remove any ground-in dirt, grime, or oil stains. Rinse completely and let the driveway dry for at least 4 hours—it needs to be bone dry.
- Fill Small Cracks: For any hairline cracks, use an asphalt crack filler. Squeeze the filler into the crack and smooth it with a putty knife. Let it dry according to the product's instructions (usually about 30 minutes).
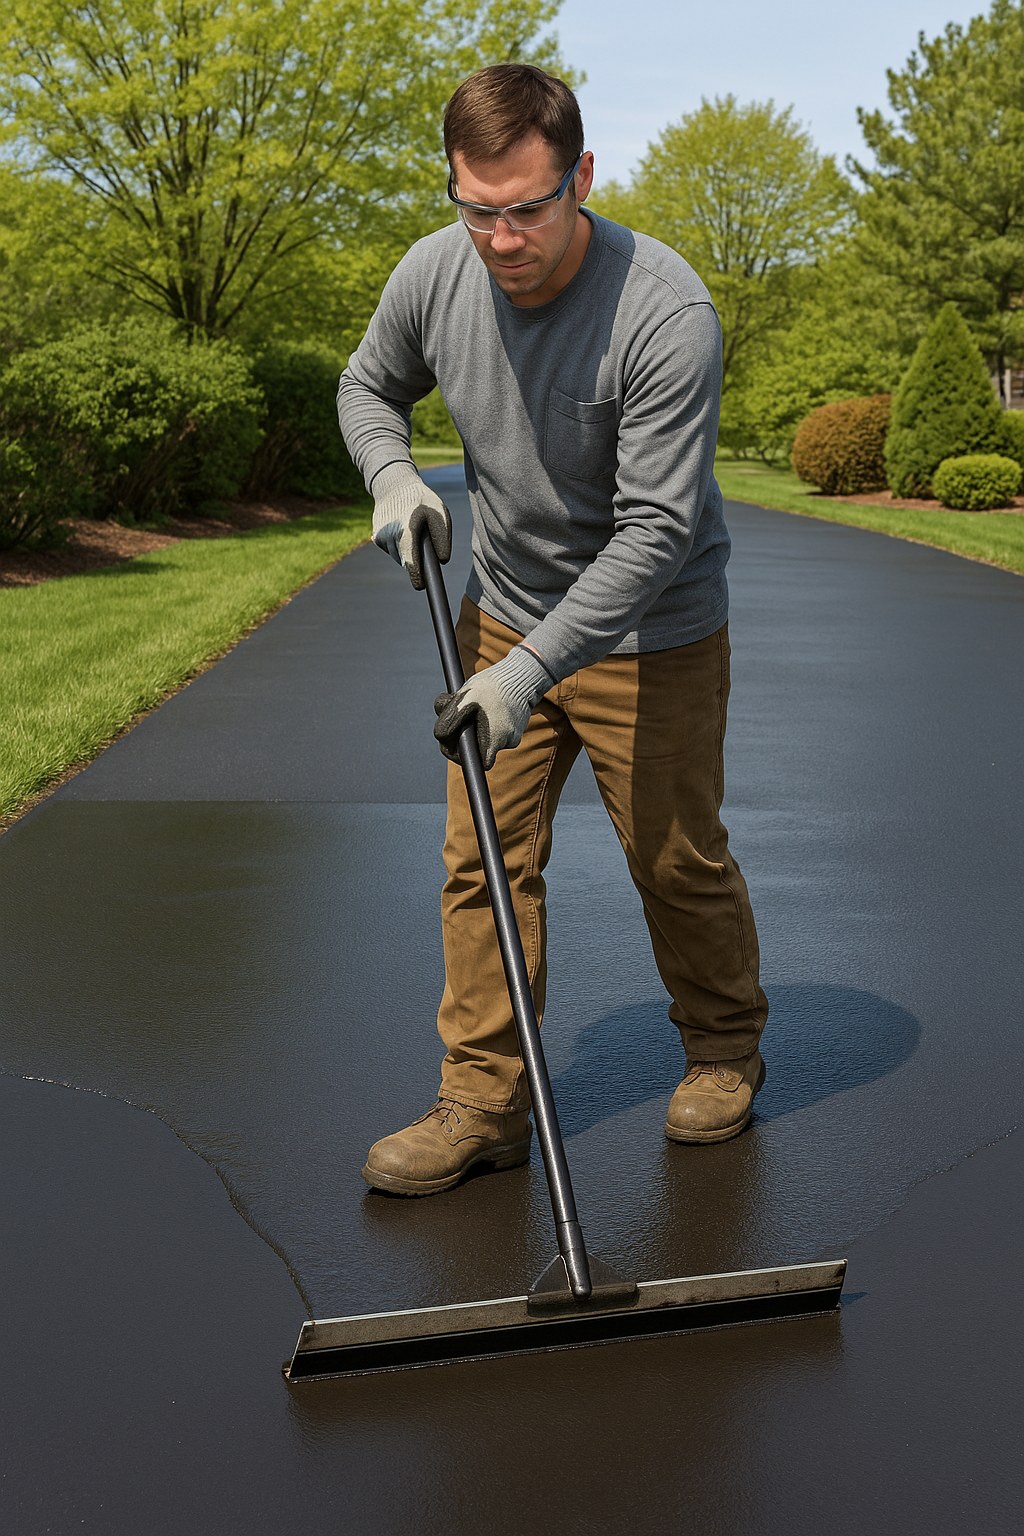
- Apply the Sealer: Choose a high-quality asphalt sealer. Stir the bucket thoroughly for a couple of minutes. Starting at the end of the driveway nearest your house, pour a ribbon of sealer across the surface.
- Spread Evenly: Using an asphalt squeegee, pull the sealer across the driveway in a thin, even coat. Work in small, manageable 4-foot sections, overlapping each pass slightly to avoid lines.
- Let It Cure: Once you're done, block off the driveway with rope or caution tape. You’ll need to keep all traffic—including feet and paws—off the surface for at least 24 to 48 hours to allow it to cure completely.
If your asphalt was sealed within the last couple of years but just looks dirty, you may be able to get away with just a thorough pressure washing. Clean it following the steps above and see how it looks once dry. If the color is restored, you can hold off on sealing.
Bringing Your Concrete Driveway Back to Life
Concrete is incredibly durable, but it’s porous. Over time, it absorbs stains and dirt, and the sun can break down the top layer, making it look faded and dull. A good cleaning and sealing can make it look new again.
Step 1 Assess the Condition
Sweep the concrete clean and inspect it closely.
- Structural Damage: Look for large, deep cracks, spalling (where the surface is flaking or peeling off), or severe pitting. These are signs of deeper issues that a simple sealing won't fix. It's best to call a concrete professional to assess and repair this kind of damage.
- Cosmetic Fading: If the issues are limited to stains, discoloration, and small hairline cracks, you're ready for a DIY revival.
Step 2 The Fix Clean and Seal
- Deep Clean: Use a pressure washer and a designated concrete cleaner to lift stubborn stains and dirt. Work methodically from the top of the driveway down to the street to avoid leaving streaks. Rinse thoroughly.
- Dry Completely: Let the concrete dry for at least 2 hours. Like with asphalt, the surface must be totally dry before you seal it.
- Fill Small Cracks: Use a concrete crack filler for any non-structural hairline cracks, smoothing it over with a putty knife.
- Apply the Sealer: Pour a concrete sealer into a paint tray. Using a smooth-surface paint roller on an extension pole, apply a thin, even coat. Work in 4x4-foot squares to ensure you get full coverage.
- Apply a Second Coat: After about an hour, apply a second coat perpendicular to the first one for a uniform, well-protected finish.
- Cure Time: Block off the driveway and let the sealer cure for at least 24 hours before walking or driving on it.
Reviving Your Paver Driveway's Charm
Pavers offer a classic, elegant look, but fading can detract from their beauty. The process here involves cleaning, reinforcing the joints, and then sealing to protect the color.
Step 1 Check for Damage and Fading
Walk your paver driveway and look for:
- Structural Issues: Are any pavers loose, cracked, sunken, or heaving up? This indicates a problem with the base layer, and you should call a hardscape professional to reset or replace the damaged pavers before you seal the driveway.
- Joints: Check the joints between the pavers. Are they full of weeds, moss, or have the sand washed away?
Step 2 The Fix Clean Re-sand and Seal
- Clean Carefully: Sweep the pavers free of debris. Use a pressure washer on a wide fan setting to clean the surface. Be careful not to get the nozzle too close (stay about 12 inches away) or you might dislodge the pavers or wash out too much of the joint sand. Let the pavers dry for 2 hours.
- Re-sand the Joints: The sand in the joints is what locks the pavers together. Pour polymeric jointing sand over the dry pavers and use a broom to sweep it into all the joints until they are full.
- Activate the Sand: Use a garden hose with a mist setting to lightly spray the entire driveway. This activates the polymers in the sand, causing it to harden and lock the pavers in place.
- Seal the Pavers: After about 30 minutes, use a paint roller to apply a paver sealer evenly across the entire surface. This will bring out the color, protect against future fading, and help prevent weeds.
- Let It Cure: Keep all traffic off the driveway for 24 hours.
Refreshing Your Gravel Driveway
A faded gravel driveway is less about color and more about coverage. Over time, gravel gets compacted, pushed aside by tires, or washed away by rain, revealing the dirt below.
Step 1 Assess the Gravel Level
Look for ruts, bare spots where the soil is showing, and areas where the gravel has become thin and packed down with dirt.
Step 2 The Fix Rake and Replenish
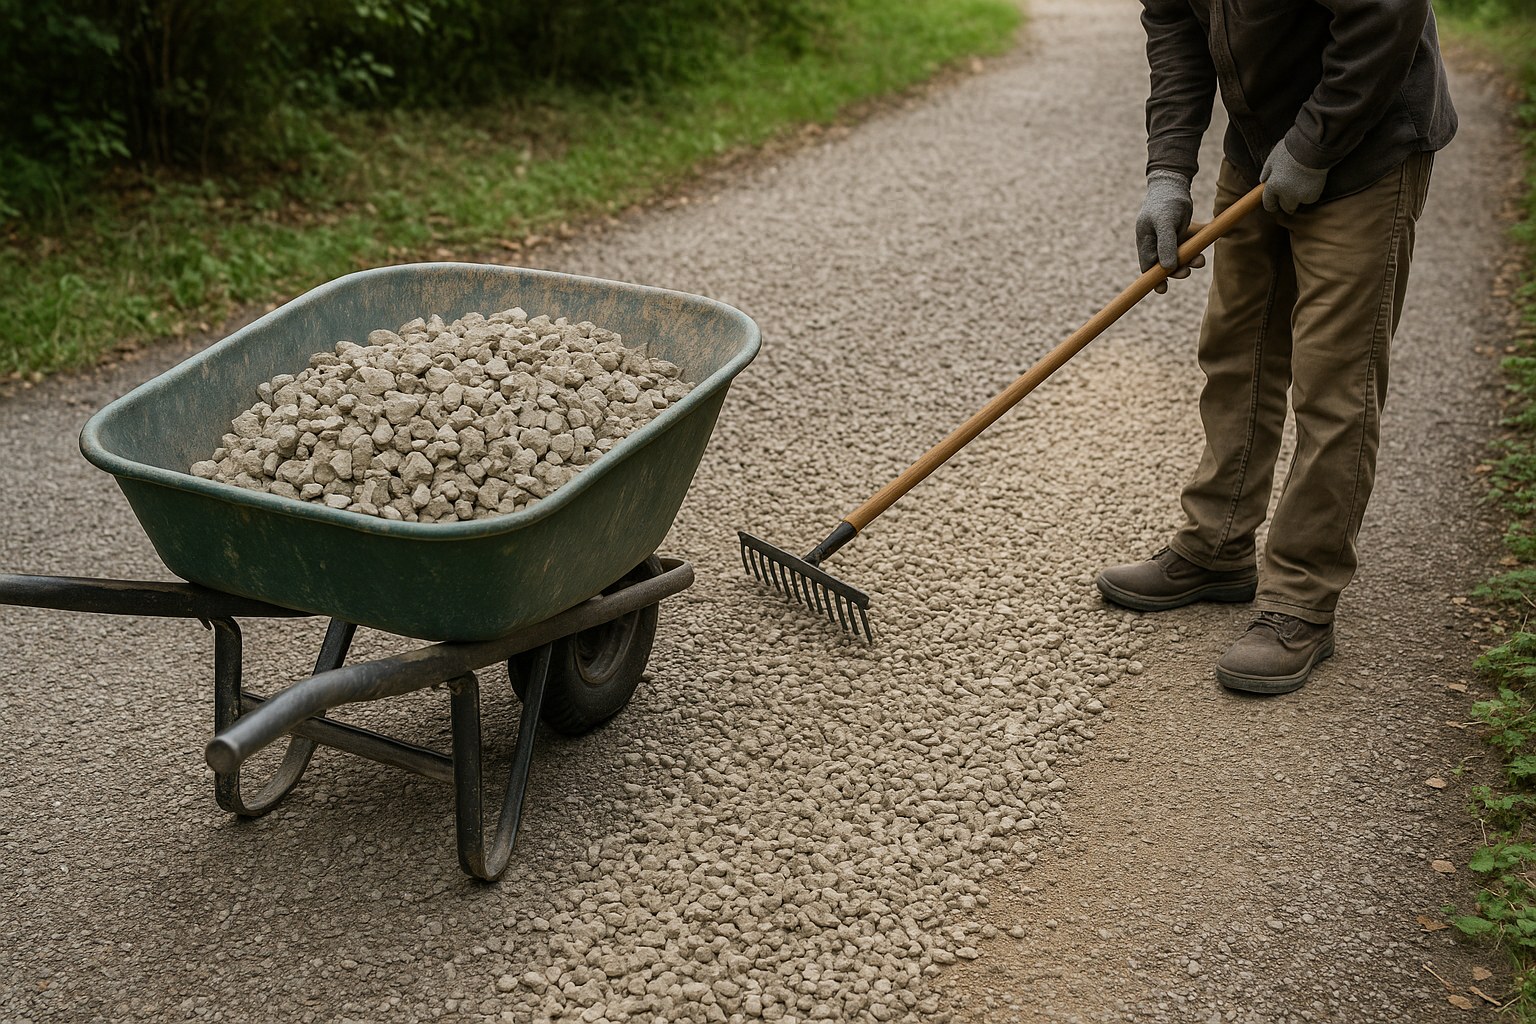
- Loosen Old Gravel: Use a sturdy garden rake to break up the compacted gravel and level out the existing surface as much as possible.
- Add New Gravel: The easiest way to refresh the look is to add a new top layer. Bring in fresh gravel (a 2-inch layer is usually sufficient) with a wheelbarrow and spread it evenly over the entire driveway with your rake.
- Compact: To settle the new gravel, you can drive a vehicle slowly back and forth over the surface a few times. Rake over any tire marks to finish.
DIY vs Hiring a Pro What to Expect
Fixing a faded driveway is a cost-effective DIY project. Here’s a rough idea of material costs:
- Asphalt Sealer: Around $30-$50 for a 5-gallon bucket.
- Concrete Sealer: About $30-$60 per gallon.
- Paver Sealer & Sand: Sealer costs $40-$70 per gallon, and polymeric sand is about $25 per bag.
- Gravel: Approximately $40-$60 per ton.
Hiring a professional to seal a driveway typically costs between $1.00 and $2.00 per square foot. While DIY saves money, remember to call a pro for any significant structural damage like large cracks, potholes, or sunken pavers.
Enjoy Your Revived Curb Appeal
A freshly restored driveway does wonders for your home’s appearance and protects your investment from further wear and tear. By correctly identifying your driveway type and following these steps, you can successfully fix your faded driveway and enjoy that "like-new" look for years to come.
For more expert guidance on home maintenance projects and to connect with trusted professionals when the job is too big to handle, download the Casa app today. We're here to help you love your home, from the driveway in.