The good news is that many of the common reasons for a jerky garage door are relatively simple to diagnose and fix yourself. With a bit of patience and a few basic tools, you can often get your door gliding smoothly again in an afternoon.
In this guide, we’ll walk you through the process step-by-step, just like we would over the phone. We'll start with the easiest fixes and move on to the more complex ones, helping you identify the root cause and solve the problem safely.
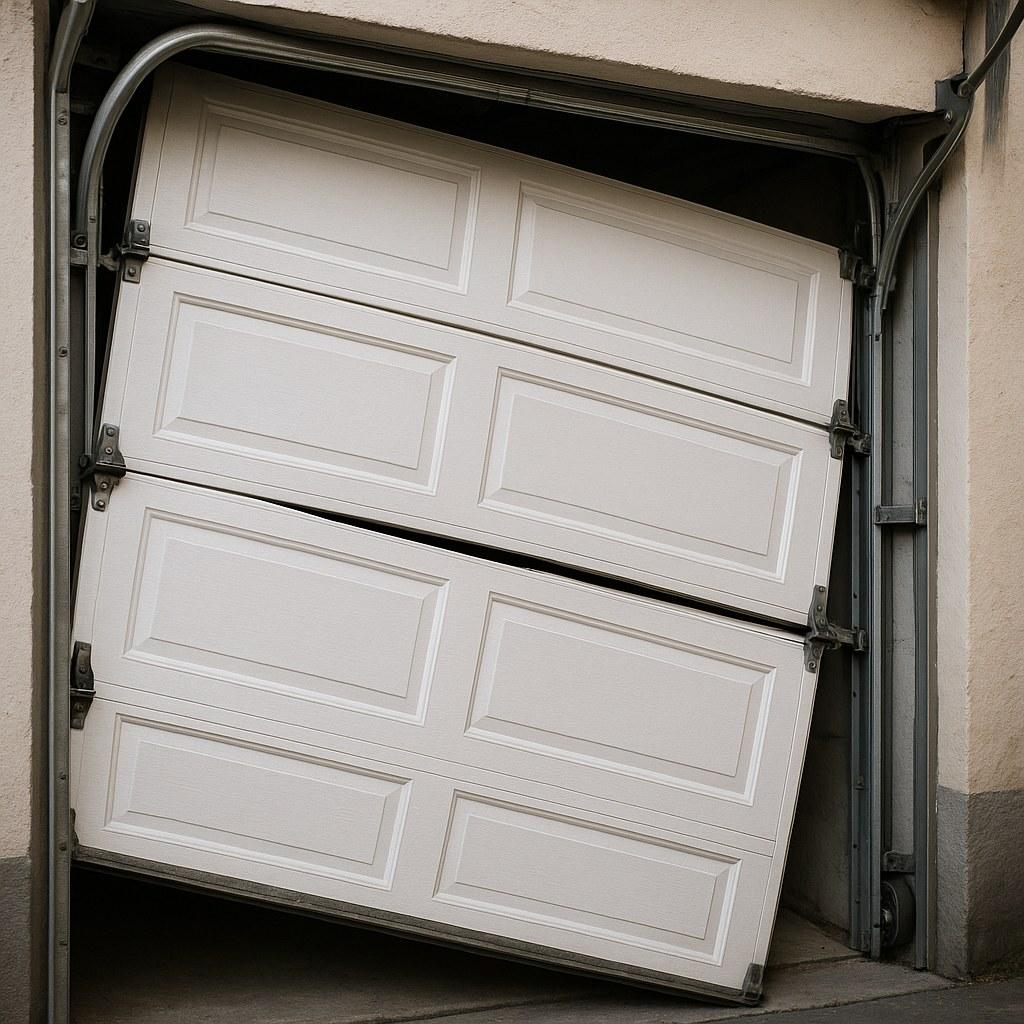
Why Is My Garage Door Moving Unevenly? Common Causes
Before we grab our tools, let's understand what might be causing the issue. An uneven garage door is almost always a symptom of a problem with its movement system. Here are the most likely culprits:
- Debris or Obstructions in the Tracks: Small pebbles, twigs, leaves, or even built-up grime inside the metal tracks can block the rollers, causing the door to hesitate or jerk.
- Worn-Out or Damaged Rollers: Garage door rollers are the small wheels that travel along the tracks. Over time, they can wear down, crack, or seize up, preventing smooth movement.
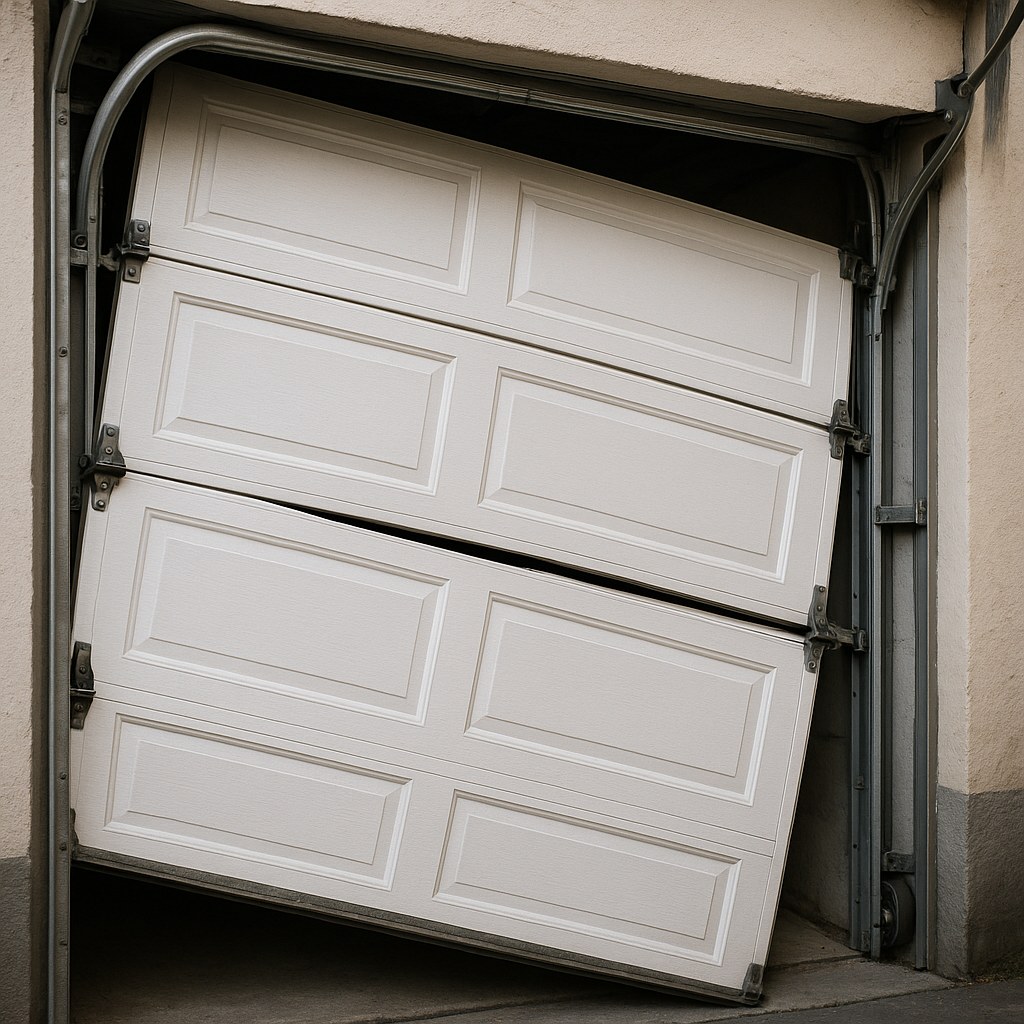
- Misaligned Vertical Tracks: If the tracks are not perfectly parallel and plumb (vertically straight), they can pinch the rollers, forcing the door to move unevenly. This can happen if a track bracket gets bumped or loosens over time.
- Imbalanced Door (Spring or Cable Issues): The heavy lifting of your garage door is done by high-tension springs. If a spring is failing or a cable is frayed, the door will lose its balance, putting immense strain on the system. This is a serious issue that requires a professional.
We'll troubleshoot these issues one by one, starting with the simplest.
Safety First: How to Prepare for Inspection
Working on a garage door requires caution. They are heavy and operate under significant tension. Before you do anything else, you need to prepare the area and the door to ensure you can work safely.
- Unplug the Garage Door Opener: Find the power cord for your opener and unplug it from the ceiling outlet. This prevents anyone from accidentally trying to operate the door while you're working on it.
- Disengage the Door from the Opener: Look for the red emergency release cord hanging from the opener's trolley. Pull it down firmly. You'll hear a click, and the door is now disconnected from the opener, allowing you to move it by hand.
- Manually Close the Door: Gently lower the garage door until it is fully closed.
- Grab a Ladder: Place a sturdy step ladder nearby so you can safely inspect the upper parts of the tracks and rollers.
A Critical Warning: This guide covers cleaning, roller replacement, and track alignment. It does not cover adjustments to the garage door springs or cables. These components are under extreme tension and can cause severe injury if handled improperly. If you suspect a problem with your springs or cables, stop immediately and call a professional.
A Step-by-Step Guide to Fixing an Uneven Garage Door
With your safety precautions in place, let's start diagnosing the problem. We'll move through a logical sequence to pinpoint the cause.
Step 1: Inspect and Clean the Tracks
The most common and easiest-to-fix cause of a jerky door is an obstructed track.
- Lift and Secure the Door: Manually lift the door about three feet off the ground. To keep it safely in place, clamp a pair of locking pliers or a C-clamp onto one of the vertical tracks, just below the bottom roller. This acts as a temporary stop.
- Vacuum the Tracks: Using a shop vacuum with a narrow attachment, thoroughly clean the inside of both vertical tracks. Pay close attention to the bottom sections where debris tends to collect.
- Wipe Them Down: Spray a small amount of general-purpose cleaner onto a clean rag (not directly onto the track) and wipe down the inside surfaces to remove any grease or grime.
- Look for Obstructions: Carefully inspect the full length of each track for any objects like loose screws, pebbles, or other debris that the vacuum might have missed. Remove them by hand.
- Test the Door: Remove the clamp and manually lower the door. Now, lift it up and down a few times. Does it move smoothly? If so, congratulations! You've solved the problem. You can now re-engage the opener and plug it back in.
If the door still moves unevenly, it's time to check the rollers.
Step 2: Check the Rollers for Wear and Tear
The rollers are the wheels of your garage door system. If they aren't rolling, the door will drag and jerk.
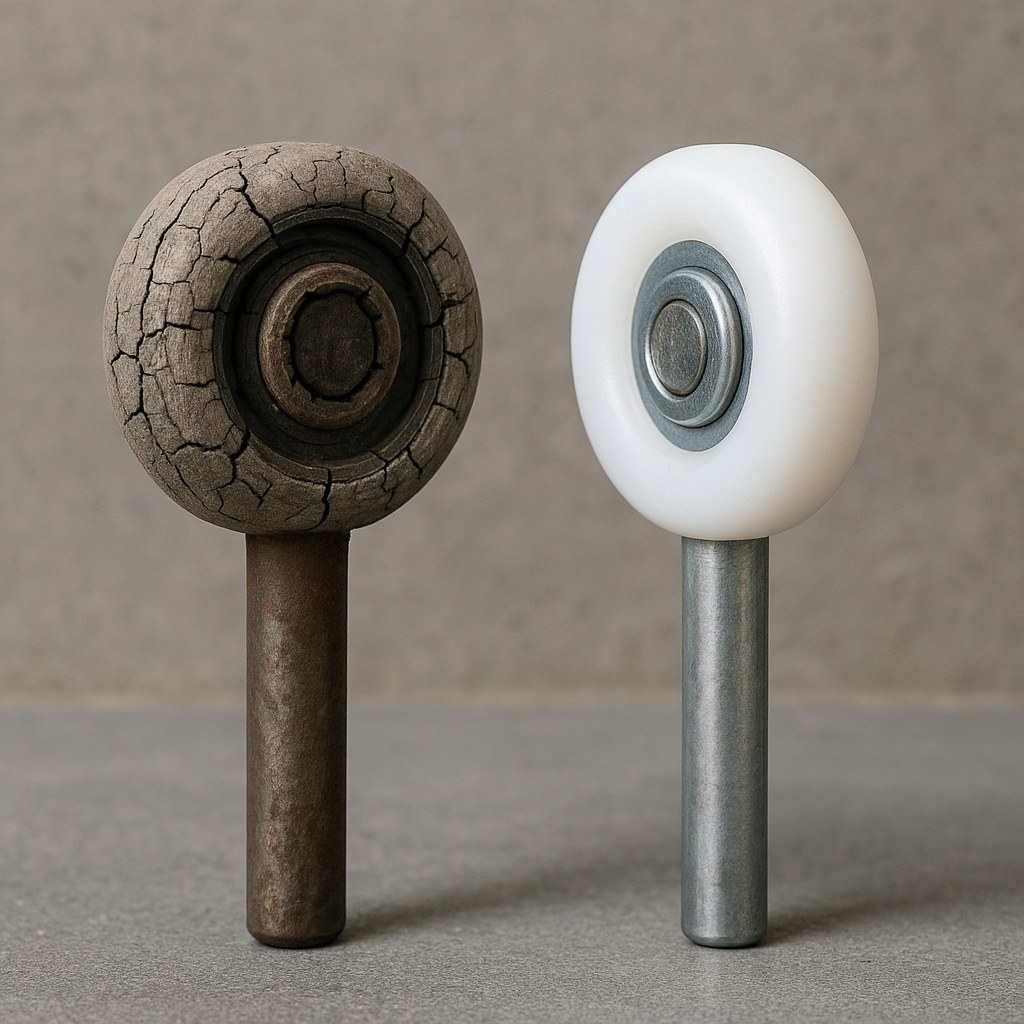
Inspect each roller. Are any of them chipped, cracked, or visibly worn down? Do they spin freely on their stems, or are they stuck? If you find any damaged rollers, they need to be replaced. We recommend replacing all of them at once for the best results. Modern nylon rollers are an excellent upgrade as they are much quieter and more durable than old metal ones.
How to Replace a Damaged Roller:
- Raise and Secure the Door: Lift the door all the way up so you can access all the rollers. Clamp locking pliers onto a track just below the bottom roller to hold the door open securely.
- Remove the Hinge Bracket: The roller is held in place by a hinge bracket that is bolted to the door. Using a socket wrench, carefully unbolt the bracket holding the damaged roller.
- Swap the Roller: With the bolts removed, you can pull the hinge bracket slightly away from the door, which will allow you to slide the old roller out of the track. Pull the roller's stem out of the bracket and insert the new roller.
- Reinstall the Bracket: Guide the new roller back into the track and re-attach the hinge bracket to the door, tightening the bolts firmly with your socket wrench.
- Repeat as Needed: Follow the same process for any other damaged rollers.
- Test the Door: Once you're finished, remove the clamp and manually lower the door. Lift it again to see if the movement is smooth. If it is, you're all set!
If the new rollers didn't solve the problem, the issue likely lies with the tracks themselves.
Step 3: Re-align and Tighten the Tracks
The two vertical tracks must be perfectly plumb and parallel for the door to move correctly.
- Close the Door: Lower the garage door completely.
- Check for Plumb: Place a 4-foot level against the inside face of one of the vertical tracks. The bubble should be perfectly centered.
- Make Adjustments: If the track isn't plumb, slightly loosen the bolts on the track brackets with a socket wrench—just enough so the track can be moved.
- Tap into Place: Gently tap the track with a rubber mallet until your level shows it is perfectly vertical.
- Tighten the Brackets: Once aligned, firmly tighten the bracket bolts.
- Repeat on the Other Side: Follow the same process for the other vertical track.
- Check the Spacing: Ensure the distance between the two tracks is consistent from top to bottom.
- Test the Door: Manually lift the door. It should now move freely without rubbing or binding against the tracks.
Step 4: If All Else Fails, Perform the Door Balance Test
If you've cleaned the tracks, replaced the rollers, and aligned the tracks, but the door still moves unevenly, the problem is likely with the door's counterbalance system (the springs). This quick test will confirm it.
- Close the Door: Make sure the door is fully closed and still disengaged from the opener.
- Lift it Halfway: Manually lift the door to about waist height.
- Let Go Carefully: Hold it in place for a second, then gently let go, keeping your hands and feet clear of its path.
- Observe:
- If the door stays in place (or moves less than an inch), its balance is correct. The problem may lie with the opener's drive mechanism, and it's time to call a pro.
- If the door immediately falls to the ground, the springs are too weak or one may be broken. They don't have enough tension to hold the door's weight.
- If the door shoots upward, the springs are too tight.
In either of the last two cases, the solution is to adjust the spring tension, which is a job that should only be performed by a qualified garage door technician.
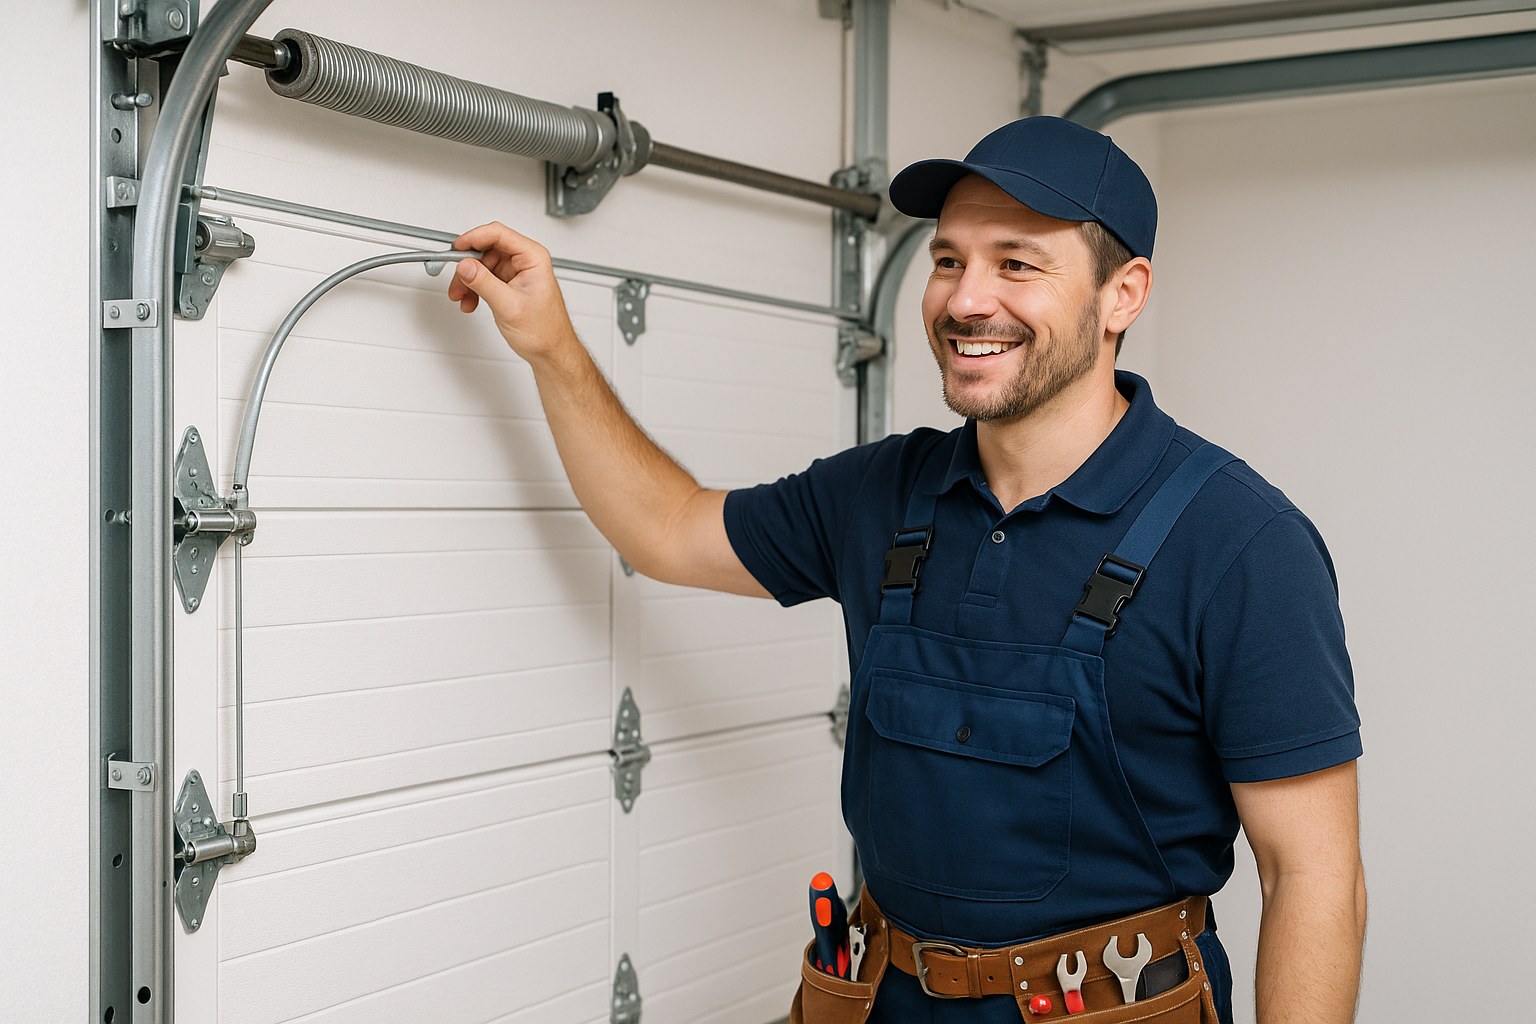
When to Call a Professional
DIY is empowering, but knowing your limits is crucial for safety. It's time to call a professional if:
- You've completed all the DIY steps above and the door is still not working correctly.
- The door balance test fails.
- You see a broken spring (it will often be in two pieces) or a frayed, loose cable.
- You're not comfortable performing any of these steps.
A professional technician has the specialized tools and training to safely handle high-tension components and diagnose complex mechanical issues. According to HomeAdvisor, a typical service call can range from $100 to $300 for adjustments and roller replacements, while spring replacement is a more involved job that can cost between $200 and $500.
Keep Your Home Running Smoothly with Casa
A garage door that glides smoothly is a pleasure to use and safe for your family. By following this guide, you can confidently tackle the most common causes of uneven movement and know when it's time to call for backup.
For more expert-guided home maintenance projects, personalized reminders, and a simple way to connect with vetted professionals for the jobs you can't handle, download the Casa app today. We’re here to give you the confidence to manage your home like a pro.