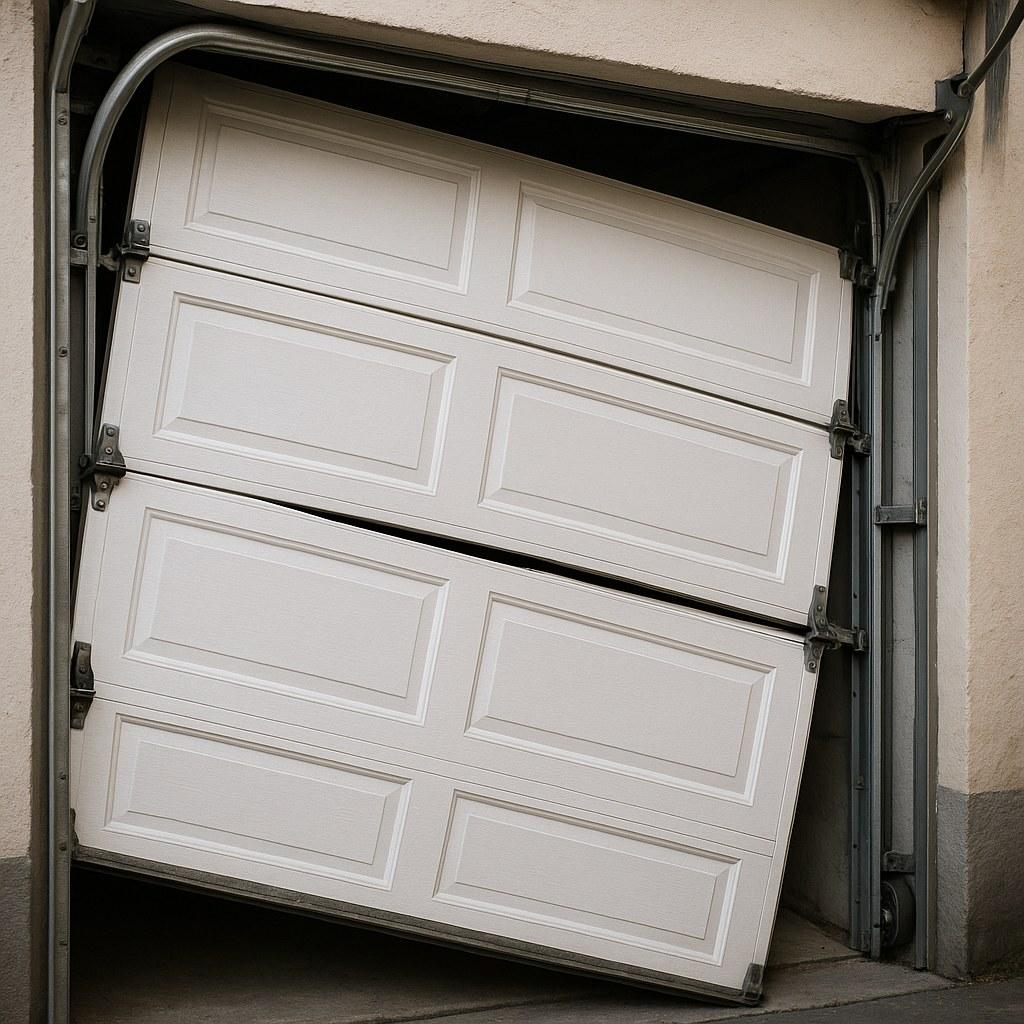
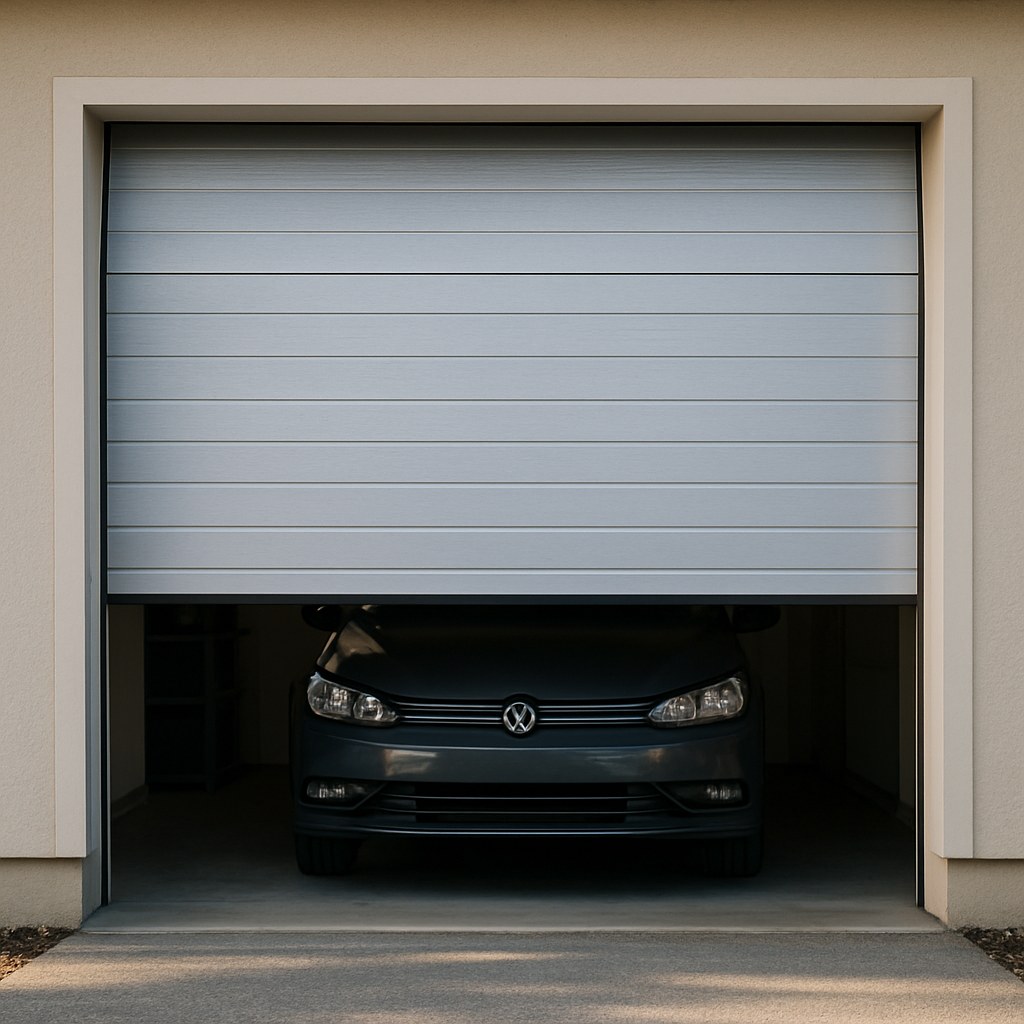
The good news is that a garage door that won’t close completely is one of the most common issues homeowners face, and it’s often caused by a simple problem you can fix yourself in under 30 minutes. Modern garage doors are equipped with sophisticated safety features designed to prevent accidents, and more often than not, this reversing behavior is just one of those features kicking in.
In this guide, we’ll walk you through the troubleshooting process step-by-step, just like we were on the phone with you. We'll start with the simplest checks and move on to minor adjustments to help you diagnose and solve the problem without needing to call a professional.
Why Your Garage Door Reverses or Won't Close
Before we grab our tools, let's understand the usual suspects. When your garage door refuses to close, it's typically for one of these reasons:
- Blocked or Misaligned Photo-Eye Sensors: This is the number one cause. Your garage door has a pair of safety sensors (photo-eyes) near the bottom of the tracks. One sends an invisible infrared beam to the other. If anything breaks this beam while the door is closing, the door automatically reverses to prevent crushing whatever is in its path. Dust, cobwebs, a stray leaf, or even the sensors getting bumped out of alignment can trigger this safety mechanism.
- An Obstruction in the Door's Path: Sometimes, the cause is exactly what the sensors are looking for—a physical object in the way. A shovel, a child's toy, a broom, or even built-up debris in the metal tracks can stop the door from closing and cause it to reverse.
- Incorrect "Close Limit" and "Force" Settings: Your garage door opener is calibrated to know how far it needs to travel to close fully (the "limit") and how much force it should use (the "force"). If the limit is set incorrectly, the door might think the floor is an obstruction and reverse. If the force is set too low, the door may not have enough power to overcome the friction of the tracks and will reverse as a safety measure.
Now, let's figure out which one is causing your headache and get it fixed.
A Step-by-Step Guide to Fixing Your Garage Door
We'll approach this systematically. Follow these steps in order to quickly narrow down the cause.
Step 1: The Wall Switch Test
This first simple test can tell you a lot about the problem. Most garage door openers have a feature where pressing and holding the wall-mounted button overrides the photo-eye sensors.
- Make sure the garage door's path is completely clear of people and objects.
- Go to the button on your garage wall. Press it and keep it held down.
- As you hold the button, watch the door.
Does the door close completely and stay closed as long as you hold the button?
- If YES: This is great news! It almost certainly means the problem is with your photo-eye sensors. The override function worked, pointing directly to an issue with the safety beam. You can jump down to Step 2.
- If NO: If the door still stops or reverses even while you're holding the button, the problem is likely a physical obstruction or an issue with the opener's settings. Proceed to Step 3.
Step 2: Align and Clean the Photo-Eye Sensors
Since sensor issues are the most frequent culprit, let's tackle them first.
- Locate the Sensors: You'll find two small electronic "eyes" on each side of your garage door tracks, usually mounted about six inches off the floor. One is the sender, and the other is the receiver.
- Check the Indicator Lights: Each sensor has a small LED light. When they are properly aligned, these lights are typically solid (often one green, one amber/red, depending on the brand). If one or both lights are blinking or off, it's a clear sign of misalignment or a blockage.
- Clean the Lenses: The sensor lenses are small and can easily get covered in dust, dirt, or cobwebs. Take a clean, dry microfiber cloth and gently wipe both lenses.
- Check for Obstructions: Look carefully at the path between the two sensors. Are there any boxes, tools, or leaves blocking the invisible beam? Remove anything in the way.
- Realign the Sensors: If the lights are still blinking, the sensors may have been bumped out of alignment. Most sensors are attached with a simple bracket and wing nut. Loosen the wing nut on the blinking sensor, and carefully pivot it by hand, pointing it directly at the other sensor across the doorway. You’ll know you’ve got it right when both indicator lights turn solid. Once they do, tighten the wing nut to secure it in place.
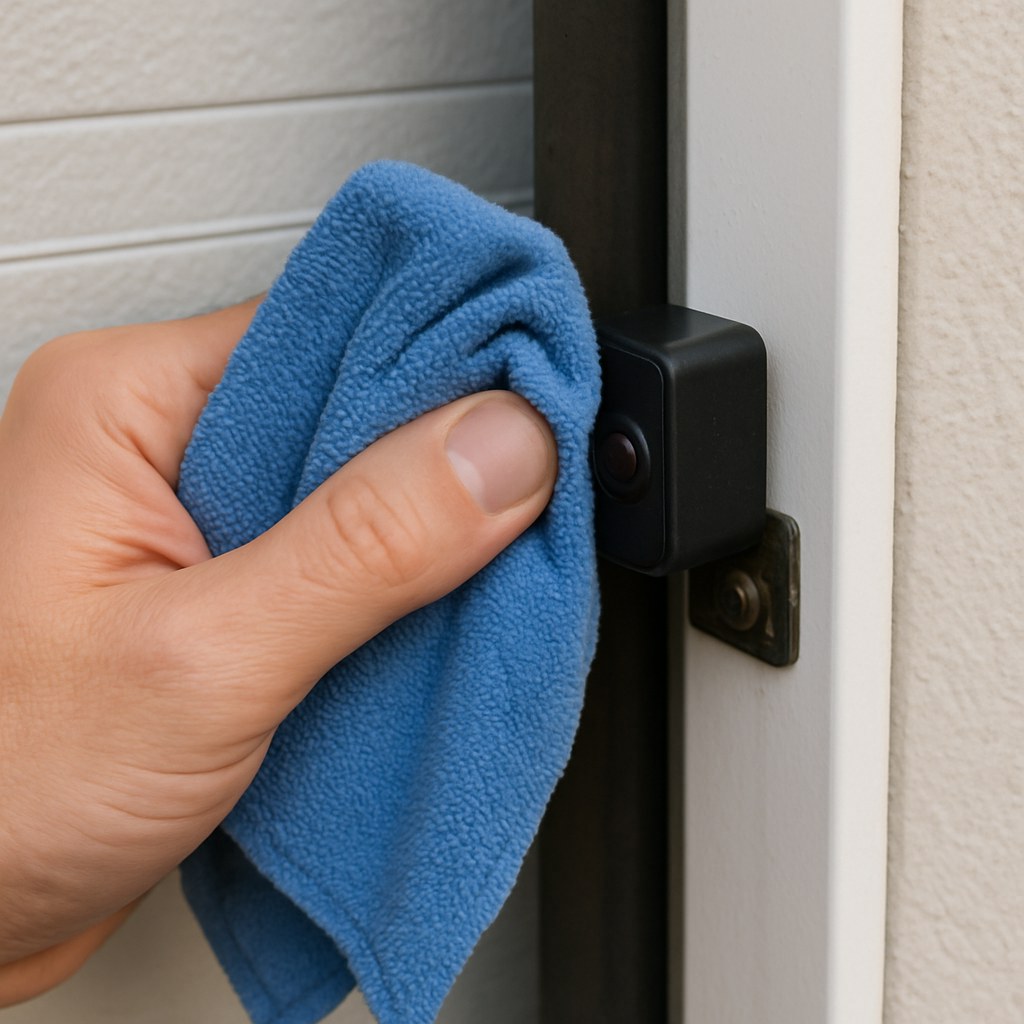
After cleaning and aligning, try closing the door again with your remote. If it now closes normally, congratulations, you've fixed it! If the sensors seem fine but the door still won't close, or if you can't get the sensor lights to stay solid, you may have a wiring issue that requires a professional.
Step 3: Inspect the Door's Path and Tracks
If the wall switch test failed, it's time to check for a physical problem.
- Disconnect the Opener: Pull the red emergency release cord hanging from the opener's track. This will disconnect the door from the motorized carriage, allowing you to move it by hand.
- Manually Move the Door: Lift and lower the door manually. Does it move smoothly, or does it stick, scrape, or feel excessively heavy in certain spots? This will help you identify any physical resistance.
- Inspect the Tracks: With the door partially open, look closely at the metal tracks on both sides. Check for debris like leaves, small stones, or dirt buildup. Wear work gloves and clear out anything you find.
- Check the Rollers: Examine the small wheels (rollers) that run inside the tracks. Ensure they are all securely in the track and look for any that are cracked, chipped, or worn out. Damaged rollers can prevent the door from closing smoothly.
- A Word of Caution on Springs: While inspecting, you will see the large springs—either a torsion spring mounted above the door or extension springs running alongside the upper tracks. DO NOT attempt to touch or adjust these springs. They are under extremely high tension and can cause serious injury. If you notice a gap in the spring coil or a broken spring, stop immediately and call a professional.
After your inspection, reconnect the door to the opener by raising it until the carriage clicks back into place. Try closing the door again. If you removed an obstruction, it may now work perfectly.
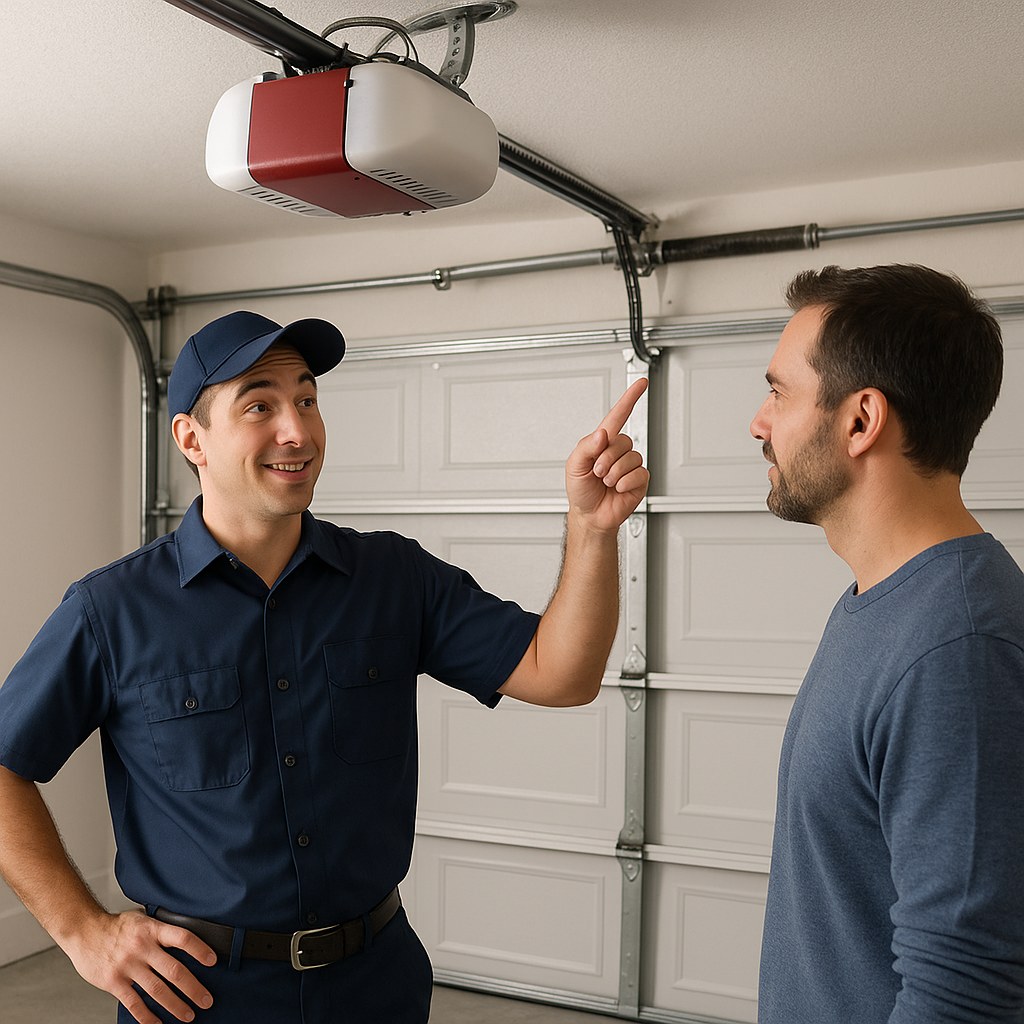
Step 4: Adjust the Opener's Limit and Force Settings
If you've ruled out sensors and obstructions, the final DIY step is to adjust the opener's settings. Over time, these settings can drift due to weather changes or normal wear and tear.
Important Note: The location and method for adjusting these settings vary between brands like Chamberlain, LiftMaster, and Genie. It's always best to consult your garage door opener's manual. The adjustment controls are typically on the back or side of the motor unit hanging from the ceiling.
- Get a Ladder: Safely position a ladder so you can easily reach the opener's controls.
- Locate the Adjustment Screws/Knobs: Look for two separate controls, often labeled "Close Limit" (or "Down Limit") and "Close Force" (or "Down Force"). They may be screws that require a flathead screwdriver or plastic knobs.
- Adjust the Close Limit: This setting tells the door where to stop. If it's reversing at the floor, it might be trying to travel too far. Turn the "Close Limit" screw a very small amount (a quarter-turn) in the direction that increases the travel distance (usually clockwise, or indicated by an arrow).
- Adjust the Close Force: This setting controls how much power the opener uses. If the door is stopping partway down, it might need a little more force. Turn the "Close Force" knob a tiny bit (about 1/8th of a turn) clockwise to increase the downward force.
- Test After Each Adjustment: This is critical. Make one small adjustment at a time, then get off the ladder and test the door. You may need to repeat this process a few times to dial it in perfectly. Avoid making large adjustments, as too much force can be a safety hazard.
When It's Time to Call a Professional
You've done the troubleshooting, but the door is still acting up. Sometimes, a problem is beyond a simple DIY fix. It's time to call a professional garage door technician if:
- You've tried all the steps above, and the door still won't close.
- You suspect the photo-eye sensors have faulty wiring.
- You see a broken spring, frayed cable, or severely damaged roller.
- The garage door is crooked, jammed, or off its tracks.
Hiring a professional is the safest choice for mechanical repairs. According to HomeAdvisor, a typical service call can range from $75 to $150, with most repairs costing between $150 and $350. It's a worthwhile investment for your safety and peace of mind.
Your Next Step to a Working Garage Door
Dealing with a stubborn garage door can certainly test your patience, but by following these steps, you can diagnose and fix the most common issues yourself. From cleaning a tiny sensor lens to making a minor adjustment, you have the power to solve this problem and save yourself the cost of a service call.
For more easy-to-follow home maintenance guides and expert advice, download the Casa app today. Casa is designed to empower homeowners like you, providing the knowledge to tackle DIY projects and a direct line to trusted, vetted professionals when you need one. Take control of your home maintenance with Casa in your corner.