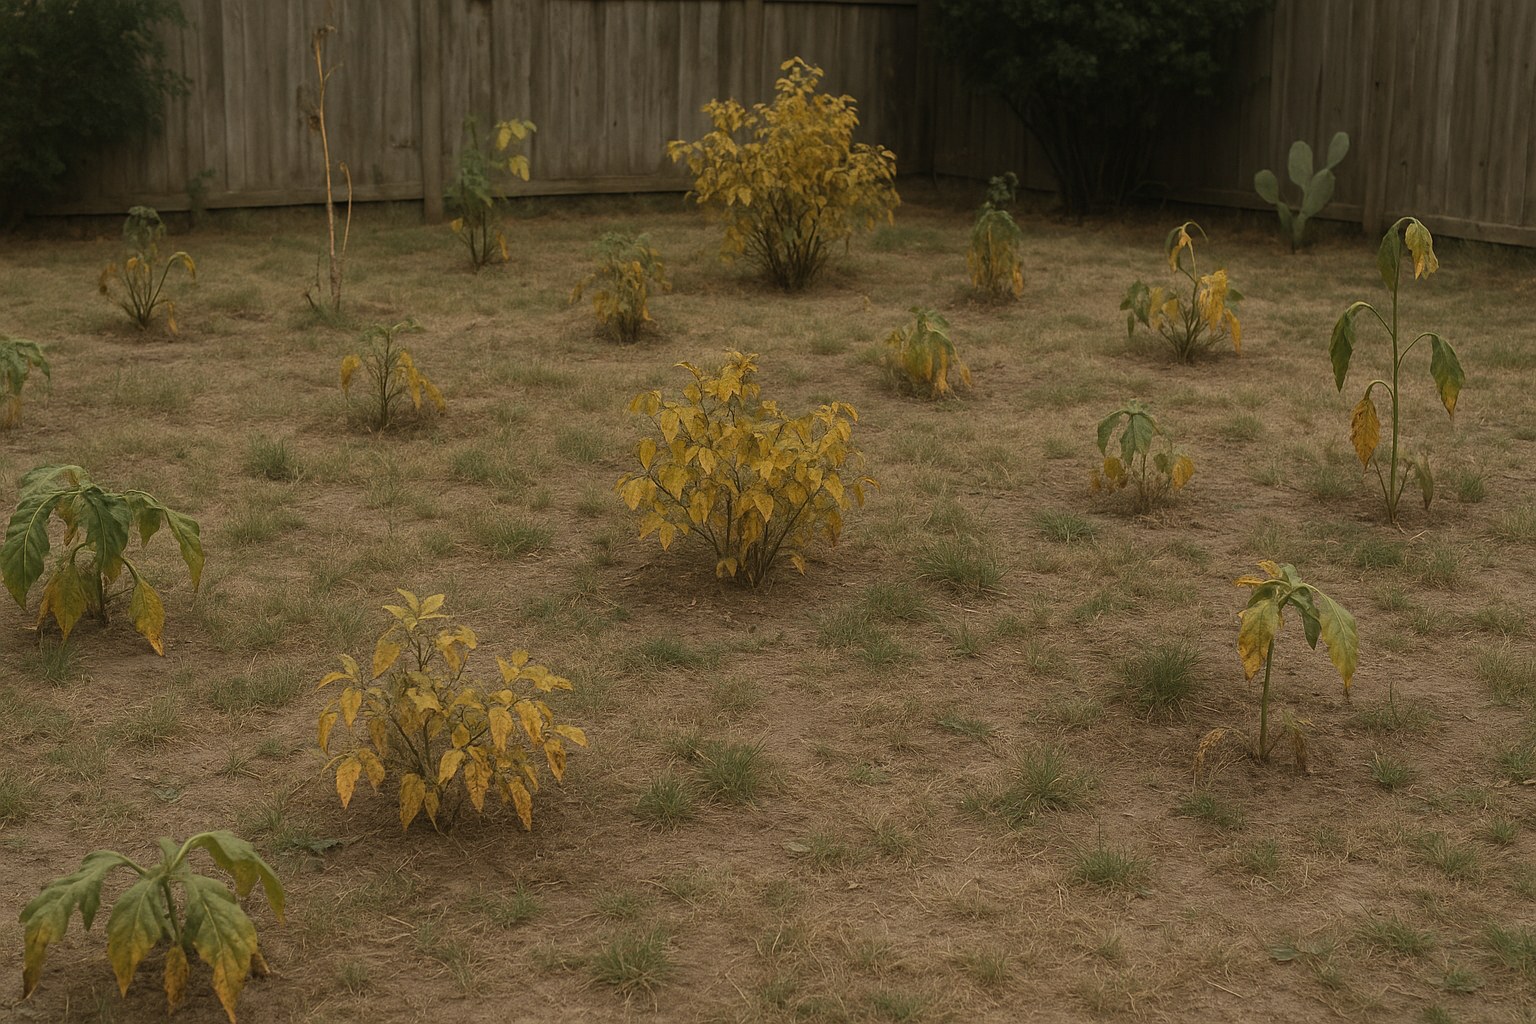
A struggling garden is one of the most common frustrations for homeowners. The good news is that the fix is usually simpler than you think. It almost always comes down to one of four key factors: sunlight, water, drainage, or soil quality.
Think of yourself as a garden detective. Your mission is to identify the culprit and give your plants what they need to thrive. In this guide, we'll walk you through the entire investigation, step by step. Let's get our hands dirty and figure out why your garden isn’t growing well.
The Big Four: Why Most Gardens Fail
Before we dive into the fixes, it's helpful to understand the core needs of most garden plants. When something’s wrong, it’s usually because one of these fundamentals is out of balance.
- Sunlight: Most vegetables and flowering plants are sun-worshippers. They need at least 6-8 hours of direct sunlight per day to photosynthesize, the process they use to create food and energy. Without enough sun, they’ll be weak and spindly.
- Water: It’s a delicate balance. Too little water, and your plants will wilt and die. Too much, and their roots can rot from lack of oxygen. The goal is consistently moist soil, not bone-dry or swampy.
- Drainage: This is directly related to watering. If water has nowhere to go, it sits in the soil, suffocating the roots. Heavy clay soil or compacted ground are common causes of poor drainage.
- Soil Nutrients: Soil is more than just dirt; it’s a buffet for your plants. If it’s missing key nutrients like Nitrogen (N), Phosphorus (P), or Potassium (K), or if the pH is off, plants can’t absorb the food they need to grow.
Now, let’s start our diagnosis.
Step 1: Start Your Garden Assessment with Sunlight
The first and most common issue to check is sunlight. Many gardeners, especially new ones, overestimate how much sun their garden spot actually gets.
How to Perform a Sun Audit:
The best way to know for sure is to track it.
- Observe at Midday: On a clear, sunny day, stand in your garden around noon. Notice where the shadows from your house, trees, or fences are falling.
- Track the Hours: Starting in the morning, check on your garden once an hour. Note when direct sunlight first hits the area and when it leaves. You can use a timer or just make a mental note. Tally up the total number of hours your garden receives direct sunlight.
Is your garden getting at least 6 hours of direct sunlight?
- If YES: Fantastic! Sun probably isn't your primary issue. Let's move on to checking your watering habits.
- If NO: We've likely found a major culprit. Let's look at how to improve the light conditions.
How to Improve Sunlight Conditions
If your garden is in a shady spot, you have a few options.
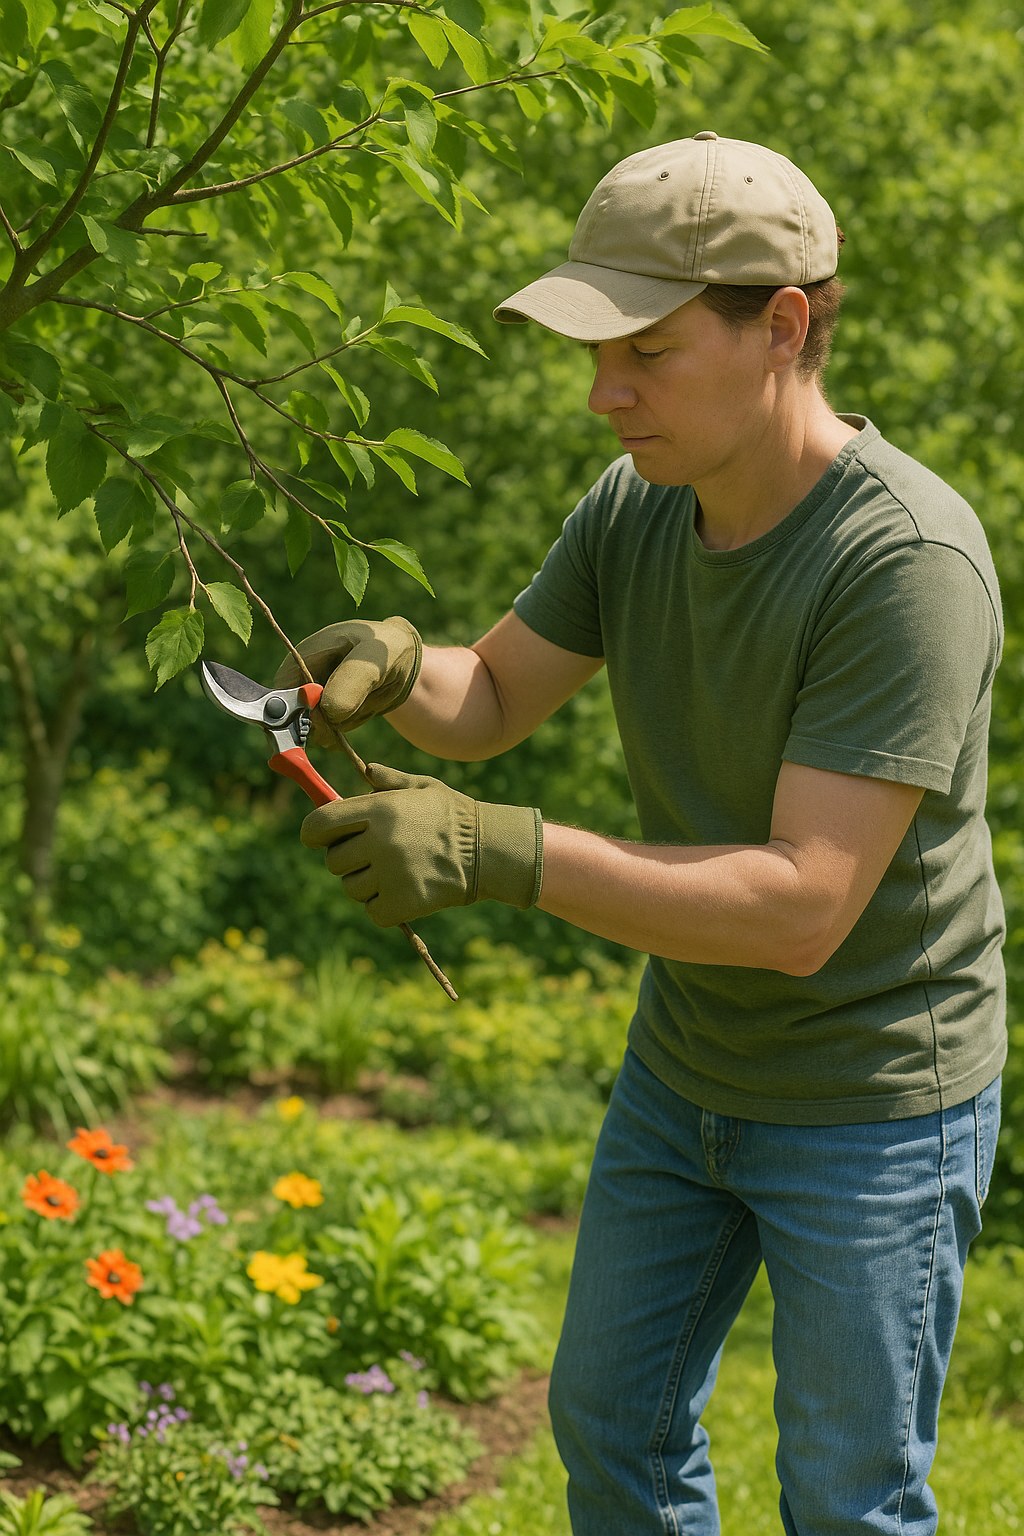
- Prune and Trim: Look for overhanging tree branches or overgrown shrubs that might be casting a shadow. A little strategic pruning with some hand pruners or loppers can make a huge difference. According to the University of Maryland Extension, proper pruning can improve light penetration and air circulation.
- Maximize Reflected Light: Clean nearby windows or light-colored walls. You’d be surprised how much ambient light they can bounce back onto your plants. You can also spread a thin, 1-inch layer of light-colored mulch (like straw or light wood chips) to reflect sunlight up toward the plant leaves.
Can You Move Your Garden?
If you're using containers or raised beds, you have the ultimate advantage: mobility.
- Scout a New Location: Spend a day identifying the sunniest spot in your yard. Remember, 6+ hours is the goal.
- Prepare the New Spot: Use a shovel to make sure the new area is level so your containers sit flat and water doesn't run off to one side.
- Make the Move: Get a friend to help you move any heavy containers or raised bed frames. Try to orient them so the long side faces north-south for the most even sun exposure throughout the day.
- Water Thoroughly: Moving can be stressful for plants, so give them a good, deep watering in their new home.
If your garden is in-ground and can't be moved, don't despair! Your best bet is to embrace the shade and choose plants that thrive in it. This means transplanting any sun-lovers to a sunnier spot and replacing them with shade-tolerant species like hostas, ferns, mint, or leafy greens like lettuce and spinach.
Step 2: Evaluate Your Watering Habits
If your sunlight is adequate, the next stop on our investigation is water. Both under-watering and over-watering can cause similar symptoms, like wilting leaves.
The Two-Inch Finger Test:
This is the most reliable way to know if your plants need water.
- Wait until your usual watering time.
- Stick your index finger about two inches deep into the soil near the base of a plant.
- How does it feel?
- Dry and crumbly? Your plants are thirsty. You likely need to increase your watering.
- Cool and moist? Perfect. Your watering level is likely just right.
- Soggy or muddy? You’re likely overwatering, or you have a drainage problem.
If the soil was dry, it’s time to increase your watering. A general rule of thumb for most gardens is about 1 inch of water per week, either from rain or irrigation. Use a simple rain gauge (or an empty tuna can) to measure. Water deeply and infrequently rather than giving a light sprinkle every day. This encourages deep, strong root growth.
Step 3: Check for and Improve Poor Drainage
Did the finger test reveal soggy soil that stays wet for more than a day after watering? If so, you have a drainage issue. Plant roots need oxygen to survive, and waterlogged soil suffocates them, leading to root rot.
How to Improve Garden Drainage:
This requires a bit of manual labor, but your plants will thank you for it.
- Aerate the Soil: Gently push a garden fork about 6 inches into the soil between your plants. Rock it back and forth carefully to create small channels for air and water without disturbing the roots.
- Add Organic Matter: Spread a 2-inch layer of compost over the entire garden bed. Compost is a gardener's best friend—it improves the structure of heavy clay soil, allowing water to drain more freely while retaining just the right amount of moisture. Mix it into the top 6 inches of soil.
- Create Runoff Channels: If your garden is on a slight slope, use a hoe to carve shallow furrows that direct excess water away from the base of your plants.
After improving the drainage, adjust your watering schedule. Only water when that top inch of soil feels dry to the touch.
Step 4: Test and Amend Your Soil
If you've addressed sun, water, and drainage, and your garden is still struggling, it's time to look at the soil chemistry. You can't tell if your soil is deficient in nutrients or has the wrong pH just by looking at it. You need to test it.
How to Test Your Soil:
You have two main options:
- DIY Soil Test Kits: These are available at any garden center for around $15-$30. They are easy to use and give you a quick reading of your soil's pH and levels of Nitrogen (N), Phosphorus (P), and Potassium (K).
- Lab Testing: For a more comprehensive analysis, send a soil sample to your local cooperative extension office. This service is often low-cost or free and provides detailed results and specific recommendations.

Amending Your Soil Based on Results:
Once you have your results, you can amend the soil to give your plants what they need.
- Adjusting pH: The ideal pH for most garden plants is between 6.0 and 7.0 (slightly acidic to neutral).
- If pH is too low (acidic), add garden lime according to the package directions.
- If pH is too high (alkaline), mix in sphagnum peat moss or elemental sulfur.
- Adding Nutrients:
- If your soil is low in nutrients, a balanced granular fertilizer (like a 10-10-10 formula) is a good starting point.
- Topping the bed with a fresh 2-inch layer of compost will also add a slow-release source of broad-spectrum nutrients and improve soil health over time.
Still Stumped? It Might Be Time for a Pro
If you've gone through all these steps and your garden is still failing to thrive, there could be a more complex issue at play, like persistent pests, plant diseases, or soil contamination. At this point, consulting a local horticulturist or a professional landscaper can save you a lot of time and frustration.
Your Partner in Home and Garden Care
Fixing a struggling garden is a rewarding DIY project that puts you back in control. By methodically checking sunlight, water, drainage, and soil, you can solve over 90% of common garden problems.
For every project around your home and yard, Casa is here to help. Download the Casa app today to get access to more easy-to-follow DIY guides, create maintenance schedules for your garden, and connect with trusted, local landscape professionals when you need a helping hand. Happy gardening
Related Reading


