Many of the most common reasons a heat pump stops cooling are surprisingly simple to fix yourself. With a little bit of troubleshooting, you can often get your system back up and running in under an hour, saving you time, money, and a whole lot of sweat.
This guide will walk you through the essential checks, from the thermostat to the outdoor unit, to help you diagnose and solve the problem like a pro.
Why Is My Heat Pump Not Cooling? The Common Culprits
Before we dive into the fixes, it helps to understand what a heat pump does. Unlike a traditional air conditioner that generates cold air, a heat pump works by moving heat. In cooling mode, it extracts heat from inside your home and transfers it outside, leaving you with refreshingly cool air.
When this process fails, it's often due to one of these common issues:
- Incorrect Thermostat Settings: It sounds basic, but it’s the number one cause of cooling problems.
- Power Issues: A tripped breaker or a dead thermostat battery can shut the whole system down.
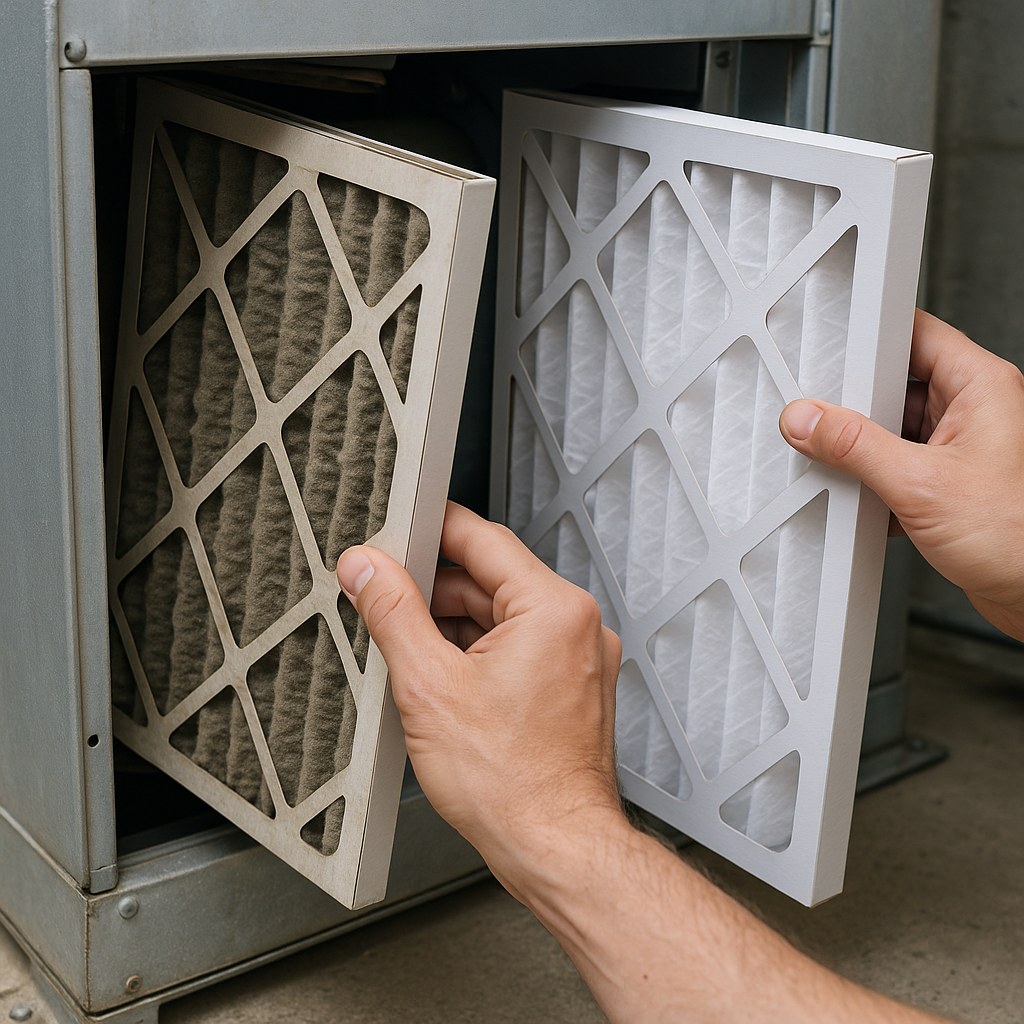
- Dirty Air Filters: A clogged filter restricts airflow, suffocating your system and severely reducing its cooling ability.
- Blocked Vents or Registers: If the cool air can't get out, your home won't cool down.
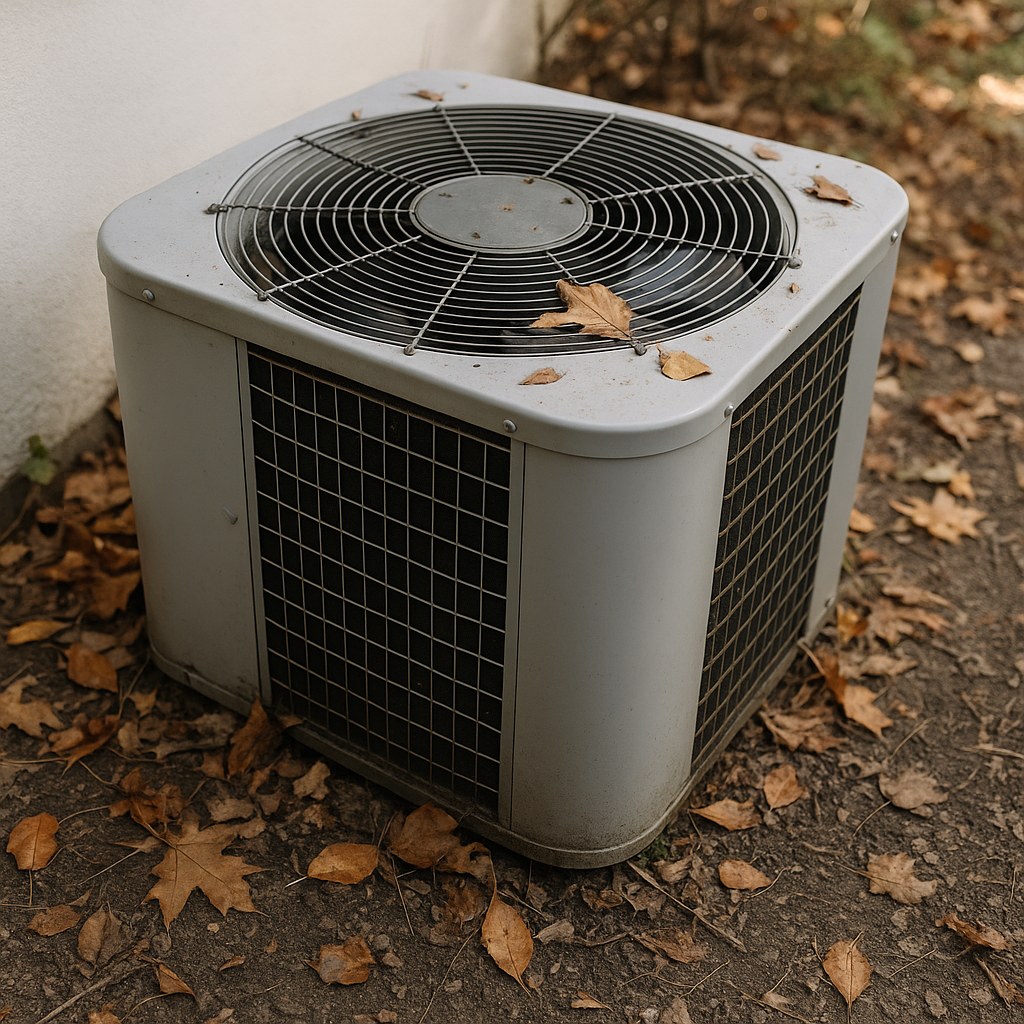
- Dirty Outdoor Unit: The outdoor condenser unit needs to release the heat it pulls from your home. If it’s covered in dirt, grass, or debris, it can't do its job effectively.
Now, let's work through these issues step-by-step to get your cool air flowing again.
Step-by-Step Guide to Fixing Your Heat Pump
We’ll start with the easiest and most common fixes inside your home and work our way to the outdoor unit.
Step 1: Check Your Thermostat for Power and Proper Settings
Your thermostat is the brain of your HVAC system. If it’s not set correctly or doesn't have power, your heat pump won't know it’s supposed to be cooling.
1. Check for Power:
Look at your thermostat's display. Is it lit up? If the screen is blank, you have a power issue.
- For battery-powered thermostats: Open the cover and replace the batteries with a fresh set.
- For hardwired thermostats: The issue is likely a tripped circuit breaker. Go to your main electrical panel and find the breaker labeled "HVAC," "Heat Pump," or "Air Handler." If it's in the 'OFF' position or in the middle, switch it fully 'OFF' and then back 'ON'. Also, look for a dedicated power switch, which often looks like a light switch, on or near your indoor air handler unit and ensure it's turned on.
If you’ve done this and the thermostat is still blank, you may have a wiring issue that requires a professional.
2. Verify the Settings:
Once you confirm the thermostat has power, check these three things:
- Mode: Is it set to “Cool”? It's easy to forget it was left on "Heat" or "Off" from a previous season.
- Temperature: The set temperature must be lower than the current room temperature. To give it a real test, lower the setting at least 3-5 degrees below what the room temperature is reading.
- Fan: Make sure the fan setting is on “Auto,” not “On.” When set to "On," the fan will blow continuously, even when the cooling cycle is off. This means it will circulate room-temperature air between cycles, making your home feel warmer than it is.
After adjusting the settings, wait about 5-10 minutes. Sometimes, there's a built-in delay to protect the compressor. If cool air starts flowing, congratulations! You've solved it. If not, it's time to check for airflow problems.
Step 2: Troubleshoot Airflow Issues
Restricted airflow is a huge performance killer for any HVAC system. If air can't move freely through the system and into your rooms, your heat pump can't cool effectively. The most common culprit is a dirty filter.
The steps here depend on whether you have a traditional ducted system (with vents in your floors or ceilings) or a ductless mini-split system (with wall-mounted indoor units).
For Ducted Heat Pump Systems:
- Turn the system off at the thermostat. This prevents it from pulling dust and debris into the system while you work.
- Locate and clean/replace your air filter. The filter is typically located in the return air duct or in a slot on the indoor air handler unit itself. Slide the old filter out. If it’s visibly gray, clogged with dust, or you can’t see light through it, it needs to be replaced. Disposable filters should be replaced every 1-3 months. If you have a reusable filter, you can vacuum it gently and wash it with water, but make sure it is completely dry before reinstalling it.
- Check all air vents and registers. Walk through your home and ensure all supply and return vents are open and not blocked by furniture, rugs, or curtains. Closing vents in unused rooms might seem like a good way to save energy, but it can unbalance the system's pressure and reduce efficiency.
Once you’ve replaced the filter and cleared the vents, turn the system back on and see if cool, strong airflow is restored.
For Ductless Mini-Split Systems:
- Turn the indoor unit off using the remote control.
- Access the filters. Gently lift the front cover of the wall-mounted unit. The filters are usually thin mesh screens that can be easily unclipped.
- Clean the filters. These filters are reusable. Take them out and wash them with lukewarm water. You can use a soft brush to remove any stubborn dust. Let them air dry completely before putting them back in. Never operate the unit without the filters.
- Check the louver. This is the flap that directs the airflow. Make sure it’s open and pointing outwards, not down against the wall, which could block the air.
After reinserting the filters and checking the louver, turn the unit back on. If poor airflow was the problem, you should feel a significant difference.
Step 3: Inspect and Clean the Outdoor Unit
If your thermostat is set correctly and your indoor airflow is strong but the air still isn't cold, the problem may be outside. The outdoor unit (the condenser) is responsible for releasing all the heat it has collected from your home. If it's dirty or blocked, the heat gets trapped, and your system can’t cool.
Important Safety Note: Before you do any work on the outdoor unit, you must turn off its power. Look for a metal disconnect box mounted on the wall near the unit and pull the handle or switch it off. You should also turn off the corresponding breaker in your main electrical panel for good measure.
- Clear the Area: Remove any leaves, weeds, grass clippings, or other debris from around the unit. You should maintain at least a two-foot clearance on all sides. Trim back any encroaching bushes or tree branches.
- Gently Clean the Fins: The metal fins on the outside of the unit can get caked with dirt and cottonwood. Use a soft brush or a regular garden hose (with a gentle spray nozzle, not a high-pressure jet) to rinse the debris off. Spray from the inside out if possible, or at an angle from the outside, to avoid bending the delicate fins.
- Check the Fan: Look through the top grille to ensure the fan blades are not blocked by sticks or other debris. If they are, carefully remove the obstruction.
Once the unit is clean and clear, restore the power and turn your thermostat back to "Cool." Wait about 10-15 minutes. If a dirty condenser was the culprit, your system should begin to cool properly.
When Is It Time to Call a Professional?
If you've gone through all the steps above and your heat pump is still blowing warm air, the issue is likely more complex and requires an expert. According to HomeAdvisor, the average cost to hire an HVAC technician is between $150 and $600, depending on the repair.
Call a qualified HVAC professional if you notice:
- Ice on the outdoor unit's coils: This can signal a refrigerant leak or a severe airflow problem.
- The system is running, but the outdoor fan isn’t spinning: This could be a bad fan motor or capacitor.
- Hissing or bubbling noises: These are classic signs of a refrigerant leak. Refrigerant is a hazardous material and must be handled by a licensed technician.
- The system repeatedly trips the circuit breaker: This indicates a serious electrical problem.
These issues are not safe or practical for a DIY fix. A professional has the tools and training to diagnose and repair problems with the compressor, reversing valve, or refrigerant levels.
Stay Cool and Keep Your System Healthy
Fixing a heat pump that isn't cooling is often a simple process of elimination. By starting with the basics, you can solve the majority of problems yourself. Regular preventative maintenance, like changing your filter every month and hosing down your outdoor unit each season, can prevent these issues from happening in the first place.
For more helpful home maintenance guides or to connect with a trusted HVAC technician when a DIY fix isn't enough, download the Casa app today! We’re here to empower you to manage your home with confidence, whether you’re tackling the job yourself or need to find a reliable pro.
Related Reading


