On a 90°F day, the temperature in your attic can soar to a staggering 150°F or higher. This trapped heat radiates down into your living spaces, making your home harder and more expensive to cool. The good news is that you can often solve this problem yourself with a few hours of investigation and some straightforward DIY work.
Think of me as your expert on the line, ready to walk you through it. We'll diagnose the problem together, check your home's ventilation system, and get that temperature back under control. Let’s get started.
Why Is My Attic So Hot? The Three Main Culprits
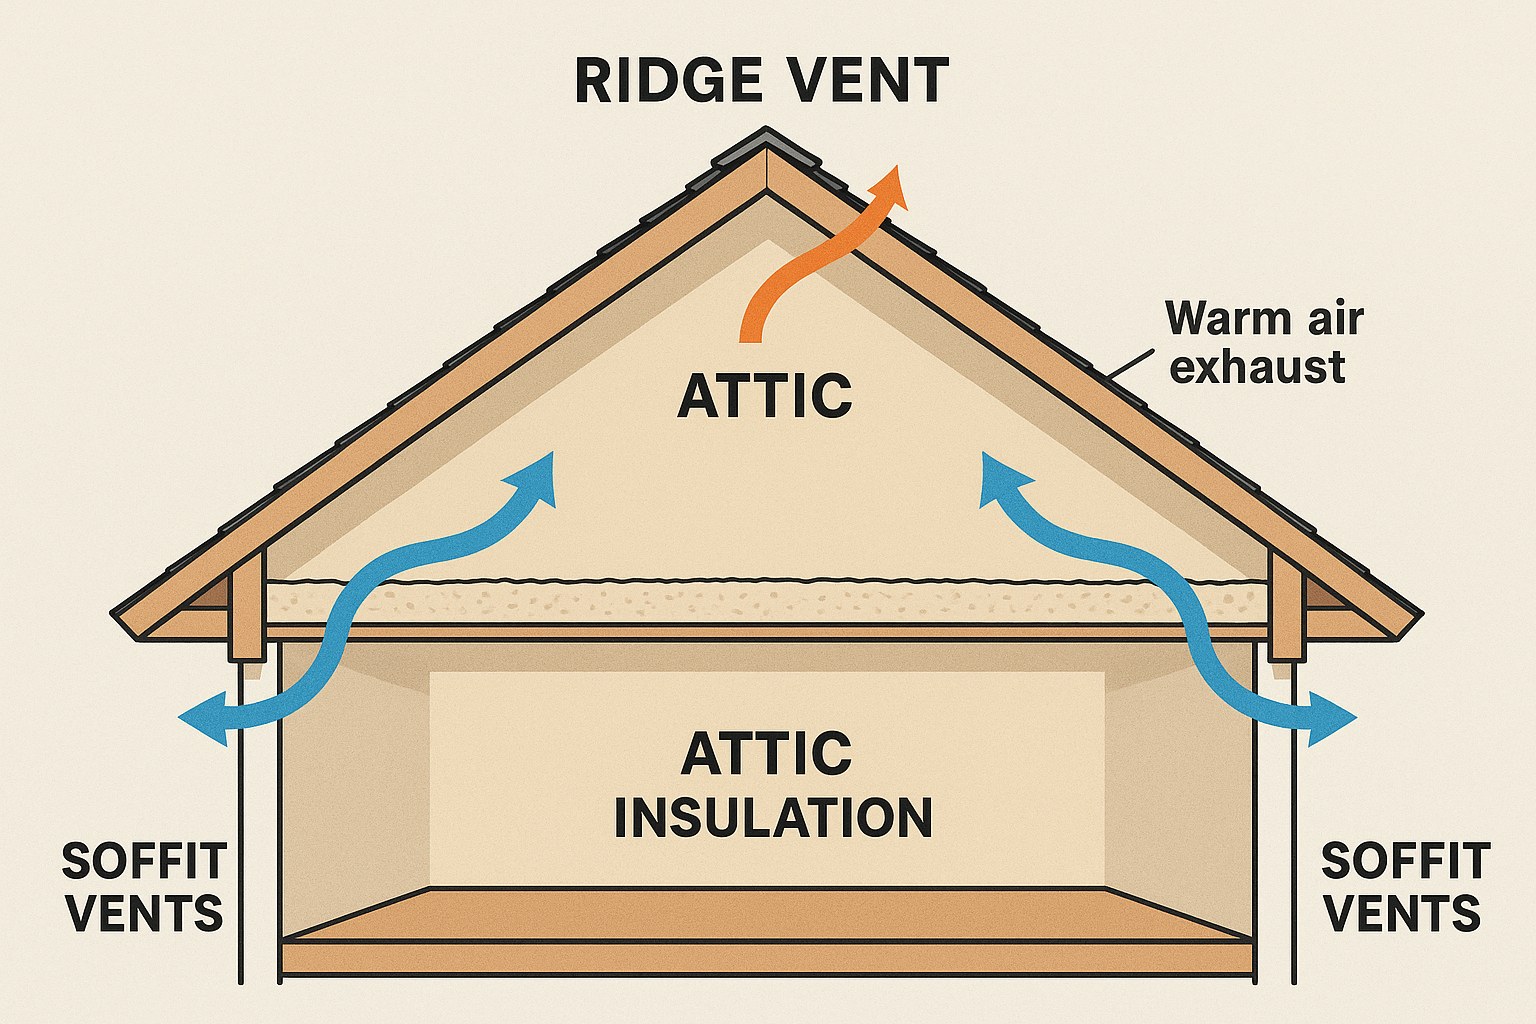
Before we start fixing things, let's understand what's likely causing the issue. A properly functioning attic is designed to breathe. It pulls in cooler, fresh air from outside and pushes out hot, stale air. When this process breaks down, heat gets trapped. Here are the most common reasons why:
- Poor Passive Ventilation: Your attic should have vents that allow for natural airflow. Typically, these are soffit vents (under the eaves) to let cool air in and ridge vents (at the peak of the roof) or roof vents to let hot air out. If these are blocked, too small, or non-existent, your attic can't exhale the hot air.
- Failed Active Ventilation: Some homes have an attic fan (either on the roof or in a gable wall) to actively pull hot air out. If this fan is broken or its thermostat is malfunctioning, it's not doing its job.
- Inadequate Insulation and Air Leaks: Insulation is your home's primary thermal barrier. If it's too thin, it won't stop the attic's heat from moving into your house. Worse, small gaps around light fixtures, pipes, and the attic hatch can act like tiny highways for hot air to leak into your living space.
Now, let's figure out which of these is your issue and get it fixed.
Your Step-by-Step Guide to Cooling Down a Hot Attic
First Things First: Safety
Working in an attic requires caution. Before you head up, make sure you have the following:
- Safety Gear: Put on gloves, safety glasses, and a good quality N95 mask to protect yourself from dust and insulation fibers.
- A Bright Light: A headlamp or powerful flashlight is essential.
- Safe Footing: Only step on the wooden ceiling joists or trusses. The drywall ceiling below cannot support your weight. For stability, bring a small piece of plywood to lay across the joists to kneel or work from.
Step 1: Evaluate Your Passive Ventilation
Our first mission is to see how well your attic is set up to breathe on its own. We need to find out if you have enough vents and if they're clear.
- Locate Your Vents: Carefully walk around your attic and look for openings. You're searching for soffit vents (long, narrow vents under the roof's overhang), ridge vents (a vent that runs along the entire peak of the roof), and/or roof vents (box-like or circular vents on the surface of the roof). You can also spot these from outside your home.
- Do the Math: The general rule for attic ventilation is that you need at least 1 square foot of vent area for every 150 square feet of attic floor space. For example, a 1,500 sq. ft. attic needs at least 10 sq. ft. of total vent area, split evenly between intake (soffits) and exhaust (ridge/roof). You don't need to be exact, but if you only see one or two tiny vents, you've likely found a major part of the problem.
If you inspect your attic and find you have very few or no vents at all, this is a job for a professional. A roofing or ventilation contractor can install the necessary vents to ensure proper airflow.
If you do have vents, but you suspect they're blocked, move on to the next step.
Step 2: Clear Any Blocked Vents
Over time, vents can get clogged with insulation, dust, debris, or even paint from exterior touch-ups. Let’s clear them out.
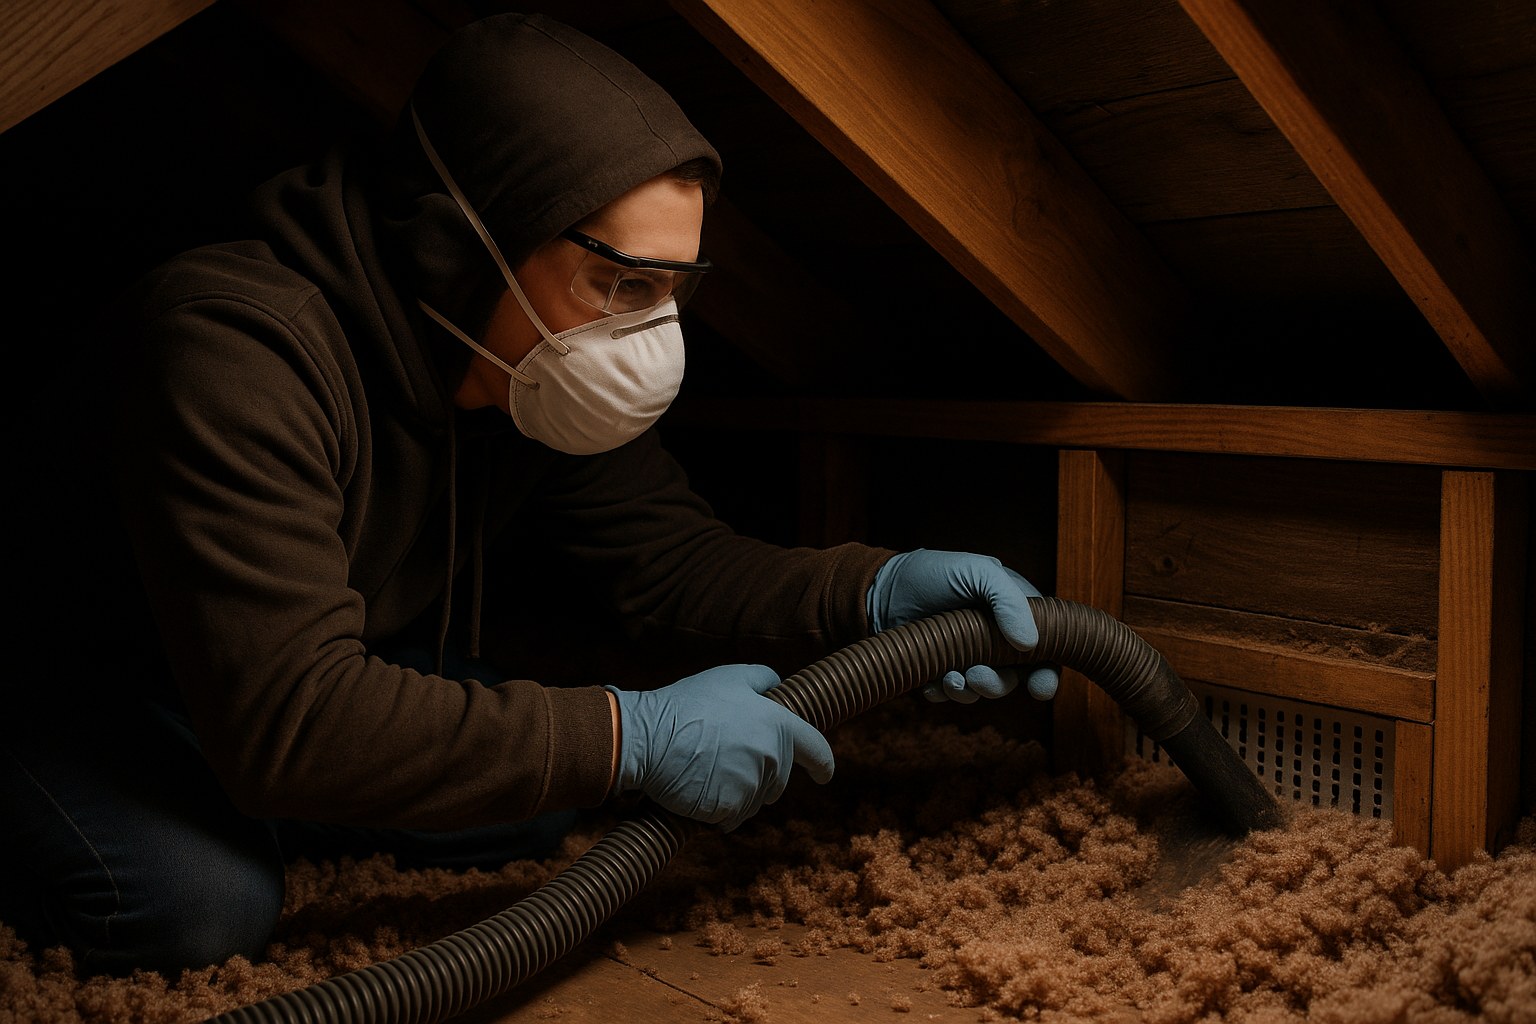
- Clear Soffit Vents: Blown-in insulation is notorious for blocking soffit vents. Use a shop vacuum with a long hose to carefully suck any insulation or debris away from the vents. You should be able to see daylight through them when they're clear.
- Clean Ridge and Roof Vents: Use a brush to sweep away any cobwebs, nests, or debris from the inside of your ridge and roof vents.
- Relocate Storage: If you use your attic for storage, make sure no boxes or items are placed within two feet of any vent. They need space to breathe.
- Rinse from Outside (With Caution): If the exterior vent covers look grimy, you can gently spray them with a hose from the ground. Stop immediately if you see any water getting into the attic.
After you’ve cleared the vents, wait for the next hot, sunny afternoon. Use a digital thermometer to measure the temperature in the attic and compare it to the temperature outside in a shaded area. A well-ventilated attic should be no more than 10-20°F warmer than the outside air. If you've hit that mark, congratulations! If it's still an oven up there, it's time to check your other systems.
Step 3: Evaluate Active Ventilation and Insulation
If clearing the vents wasn't enough, we need to investigate your attic fan and insulation level.
Part A: Test Your Attic Fan
- Locate the Fan and Thermostat: Find your attic fan, which is usually mounted on the roof deck or in a gable wall. Nearby, you should find a small thermostat control box.
- Test It: Turn the thermostat dial down to about 90°F. Wait a few minutes. You should hear the fan kick on.
- No Power? Check the Breaker: If the fan doesn't start, the circuit breaker may have tripped. Head to your home's electrical panel, find the breaker that controls the attic fan, and flip it completely off, then back on. Try the thermostat test again.
- Check for Voltage (Safely): If the breaker is on but the fan still won't start, you can use a non-contact voltage tester to see if power is reaching the fan's wiring. If power is present but the fan won't run, the motor is likely dead. If there's no power, there may be a wiring issue.
If you determine the fan motor is broken or you're not comfortable with electrical work, it's time to call an HVAC technician or an electrician.
Part B: Check Your Insulation and Seal Air Leaks
- Measure Insulation Depth: Using a tape measure, check the depth of your insulation in a few spots. For most climates, you want at least 10-14 inches of fiberglass or rock wool batts, or 12-16 inches of blown-in cellulose insulation. The Department of Energy provides an insulation map by zip code to find the recommended R-value for your specific area. If your insulation is thin or compressed, it's not providing an adequate thermal barrier.
- Seal the Gaps: Look for any gaps or holes in the attic floor. Pay close attention to areas where pipes, ductwork, or electrical wiring for ceiling lights come through. Seal these small gaps with latex caulk to stop hot air from leaking into your living areas.
- Weatherstrip the Hatch: The access hatch or pull-down stairs to your attic is a common source of air leaks. Apply a strip of self-adhesive foam weatherstripping around the edges of the opening to create a tight seal when it's closed.
Know When to Call a Professional
While many attic issues are DIY-friendly, some jobs are best left to the pros. You should call for help if:
- You don't have enough vents and need new ones installed.
- Your attic fan needs to be repaired or replaced.
- Your insulation is significantly lacking and you need more added.
- You've tried all these steps and your attic is still excessively hot.
Hiring a professional can range from $300-$700 to replace an attic fan to $1,500 or more to add insulation, according to Forbes Home. While it's an investment, it pays off in lower energy bills and a more comfortable home.
A Cooler Home is Within Reach
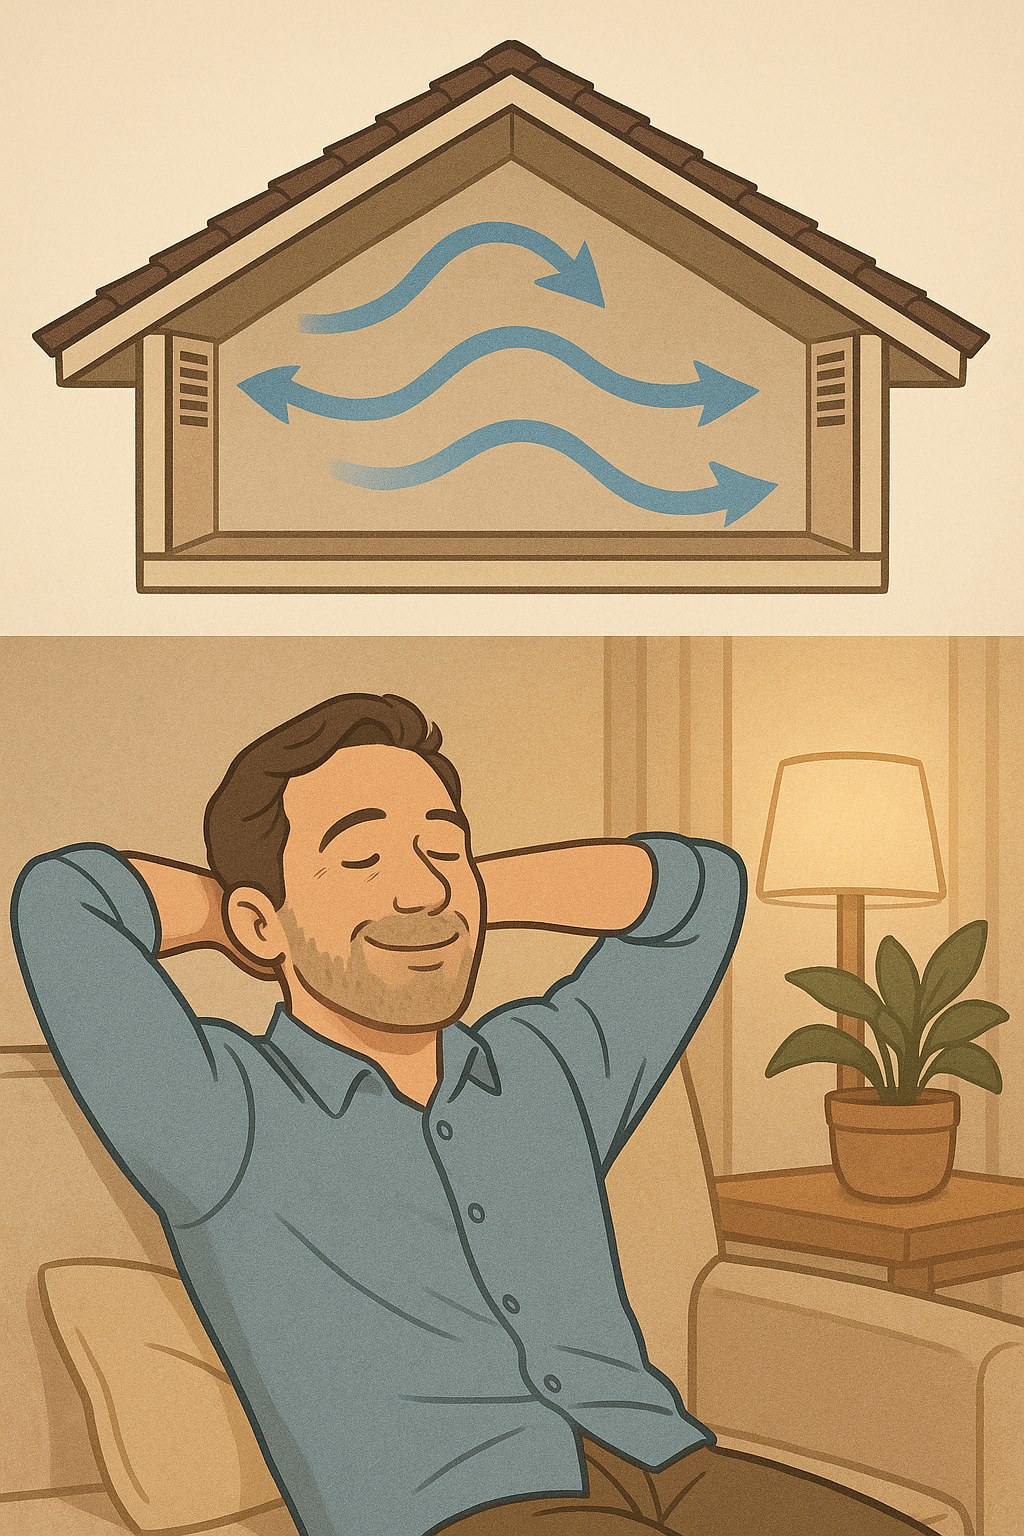
Tackling a hot attic is one of the most effective ways to improve your home's comfort and energy efficiency. By systematically checking your ventilation, fan, and insulation, you can identify the culprit and take the right steps to fix it.
Feeling empowered but want a little more guidance? Download the Casa app today. Our app provides step-by-step home maintenance guides, personalized reminders for your home, and connects you with a network of trusted professionals for the jobs you can't tackle alone. Let Casa help you keep your home in top shape, from the foundation to the attic.


