
Looking for more guidance? Take a look at our Repairs overview.
OCT 13, 2025
How to Fix a Leaking Radiator A DIY Guide

OCT 13, 2025
Looking for more guidance? Take a look at our Repairs overview.
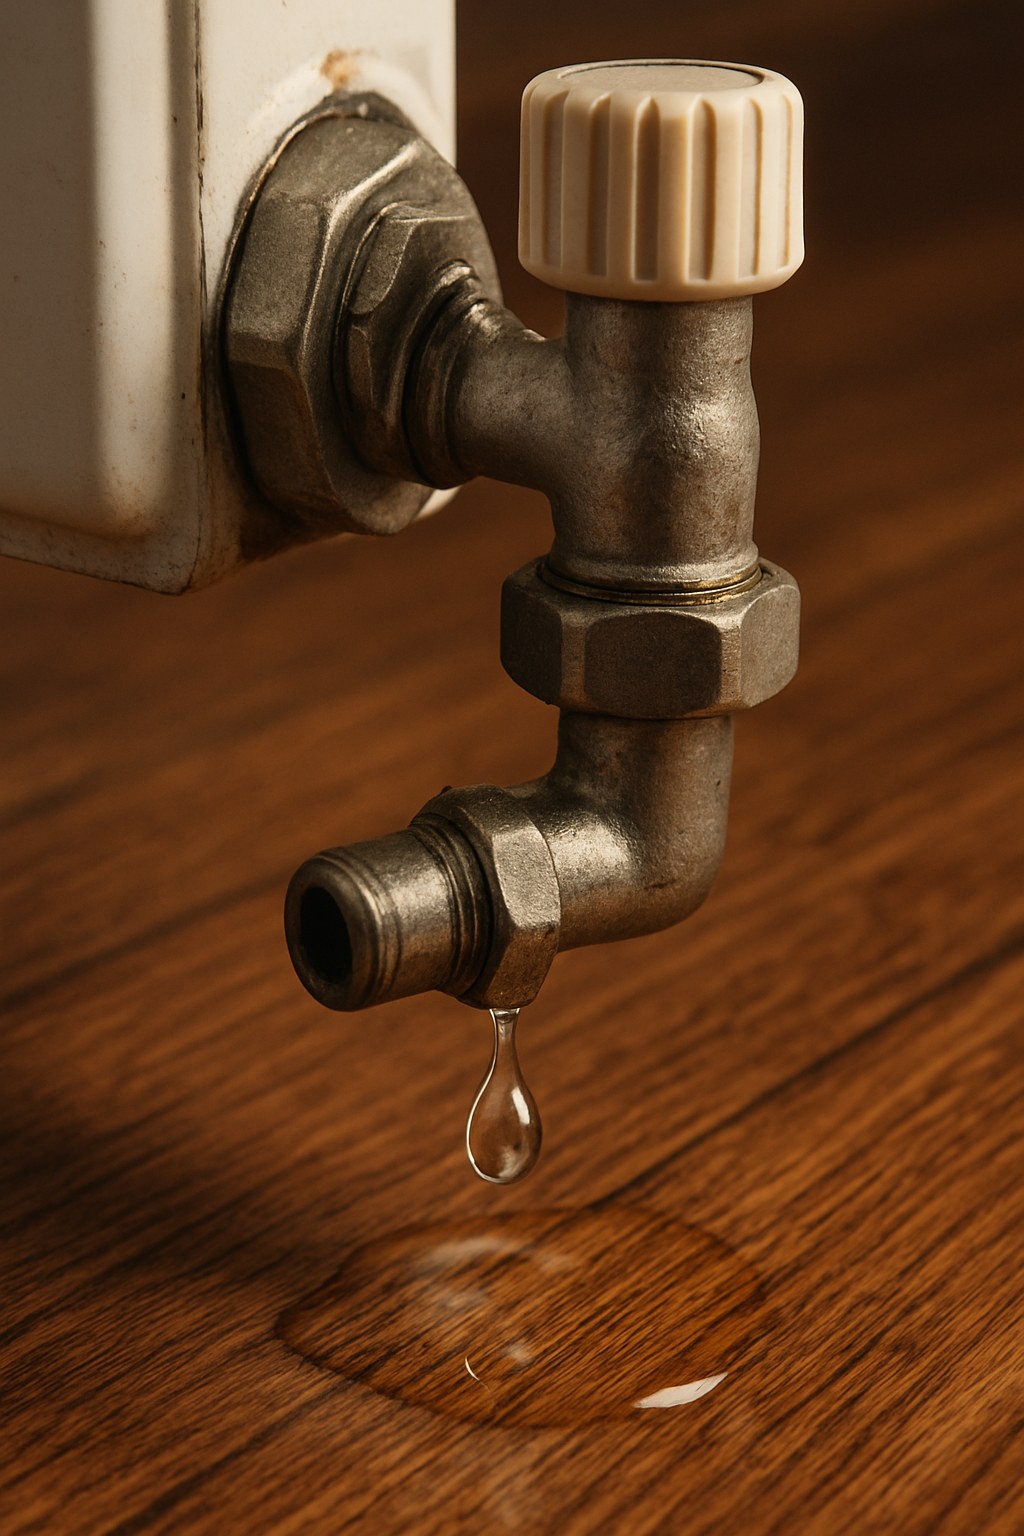
There are few home maintenance surprises more unwelcome than finding a puddle of water spreading from the base of your radiator. That slow, steady drip isn't just a nuisance; it's a sign that your heating system needs attention. A leaking radiator can lead to water damage on your floors and walls, reduce your heating system's efficiency, and potentially signal a larger problem.
The good news is that many common radiator leaks are relatively easy to fix yourself with a few basic tools and a little bit of guidance. Whether you're dealing with a hydronic (hot water) or steam system, understanding the cause of the leak is the first step toward a successful repair.
According to home service experts, the cost to have a professional HVAC technician repair a radiator leak can range anywhere from $150 to over $500, depending on the cause and complexity. By tackling the issue yourself, you could save a significant amount of money.
In this guide, we’ll walk you through how to find the source of the leak, how to fix the most common issues, and how to know when it’s time to put down the wrench and call a professional.
Before you start tightening nuts and bolts, it's essential to prepare your workspace and ensure your safety. Radiators and the water inside them can get extremely hot, so taking a few precautions is non-negotiable.
Turn Off Your Heating System: Go to your thermostat and switch the system to the "off" position. This will stop the boiler from heating and circulating more hot water or steam.
Let the Radiator Cool Down: Wait until the leaking radiator is completely cool to the touch. This can take an hour or two, but it’s a crucial step to prevent burns.
Gather Your Tools: Having everything on hand will make the job go much smoother. You’ll likely need:
Water can travel in tricky ways, so what looks like a leak from the base of the radiator might actually be starting higher up. Your first task is to play detective and pinpoint the precise origin of the drip.
Start by turning off your thermostat. Then, walk around your home and inspect every single radiator. Place a small piece of paper towel under each radiator valve; this is a quick and easy way to see if any others are dripping.
Ask yourself: Are multiple radiators leaking?
If you find that more than one radiator in your home is leaking, stop right there. This often indicates a system-wide problem, such as excessive pressure in your boiler or widespread corrosion. In this situation, your best and safest course of action is to call a professional HVAC technician. Tinkering with a system-wide issue could lead to more significant damage.
If the leak is isolated to a single radiator, your next step is to find its origin. Dry the entire radiator thoroughly with a clean rag. Watch it closely for a few minutes. A new bead of water will form at the source of the leak.
The most common leak locations are:
Once you’ve identified the source, you can proceed with the appropriate fix.
With your tools ready and the leak's location identified, it's time to make the repair. We’ll cover the fixes for the most common leak points, one by one.
The bleed valve, or bleed point, is designed to release trapped air from the system. Sometimes, it can work itself loose and begin to weep water.
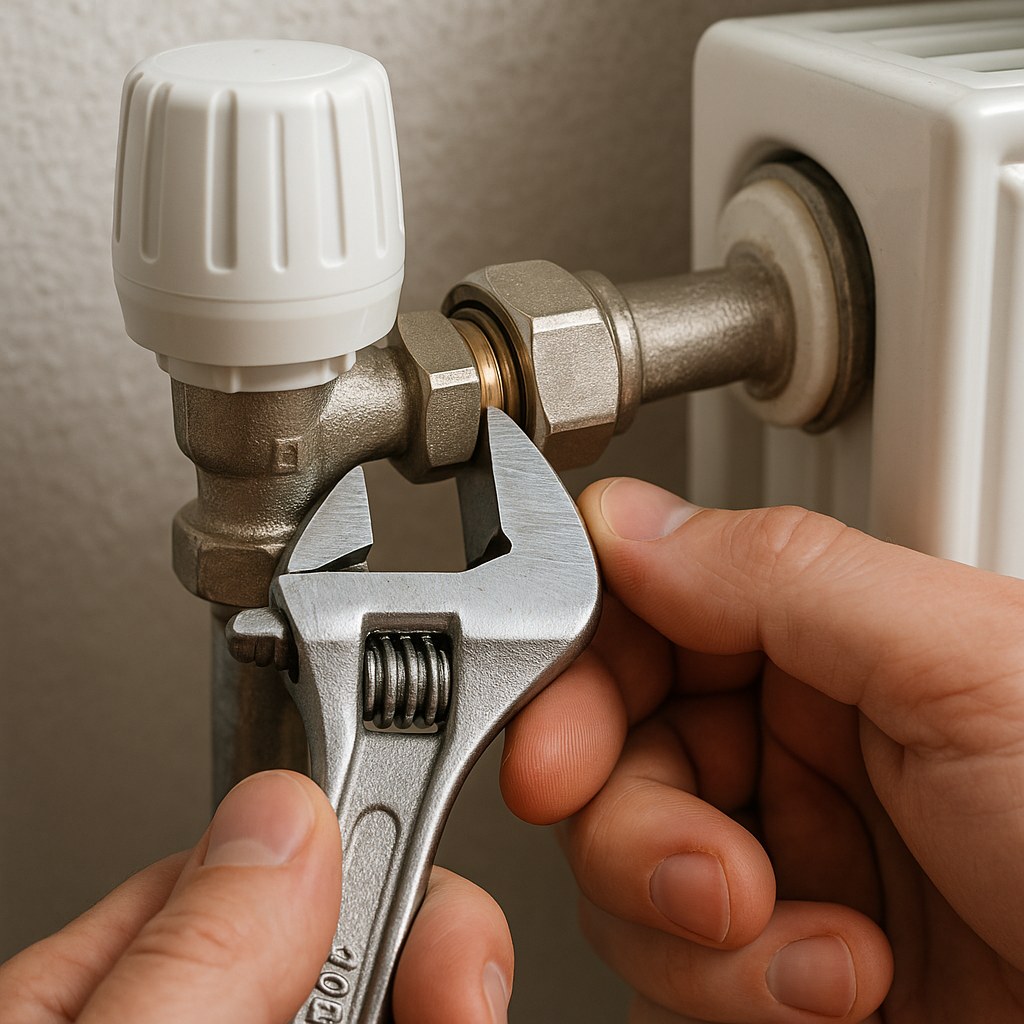
The large union nut connects the control valve to the radiator. Over time, the seal inside can degrade or the nut can loosen due to the expansion and contraction from heating and cooling cycles.
If you see water weeping from the spindle of the control valve (the part you turn), the packing nut inside has likely loosened.
Discovering a pinhole leak or crack in the main body of your radiator is more serious, as it's usually caused by internal corrosion. This means the radiator will need to be replaced soon. However, you can apply a temporary patch to stop the leak until you can schedule a replacement.
This patch should be considered a temporary solution. Start planning for a radiator replacement, as the internal corrosion will only worsen over time.

Once you’ve successfully stopped the leak and observed the area to confirm it’s dry, it’s time to get your heating back up and running.
While DIY is a great way to save money, it's crucial to recognize your limits. You should call a licensed HVAC technician if:
There's no shame in calling for backup! A professional can diagnose complex issues, ensure the repair is done correctly, and check the overall health of your heating system.
Fixing a leaking radiator is a satisfying DIY project that can save you from a costly service call and prevent water damage. By following these steps, you can confidently tackle the most common causes of radiator leaks.
For more expert-guided home repair walkthroughs, maintenance reminders, and a direct line to trusted local professionals for the jobs you can’t handle, download the Casa app today. Casa empowers you to manage your home with confidence, putting expert advice right in the palm of your hand. Stop letting small problems turn into big headaches—let Casa help you get it done right.


