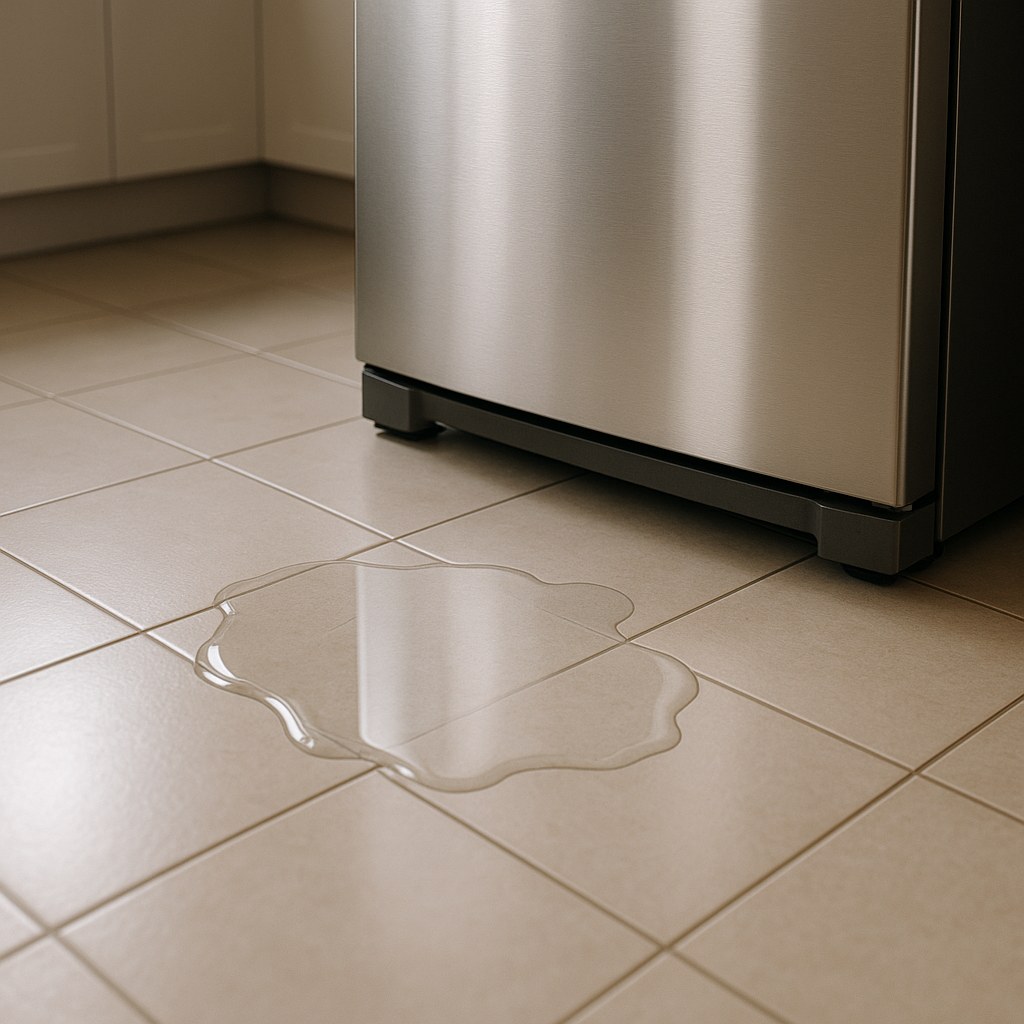
Take a deep breath. A leaking refrigerator or freezer is one of the most common appliance issues homeowners face, and the good news is that the fix is often surprisingly simple and inexpensive. Whether you’re seeing drips behind the unit, puddles on the floor, or water pooling under your crisper drawers, you can likely solve the problem yourself with a few basic tools and a little bit of guidance.
In this post, we’ll walk you through the process step-by-step, just like we’re on the phone with you. We’ll help you identify where the leak is coming from and show you exactly how to fix it.
Why is My Refrigerator Leaking Water?
Before we grab our tools, it helps to understand the usual suspects. Most refrigerator leaks stem from one of these four issues:
- A Clogged Defrost Drain: This is the number one cause of water leaking inside your fridge. Food particles or ice can block the drain tube, causing defrost water to back up and spill out.
- A Loose or Damaged Water Line: If your fridge has an ice maker or water dispenser, the external supply line can become loose, cracked, or improperly connected, causing a leak behind the unit.
- A Cracked or Misaligned Drain Pan: Every refrigerator has a pan at the bottom to collect condensation. If it’s cracked or out of place, water can spill onto the floor.
- Bad Door Seals (Gaskets): Worn-out door seals let warm, moist air into the fridge, creating excess condensation that can overwhelm the drainage system.
Ready to play detective? Let’s find that leak and get it fixed.
Step 1: Find the Source of the Leak
First things first, we need to figure out exactly where the water is coming from. This will tell us what we need to fix.
- Safety First: Unplug the refrigerator or freezer from the wall outlet. You don’t want to be working around electricity and water at the same time.
- Clean Up: Use a towel to mop up all the visible water on the floor. This creates a clean slate so you can spot fresh drips.
- Get a Better View: Carefully slide the appliance straight out from the wall, giving yourself about a foot of space to work behind it. Be careful not to yank on the water line if you have one.
- Look for Drips: Place a flashlight on the floor behind the unit and watch closely for a few minutes. Look for any fresh drips coming from the water supply line or from the rear panel of the fridge.
- Check Inside: Open the doors and thoroughly inspect the interior. Is there any pooled water on the shelves, under the crisper drawers, or on the freezer floor?
Once you’ve pinpointed whether the leak is external (behind the fridge) or internal (inside the fridge), you can move on to the right solution.
Step 2: Fixing an External Leak (The Water Supply Line)
If you found water dripping from the flexible tube behind your fridge, you’ve likely got a water supply line issue. This is common for units with ice makers and water dispensers.
- Inspect the Line: With the appliance still unplugged, take a close look at the thin flexible water supply line. Wipe it down with paper towels and watch for any new moisture appearing on the line itself, which could indicate a crack or pinhole leak.
- Check the Connections: The most common leak points are the connections. Examine the compression nut where the line connects to the back of the appliance. Then, follow the line to the wall and check the shut-off valve connection. Are there any slow drips?
- Tighten the Fitting: If you see a drip at the connection, the fix can be simple. First, turn the shut-off valve clockwise to stop the water flow. Using an adjustable wrench, give the leaking compression nut a gentle quarter-turn clockwise to tighten it. Don’t overtighten it, as this can crack the fitting.
- Test Your Work: Dry the fitting completely with a paper towel, then turn the shut-off valve back on. Watch the connection for at least five minutes. If it stays dry, you’ve solved it!
- If It Still Leaks: Sometimes, the plastic tubing end becomes worn. If tightening didn’t work, turn the water off again and use your adjustable wrench to disconnect the supply line. Use a utility knife to make a clean, straight cut about a half-inch from the end of the tube. Re-attach it to the valve and test again.
If the line itself is cracked or the leak persists after these steps, it’s best to replace the entire supply line. If you’re not comfortable doing this, it might be time to call a professional.
Step 3: Fixing an Internal Leak (The Defrost Drain)
If the water is inside your fridge or freezer, a clogged defrost drain is almost certainly the culprit. Your refrigerator automatically defrosts itself periodically, melting frost off the evaporator coils. This water is supposed to go down a small drain to a pan underneath, where it evaporates. When that drain gets clogged with ice or food debris, the water has nowhere to go but inside your appliance.
How to Clear a Freezer Defrost Drain
If you have a freezer-on-top model or a chest freezer, here’s how to clear the drain:
- Empty the Freezer: Keep the freezer unplugged and move all food items into a cooler with ice.
- Access the Drain Hole: Remove any freezer shelves to get to the rear panel inside. You’ll likely need a phillips screwdriver to remove the screws holding this panel in place.
- Locate the Drain: Behind the panel, you’ll see the evaporator coils. The defrost drain hole is a small opening right at the bottom. It will likely be covered in ice.
- Melt the Blockage: Fill a turkey baster with hot (not boiling) tap water. Carefully squirt the hot water directly into and around the defrost drain hole to melt the ice clog. Continue until water flows freely down the drain. You might hear it trickling into the drain pan below.
- Flush it Clean: To prevent future clogs, mix one tablespoon of baking soda in a cup of hot water and flush the drain with this solution. This helps dissolve any gunk.
- Reassemble: Put everything back—the rear panel, screws, shelves, and food items. Plug the freezer back in and let it run.
How to Clear a Refrigerator Defrost Drain
If you have a side-by-side or bottom-freezer model, the drain is typically located at the back of the fresh food compartment.
- Access the Drain: With the refrigerator unplugged, remove the crisper drawers. You should see a small trough and drain hole at the bottom of the back wall. Sometimes this is hidden by a plastic evaporator cover that you’ll need to unscrew with a phillips screwdriver.
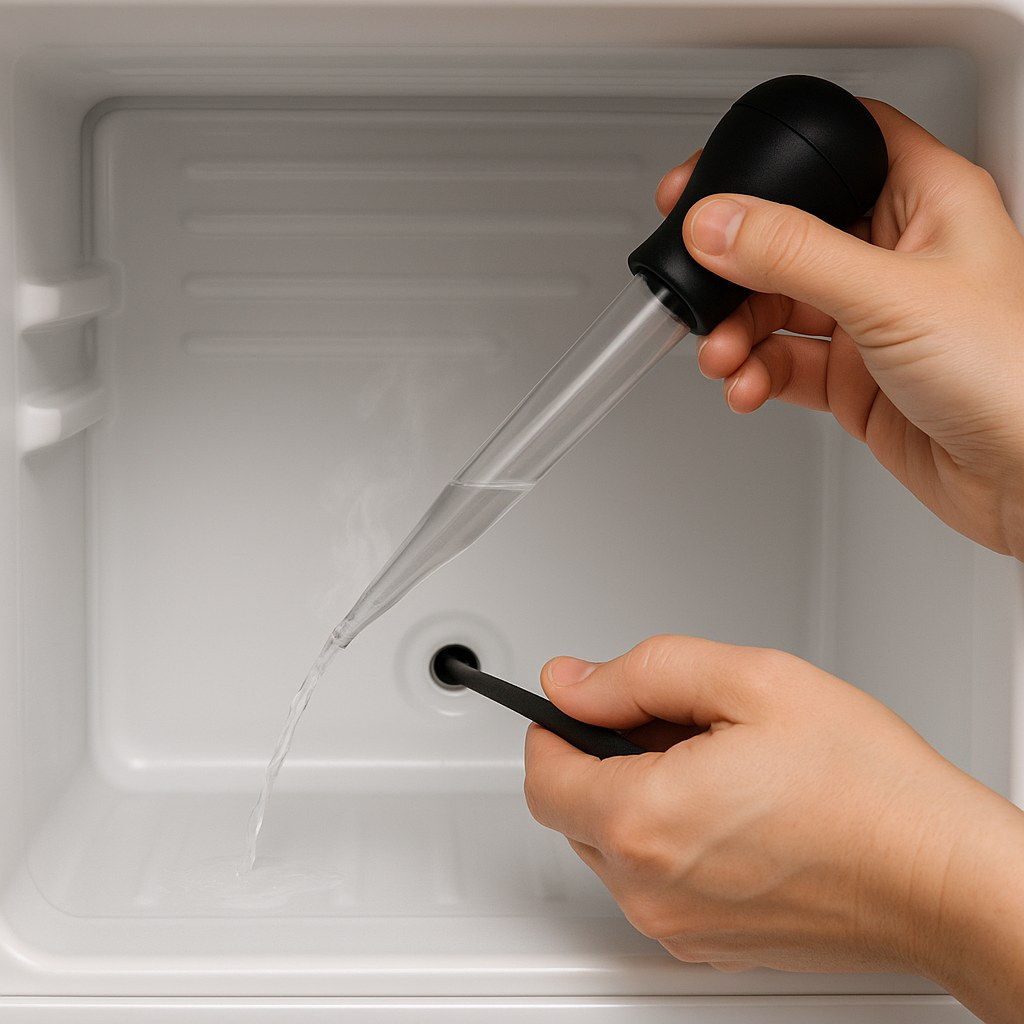
- Clear the Blockage: You can often clear these clogs with a piece of firm ¼-inch plastic tubing or a pipe cleaner. Gently push it into the defrost drain hole to dislodge the clog.
- Flush it Out: Use a turkey baster or small funnel to pour a mix of hot water and baking soda down the drain to flush out any remaining debris.
- Reassemble and Test: Put the cover, shelves, and drawers back in place. Plug the unit in and monitor it for the next 24 hours.
Step 4: Check the Door Gaskets and Drain Pan
If you’ve cleared the drains and are still seeing leaks or heavy condensation, two other components are worth checking.
Inspect the Door Gaskets
A faulty door seal lets in warm air, causing excessive condensation.
- Clean the Gasket: Use a microfiber cloth and warm, soapy water to wipe down the entire door gasket. Debris can prevent a tight seal.
- The Paper Test: Close the refrigerator door on a slip of paper or a dollar bill. If you can pull it out with no resistance, your seal is weak. Test this in several spots around the door.
- Reseat the Gasket: Sometimes, the gasket lip just needs to be pushed firmly back into its channel on the door frame.
- Final Touch: Applying a very thin layer of petroleum jelly to the gasket can help create a better seal.
Inspect and Realign the Drain Pan
The defrost water drains into this pan. If it’s damaged or out of place, you’ll have a leak.
- Access the Pan: With the unit unplugged, remove the kickplate (the grille at the very bottom of the fridge).
- Check for Damage: Slide out the drain pan. Look carefully for any cracks or holes. If it’s damaged, it will need to be replaced.
- Check Alignment: Ensure the drain tube coming from the freezer/fridge compartment is positioned directly over the pan.
- Reposition: Slide the drain pan back into place, making sure it is centered and securely seated.
How Much Does It Cost to Fix a Leaking Refrigerator?
One of the best parts about this repair is how affordable the DIY route is.
- DIY Cost: You can fix most leaks for under $25. A turkey baster, some tubing, or a new water line fitting are all very inexpensive.
- Professional Cost: According to Angi, hiring an appliance repair technician to fix a leak typically costs between $150 and $450, depending on the cause and labor rates in your area.
By tackling this yourself, you can save a significant amount of money and gain the satisfaction of fixing your own appliance.

Still Leaking? Know When to Call for Help
If you’ve worked through all these steps and your refrigerator is still leaking, it might be time to call in a professional. Some issues, like a cracked internal line or a faulty defrost timer, are more complex and require an expert touch.
For all your home maintenance needs, from simple DIY guides like this one to finding trusted, local professionals for the big jobs, download the Casa app. Our goal is to make homeownership easier by giving you the knowledge and resources you need to keep your home running smoothly. Stop leaks, prevent problems, and manage your home with confidence.


