Roof vents, which include plumbing vent pipes and attic ventilators, are necessary penetrations in your roof’s surface. Each one creates a potential entry point for water if not sealed perfectly. The good news is that with a little detective work and the right approach, you can often fix a leaking roof vent yourself in just a couple of hours.
According to the National Roofing Contractors Association, flashing around roof penetrations is one of the most common sources of leaks. The constant exposure to sun, rain, and temperature swings can cause the seals to degrade over time.
In this guide, we’ll walk you through everything you need to know, from safely diagnosing the problem in your attic to performing the most common repairs on your roof. Let's get that leak stopped for good.
Common Causes of a Leaking Roof Vent
Before you climb into the attic, it helps to understand what you’ll be looking for. A roof vent leak is almost always caused by a failure in one of the components designed to keep water out. Here are the usual suspects:
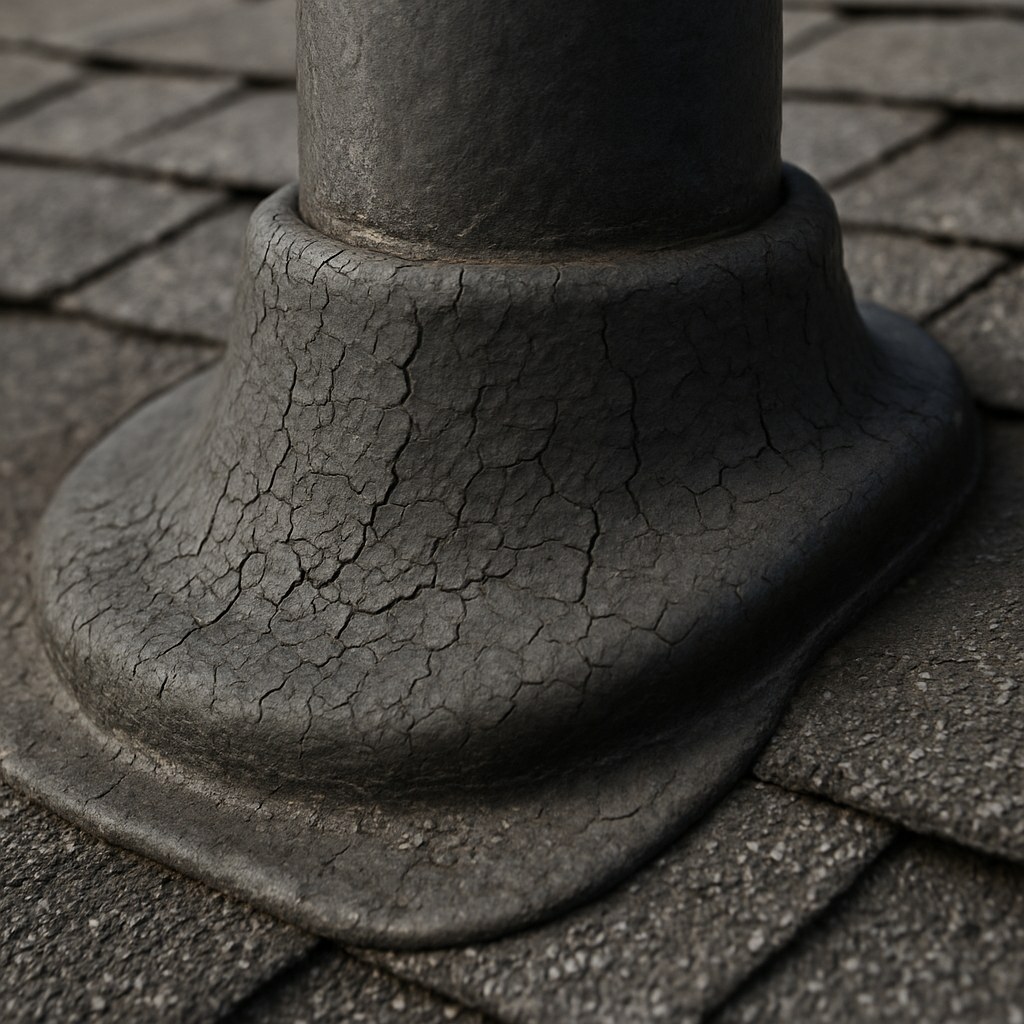
- Cracked Rubber Boot: Most plumbing vent pipes are sealed with a flexible rubber boot (or gasket) that fits snugly around the pipe. UV rays and weather cause this rubber to become brittle, crack, and eventually fail, allowing water to seep in along the pipe.
- Damaged Flashing: Flashing is the metal or plastic piece installed around the vent to direct water away from the opening. If the flashing is bent, rusted, cracked, or was installed incorrectly, it can no longer do its job.
- Failed Sealant: Roofers use a specialized sealant or caulk as a secondary line of defense around the edges of the flashing. Over time, this sealant can dry out, crack, and pull away, creating a direct path for water.
- Cracked Vent Housing: The plastic or metal housing of attic vents can be damaged by hail, falling tree limbs, or simply old age, leading to cracks that let rain in.
Safety First: What to Know Before You Get on the Roof
We can’t stress this enough: your safety is the number one priority. Working on a roof is inherently dangerous, and you should never attempt it unless you are completely comfortable and have the right equipment.
- Wait for Good Weather: Only work on a dry, calm, and sunny day. Never work on a wet, icy, or windy roof.
- Use a Sturdy Ladder: Make sure your ladder is placed on firm, level ground and extends at least three feet above the roofline.
- Wear Proper Footwear: Wear non-slip rubber boots or soft-soled shoes that provide excellent traction.
- Use a Safety Harness: For any roof with a noticeable pitch, a roof safety harness attached to a secure roof anchor is essential. It could save your life.
- Have a Spotter: If possible, have someone on the ground to hold the ladder and be there in case of an emergency.
- Know Your Limits: If your roof is particularly steep or you feel even slightly uneasy about heights, do not proceed. The risk isn't worth it. Call a professional.
Step-by-Step Guide: How to Find and Fix a Leaking Roof Vent
Ready to tackle the job? Let's walk through the process from start to finish.
Step 1: Confirm the Leak's Source in the Attic
Your first stop is the attic. This is where you'll confirm that the vent is, in fact, the source of the leak before you head up onto the roof.
- Gear Up: Grab a good flashlight or headlamp.
- Enter the Attic: Carefully make your way into the attic. Be mindful of where you step—only put your weight on the joists or designated platforms, not on the drywall of the ceiling below.
- Find the Stain: Scan the underside of the roof decking (the plywood or OSB sheathing) for signs of moisture. You’re looking for dark water stains, damp or compressed insulation, or, if it's currently raining, active drips.
- Trace it Uphill: Water runs downhill. Follow the stain or dampness up to its highest point. This is the likely entry point of the leak.
- Pinpoint the Vent: If the highest point of the stain is centered directly around a pipe or vent housing that penetrates the roof, you’ve found your culprit. You can measure from nearby rafters to confirm its position relative to the vent on the roof.
If the leak's highest point isn't near a vent, it could be coming from a nail hole, a damaged shingle, or another issue. In that case, it's best to call a roofing professional for a full inspection.
Step 2: Inspect the Vent from the Outside
Once you've confirmed the leak is coming from a vent and you've taken all the necessary safety precautions, it's time to head up to the roof for a closer look.
Carefully climb onto the roof and make your way to the leaking vent. Here’s what to inspect:
- The Rubber Boot: Look closely at the rubber boot around the pipe. Are there visible splits, cracks, or signs of dry rot? Is it loose around the pipe?
- The Flashing: Use a flat pry bar to gently lift the edges of the shingles around the vent. Inspect the metal or plastic flashing underneath. Is it rusted, bent, or full of holes? Are there obvious gaps?
- The Sealant: Check the existing roofing sealant around the flashing edges. Is it cracked, peeling, or missing entirely?
- The Vent Housing: Examine the vent cap or housing itself. Is it cracked, broken, or are the seams separating?
Your findings here will determine which of the following repairs you need to perform.
Step 3: Perform the Repair
Based on your inspection, choose the appropriate fix below. These instructions are primarily for standard asphalt shingle roofs, the most common type in North America.
Fix 1: Reseal the Flashing Edges
This is the simplest fix and is appropriate when the boot and flashing are in good shape, but the old sealant has failed.
- Clean the Area: Use a stiff wire brush to scrub away any dirt, debris, and loose sealant from the edges of the flashing.
- Remove Old Sealant: Carefully use a utility knife to cut away any stubborn old roofing sealant.
- Apply New Sealant: Using a caulk gun, apply a continuous bead of high-quality roofing sealant along the top and side edges where the flashing meets the roof. Important: Leave the bottom edge of the flashing unsealed to allow any trapped moisture to drain out.
- Smooth the Bead: Use a gloved finger to smooth the bead, ensuring it makes full contact with both the flashing and the shingles.
Fix 2: Replace the Rubber Boot
This is one of the most common roof leak repairs. If the rubber boot is cracked, it must be replaced.
- Lift the Shingles: Gently slide a flat pry bar under the shingles surrounding the vent pipe to break their seal and expose the nails holding the old flashing in place.
- Remove Old Flashing: Use the pry bar to carefully pull out the nails holding the old rubber boot flashing. Lift the entire unit straight up and off the vent pipe.
- Install the New Boot: Slide the new rubber boot flashing down over the pipe until it sits flat against the roof decking. The top half of the flashing flange should slide under the shingles above it, and the bottom half should lie on top of the shingles below it.
- Secure the Flashing: Secure the new flashing with roofing nails through the top and side flanges. Do not nail the bottom flange.
- Seal It Up: Lay the shingles back down. Apply a dab of roofing sealant over every nail head you exposed or added. Apply a small amount of sealant under the edges of any shingles you had to lift to help them reseal.
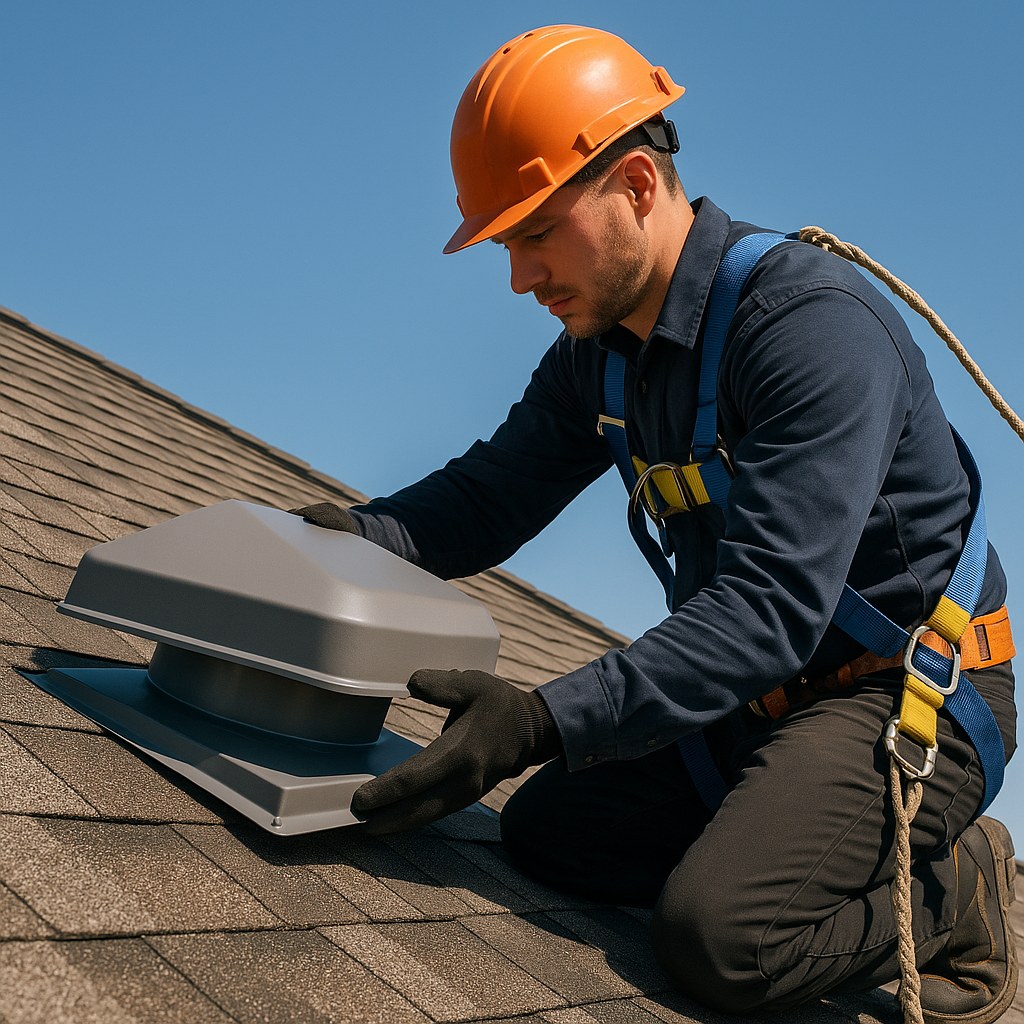
Fix 3: Replace the Entire Vent Unit
If the vent housing itself is cracked or severely damaged, you'll need to replace the whole unit. The process is similar to replacing the rubber boot but on a larger scale.
- Expose the Vent: Use your flat pry bar to gently lift all the shingles touching the old roof vent to expose the nails securing its flashing flange.
- Remove the Old Vent: Carefully pry up and remove all the nails holding the vent in place. Lift the old roof vent off the roof.
- Prepare the New Vent: Apply a 1/4-inch bead of roofing sealant to the entire underside of the new roof vent's flange. This creates a watertight gasket.
- Set the New Vent: Position the new vent, ensuring the top flange slides under the shingles above it. Press it down firmly into the sealant.
- Fasten and Seal: Secure the new vent with roofing nails in the provided holes. Lay all the shingles back into place and apply roofing sealant over every exposed nail head to prevent future leaks.
How Much Does This Repair Cost?
One of the best things about this repair is how affordable it can be if you do it yourself.
- DIY Cost: You can typically buy the necessary materials for $20 to $60. A tube of roofing sealant costs around $10, a new rubber boot flashing is $15-$30, and a new plastic roof vent is $20-$50.
- Professional Cost: Hiring a professional roofer to fix a leaking vent typically costs between $250 and $750. The price varies based on your location, the roof's pitch, and the complexity of the repair. While it costs more, you're paying for their expertise, safety equipment, and a guarantee on their work.
When It's Time to Call a Professional
DIY is empowering, but it's crucial to know your limits. It's time to call a professional roofer if:
- You are not 100% comfortable with working at heights.
- Your roof is very steep or made of a delicate material like slate or tile.
- You performed the repair, but the leak persists after the next rainfall.
- You discover widespread shingle damage, soft spots in the roof decking, or multiple leaks.
- The source of the leak isn't obvious.
A small leak can become a huge, expensive problem if not addressed correctly. When in doubt, call in an expert.
For more home maintenance tips, easy-to-follow DIY guides, and instant access to vetted, local professionals for the jobs you can't handle, download the Casa app today. We're here to help you manage your home with confidence, one project at a time.


