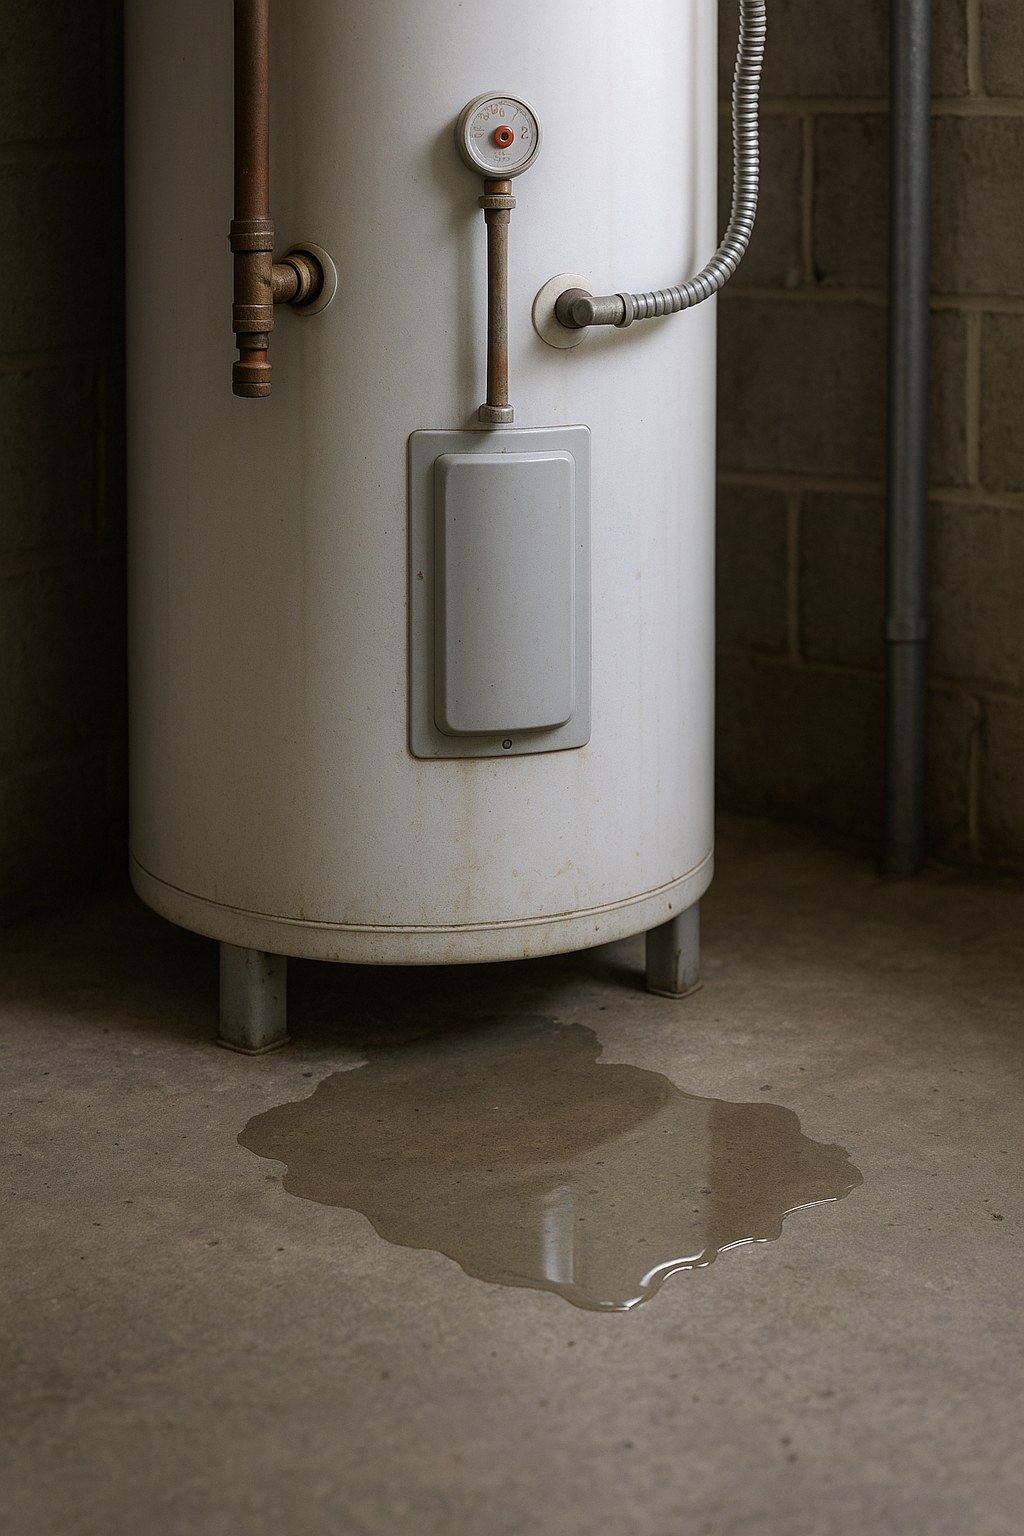
Before you panic, take a deep breath. A leaking water heater is definitely serious, but it’s not always a catastrophe. Many common leaks are surprisingly easy and inexpensive to fix yourself. The key is to act quickly and diagnose the problem correctly.
Ignoring a leak, no matter how small, is never a good idea. That tiny drip can lead to mold growth, rotted flooring, and significant structural damage over time. In fact, according to the Insurance Institute for Business & Home Safety, water heater failures are one of the top five sources of water damage in homes, costing homeowners an average of over $4,000 per incident.
This guide is here to walk you through everything, just like a friendly expert on the phone. We'll help you assess the situation, take immediate safety precautions, pinpoint the source of the leak, and fix the most common issues. Let’s get that leak stopped!
First Things First: Safety and Damage Control
Your first step is to figure out if you have a minor drip or a major emergency on your hands. The amount of water and how fast it's pooling will tell you what to do next.
Is it a major leak? If you see water pooling quickly and rising more than an inch deep in just a few minutes, you need to perform an emergency shutdown immediately.
How to Perform an Emergency Shutdown:
- Shut Off the Water Supply: Find the cold water pipe that runs into the top of your water heater. There will be a valve on this pipe—it might be a wheel-style handle or a lever. Turn it clockwise all the way until it stops. This cuts off the water supply to the tank.
- Cut the Power or Gas:
- For an electric water heater: Go to your home's main electrical panel (breaker box). Find the circuit breaker that controls the water heater—it should be labeled. Flip it to the "OFF" position. This is a crucial safety step to prevent electrical shock.
- For a gas water heater: Look for the gas control knob on the gas valve, which is usually a small box near the bottom of the tank. Turn the knob to the "OFF" position. You may also want to shut off the main gas supply line leading to the unit.
- Drain the Tank (Optional but Recommended): Attach a standard garden hose to the drain valve at the bottom of the tank. Run the other end of the hose to a floor drain or outside. Open the drain valve to relieve pressure and drain the remaining water, preventing it from ending up on your floor.
- Call a Professional Immediately: A rapid leak often indicates a ruptured tank, which is not a DIY repair. After you’ve secured the area, call a certified HVAC technician or plumber right away.
If you only have a slow drip or a small, stable puddle, you can breathe a little easier. You likely have a fixable problem and can proceed with some troubleshooting.
Know Your Heater: Tank vs. Tankless
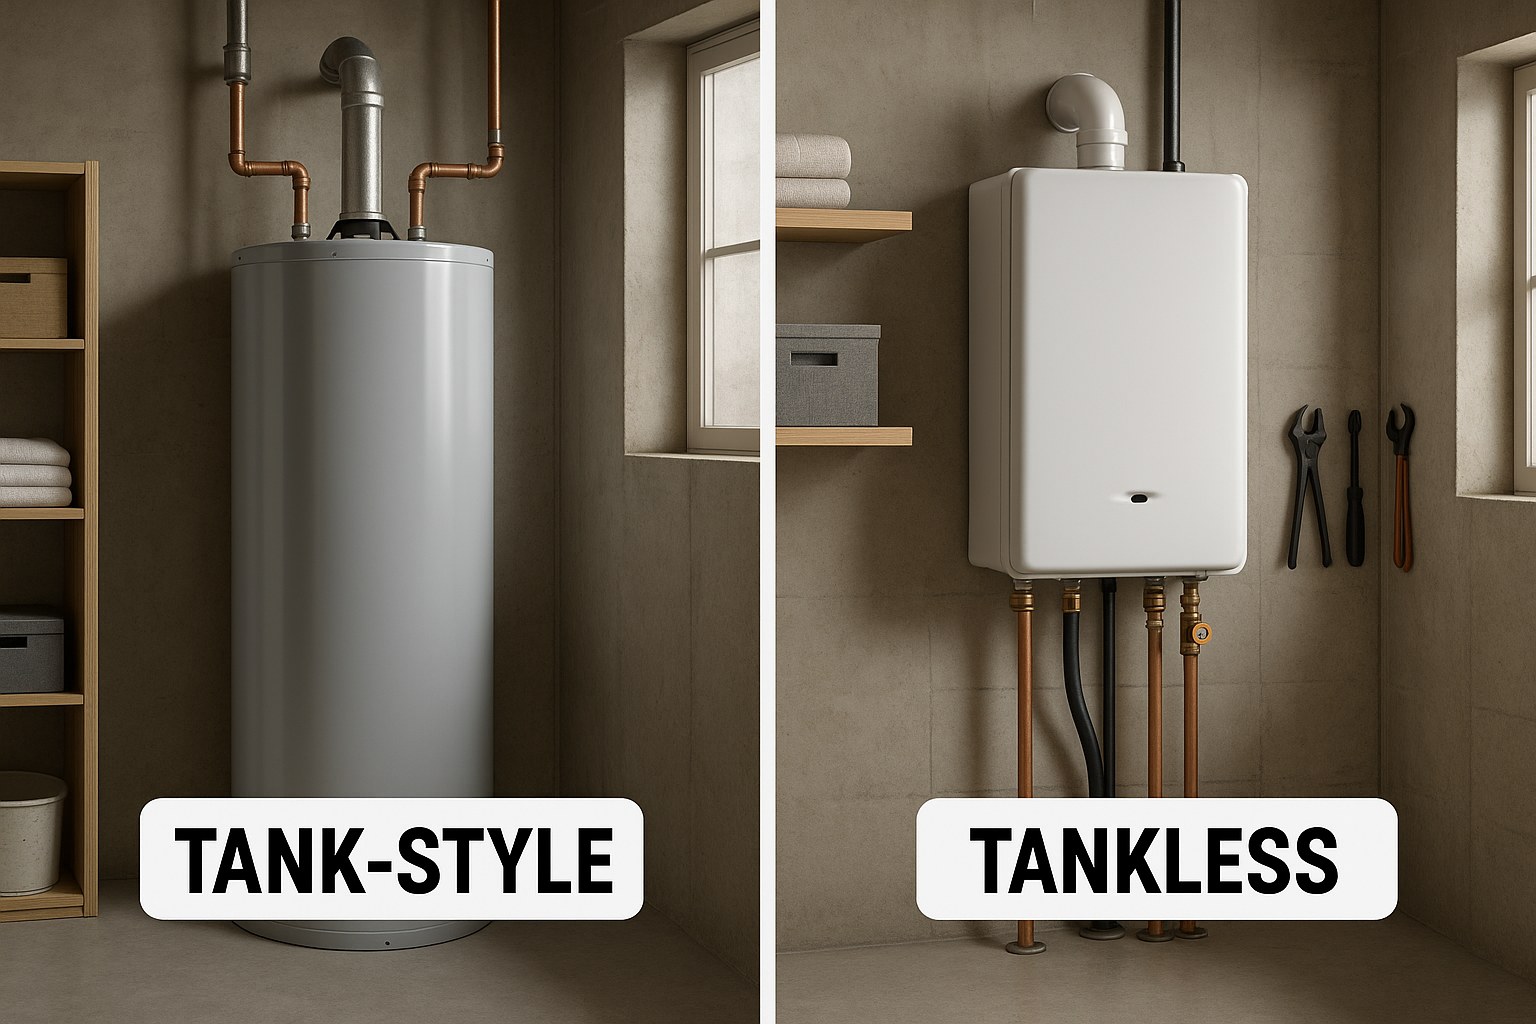
Before you can find the leak, you need to know what kind of water heater you’re working with. The two main types found in homes are tank-style and tankless.
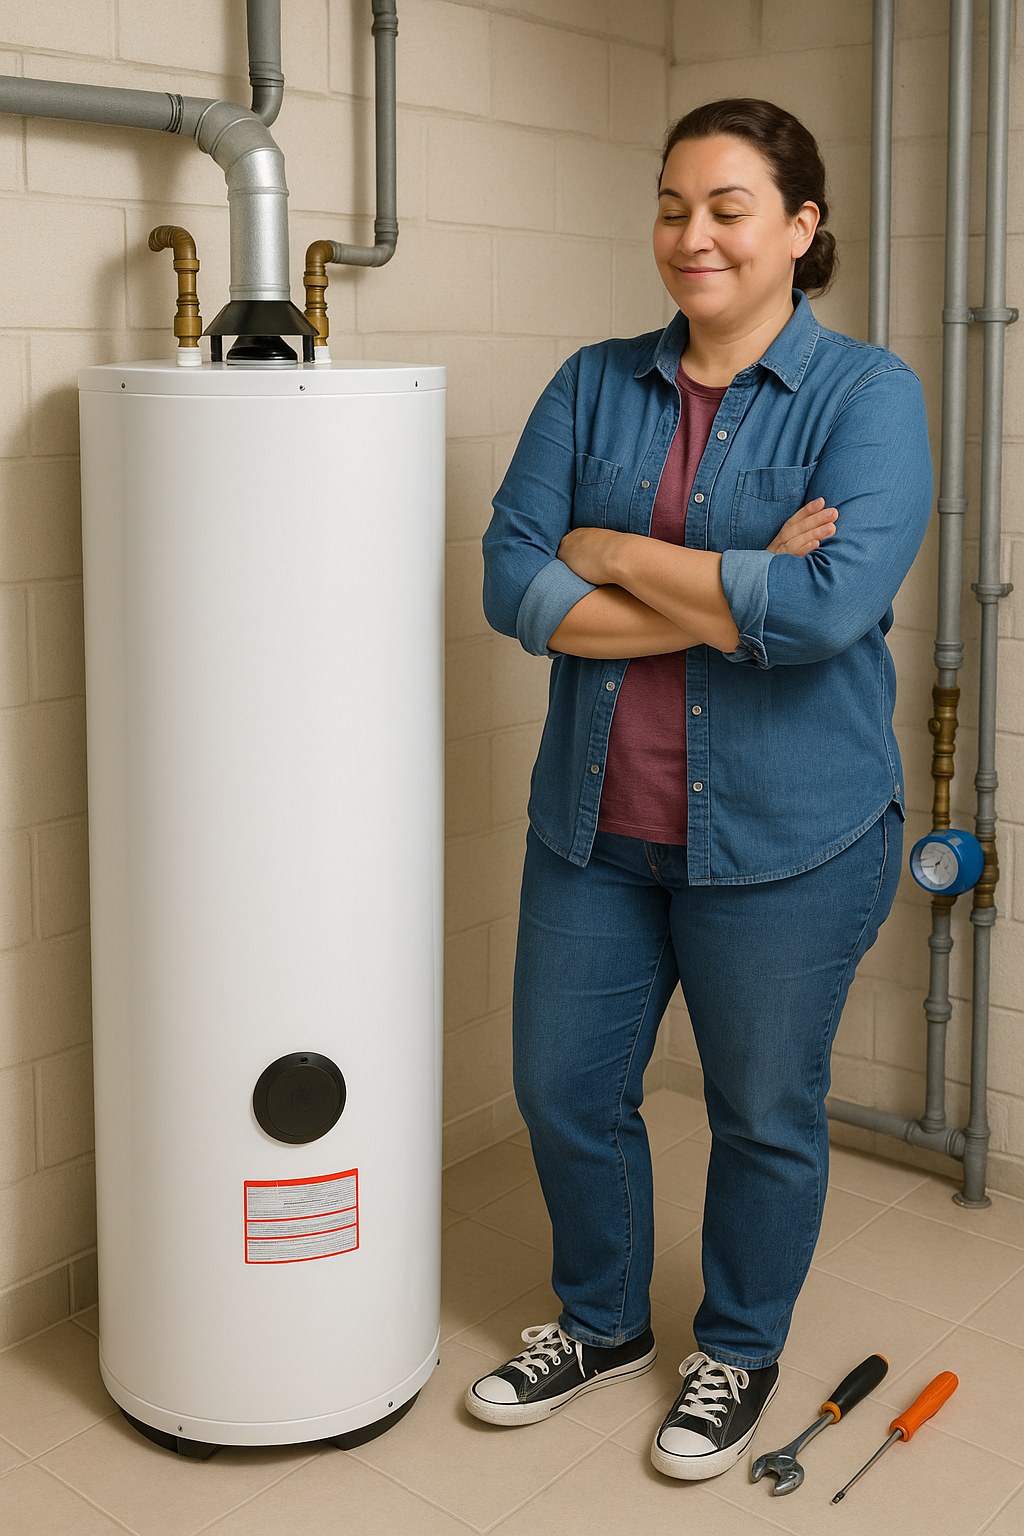
- Tank-Style Water Heater: This is the most common type. It looks like a large metal cylinder, typically holding between 30 and 80 gallons of water. It heats the water and stores it in the tank, ready for use.
- Tankless Water Heater: This is a much smaller, rectangular metal box mounted to a wall. Instead of storing hot water, it heats water on demand as it flows through the unit.
The location of potential leaks will differ between these two types, so let's break down the troubleshooting process for each.
Finding the Source: Troubleshooting Your Tank-Style Heater
For slow leaks on a tank-style heater, the water source can sometimes be tricky to find. Gravity can cause water to run down pipes or the side of the tank, making the puddle at the bottom misleading. Here’s how to play detective:
- Dry Everything Off: Use paper towels or a dry rag to completely wipe down the tank, all the pipes connected to it, and the valves.
- Watch and Wait: Carefully observe every connection point for at least a few minutes. A fresh bead of water will reveal the true source of the leak.
Here are the most common culprits:
1. Leaking Pipe Connections
- Where to Look: Check the cold water inlet and hot water outlet pipes at the top of the tank.
- The Fix: This is often the best-case scenario! A loose connection is simple to fix. Grab an adjustable wrench and place it on the fitting of the leaking pipe. Turn it clockwise just a quarter turn. Be careful not to overtighten, as this can damage the fitting. Dry the area again and watch to see if the drip has stopped.
2. The Temperature and Pressure (T&P) Relief Valve
- Where to Look: This is a brass valve located on the side or top of the tank, with a small lever and a pipe that runs down toward the floor.
- The Fix: The T&P valve is a safety feature designed to release water if the temperature or pressure inside the tank gets too high. If it's leaking, it could be due to sediment buildup or a faulty seal. Replacing it is a straightforward DIY job.
How to Replace a T&P Valve (Tank-Style):
- Turn off the water and power/gas to the heater.
- Place a bucket under the valve’s discharge pipe to catch water.
- Gently lift the valve’s lever for a few seconds to release any built-up pressure.
- Using an adjustable wrench, turn the old valve counter-clockwise to unscrew and remove it.
- Wrap the threads of the new T&P valve with plumber's tape (3-4 times clockwise).
- Screw the new valve in by hand, then tighten it with the wrench another half-turn.
- Restore water and power/gas, then check for leaks.
3. The Drain Valve
- Where to Look: This is the spigot-like valve at the very bottom of the tank.
- The Fix: The drain valve is used to empty the tank for maintenance. Sometimes, it doesn't seal completely after use or deteriorates over time, causing a persistent drip. The quickest and easiest fix is to simply screw a hose cap onto the threaded outlet. You can find one at any hardware store. Hand-tighten it until snug, and it should stop the leak.
What About Tankless? How to Find and Fix Leaks
Tankless water heaters have fewer parts, but leaks can still happen. The diagnostic process is similar: dry all the connections and watch for fresh drips.
The most common leak sources on a tankless unit are:
- Pipe Connections: Just like a tank-style heater, the threaded fittings where water lines connect to the unit can become loose. A gentle quarter-turn with a wrench is usually all it takes to fix it.
- Pressure Relief Valve: Tankless units also have a pressure relief valve, often as part of an isolation valve kit. If this valve is dripping, the replacement process is nearly identical to the tank-style version, but make sure you buy a valve specifically designed for a tankless heater.
When to Call a Professional: Leaks You Shouldn't Ignore
While many leaks are fixable, there is one major exception: a leak coming from the tank itself.
If you've checked all the pipes and valves and see water seeping from the bottom seam of the tank or from the sides of the metal jacket, it means the inner tank has corroded and failed. This is not repairable. The entire water heater needs to be replaced. If this is your situation, perform the emergency shutdown steps immediately and call a professional.
DIY vs. Professional: Understanding the Costs
One of the biggest benefits of tackling a repair yourself is the cost savings.
- DIY Repair Costs: A new T&P valve or a hose cap for the drain valve will typically cost you between $15 and $30 at your local hardware store.
- Professional Repair Costs: Hiring a plumber or HVAC technician for a simple repair like a valve replacement might cost between $150 and $400.
- Professional Replacement Costs: If your tank has failed, you'll need a full replacement. According to Forbes Home, the national average cost to replace a water heater is between $815 and $1,784, including installation.
Take Control of Your Home Maintenance
A leaking water heater can be stressful, but by following these steps, you can confidently assess the problem, perform simple repairs, and know exactly when you need to bring in an expert. Staying on top of home maintenance is the best way to prevent small issues from turning into costly disasters.
For more expert advice, step-by-step repair guides, and a direct line to trusted, local professionals for those jobs you can’t handle alone, download the Casa app today. Casa empowers you to manage your home with confidence, saving you time, money, and stress.


