The good news is that fixing a loose staircase railing is often a straightforward DIY project that you can tackle in an afternoon with just a few basic tools. Whether your handrail is attached to the wall or supported by posts, we’ll walk you through how to diagnose the problem and secure it for good.
First Things First: Diagnose the Wobble
Before you can fix the problem, you need to understand where the looseness is coming from. Stair railings are typically installed in one of two ways, and the fix depends on your setup.
- Wall-Mounted Railing: This type of handrail is attached directly to the wall using several metal brackets. The wobble usually originates from loose screws in these brackets, stripped screw holes in the wall, or failing wall anchors.
- Post-Mounted Railing: This railing is supported by large vertical posts, called newel posts, at the top and bottom of the staircase, and sometimes includes smaller vertical spindles or balusters in between. The looseness here often comes from the connection point between the handrail and the newel post, or where the newel post itself is anchored to the floor or stair tread.
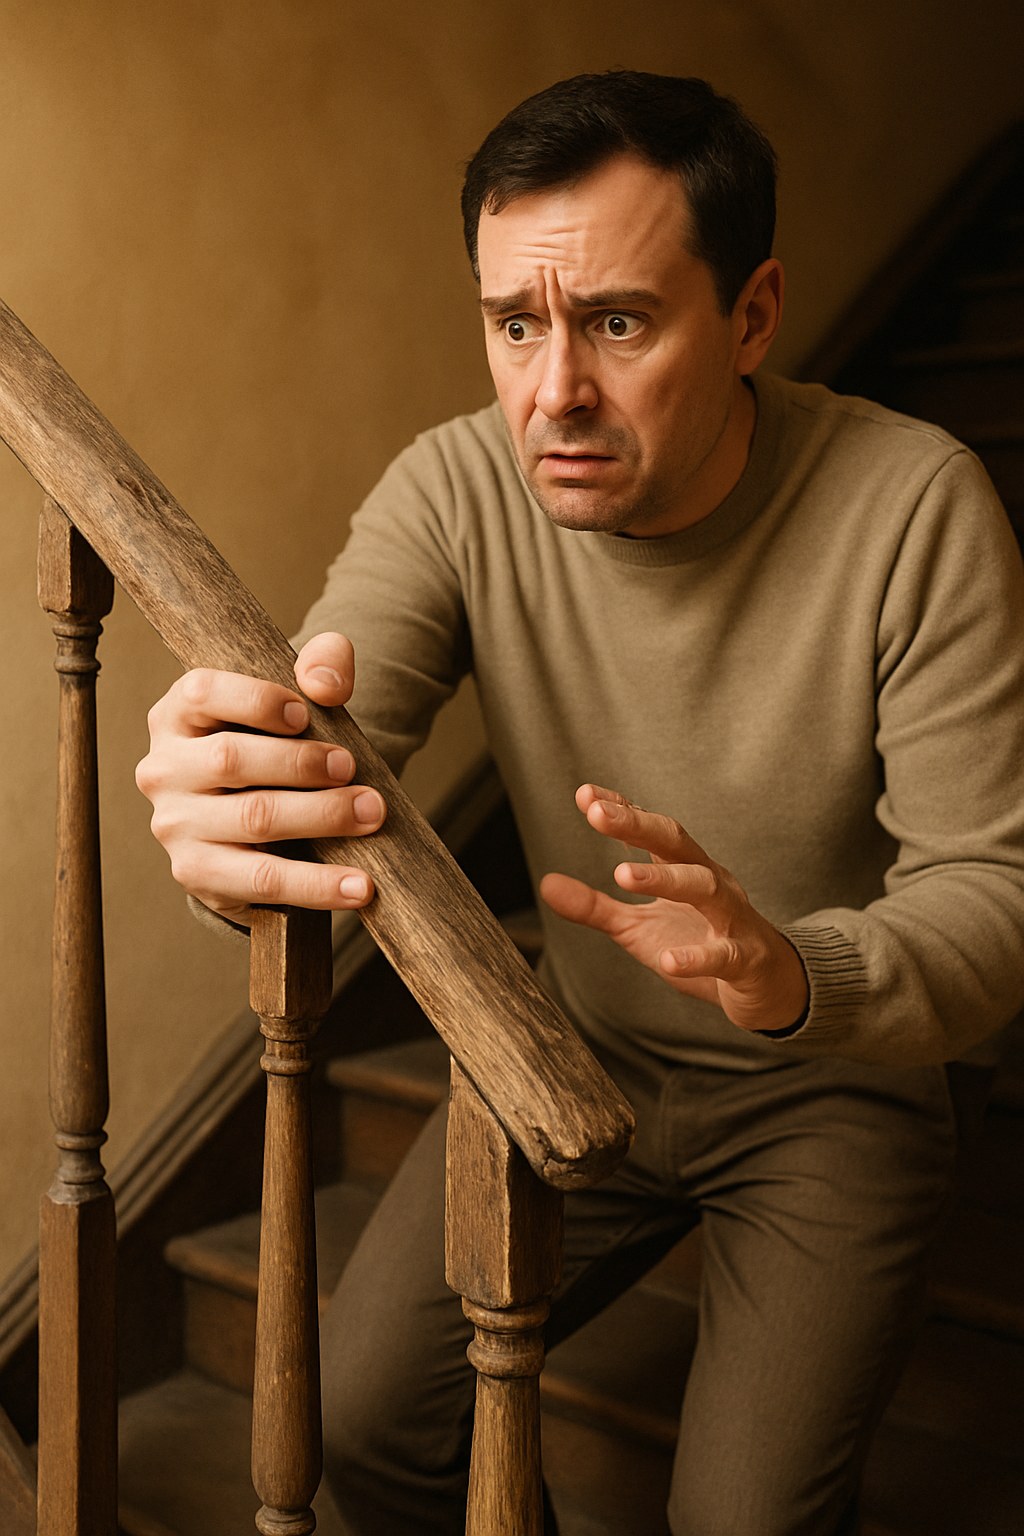
To start, clear your staircase of any objects. Now, firmly grasp the handrail and give it a good shake in different spots. Try to pinpoint the source of the movement. Is it wiggling at a specific wall bracket? Is the entire newel post at the bottom moving? Once you've identified the type of railing you have and the general location of the problem, you can move on to the specific fix.
How to Fix a Loose Wall-Mounted Railing
If your handrail is attached to the wall, the problem almost always lies with the brackets. Let's walk through the repair process, from the simplest fix to the more robust solutions.
Step 1: Inspect the Brackets and Tighten the Screws
This is the easiest and most common fix. Over time, the constant pressure on the handrail can cause the screws holding the brackets to the wall to loosen.
- Inspect Each Bracket: Go to each bracket that holds the handrail to the wall. Wiggle it with your hand to confirm which ones are loose.
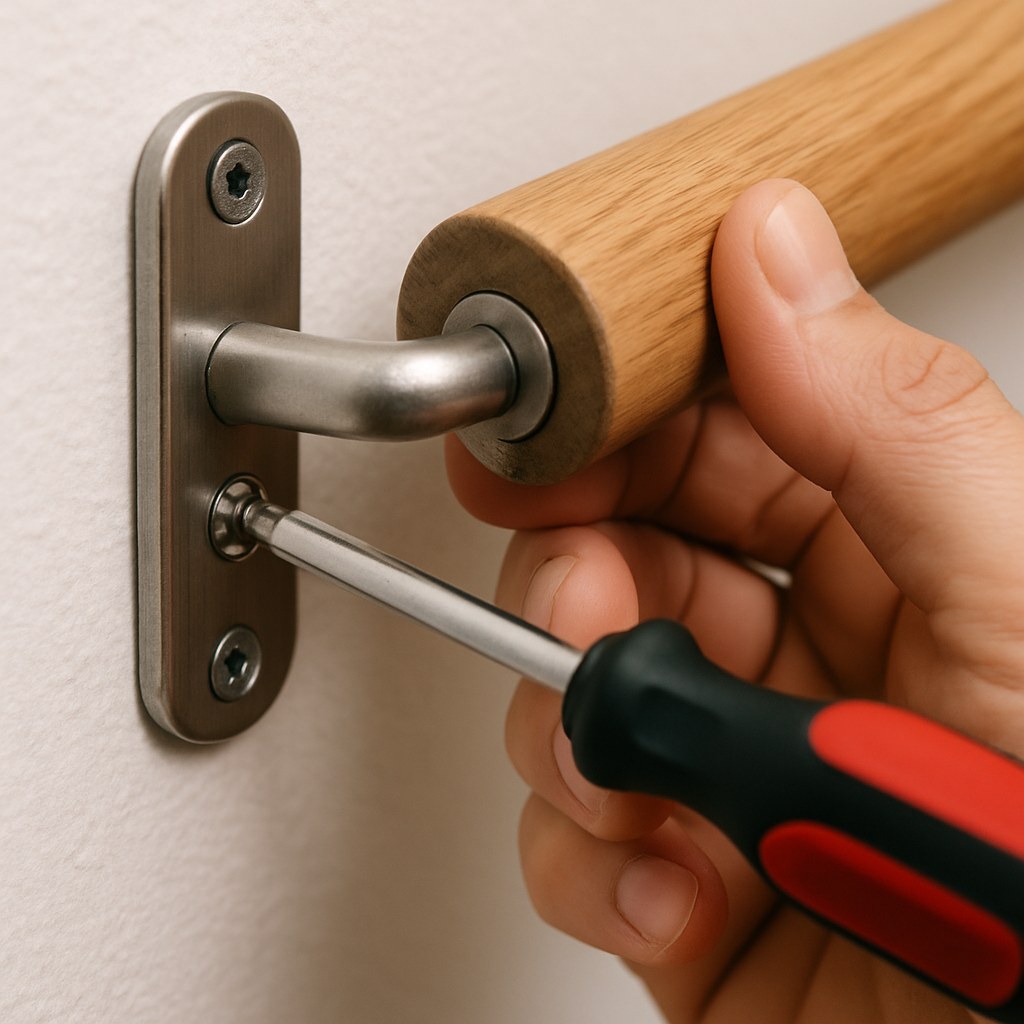
- Tighten the Screws: Using a Phillips screwdriver, tighten every screw on each bracket. Turn clockwise until the screw is snug. Be careful not to overtighten, as this can strip the wood or drywall, making the problem worse.
- Test the Railing: After tightening all the screws, give the handrail another firm shake. If the wobble is gone, you’re all set!
Step 2: What If the Screws Just Keep Spinning?
If you turn a screw and it just spins in place without getting any tighter, you have a stripped screw hole. This means the wood or drywall no longer has enough material for the screw threads to grip. Don’t worry, this is also a very common issue with a couple of great solutions.
Solution A: Reinforce with Wall Anchors
If your brackets are mounted directly into drywall, using wall anchors can provide a much more secure hold.
- Tools Needed: Drill, drill bit set, plastic wall anchors, Phillips screwdriver.
- Instructions:
- Remove one of the loose screws from the wall bracket.
- Select a drill bit that is the same diameter as the new plastic wall anchor.
- Drill the existing screw hole to widen it for the anchor.
- Gently tap the plastic anchor into the hole until its lip is flush with the wall.
- Realign the bracket over the hole and drive the original screw into the new anchor until it's tight.
- Repeat this process for any other stripped screw holes.
Solution B: Repair the Hole with Wood Glue and Dowels
This classic carpenter’s trick works wonderfully if the screw was originally in a wooden wall stud or if you want an even stronger fix in drywall.
- Tools Needed: Wood glue, wooden dowels (or golf tees/toothpicks), utility knife, drill, drill bit set, Phillips screwdriver.
- Instructions:
- Remove the bracket from the wall completely.
- Squeeze a generous amount of wood glue into each of the stripped holes.
- Insert small wooden dowels or several toothpicks into each glue-filled hole until it's packed tightly.
- Let the glue dry completely (check the bottle for specific times, but allow at least 30-60 minutes).
- Once dry, use a utility knife to carefully trim the ends of the dowels flush with the wall.
- You’ve now created a solid new surface. Position the bracket back over the repaired holes.
- Drill new, smaller pilot holes into the center of your dowel plugs.
- Drive the original screws back in. They should now bite firmly into the new wood.
After trying these reinforcements, test the railing again. It should feel solid and secure.
How to Fix a Loose Post-Mounted Railing
If your main newel post is wiggling, the repair is a bit different but still very manageable. The goal is to strengthen the connection between the post and the floor or the handrail.
Step 1: Inspect and Tighten the Post Fasteners
Newel posts are typically secured with large bolts or screws.
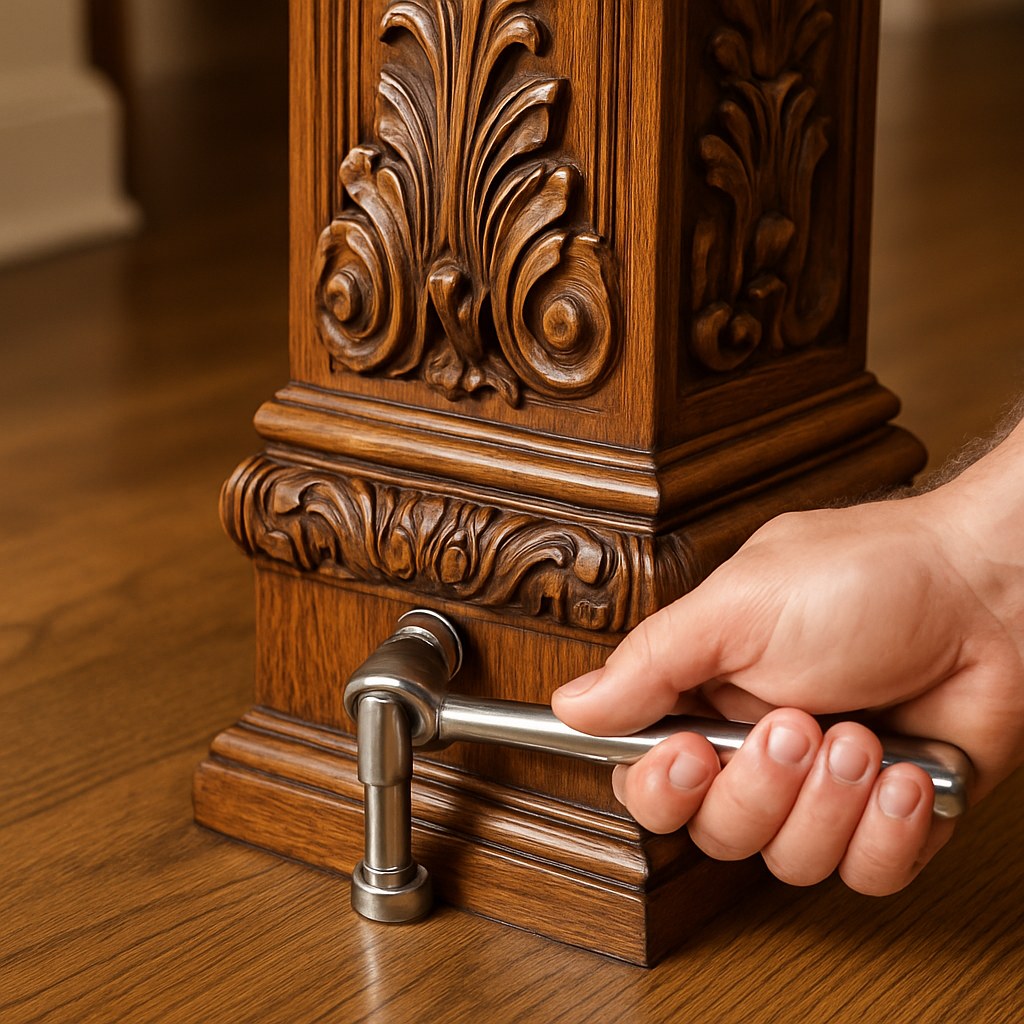
- Look for Fasteners: Check the base of the newel post. Sometimes the bolts are visible. Often, they are hidden behind a small, decorative piece of wood trim or a wooden plug. If you find a plug, you can often gently pry it off with a putty knife to access the bolt underneath.
- Tighten the Hardware: Use a socket wrench to tighten any lag bolts you find at the base of the post. Turn them clockwise until they are firm. If you find wood screws connecting the post to the stair stringer (the diagonal board), tighten them with a drill or screwdriver.
- Check the Rail-to-Post Connection: Also, check where the handrail connects to the top of the post. Tighten any screws or bolts you find there.
- Test Your Work: Shake the post again. A simple tightening is often all that's needed to eliminate the wobble.
Step 2: Reinforce with Angle Brackets
If tightening the existing hardware doesn’t solve the problem, the wood joints may have loosened over time. Adding metal brackets is a surefire way to add strength and rigidity.
- Tools Needed: Steel angle brackets (L-brackets), wood screws (1 ½-inch), drill, drill bit set.
- Instructions:
- Position a steel angle bracket at the joint where the post meets the floor or stair tread. Place it in an inconspicuous location if possible.
- Use a pencil to mark the screw hole locations on both the post and the floor.
- Drill pilot holes on your marks. This prevents the wood from splitting when you drive the screws in.
- Secure the bracket firmly in place with wood screws.
- You can add another bracket on an adjacent side of the post for maximum stability. You can also use this method to reinforce the joint between the handrail and the post.
Step 3: Repairing Damaged or Rotted Wood
If you notice that the wood around the fasteners is soft, cracked, or rotten, simply tightening the screws won't work. The hardware needs solid wood to grip.
- Tools Needed: Putty knife, epoxy wood filler, medium-grit sandpaper.
- Instructions:
- Use a putty knife or a screwdriver to scrape out all the soft, rotten wood fibers.
- Mix the two-part epoxy wood filler according to the product directions.
- Press the filler firmly into the cavity, slightly overfilling it.
- Allow the epoxy to fully cure (this can take up to an hour). It will become rock-hard.
- Sand the repaired area smooth and flush with the surrounding wood.
- You can now re-drill pilot holes and securely re-attach your fasteners.
Cost of Fixing a Loose Railing: DIY vs. Pro
One of the best parts about this project is how affordable it is.
- DIY Cost: You can fix most loose railings for under $20. A pack of wall anchors, a small bottle of wood glue, or a couple of angle brackets are all very inexpensive.
- Professional Cost: Hiring a handyman or carpenter to fix a loose railing typically costs between $100 and $300, depending on the complexity of the issue. According to HomeAdvisor, simple repairs are on the lower end of that range, while more complex structural fixes will cost more.
When Should You Call a Professional?
While most loose railings are a simple DIY fix, there are times when it’s best to call in an expert. Contact a professional carpenter or contractor if:
- You’ve tried the fixes above and the railing is still wobbly.
- The newel post is so loose that it feels like it could detach completely.
- You see significant wood rot or termite damage in the post, handrail, or the stairs themselves.
- The wall supporting the brackets is crumbling or damaged.
Your Home, Safe and Sound
Taking an hour to fix a loose stair railing is a small investment that pays huge dividends in safety and peace of mind. By following these steps, you can confidently secure your staircase and protect everyone in your home.
Looking for more easy-to-follow guides for your home maintenance projects? Download the Casa app today! Casa provides step-by-step instructions for hundreds of DIY repairs and connects you with vetted, local professionals when you need a helping hand. Keep your home in top shape with Casa.


