Most of the time, the problem is something you can solve yourself in a few minutes, like a burned-out bulb or a tripped circuit breaker. This guide will walk you through the steps to diagnose the problem calmly and get your light working again.
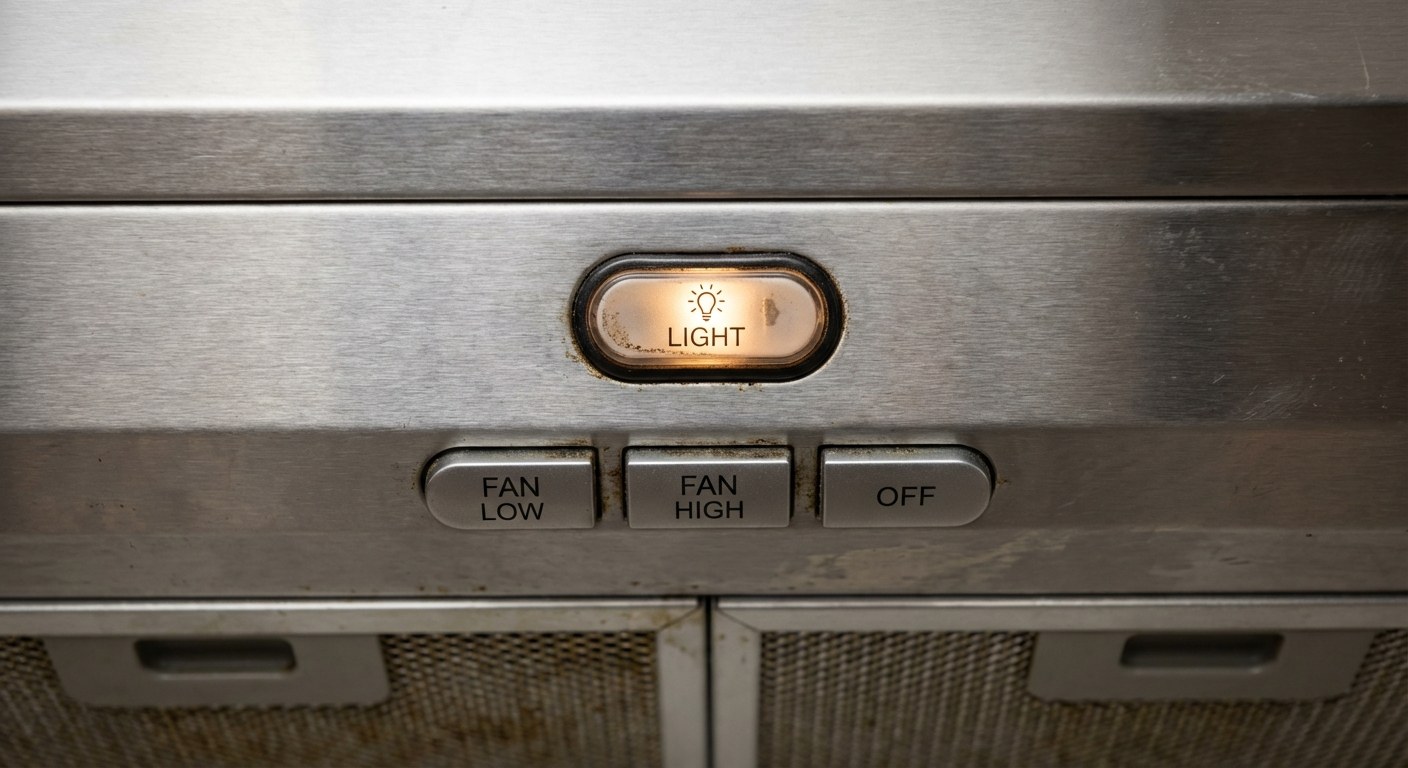 Image Alt: A person's finger pressing the light button on a stainless steel range hood control panel.
What a Non-Working Vent Light Usually Means
Before you start, it helps to know the likely culprits. When a range hood light fails, it’s typically due to one of these four reasons:
- A burned-out light bulb: Just like any other bulb in your home, these have a limited lifespan.
- A tripped circuit breaker: The circuit supplying power to the hood may have been interrupted.
- A stuck switch or control board issue: Sometimes, the electronics just need a quick reset.
- A loose connection or faulty part: In some cases, an internal component like a light socket or an LED module has failed.
Let's work through these possibilities, starting with the simplest ones first.
Step 1: Start with Simple Resets
Before taking anything apart, let’s rule out a simple glitch with the controls.
- Toggle the switch: Press the light switch on and off three or four times. This can sometimes fix a contact that is momentarily stuck.
- Check for other settings: If your range hood has a brightness dimmer or a timer function, make sure they are set to their highest or manual "on" position.
- Look for error codes: Check the control panel for any blinking lights or codes. If you see one, make a note of it. You may need it if you end up calling a professional.
- Test the fan: Try turning on the vent fan. If the fan doesn't work either, the issue is almost certainly a lack of power to the entire unit. If the fan does work, you know the hood is receiving power, and the problem is specific to the light.
If the fan works but the light doesn't, the next step is to reset the unit's control board. You can do this by unplugging the range hood or, more easily, by turning its circuit breaker off for 30 seconds and then back on.
Step 2: Check the Power Supply
If neither the fan nor the light works, it’s time to check your home's electrical panel. A circuit breaker is a safety switch that automatically trips to the "off" position to prevent damage from an overloaded or short circuit.
- Locate your electrical panel: This is usually in a garage, basement, or utility closet.
- Look for a tripped breaker: Open the panel door and look for a switch that is in the "off" position or in a middle position between "on" and "off." Most breakers are labeled, so you might find one marked "Kitchen" or "Appliances."
- Reset the breaker: To reset it, push the switch firmly to the "off" position, then flip it back to "on."
Return to the kitchen and try the light switch again. If it now works, your problem is solved.
When to stop: If the breaker trips again immediately or every time you try to use the range hood, do not reset it again. This indicates a more serious electrical issue. It’s time to stop and call a licensed electrician to inspect the circuit.
Step 3: Replace the Light Bulb
If the unit has power but the light is still off, the most likely cause is a simple burned-out bulb. This is a safe and easy fix for any homeowner.
Important safety step: Before you begin, go back to your electrical panel and turn off the circuit breaker that supplies power to the range hood. This ensures there is no electricity running to the appliance while you work.
- Remove the light cover: Most range hoods have a small glass or plastic lens covering the bulb. You can usually remove it by gently squeezing tabs on the side or sliding it out.
- Unscrew the old bulb: Turn the bulb counter-clockwise to remove it. It might be hot if it was on recently, so you may want to use a cloth or glove.
- Install the new bulb: Screw in a new, matching bulb. Range hoods often require specific appliance-grade bulbs that can withstand heat and grease, so check your owner’s manual for the correct type. Keeping appliance manuals and warranty details organized in the Casa app can make finding this information much easier.
- Replace the cover and restore power: Snap the light lens back into place, then go to the electrical panel and switch the breaker back on. Test the light.
If the new bulb lights up, you've fixed it!
When to stop: If a brand-new, correct bulb does not work, the problem is likely with the light socket or internal wiring. At this point, it's best to call an appliance repair technician.
Step 4: Check an Integrated LED Module
Many modern range hoods don’t use traditional screw-in bulbs. Instead, they have an integrated LED module, which is a self-contained unit of lights on a small circuit board. These last much longer but are more complex to fix.
With the power still turned off at the breaker, you can perform one quick check.
- Access the module: Remove the light lens or decorative panel that covers the LED. You may need a Phillips screwdriver.
- Check the connection: The LED module is typically connected to the hood's wiring with a small plastic plug. Find this connector and ensure it is pushed firmly and securely into its socket. Sometimes, vibrations can cause it to come loose.
- Reassemble and test: Put the cover back on, restore power at the breaker, and test the light.
When to stop: If checking the connection doesn't solve the problem, the LED module or its power supply (called a driver) has likely failed. Replacing these parts involves more complex electrical work and is not a typical DIY task.
- If your appliance is under warranty: Contact the manufacturer. The replacement of a faulty LED module is often covered.
- If your appliance is out of warranty: It’s time to call an appliance repair technician.
Time and Cost to Fix a Range Hood Light
- DIY Cost: If the fix is a new bulb, you can expect to spend $5 to $15 for a replacement. A breaker reset costs nothing but a few minutes of your time.
- Professional Repair Cost: If you need to hire an appliance technician or an electrician, the cost will be higher. Expect to pay a service fee of $75 to $150 just for the visit, with the total cost for a repair like replacing a light socket or LED module ranging from $150 to $300 or more, depending on the part and local labor rates.
Ready for the Next Step
A non-working range hood light is usually a quick fix. By following these steps, you can identify the cause and, in most cases, handle it yourself without needing to call for help. The key is to work methodically and always put safety first by turning off the power before you touch any wiring or components.
For more clear, practical advice on maintaining your home, download the Casa app. It's your always-on home advisor, helping you track repairs, plan for maintenance, and connect with trusted professionals when you need them.


