When your appliance door doesn’t seal, cold air escapes, forcing the compressor to work overtime to maintain its temperature. This can lead to a significant increase in your energy consumption—some studies show as much as a 21% jump—and can add a noticeable bump to your monthly electricity bill. Even worse, temperature fluctuations can lead to food spoilage, which is a waste of both food and money.
The good news? You can often fix this problem yourself in under an hour with just a few basic tools. Let’s walk through the most common culprits and how to fix them, step by step.
Why Won't My Fridge Door Close? The Common Causes
Before we dive into the fixes, it helps to know what you’re looking for. The issue usually boils down to one of these five common problems:
- Obstructions: Something inside the fridge is physically blocking the door.
- Ice Buildup: Frost or ice has formed around the door frame or seal, preventing it from closing.
- Dirty or Damaged Gasket: The rubber seal (gasket) around the door is sticky, cracked, or warped.
- Misaligned Door: The door itself is sagging or tilted, preventing it from lining up with the frame.
- Leveling Issues: The entire appliance is tilted forward, causing the door to swing open.
Ready to get that satisfying seal back? Let’s start with the simplest solution and work our way up.
A Step-by-Step Guide to Fixing a Refrigerator Door That Won't Close
Step 1: Check for Blockages and Obstructions
It might sound obvious, but you’d be surprised how often a stray condiment bottle or an oversized vegetable container is the culprit. Before you start taking things apart, do a thorough check inside.
- Open the door fully and scan the interior. Look at the items on the shelves and in the door bins.
- Pay attention to the edges. Is a milk jug handle sticking out? Is the lid of a container pushing against a door shelf? Are the crisper drawers pushed in all the way?
- Rearrange items. Move larger items, like gallon jugs or tall bottles, away from the edges. Make sure everything is sitting securely within the boundaries of the shelves and bins.
- Try closing the door again. Give it a gentle push. If it now closes and seals, you’ve found your simple fix!
If you’ve rearranged everything and the door still won't close, it's time to move on to the next potential cause.
Step 2: Clear Away Frost and Ice Buildup
If you have a freezer door that won’t close, or if your fridge runs particularly cold, ice buildup can be the hidden obstacle. A layer of frost on the gasket or the frame can be just enough to break the seal.
- Unplug the appliance. Safety first! This prevents the appliance from trying to cool while the door is open.
- Prepare the area. Place an old towel on the floor beneath the door to catch any melting ice or water.
- Empty the area (if needed). If the ice buildup is significant, remove any nearby food items and place them in a cooler to keep them cold.
- Let it thaw. Leave the door open for about 20-40 minutes to allow the ice to soften naturally. Never use a sharp object like a knife or screwdriver to chip away at the ice, as you could easily puncture the gasket or damage the frame.
- Wipe it clean. Once the ice has softened, use a soft cloth or sponge dipped in warm water to gently wipe it away.
- Dry everything thoroughly. Use a dry microfiber cloth to wipe down the gasket and the frame, ensuring no moisture is left behind.
- Plug it back in. Once everything is dry, plug the appliance back in, close the door, and listen for the compressor to kick on.
If the door now seals tightly, you're all set! If ice buildup is a frequent problem, it could indicate a more serious issue with your appliance's defrost system, which may require a professional's touch.
Step 3: Inspect and Clean the Door Gasket
The rubber seal around your refrigerator door is called a gasket. Over time, it can accumulate spills, sticky residues, and grime, which can make it less flexible and prevent it from creating an airtight seal.
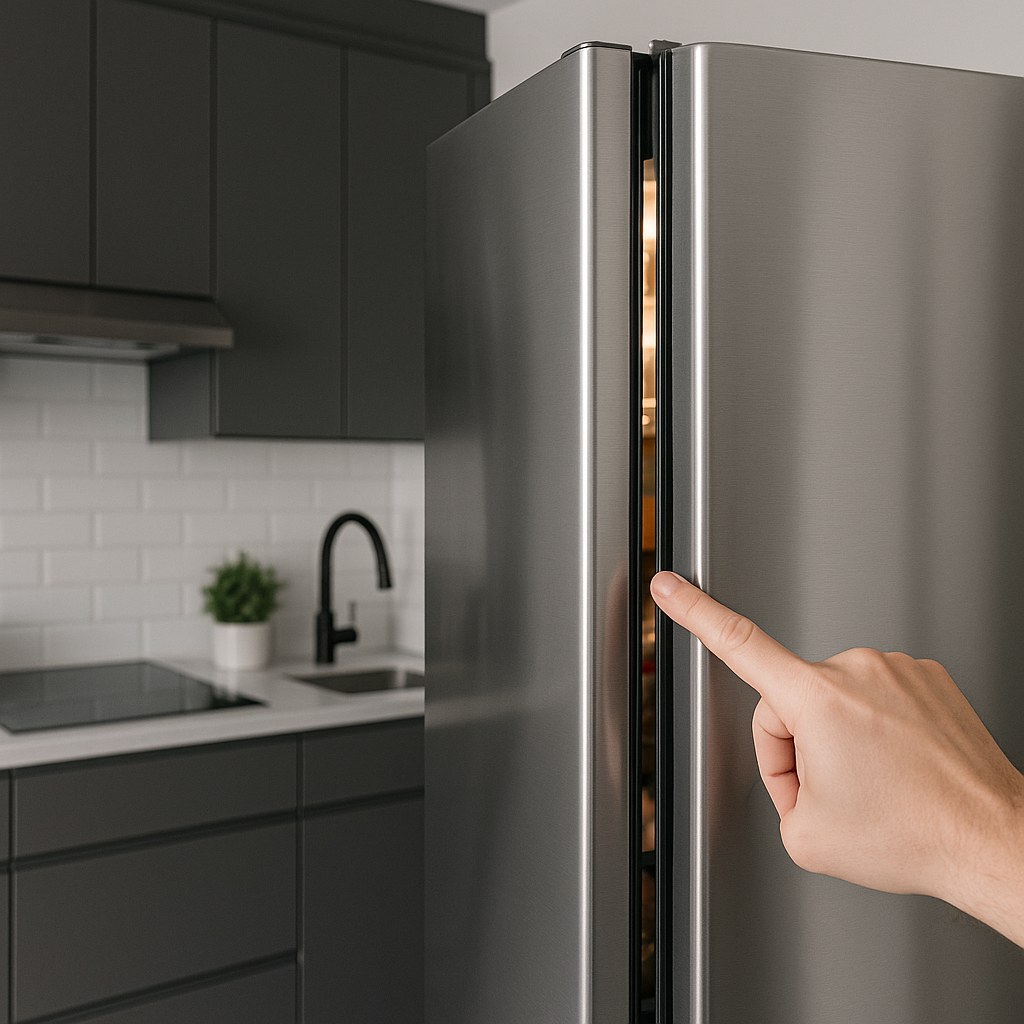
- Inspect the gasket. Run your fingers along the entire gasket, checking for any cracks, tears, or warped sections. Pay close attention to the corners.
- Mix a gentle cleaning solution. In a small bowl, combine warm water with a few drops of mild dish soap. Avoid using harsh chemical cleaners, as they can damage the rubber.
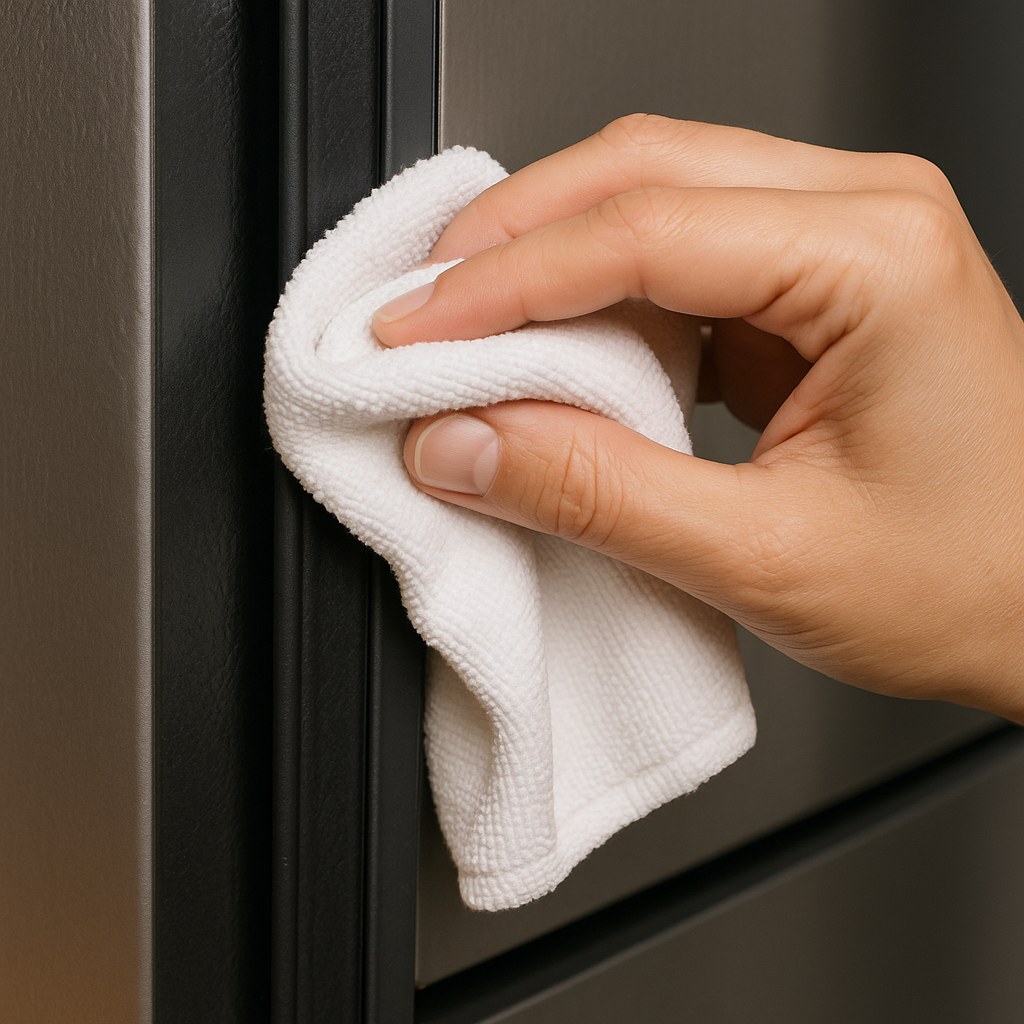
- Wipe it down. Dip a microfiber cloth into the soapy water, wring it out, and carefully wipe down the entire surface of the gasket. Be sure to get into the folds and crevices where gunk loves to hide.
- Rinse and dry. Rinse the cloth with clean water and wipe the gasket again to remove any soap residue. Finally, dry the gasket completely with a fresh, dry cloth.
A clean gasket should be pliable and create a firm seal. If cleaning it doesn't solve the problem, or if you found significant damage during your inspection, it's time to replace it.
Step 4: Replace a Worn-Out Door Gasket
If your gasket is torn, brittle, or warped beyond repair, a simple cleaning won't cut it. Replacing it is a straightforward job that can make a world of difference.
- Order the correct part. Find your refrigerator's model number (usually on a sticker inside the fridge compartment) and order a manufacturer-approved replacement gasket.
- Soften the new gasket. The new gasket will likely be folded in its packaging. To make it more flexible and easier to install, soak it in a bathtub of warm water for about 10 minutes.
- Remove the old gasket. Open the door and start at a corner. Gently pull the old gasket out of its groove. Most modern gaskets are held in by pressure and can be pulled straight out.
- Install the new gasket. Starting at the top corners, press the lip of the new, softened gasket into the groove. Work your way down both sides and then across the bottom, ensuring it’s seated firmly and evenly all the way around.
- Check your work. Close the door to test the seal. It should now feel much tighter. In some cases, a new gasket may need 24 hours to fully form to the door frame.
Step 5: Adjust the Door Alignment and Leveling
Over years of use, a heavy, fully-loaded refrigerator door can begin to sag on its hinges, causing it to misalign with the frame.
- Check the hinges. Open the door and look at the upper and lower hinges. Are the screws loose? If so, use a Phillips screwdriver or a socket wrench to tighten them.
- Check the appliance level. Place a carpenter's level on top of the refrigerator. For the door to close properly, the appliance should be perfectly level from side to side and tilted very slightly backward (about a quarter-inch). This slight backward tilt helps the door swing shut naturally.
- Adjust the leveling feet. Most refrigerators have adjustable feet at the front. You can turn these with a wrench or by hand. To tilt the fridge back, screw the front feet inward (raising the front). Make small adjustments and check the level each time.
After tightening the hinges and leveling the appliance, try closing the door again. It should now align perfectly and seal tightly.
How Much Does This Cost? DIY vs. Pro
Fixing a refrigerator door is one of the most cost-effective DIY home repairs.
- DIY Costs: If you just need to clean the gasket, your cost is virtually zero. A brand-new gasket can cost between $30 and $100, depending on your refrigerator model.
- Hiring a Professional: If you're not comfortable doing the repair yourself, an appliance repair technician will typically charge between $100 and $250 for the service call and labor to diagnose and fix a simple door issue.
When to Call for Help
If you've tried all the steps above and the door still refuses to seal, it might be time to call in a professional. There could be a more complex issue at play, like a warped door frame or a damaged hinge assembly.

Keep Your Home Running Smoothly with Casa
A properly sealed refrigerator door is a small detail that makes a big difference in your home's efficiency. By following these steps, you can save energy, prevent food waste, and enjoy the peace of mind that comes with a well-maintained appliance.
For more expert guides on common home repairs, maintenance reminders, and a direct line to trusted local professionals for the jobs you can't tackle alone, download the Casa app today! We’re here to help you manage your home with confidence, one simple fix at a time.


