The great news is that you don't have to live with it. Fixing a rough and uneven wall is a completely achievable DIY project that can dramatically improve the look of your home. Whether you're dealing with a few unsightly seams, a bad patch job, or an entire wall of "orange peel" texture you’d rather forget, we’re here to walk you through it.
In this guide, we'll cover everything you need to know, from the initial inspection to the final, satisfyingly smooth finish. Think of us as your expert on the line, guiding you step-by-step. Let’s get those walls looking brand new!
Why Are My Walls Rough and Uneven?
Before we dive into the "how-to," let's quickly diagnose the "why." Understanding the cause can help you choose the right solution. Common culprits include:
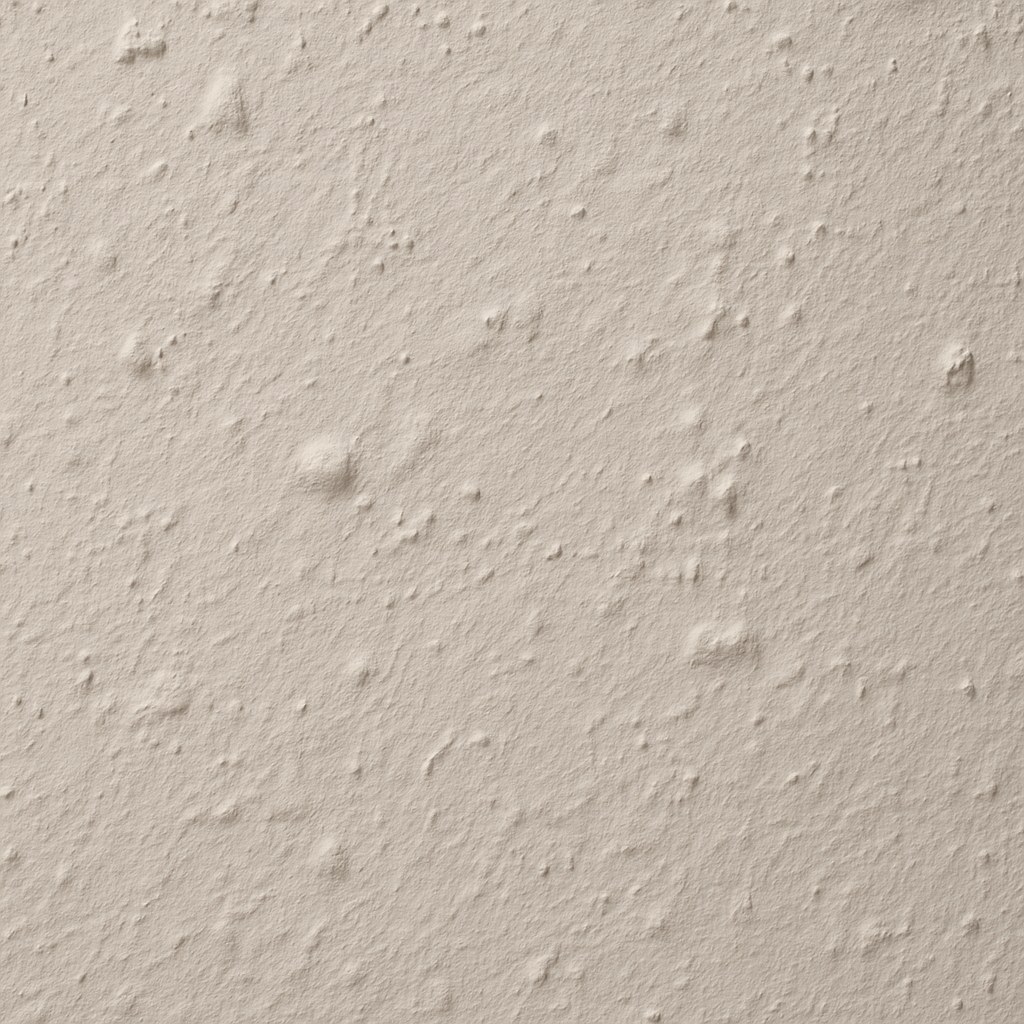
- Old Wall Textures: Styles like popcorn, knockdown, or orange peel were popular for decades, often used to hide imperfections in the drywall installation.
- Poor Drywall Finishing: If the original drywall taping and mudding weren't done well, you’ll see raised seams, tool marks, and uneven joints.
- Previous Repairs: A poorly executed patch job for a hole or crack can leave a noticeable bump or depression on the wall.
- Paint Buildup: Decades of paint layers can create a lumpy, uneven surface.
- Water Damage: This is the most serious cause. Bubbling paint, soft spots, and discoloration can indicate a leak that needs to be addressed before any cosmetic work begins.
Step 1: The Initial Inspection - Know Your Wall
First things first, let's figure out exactly what we're working with. This initial check will determine your path forward.
Safety First! Before you start touching the walls, put on an N95 mask and safety glasses. You don’t want to breathe in dust, especially from older homes where lead paint could be a concern.
- Feel the Surface: Run your hand over the wall. Are there specific high and low spots, or is the entire surface uniformly rough?
- Look for Water Damage: Carefully inspect for any yellowish or brown water stains, bubbling paint, or signs of mold or mildew. If you find any soft, damp, or crumbly spots, stop immediately. You have a bigger issue than a cosmetic flaw. You'll need to find and fix the source of the moisture before proceeding with any drywall repair.
- Make a Key Decision: Now, ask yourself the most important question: Is the current texture intentional, and do you want to keep it?
Your answer will send you down one of two paths. If you like the texture and just need to fix a damaged spot, we'll cover that first. If your goal is a modern, perfectly smooth wall, you can skip ahead to the section on smoothing.
Path 1: Repairing and Matching an Existing Wall Texture
So, you have a textured wall that's been damaged in a few spots. Your goal isn't to get rid of the texture, but to blend a repair seamlessly into the existing pattern.
First, clean the area with a microfiber cloth and lightly sand any high spots with medium-grit sandpaper. This preps the surface for the new texture.
For Small Areas: How to Spot Patch Texture
If you just have a small hole or scrape to fix, a can of spray texture is your best friend. This is a quick and easy fix that can be done in under an hour.
- Mask the Area: Use painter's tape and plastic sheeting to protect the surrounding wall. You don't want overspray creating more work for you.
- Shake and Spray: Shake a can of wall-texture spray vigorously for at least a minute. Holding the can about 18 inches from the wall, spray in short, sweeping bursts. The goal is to build up the texture slowly until it matches the surrounding pattern. It's better to apply several light coats than one heavy one.
- Knock It Down (If Applicable): Many common textures (like "knockdown") require you to gently flatten the peaks of the sprayed texture. After letting it dry for about 15 minutes, lightly drag a clean drywall knife across the surface.
- Prime the Patch: Once fully dry, apply a coat of stain-blocking primer over the patch. This ensures the new paint will adhere properly and match the rest of the wall. Now you're ready to paint!
For Large Areas: How to Re-Texture an Entire Wall
If the damage is widespread or you want to apply a new, consistent texture across the whole wall, you’ll need to take a more hands-on approach. This is a bigger job but gives a beautifully uniform result.
- Prep the Wall: Remove all electrical faceplates and lightly sand the entire wall with medium-grit sandpaper to dull the existing finish.
- Mix Your Compound: In a bucket, mix joint compound with a little water until it reaches the consistency of thick pancake batter.
- Roll on the Texture: Use a special texture paint roller to apply an even coat of the thinned compound to the wall. Work in sections.
- Create the Pattern: After applying the compound, you can create various patterns. For a knockdown texture, wait 10-15 minutes, then gently drag a large drywall knife across the surface.
- Let It Dry: This is crucial. Allow the new texture to dry completely overnight (or for up to 24 hours).
- Prime and Paint: Once dry, prime the entire wall with a good quality wall primer before painting.
Path 2: Creating a Perfectly Smooth Wall
If you're ready to say goodbye to that bumpy texture for good, your goal is a "Level 5 finish"—the industry term for the smoothest possible drywall surface. This is usually achieved by applying one or more "skim coats." A skim coat is a very thin layer of joint compound spread over the entire surface to fill in imperfections.
Preparing a Previously Painted Wall for Smoothing
You can’t just apply joint compound over an old, painted wall. Proper prep is essential for adhesion and a lasting finish.
- Wash the Wall: Clean the wall thoroughly with a sponge and a mild detergent to remove any grease, dust, or grime. Let it dry completely.
- Scuff Sand: Go over the entire wall with medium-grit sandpaper. You’re not trying to remove all the paint; you’re just scuffing the surface to get rid of the sheen and any high bumps. This gives the new compound something to grip onto.
Once prepped, you need to decide: do you need to fix just a few spots, or does the whole wall need smoothing?
For Minor Imperfections: How to Spot Repair
If your wall is mostly smooth but has a few bad seams, dings, or divots, a spot repair is all you need.
- Scrape and Fill: Use a drywall knife to scrape away any loose material. Apply a thin layer of joint compound over the low spot.
- Feather the Edges: This is the key to an invisible repair. As you spread the compound, apply more pressure to the outer edges of the knife. This thins out the compound, creating a seamless transition (or "feather") into the surrounding wall. Extend the feathered edge about 2 inches beyond the repair itself.
- Dry, Sand, Repeat: Let the compound dry for at least 30 minutes. Once hard, sand it smooth with fine-grit sandpaper. Wipe away the dust. If it’s still not perfectly level, apply another very thin coat, feathering it even wider.
- Prime the Spot: Once you're satisfied, spot-prime the repaired area with stain-blocking primer.
For Widespread Texture: How to Skim Coat an Entire Wall
This is the ultimate solution for getting rid of texture. It takes patience, but the results are transformative.
- Protect Everything: Cover your floors with drop cloths and tape off all baseboards, window trim, and door casings with painter's tape.
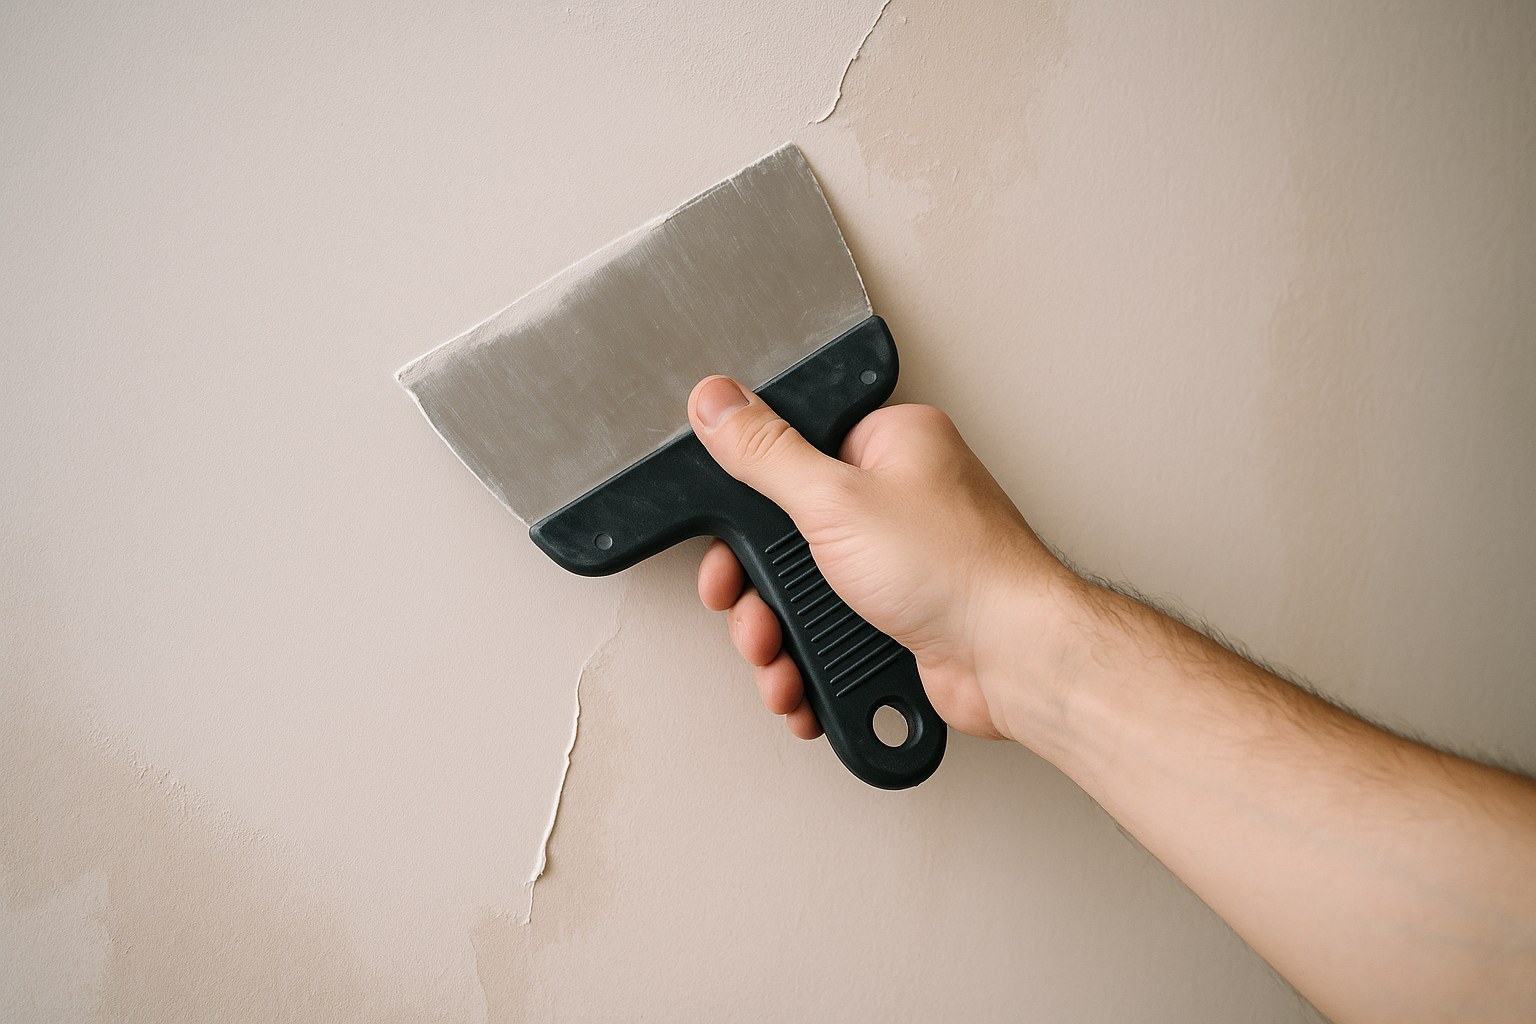
- Thin the Joint Compound: Add a small amount of water to a bucket of all-purpose joint compound and mix until it has a smooth, creamy consistency, similar to cake frosting.
- Apply the First Coat: Load your drywall knife or trowel and, starting from a top corner, spread a thin, even layer of compound over a 3-foot by 3-foot section. Hold the knife at a low, 15-degree angle to the wall and pull it in long, smooth strokes. Overlap your strokes slightly. Continue section by section until the wall is covered. Don’t worry about making it perfect on the first pass!
- Dry and Sand: Let the skim coat dry completely overnight. The next day, sand the entire surface lightly with fine-grit sandpaper on a pole sander to knock down any ridges or high spots.
- Apply a Second Coat (If Needed): Often, a second skim coat is needed for a truly flawless finish. Apply it just like the first, trying to fill in any remaining valleys or imperfections.
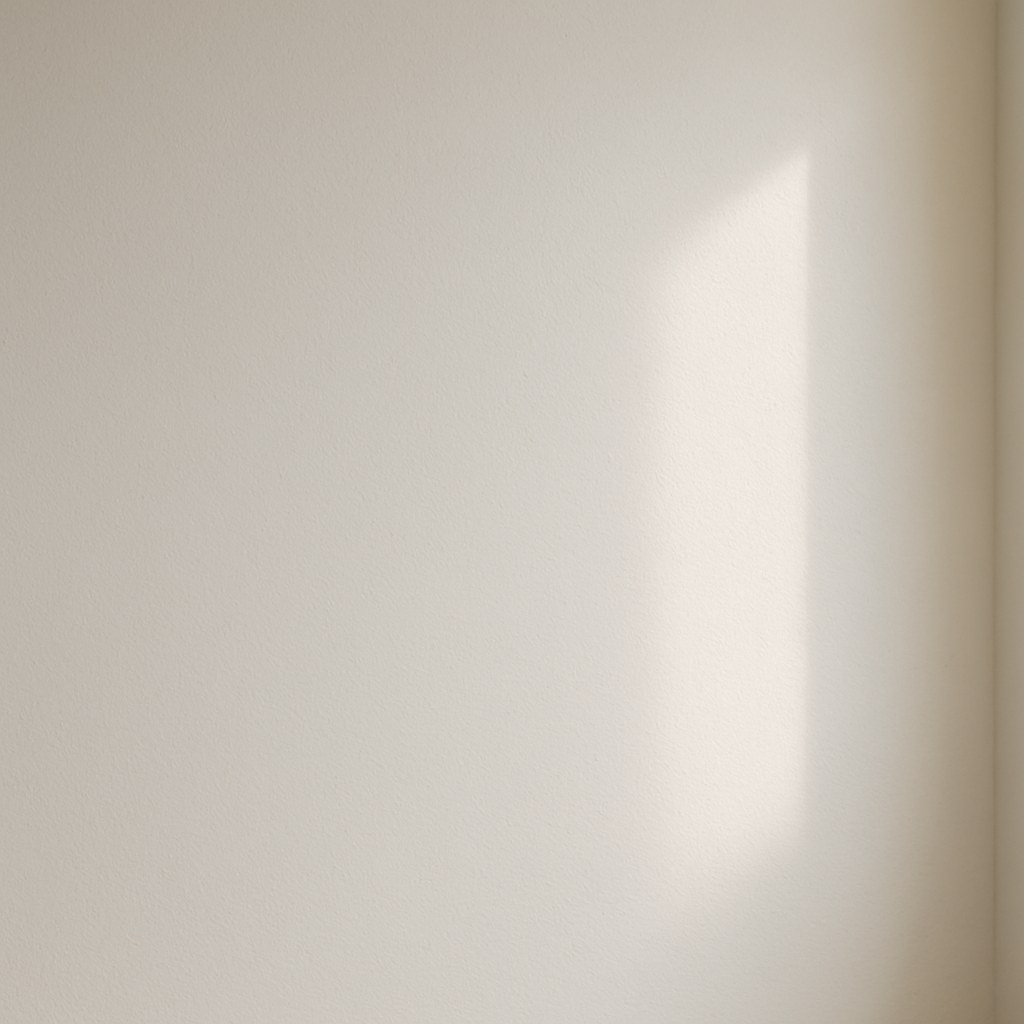
- Final Sand and Clean: Let the final coat dry, then give it a final, careful sanding. Use a work light held at an angle against the wall to spot any remaining flaws—the shadows will give them away. When you’re done, vacuum up all the dust and wipe the wall with a damp microfiber cloth.
- Prime the Wall: Before you can even think about paint, you must prime the entire wall with a high-quality interior primer (or a PVA primer for new/bare drywall). This seals the porous joint compound and ensures your paint goes on evenly.
Cost of Fixing a Rough Wall: DIY vs. Pro
One of the best parts of this project is the potential savings.
- DIY Costs: You can expect to spend $50 - $150 on materials like joint compound, sandpaper, primer, and tools.
- Professional Costs: Hiring a contractor to skim coat a room is significantly more expensive. According to HomeGuide, costs can range from $1.50 to $3.50 per square foot of wall surface. For a standard 12x12 room, that could be anywhere from $600 to $1,500.
Final Thoughts
Fixing a rough, uneven wall is a project that delivers an enormous visual payoff. It’s a bit messy and requires some patience, but by following these steps, you can achieve a professional-quality finish that will make any room feel more polished and modern.
Feeling a little overwhelmed or just want a second opinion? That’s what we’re here for. Download the Casa app today! Casa provides clear, step-by-step guidance for hundreds of home repairs. And if you decide you’d rather leave it to a professional, we can connect you with trusted, vetted contractors in your area. Your perfect home is just a few steps away.


