The good news is that you don't need to rush out and buy a new piece of furniture or call a professional just yet. Fixing a drawer bottom is one of the most satisfying and straightforward DIY projects you can tackle. With a few basic tools and a little bit of time, you can get that wobbly drawer sliding smoothly and holding strong again.
In this guide, I’ll walk you through everything you need to know, just like I was on the phone with you. We'll start by figuring out what kind of drawer you have and then move on to the specific steps to repair it. Let’s get that drawer back in shape!
First Things First: Assess Your Drawer
Before we can fix the problem, we need to do a little detective work. The repair method depends entirely on how your drawer was constructed. There are two main types: drawers with removable bottoms and those with fixed bottoms.
Let's figure out which one you're working with.
- Empty the Drawer: Start by taking everything out of the drawer.
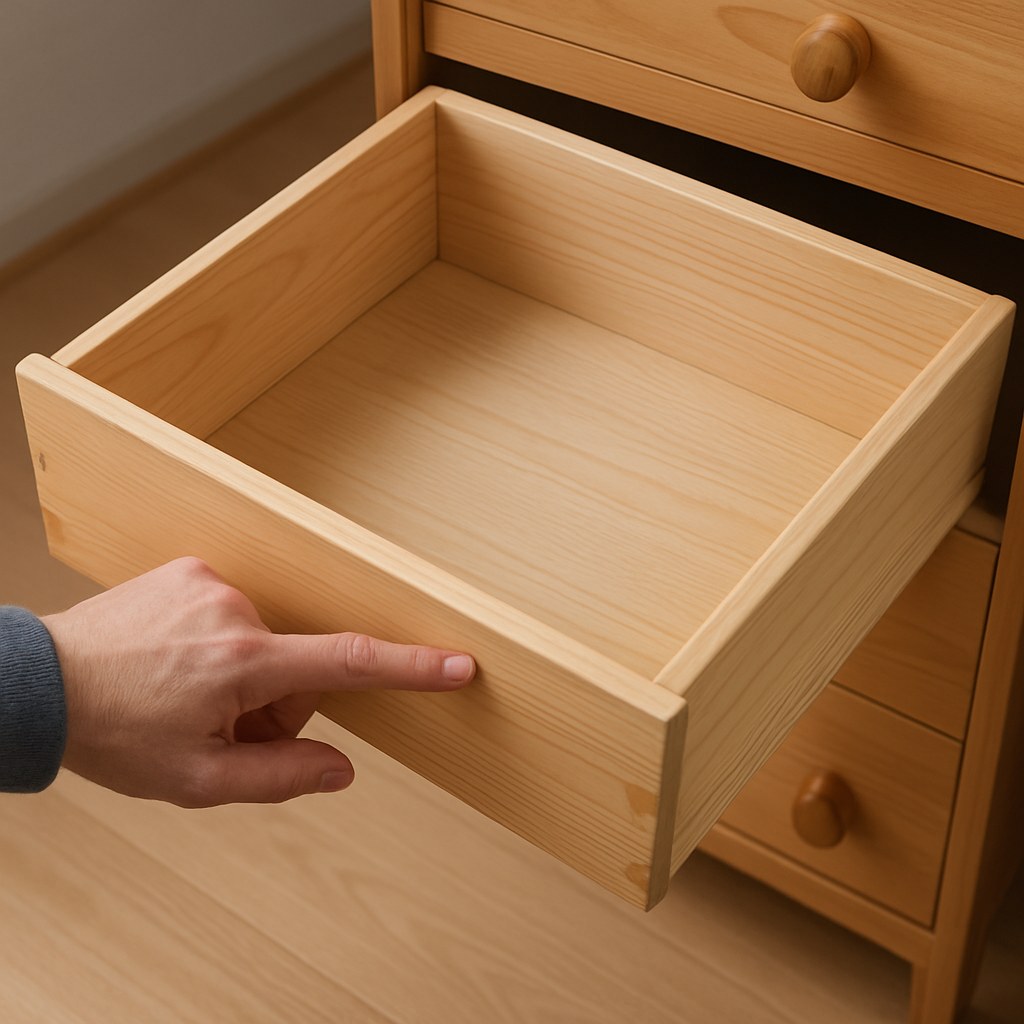
- Remove it Completely: Pull the drawer all the way out of the cabinet or dresser and place it on a flat, stable surface like a table or the floor. This will give you a clear view of its construction.
- Inspect the Edges: Look closely at where the bottom panel meets the four sides of the drawer box.
- Check for Grooves: Do you see the thin edge of the bottom panel sitting inside a narrow channel or groove cut into the drawer's front, back, and sides? If so, it’s likely a removable panel. Try gently pushing up on the bottom from underneath. If it moves or flexes independently of the frame, you have a removable bottom.
- Look for Glue or Nails: If you don't see any grooves and the bottom panel appears to be glued or stapled directly to the bottom edges of the drawer sides, you have a fixed bottom.
Once you’ve identified your drawer type, you can jump to the right set of instructions below.
How to Fix a Drawer with a Removable Bottom
This is the most common type of construction for kitchen cabinets and modern furniture. The thin bottom panel simply slides into grooves and isn't designed to hold a lot of weight, which is why it's prone to sagging. The best fix here is to replace that flimsy panel with something stronger.
What You'll Need:
- Tape measure
- 1/4-inch plywood
- Wood glue
- A heavy book or weight
Step-by-Step Instructions:
- Slide Out the Old Panel: With the drawer out, you should be able to simply slide the old, sagging bottom panel out. Usually, it slides out toward the back of the drawer. If it's stuck, it might be held by a single nail or staple at the back, which you can gently pry off.
- Inspect the Drawer Box: Before you proceed, take a moment to check the drawer itself. Are the sides solid? Are the grooves intact and not cracked or widened? If the drawer box itself is falling apart, you might need a more involved repair or a professional's help.
- Measure for the New Bottom: Use your tape measure to get the precise length and width of the old panel. Write these dimensions down. Accuracy is key!
- Get Your New Panel: Head to your local hardware store and buy a sheet of 1/4-inch plywood. This is significantly stronger than the hardboard or MDF that most drawer bottoms are made of. The best part? Most hardware stores will cut the wood for you for free or a small fee. Just give them your measurements.
- Install the New Plywood Bottom: Carefully slide your new, perfectly cut plywood panel into the grooves, just like the old one. Push it forward until it’s snug against the inside of the drawer front. It should be a tight, solid fit.
- Add a Spine for Extra Reinforcement (Optional but Recommended): To make sure this problem never happens again, you can add a central support spine. Cut a 1-inch wide strip from your leftover plywood that is the same length as the depth of your drawer. Apply a bead of wood glue along one long edge of the strip and press it firmly onto the underside of the new bottom panel, running from front to back down the center.
- Let the Glue Set: Whether you added the spine or just want to secure the panel, apply a small bead of wood glue along the rear groove where the panel meets the back of the drawer. If you added the spine, place a heavy book inside the drawer directly over it to apply pressure while the glue dries. Wait at least 30-60 minutes.
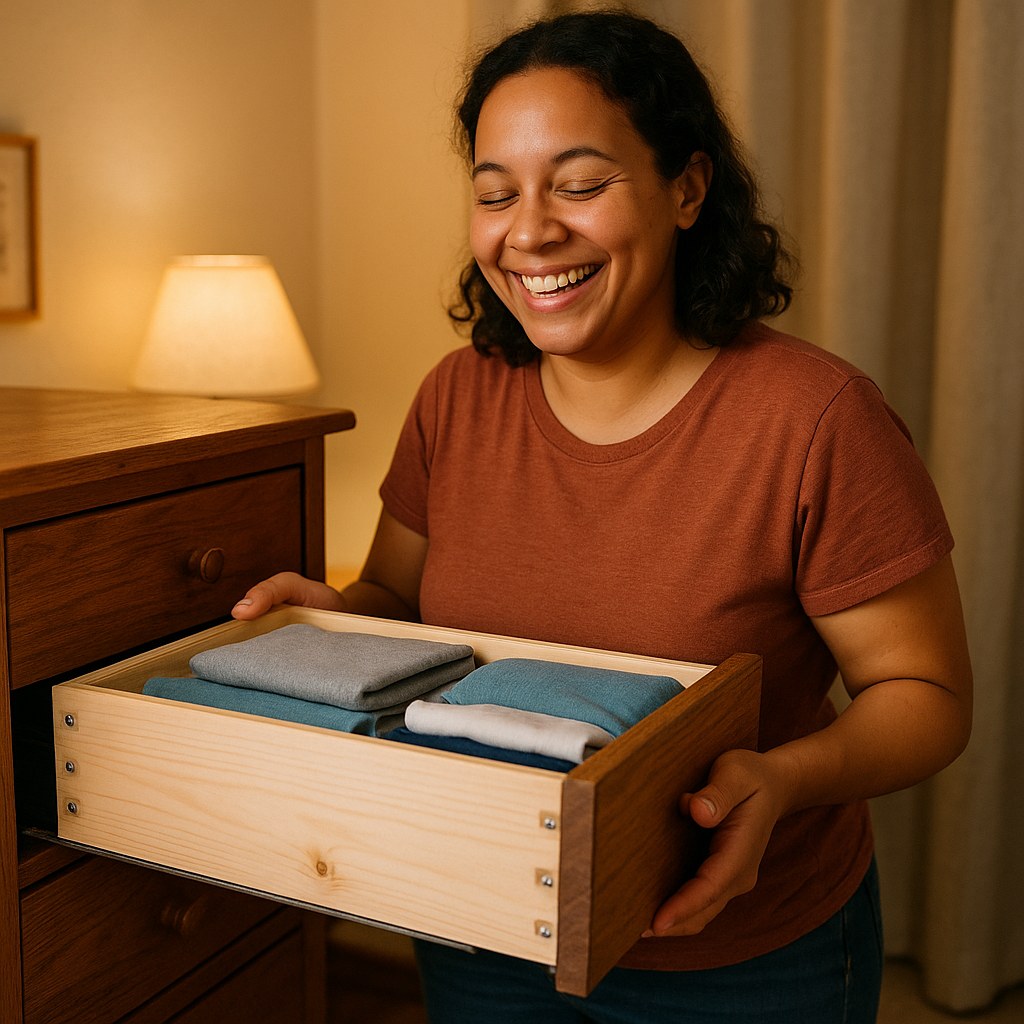
- Test Your Work: Once the glue is set, slide the drawer back into its slides. It should feel solid and glide smoothly. Load it up and enjoy your newly robust drawer!
How to Fix a Drawer with a Fixed Bottom
If your drawer bottom is glued or nailed in place, you can't easily replace it. But don’t worry! The solution here is to reinforce it from underneath so it can no longer sag.
What You'll Need:
- 1x1 inch wooden strips (cleats)
- Hand saw or miter saw
- Tape measure
- Wood glue
- Heavy book or weight
Step-by-Step Instructions:
- Inspect and Tighten: With the drawer removed and flipped upside down, check the connections. If you see any loose screws on the drawer slides attached to the cabinet, tighten them with a screwdriver.
- Measure for Your Supports: Measure the inside depth of your drawer, from the front to the back. You'll use this measurement to cut your support cleats.
- Cut the Support Cleats: Using a hand saw, cut three pieces from your 1x1 inch wood strip. One piece should run down the center, and two smaller pieces will act as cross-braces.
- Center Cleat: Cut one piece to match the depth of the drawer.
- Cross Cleats: Cut two more pieces to match the width of the drawer.
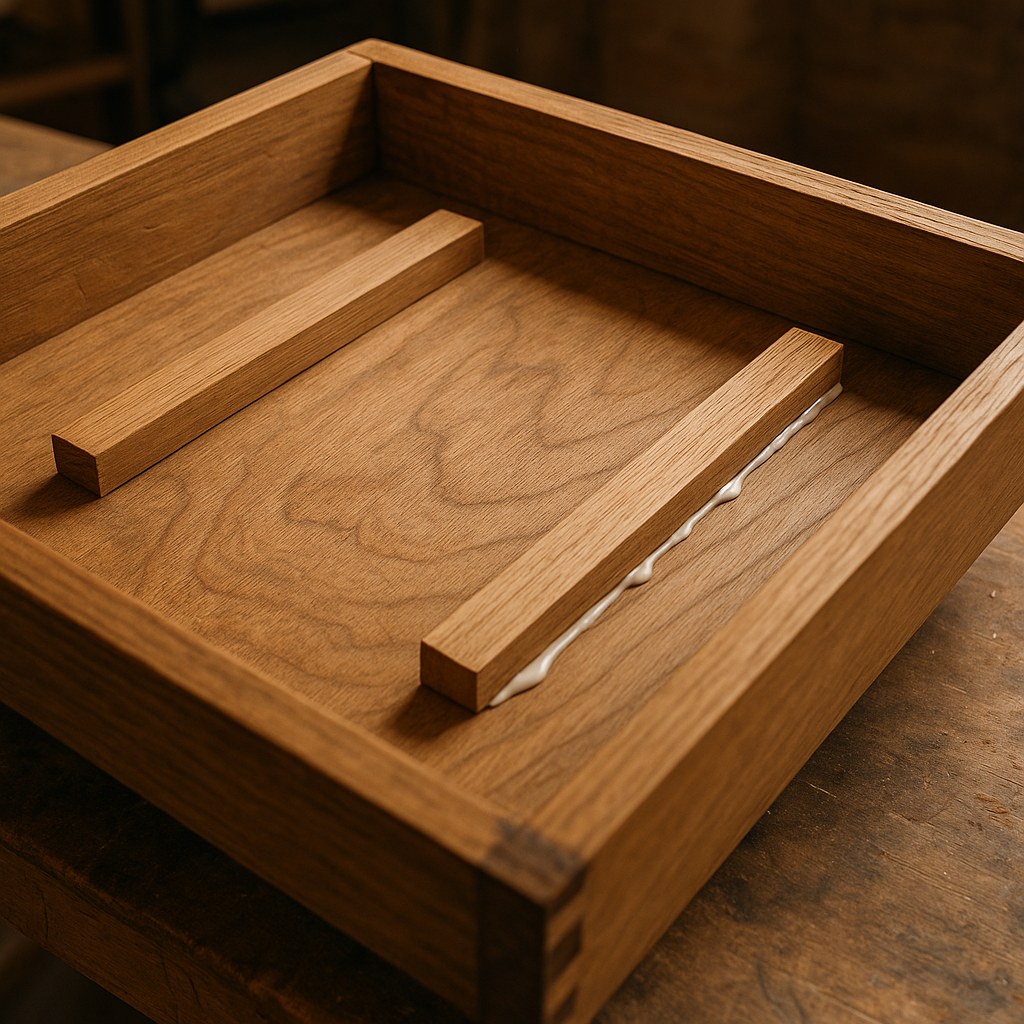
- Glue the Center Cleat: Apply a continuous bead of strong wood glue along one side of your long center cleat. Press it firmly against the underside of the drawer bottom, running down the exact centerline. Hold it in place for a couple of minutes until the glue starts to grip.
- Add the Cross-Braces: Now, apply glue to your two shorter cleats. Press one against the underside near the drawer front and the other near the drawer back, perpendicular to the center cleat. This creates a strong grid of support.
- Let the Glue Cure: Flip the drawer upright carefully. Place a heavy book or another weight inside the drawer, directly over the reinforced area. This pressure ensures a strong bond as the glue dries. Let it sit for at least an hour, but check your glue’s instructions for the recommended cure time.
- Reinstall and Test: Once the glue is fully cured, reinstall the drawer. It should feel much more rigid. Put some light items back in and test its movement. If it operates smoothly without sagging, your reinforcement was a success!
DIY vs Hiring a Pro: What's the Cost?
One of the best parts of this project is how much money you can save.
- DIY Cost: You can expect to spend around $15 to $30. This covers a small piece of plywood, wood glue, and perhaps some wooden cleats if you need them.
- Professional Cost: Hiring a handyman or furniture repair professional for a simple job like this could cost anywhere from $75 to $200, depending on their hourly rate and the complexity of the repair, according to sources like Thumbtack.
By spending less than an hour on this fix, you're not only saving money but also extending the life of your furniture.
Final Thoughts
A sagging drawer doesn't have to be a permanent problem. By identifying the type of drawer you have and following these simple steps, you can create a durable, long-lasting repair that will keep your furniture functional for years to come.
Feeling empowered? There are countless home repairs you can handle yourself. For more easy-to-follow guides, expert tips, and a direct line to trusted professionals when you need them, download the Casa app today. We’re here to help you manage your home with confidence, one project at a time.


