The good news is that in many cases, fixing a vibrating washer is a straightforward DIY job that doesn't require a professional. Whether the issue is a simple unbalanced load or a slightly more involved leveling adjustment, you can likely solve the problem in under an hour.
In this guide, we'll walk you through the troubleshooting process step-by-step, just like we were on the phone with you. Let's get that washer running smoothly again!
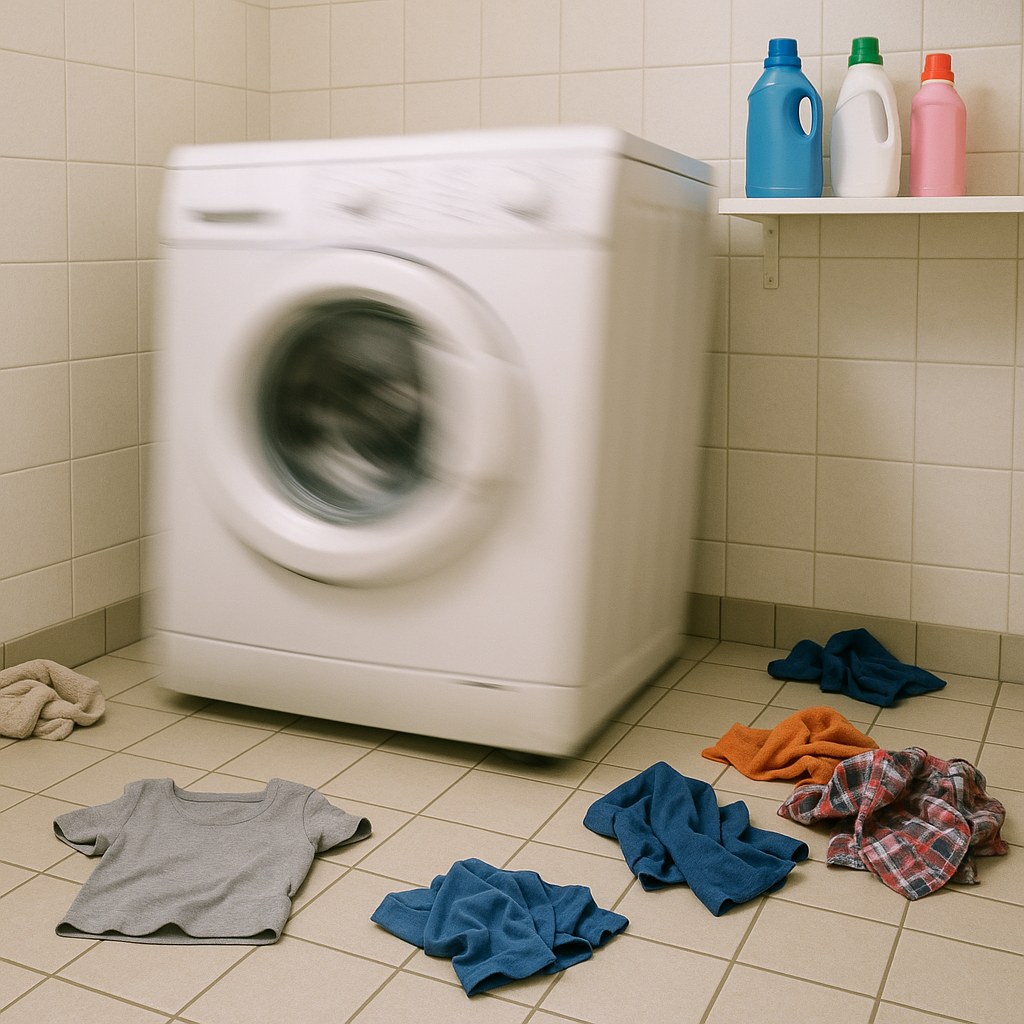
Why Is My Washing Machine Shaking? The Common Culprits
Before we dive into the fixes, it helps to understand what causes a washing machine to go off-balance. The spin cycle is the most common time for vibrations to occur, as the drum spins at hundreds of revolutions per minute (RPM) to extract water from your laundry. Any imbalance is magnified at these high speeds.
Here are the most frequent reasons your washer is shaking:
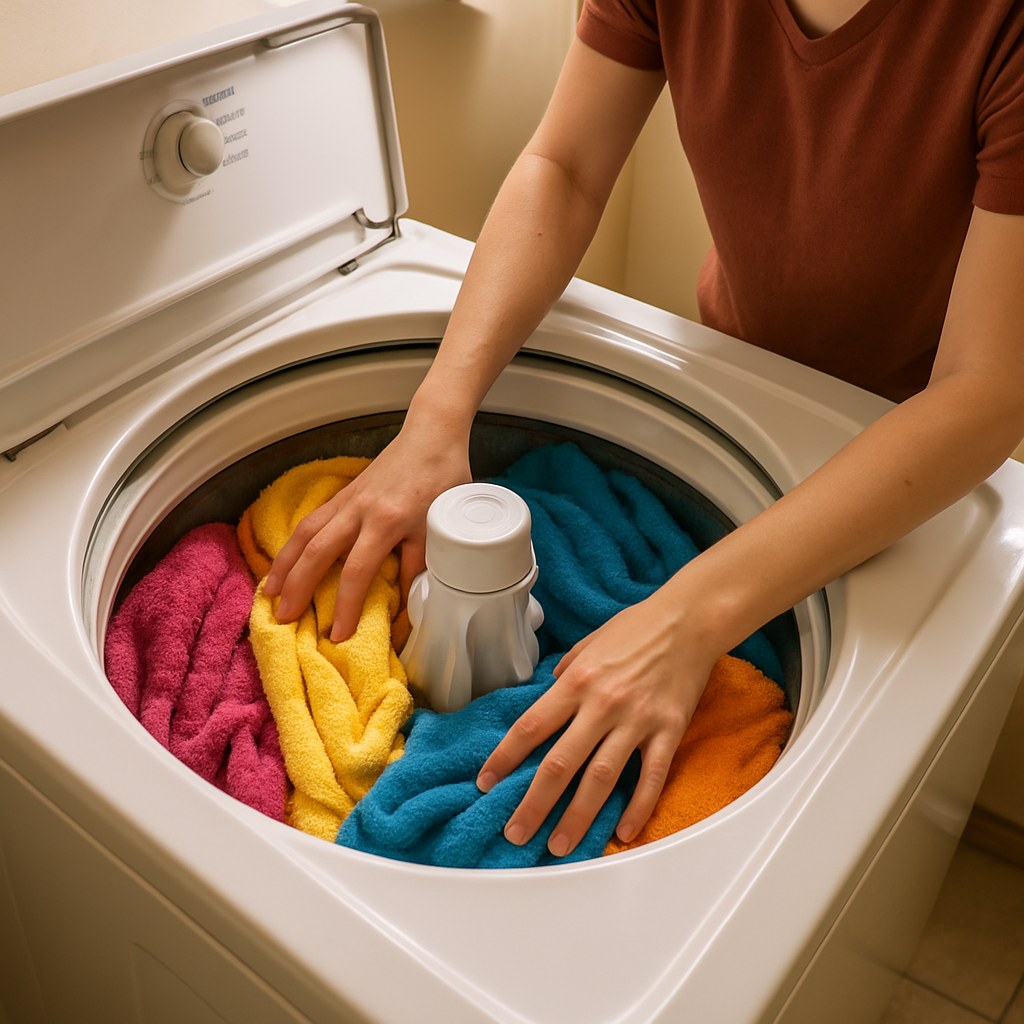
- An Unbalanced Load: This is the number one cause. Washing a single heavy item (like a comforter or bathmat) or a load of towels can cause the weight to shift to one side of the drum.
- The Machine Isn't Level: If the washer isn't perfectly level on the floor, it will rock back and forth during the spin cycle. This is common in homes with slightly sloped floors, like in a basement.
- Shipping Bolts Are Still in Place: If you have a new front-loading machine, the manufacturer installs shipping bolts to secure the drum during transit. If these aren't removed, the drum can't move properly, causing intense vibrations.
- Worn-Out Suspension Parts: Washers have a suspension system (much like a car) with springs and shock absorbers to dampen the drum's movement. Over time, these parts can wear out or break.
Now, let's figure out which one is causing your issue and get it fixed.
A Step-by-Step Guide to Fixing Your Vibrating Washing Machine
We'll start with the easiest and most common fixes first. Before you begin any work, it's always best to prioritize safety.
Initial Safety and Assessment
First things first, let's make sure it's safe to work and get a baseline for the problem.
- Power Down: Unplug the washing machine's power cord from the wall outlet.
- Empty the Drum: Remove any laundry that's currently inside the machine.
- Run an Empty Test: Plug the washer back in and run a short spin-only cycle with the drum completely empty.
Pay close attention. Does it still vibrate aggressively when empty, or does the shaking only happen when you have laundry inside?
- If it only vibrates with clothes, the problem is almost certainly an unbalanced load. Jump to Step 1 below.
- If it vibrates even when empty, the issue is likely with the machine's installation or internal parts. Continue to Step 2.
Step 1: Correct an Unbalanced Load
If your washer only shakes with certain loads (especially heavy ones), you're in luck! This is the simplest fix. The machine's internal sensors try to balance the load, but sometimes they need a little help.
- Pause the Cycle: Press the pause button on your machine and wait for the door to unlock.
- Redistribute the Laundry: Open the door or lid and manually move the clothes around, spreading them out evenly inside the drum. Try to untangle any items that have balled up.
- Lighten the Load: If the drum is packed tight with heavy items like towels or jeans, remove one or two of them. Overloading is a common cause of imbalance.
- Resume the Cycle: Close the door and restart the spin cycle.
In most cases, this will solve the problem. To prevent it in the future, try to wash a mix of large and small items together to help the load stay balanced. If you're washing a single large item like a blanket, add a few smaller towels to help even out the weight.
If you've balanced the load and the machine still shakes, it's time to check the installation itself.
Step 2: Check the Washer's Installation and Leveling
A washing machine needs a stable, level foundation to work properly. Even being slightly off-kilter can lead to major vibrations.
You'll need: A 2-foot or 4-foot level and an adjustable wrench.
- Unplug the Machine: Safety first! Disconnect the power.
- Check for Levelness (Side-to-Side): Place your level across the top of the washer, running from left to right. Is the bubble in the middle? If not, you'll need to adjust the front feet. Most washing machine feet can be screwed in or out to change their height.
- Adjust the Front Feet: Turn the feet by hand to raise or lower them until the bubble on your level is perfectly centered.
- Check for Levelness (Front-to-Back): Now, place the level on top of the machine running from front to back. Adjust the rear feet until the bubble is centered again. Some rear feet are self-leveling; you may just need to tilt the machine forward slightly and set it back down to get them to adjust.
- Lock the Feet: Once the machine is perfectly level, use your adjustable wrench to tighten the locking nuts on each foot up against the base of the machine. This prevents the feet from shifting out of position from future vibrations.
- For Front-Loaders: Check for Shipping Bolts! This is a critical step for newly installed front-load machines. Look at the back panel. You should see four holes where the shipping bolts were. If there are still large bolts in place, they must be removed. They are only for transportation. Leaving them in will cause violent shaking and can severely damage your washer.
- Consider an Anti-Vibration Mat: If your washer is on a slick floor like tile or vinyl, the feet can sometimes slide. Placing an anti-vibration mat underneath can provide extra grip and absorb some of the movement.
Once you're done, plug the machine back in and run another empty spin cycle. If the vibration is gone, you've solved it! If not, it's time to look at the internal components.
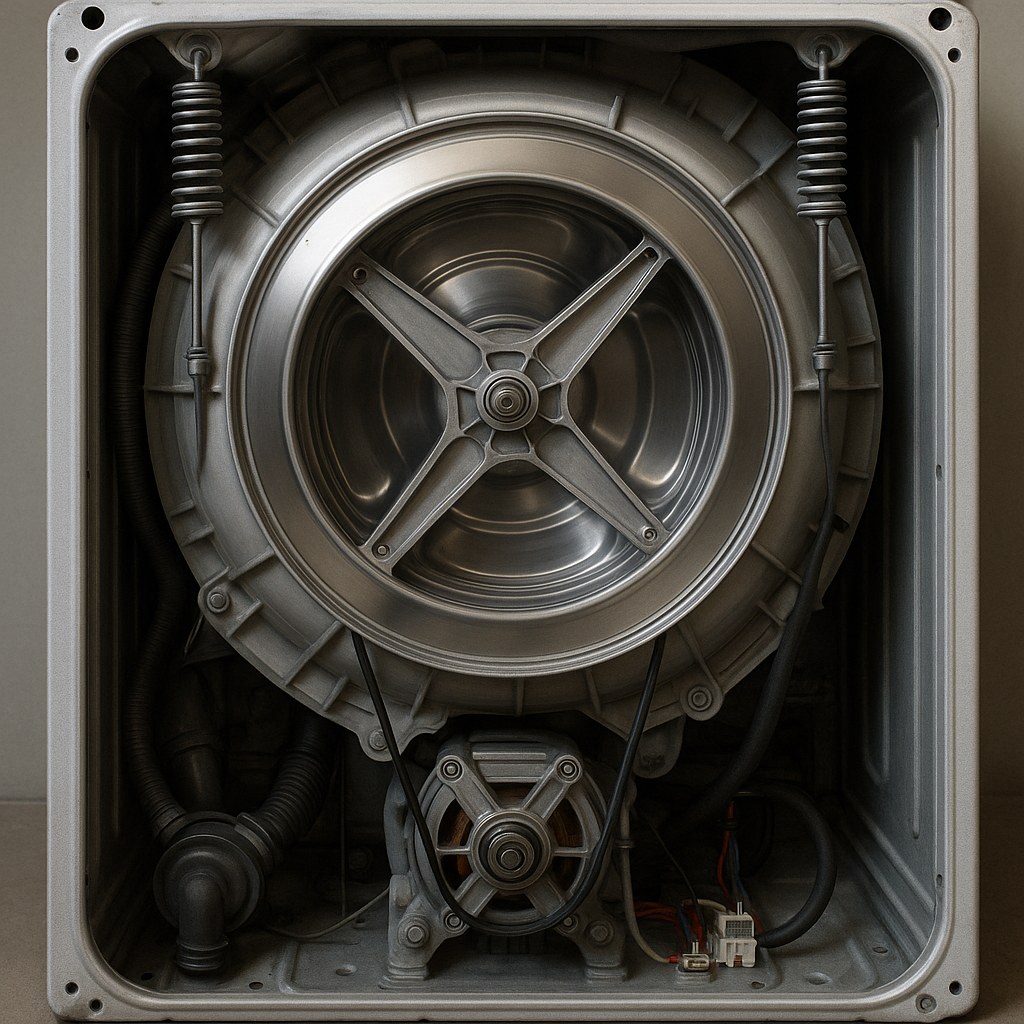
Step 3: Inspect the Internal Suspension Components
If leveling didn't work, the problem may lie with the washer's suspension system. This system consists of shock absorbers, springs, and/or dampening straps that hold the drum and absorb its motion. This step is a bit more advanced, but it's a manageable inspection.
You'll need: A flashlight and possibly a Phillips screwdriver.
- Unplug the Machine: Disconnect the power cord from the outlet.
- Access the Internals:
- For a top-load washer, you can typically lift the entire top panel. You may need to release clips at the front or remove screws at the back.
- For a front-load washer, you'll usually need to remove the rear access panel using a screwdriver.
- Perform a Visual Inspection: Use your flashlight to look inside at the suspension system. Look for anything that seems out of place:
- Are any of the large suspension springs broken or detached?
- Are the shock absorbers (which look like small pistons) leaking fluid or disconnected?
- Are the rubber dampening straps snapped or stretched out?
- Do a Bounce Test: Gently push down on the drum with your hand and release it. Watch how it reacts. A healthy suspension system will allow it to bounce once or twice and then settle. If the drum bounces multiple times freely, it's a sign that the shock absorbers are worn out and not providing enough resistance.
If you find a broken or obviously damaged part, you've found your culprit. While replacing these parts is possible for an experienced DIYer, it can be a complex job.
When Is It Time to Call a Professional?
You've done great work troubleshooting the issue. However, some jobs are best left to the experts. It's time to call an appliance repair technician if:
- You've tried balancing the load and leveling the machine, but it still shakes violently when empty.
- You've inspected the suspension and found broken or disconnected parts that you're not comfortable replacing yourself.
- The washer is making loud grinding or banging noises in addition to shaking, which could indicate a bearing or motor issue.
How Much Does It Cost to Fix a Shaking Washing Machine?
The cost can vary widely depending on the cause.
- DIY Fix: If the issue is an unbalanced load or leveling, your cost is $0. If you need tools or an anti-vibration mat, you might spend $20 - $50.
- Professional Repair: According to Forbes Home, the average cost for a washing machine repair is between $120 and $500. A simple service call to diagnose the issue might be around $100-$150, while replacing the suspension system could cost $200-$400 or more, depending on the model.
Fixing it yourself can clearly save you a significant amount of money.
Final Thoughts
A shaking washing machine can be alarming, but it's often a problem you can solve with a little patience and troubleshooting. By starting with the simplest solutions—balancing the load and leveling the machine—you can fix the vast majority of vibration issues without spending a dime.
For more helpful home maintenance guides, expert advice, and an easy way to connect with trusted professionals for the jobs you can't tackle alone, download the Casa app today. Casa puts the power of a home expert right in your pocket, making it easier than ever to manage and maintain your home.


