Seeing a wobbly post or a splintered board can be disheartening, but don't start budgeting for a full replacement just yet. Many common fence issues are surprisingly manageable for a DIY-savvy homeowner. With a little time and the right guidance, you can restore your fence's strength and beauty without breaking the bank.
In this guide, we'll walk you through everything you need to know, just like a friendly expert on the phone. We'll cover how to properly inspect the damage, perform simple repairs on split boards, replace rotten ones, and most importantly, recognize when a job is better left to the pros.
Why You Shouldn't Ignore a Damaged Fence
It’s easy to put off fence repair, but a small problem today can become a big, expensive headache tomorrow. Here’s why it’s worth your attention:
- Security: A broken fence has gaps, making it easier for pets to wander out or for unwanted critters to get in. A weak structure is also less of a deterrent to intruders.
- Curb Appeal: A well-maintained fence boosts your home's appearance. A dilapidated one can make an entire property look neglected.
- Safety: Rotten posts or loose boards can be a safety hazard, especially if you have children or pets playing in the yard. A strong gust of wind could bring a weakened section crashing down.
- Cost: According to HomeAdvisor, the average professional fence repair can cost anywhere from $300 to over $1,100. By tackling minor issues yourself, you can save hundreds of dollars and extend the life of your entire fence.
Ready to get started? Let’s grab some tools and give your fence the TLC it deserves.
Step 1: Inspect and Assess the Damage
Before you can fix the problem, you need to understand its full extent. A thorough inspection will tell you whether you’re dealing with a quick patch job or a more involved replacement. Don't skip this step—it’s the most important one!
What you’ll need:
- Safety glasses
- Pencil or chalk
- Flathead screwdriver
Here’s how to perform a proper fence check-up:
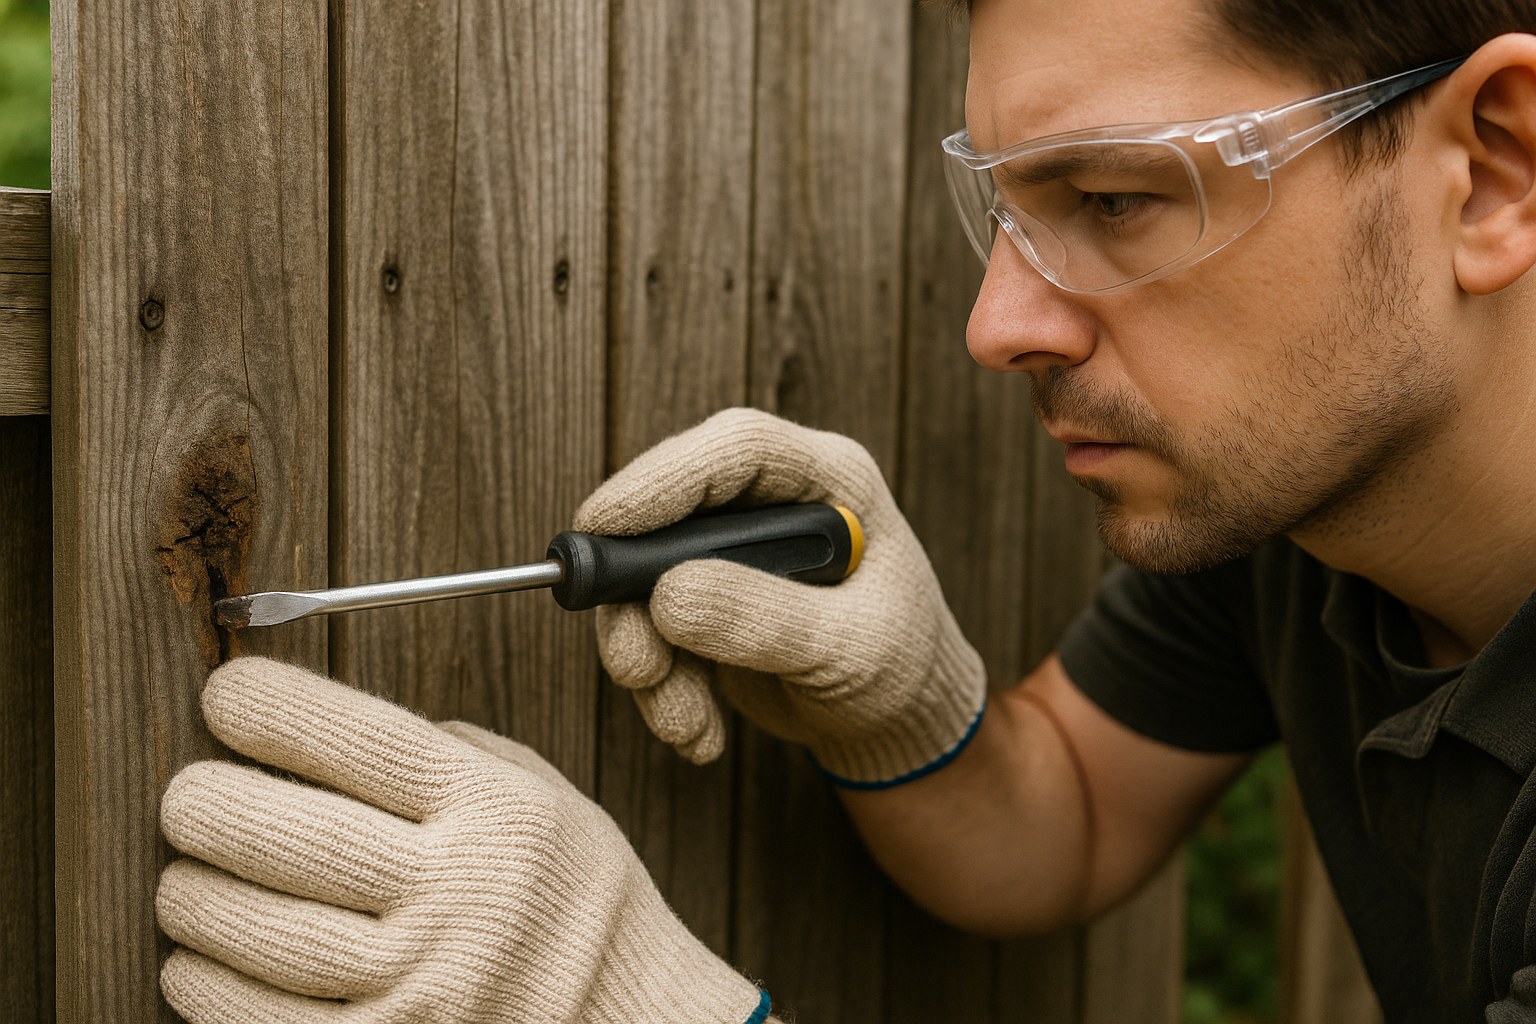
- Put on your safety glasses. You don’t want a wood splinter ruining your day.
- Take a walk. Start at one end of your fence and slowly walk the entire perimeter. Look closely at each post and board.
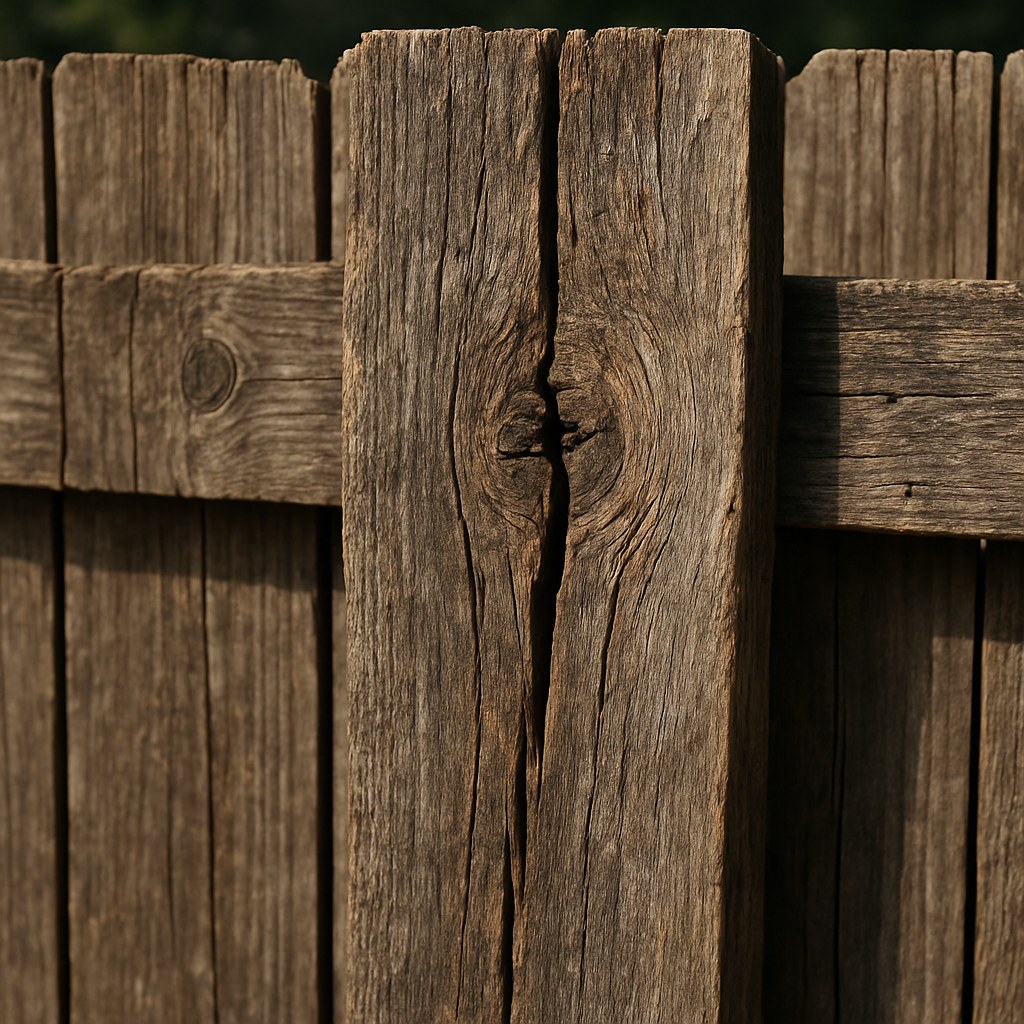
- Mark it up. Use your pencil or chalk to mark any board that looks suspicious—look for cracks, deep splits, or dark, discolored patches which often signal moisture damage.
- The Screwdriver Test. This is the best way to find rot. Firmly press the tip of your flathead screwdriver into the marked spots.
- If the wood is firm and resists the screwdriver, it’s likely just a surface-level split.
- If the wood feels soft, spongy, or crumbles easily, you’ve found rot.
- The Push Test. Go to each fence post and give it a solid push near the top. If it wobbles, leans, or moves in the ground, the post itself is likely rotten at the base and needs professional attention.
Once you’re done, take stock of your findings. This will determine your next move.
- If you have fewer than three damaged boards, and they are only split (not rotten): You’re in luck! You can likely repair them. Proceed to Step 2.
- If you have one or two rotten boards, but the posts are solid: This is a straightforward replacement job. Skip to Step 3.
- If you have a whole section of rotten boards or a wobbly, rotten post: This is a bigger job. A rotten post compromises the entire structure of that fence section. Jump to Step 4: Knowing When to Call a Pro.
Step 2: The Quick Fix - How to Repair Minor Splits
For boards that are cracked but still structurally sound, a little wood epoxy can work wonders. This repair seals the split from moisture, preventing it from worsening or developing into rot.
Difficulty: Moderate
Time: 30 minutes of work, plus 1-2 hours for curing
What you’ll need:
- Work gloves
- Stiff brush
- Putty knife
- Exterior wood epoxy
- Bar clamp
- Medium-grit sandpaper
- Exterior wood sealer
Here’s the process:
- Clean the Split: Put on your work gloves. Use a stiff brush to thoroughly clean out the crack, removing any dirt, debris, and loose wood fibers. You want the epoxy to bond to clean, solid wood.
- Apply the Epoxy: Gently tap a putty knife into the top of the split to hold it open slightly. Squeeze the exterior wood epoxy deep into the crack, making sure to fill it completely.
- Smooth and Clamp: Use your putty knife to smooth the epoxy flush with the board's surface, scraping off any excess. Place a bar clamp across the board, tightening it just enough to press the edges of the split together.
- Let It Cure: Patience is key. Let the epoxy cure according to the manufacturer's instructions, which is typically at least one hour. Don't remove the clamp early!
- Sand and Seal: Once cured, remove the clamp and lightly sand the repaired area until it’s smooth. To protect your work, apply a coat of exterior wood sealer over the patch.
If the board now feels solid and the repair is smooth, congratulations! You've successfully extended the life of your fence board.
Step 3: Out with the Old - How to Replace Damaged Boards
When a board is rotten or too damaged to repair, replacement is the only option. This is a very common DIY task and a great skill to have.
Difficulty: Moderate
Time: 45 minutes per board, plus time for sealing
What you’ll need:
- Safety glasses
- Drill with screwdriver bit
- Tape measure
- Replacement fence board (cedar or pressure-treated pine are great choices)
- Circular saw
- Exterior-grade wood screws
- Exterior wood sealer
Replacing a single board:
- Safety First: Put on your safety glasses.
- Remove the Old Board: Use your drill in reverse to back out the screws or nails holding the damaged board to the horizontal rails. Carefully lift the board away.
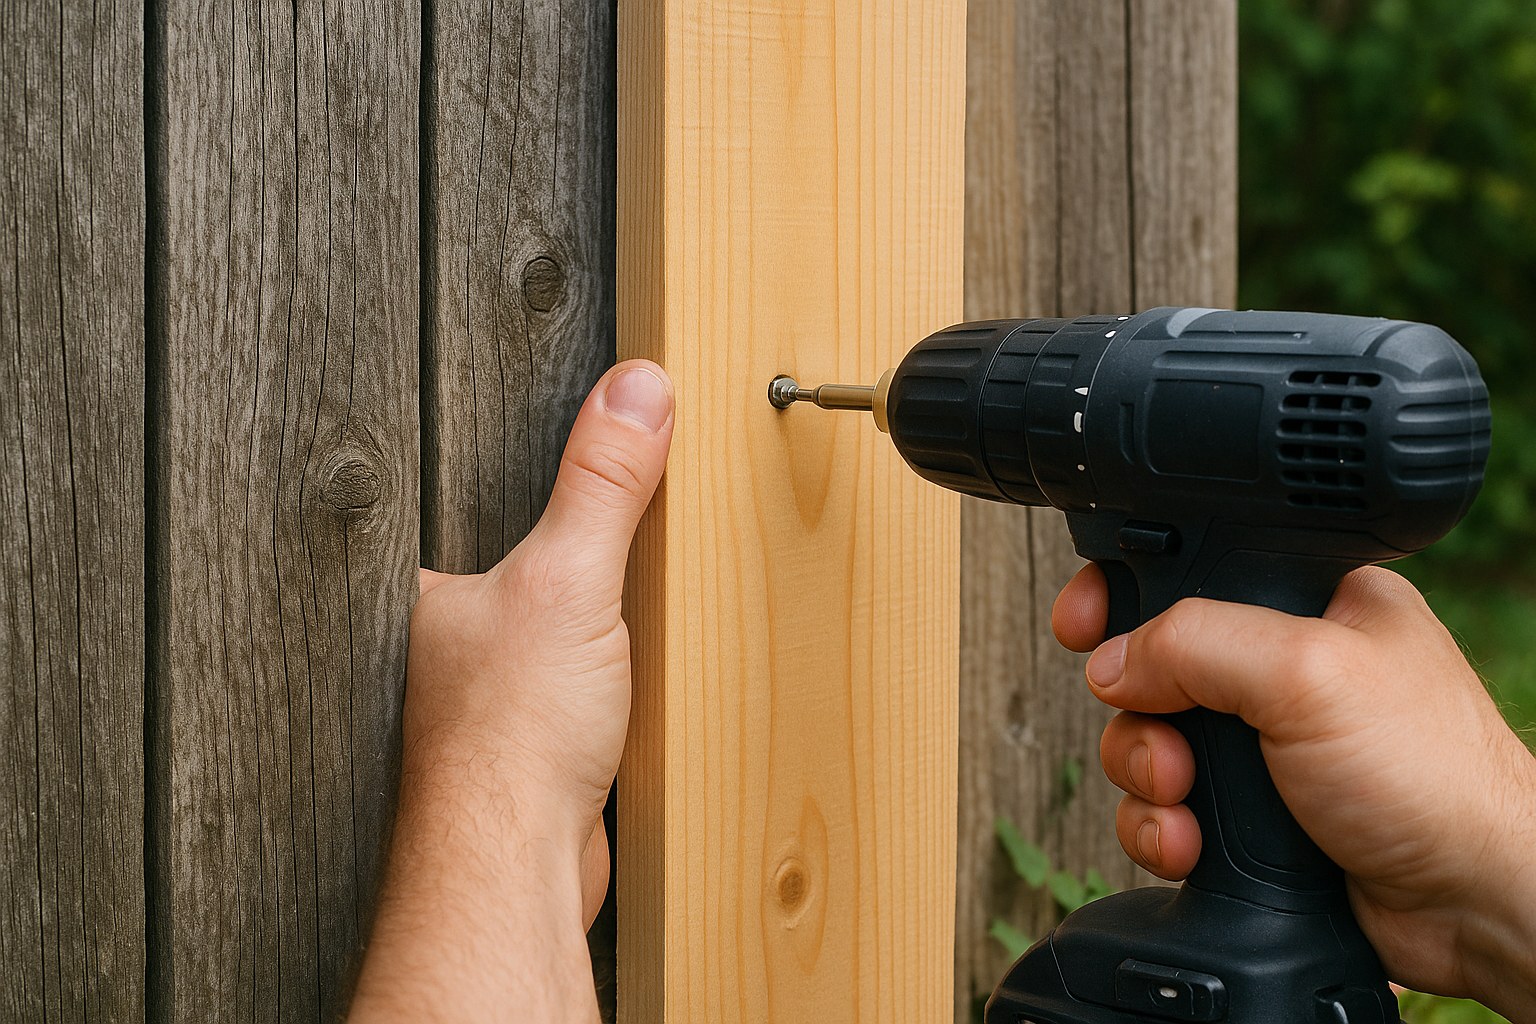
- Measure and Cut: Measure the length of the board you just removed. Use those measurements to cut your new replacement board to the perfect size with a circular saw. Remember the old saying: measure twice, cut once!
- Install the New Board: Position the new board in place, ensuring it's aligned with its neighbors. Use your drill to drive exterior-grade wood screws through the new board and into the horizontal rails. Two screws per rail (top and bottom) is standard.
- Seal the Deal: To prevent your new board from suffering the same fate as the old one, apply a coat of exterior wood sealer to all sides, including the top and bottom edges.
If you have multiple rotten boards right next to each other, the process is the same, but you may need to check the horizontal rails they attach to. If a rail feels soft or crumbly when you probe it with a screwdriver, it will need to be replaced as well before you attach new boards.
Step 4: Knowing When to Call a Professional
DIY is empowering, but it’s just as important to know your limits. Certain fence problems are best left to a professional fencing contractor to ensure the job is done safely and correctly.
Call a pro if you find:
- Rotten or Leaning Fence Posts: A fence post is the foundation of a fence section. Replacing one involves digging it out, clearing the old concrete footing, setting a new post perfectly straight, and pouring new concrete. It’s heavy, precise work that, if done wrong, will cause the whole section to fail.
- Widespread Rot: If your inspection revealed that more than 20-25% of your fence boards or rails are rotten, you're moving from a repair job to a major restoration. A professional can assess if a partial replacement is feasible or if a full replacement is more cost-effective.
- Your Repaired Section Feels Wobbly: If you’ve replaced boards and the section still doesn’t feel solid and aligned, there may be an underlying structural issue with the posts or rails that you missed.
Final Thoughts: Protect Your Investment
Fixing a split or rotten fence is a rewarding project that restores your home’s security and charm. By catching problems early and performing regular maintenance—like applying a fresh coat of sealer every few years and keeping vegetation trimmed back—you can add years to its life.
Whether you're tackling a simple epoxy repair or replacing a few boards, you’re not just fixing wood; you’re preserving a valuable part of your property.
And for every home maintenance challenge, Casa is here to help. Download the Casa app today to get access to more easy-to-follow DIY guides, create custom maintenance checklists, and connect with trusted, vetted professionals for those bigger jobs. Take the guesswork out of homeownership and keep your home in top shape with Casa.
Related Reading


