Fixing it yourself can save you a significant amount of money. According to Forbes Home, the average professional sprinkler system repair costs around $257, with prices easily climbing depending on the issue. With a little guidance, you can tackle the most common problems and get your system back up and running.
Think of me as your expert on the other end of the line. I’m going to walk you through a step-by-step process to figure out exactly why your sprinklers aren’t working and how to get that water flowing again.
Common Reasons Your Sprinkler System Isn't Working
Before we dive into the nitty-gritty, let's look at the usual suspects. Your sprinkler system is a network of connected parts, and a failure in one can shut the whole thing down. Here are the most common reasons your system won’t turn on:
- No Power to the Controller: The controller is the brain of your system. If it has no power due to a tripped breaker, a faulty outlet, or a dead backup battery, nothing will happen.
- Incorrect Controller Settings: Sometimes the fix is as simple as a setting. The system might be in the "Off" or "Rain" mode, preventing it from running its schedule.
- Water Supply is Turned Off: It sounds obvious, but it happens all the time! The main water valve to your irrigation system might be closed, especially after winter.
- A Faulty Rain Sensor: These handy devices stop your system from watering in the rain, but when they malfunction, they can keep it off permanently.
- A Broken Valve or Solenoid: Each watering "zone" has a valve. If a valve is broken or the electronic solenoid that controls it fails, that zone won't turn on.
Now that you have an idea of what we’re looking for, let’s get our hands dirty and start troubleshooting.
A Step-by-Step Guide to Fixing Your Sprinkler System
We’ll start with the simplest and most common problems first, working our way from the controller to the individual sprinkler zones.
Step 1: Figure Out What Kind of System You Have
First, we need to know what we're working with. Most modern homes have an electronic irrigation system, but some older or simpler setups might be manual.
Locate your sprinkler control box. You’ll typically find it in the garage, basement, or mounted on an exterior wall of your house.
- Electronic System: Does it have a digital display, a large dial with settings like "Auto," "Run," and "Off," and a series of buttons? If so, you have an electronic system. This guide will primarily focus on this type.
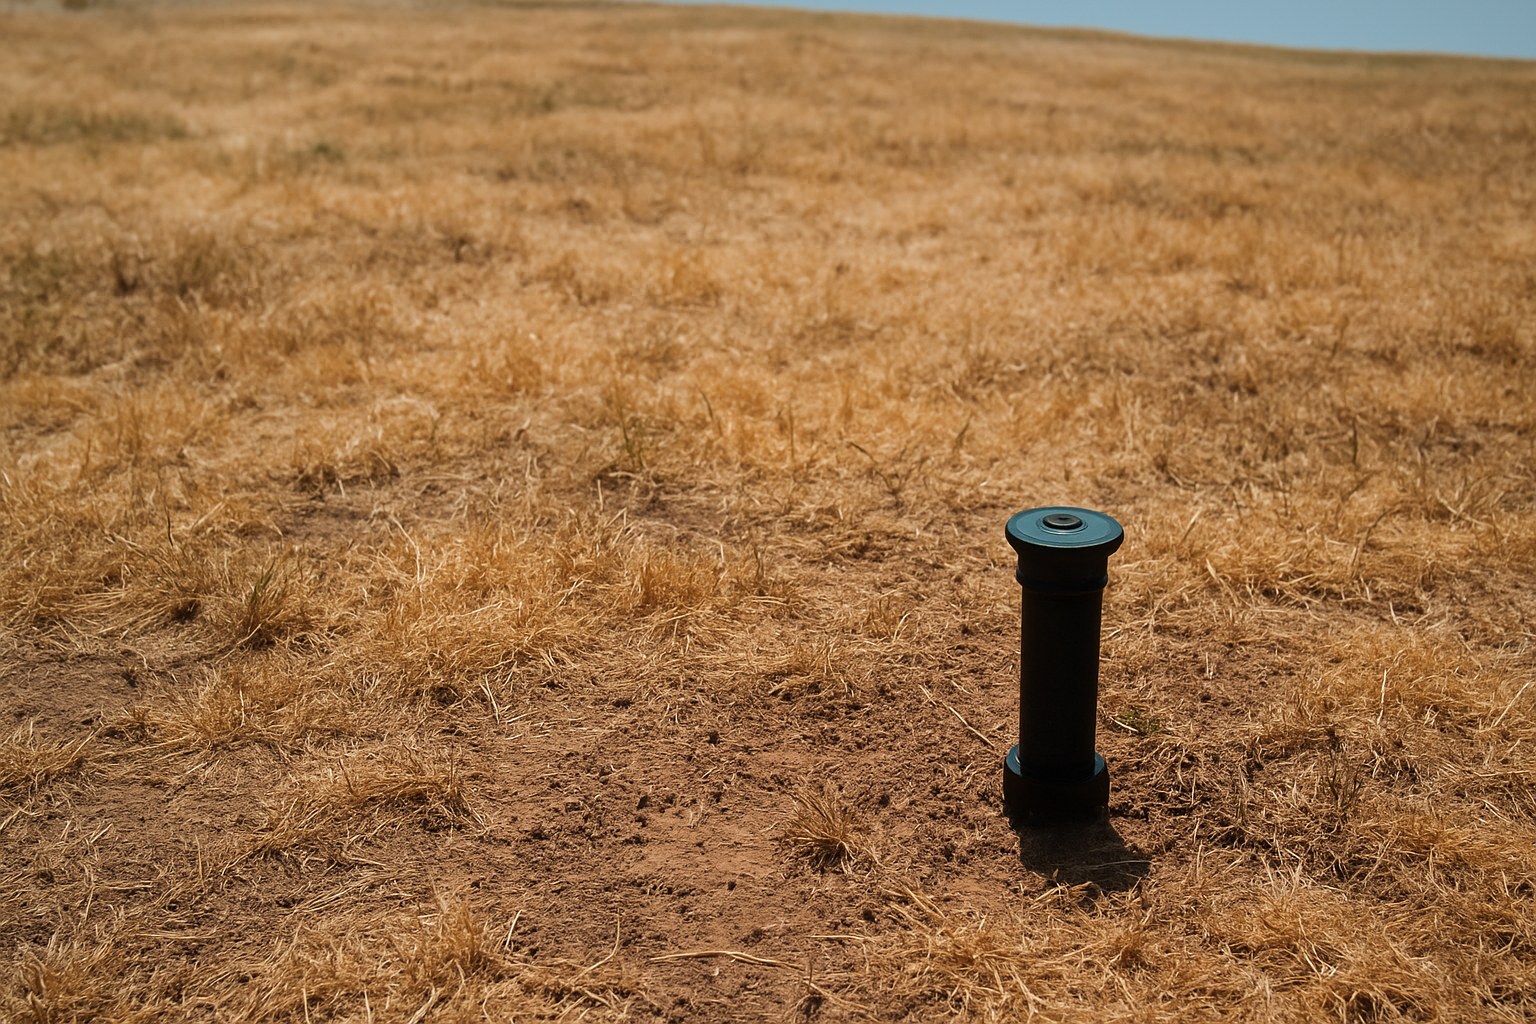
- Manual System: If you don’t have a control box and instead just have a series of T-shaped or wheel-like handles on pipes coming out of the ground, you have a manual system. We’ll cover that, too, so stick around.
Step 2: Check the Controller for Power and Correct Settings
If you have an electronic controller, this is where we start. If the brain isn't working, the rest of the body won't respond.
First, look at the controller display. Is it lit up? If the screen is blank, you have a power issue.
- Check the Outlet: Make sure the controller’s transformer is plugged securely into the wall outlet. Sometimes they can get knocked loose.
- Test the Outlet: Plug a small lamp or phone charger into the outlet to confirm it has power. If it doesn’t, you’ve likely got a tripped GFCI outlet (look for the "Test" and "Reset" buttons) or a tripped circuit breaker.
- Reset the Circuit Breaker: Head to your home's main electrical panel. Find the breaker labeled for your sprinklers (or sometimes "garage" or "outdoor outlets"). Flip it fully to the "Off" position, then back to "On."
- Check the Backup Battery: Many controllers have a 9-volt backup battery. If the display is still dark after checking the power, try replacing this battery.
If the display is on, we need to check the settings.
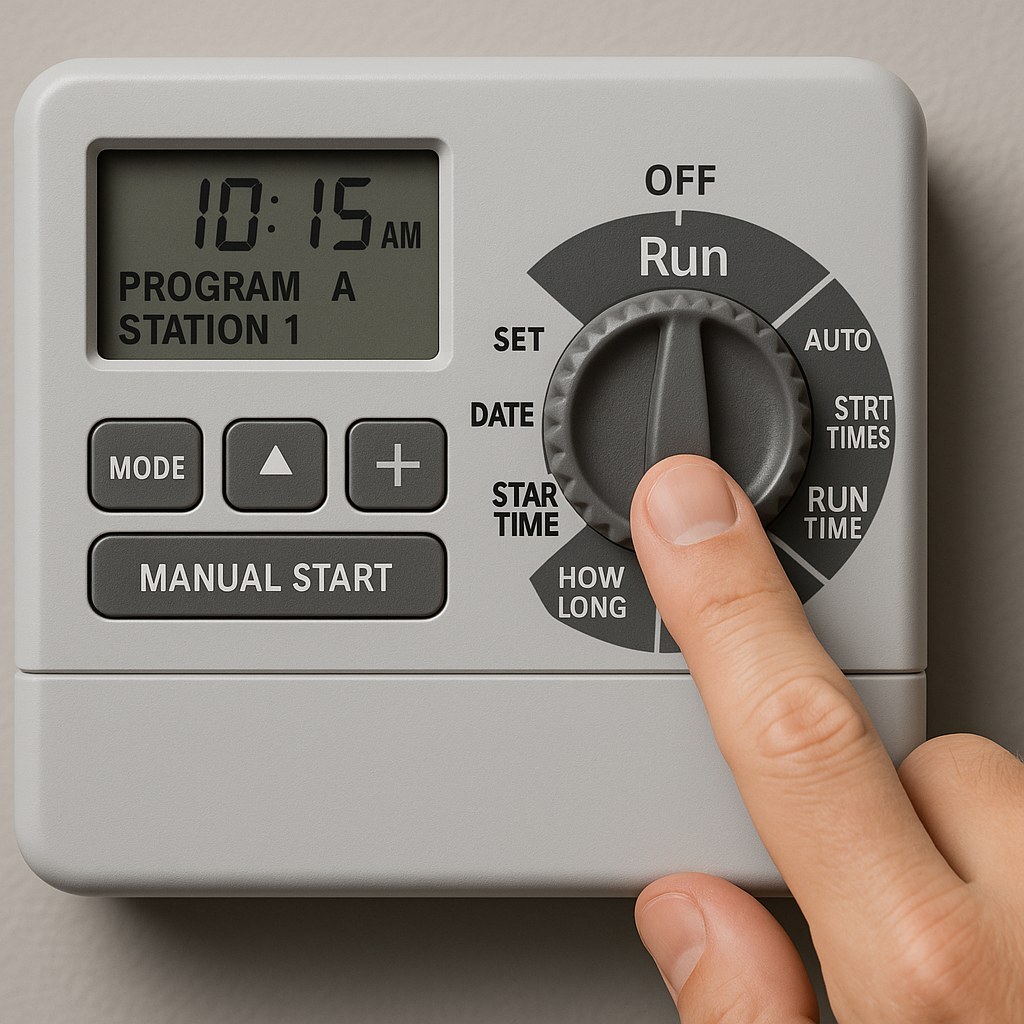
- Check the Dial: Make sure the main controller dial is set to "Run" or "Auto." If it's on "Off" or "System Off," it won't run its program.
- Bypass the Rain Sensor: A faulty rain sensor is a very common culprit. Look for a switch or button on your controller labeled "Bypass," "Sensor," or "Active." Flip this switch to bypass the sensor. If your sprinklers kick on, you’ve found your problem! You’ll need to repair or replace the sensor, but at least you can water your lawn in the meantime.
After checking the power and settings, try to run a zone manually from the controller. If it works, your system is likely functional, and you may just need to review and correct your automatic watering schedule. If not, let’s move on.
Step 3: Ensure the Water is Turned On
This is another simple but crucial step. Your irrigation system has its own shut-off valve, separate from your home's main water supply.
- Locate the irrigation main shut-off valve. This is often near your water meter or where the water line enters your house. You'll also likely find your system's backflow preventer here—a set of pipes and valves that stops irrigation water from contaminating your drinking water.
- The valve handle should be parallel to the pipe to be fully open. If you have a wheel-like handle, turn it counter-clockwise as far as it will go.
- Also, check the small valves on the backflow preventer itself. Their handles should also be aligned with the pipe.
Once you’re sure the water is on, head back to your controller and try to run a zone manually again. If water starts spraying, you've solved it!
Step 4: Troubleshoot a Specific Zone That Isn't Working
What if some zones work, but one or two don't? This means the problem lies further down the line, likely with the valve for that specific zone.
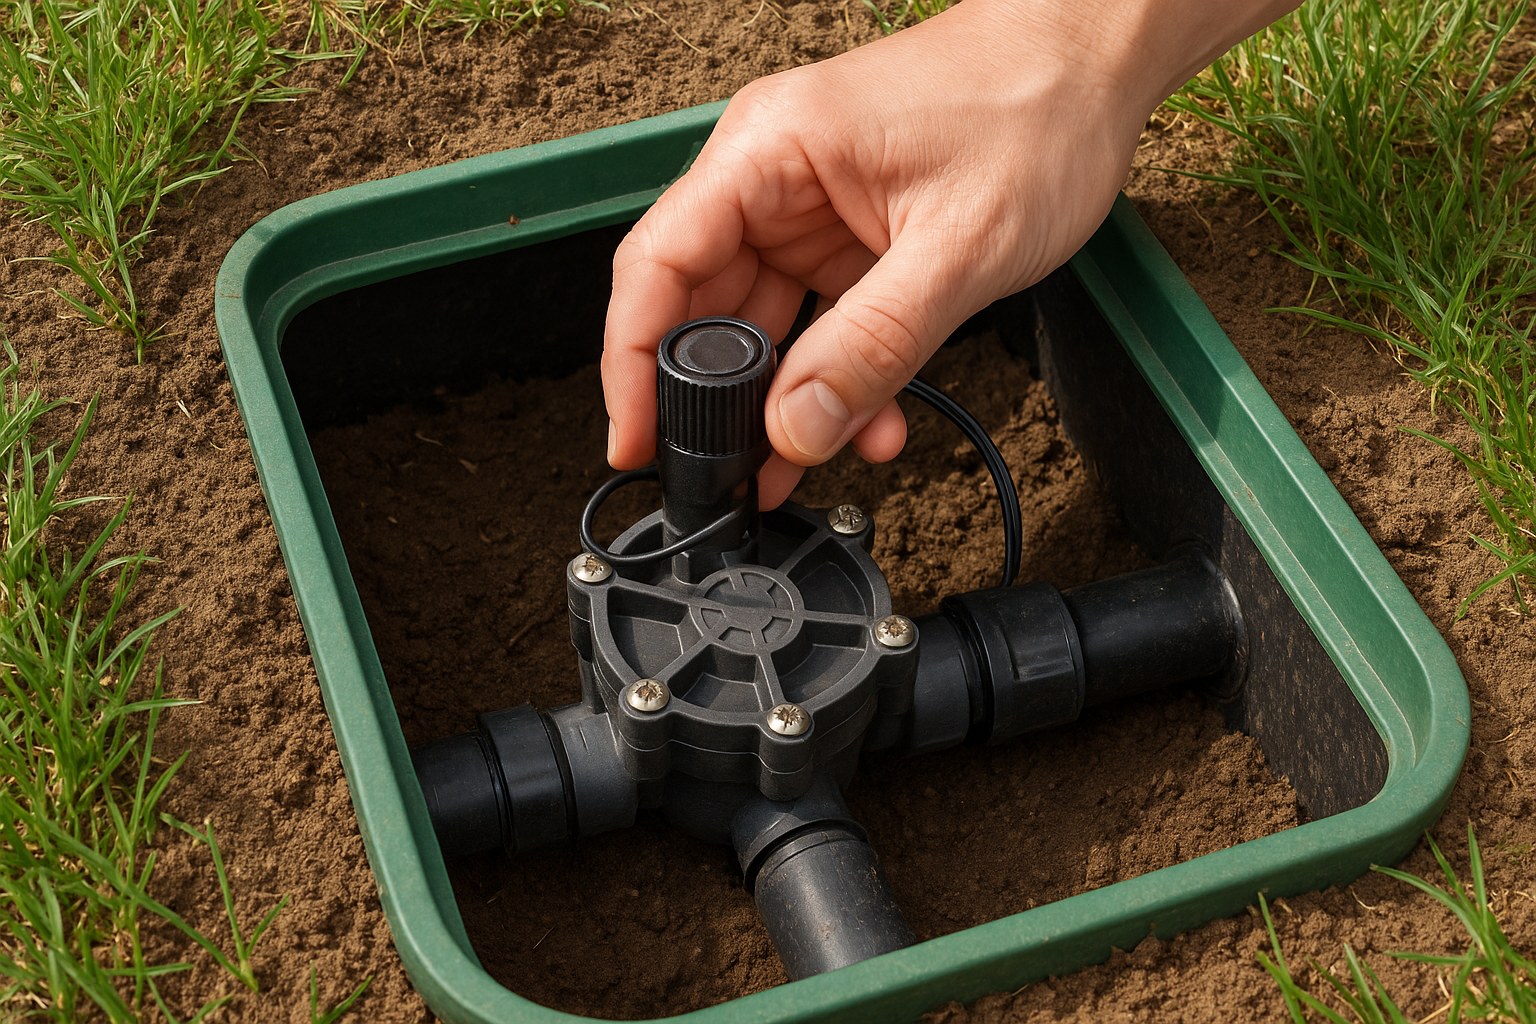
- Find the Valve Box: Your sprinkler valves are housed in an underground valve box, which usually has a green plastic lid flush with the ground. You may have several of these in your yard.
- Open the Box: Use a screwdriver to pry open the lid. Inside, you'll see a group of identical valves, each with wires running to it.
- Manually Test the Valve: Each valve has a small solenoid—a black or gray cylinder with two wires coming out of it. To manually open the valve, gently twist the solenoid a quarter-turn counter-clockwise. You should hear a click and the sound of rushing water, and the sprinklers for that zone should turn on.
- Inspect the Solenoid: If manually opening it works, the valve itself is fine, but the solenoid might be bad or not getting an electrical signal. If nothing happens when you twist it, the valve might be clogged.
To check for a clog, turn off the water at the main irrigation valve first. Then, you can unscrew the solenoid completely and check the small plunger inside for any dirt or debris. Rinsing it with clean water can often solve the problem. Also, give a light tug on the low-voltage wires connected to the solenoid to make sure they are secure and not broken.
What If You Have a Manual System?
If your system doesn't have a controller, your troubleshooting is more straightforward.
- Check the Main Water Supply: Just like with an electronic system, first ensure your main irrigation valve is fully open.
- Open Each Manual Valve: Walk to each manual irrigation valve in your yard. Turn the T-shaped or wheel-like handle counter-clockwise until it stops. If the sprinklers start, you're all set.
- Inspect for Clogs: If a valve is open but no water is flowing, it's likely clogged. Turn the water off, and use an adjustable wrench to unscrew the top of the valve (the valve bonnet). Lift out the rubber valve diaphragm and inspect both it and the inside of the valve body for any pebbles or debris. Clean it, reassemble it, and try again.
Still Stuck? When to Call an Irrigation Professional
You’ve checked the power, confirmed the water is on, and even inspected the valves, but your sprinklers still won't cooperate. Sometimes, a problem is just beyond a simple DIY fix. It’s time to call a professional if you suspect:
- A broken underground pipe: Signs include soggy patches in your lawn or a sudden drop in water pressure.
- Complex electrical issues: If you've confirmed the controller has power but it's still not sending a signal to the valves, you could have a wiring short or a failed controller.
- A malfunctioning main line or backflow preventer: These are higher-pressure components that are best left to a licensed professional.
Don't feel defeated if you need to call for help. Knowing when to hand it over to an expert is a key part of smart homeownership.
Your Lawn's Guardian Angel: The Casa App
Fixing a sprinkler system can feel empowering, and with the right guidance, you can tackle many home maintenance projects on your own. But you don't have to do it alone.
For every challenge your home throws at you, from a stubborn sprinkler to a leaky faucet, the Casa app is here to help. With our easy-to-follow, step-by-step guides, you can confidently manage repairs and maintenance. And if you ever hit a snag or decide a job is too big, Casa can instantly connect you with a network of trusted, vetted professionals in your area.
Take control of your home maintenance. Download the Casa app today and turn your home repair to-do list into a to-done list.


