It’s a familiar story for many homeowners: you head out to your garage or basement, expecting to see your sprinkler timer diligently displaying the time and your watering schedule, only to be met with a blank screen. The buttons are unresponsive, and your lawn is looking thirstier by the minute. It’s frustrating, but before you start budgeting for a costly replacement or a visit from a landscaping pro, take a deep breath. Most of the time, a non-working sprinkler timer is a simple fix you can handle yourself.
A sprinkler timer that won't turn on is usually caused by a straightforward power issue. Whether it's dead batteries, a tripped circuit breaker, or a GFI outlet that needs resetting, these are problems you can solve in less than half an hour with just a few simple steps.
In this guide, we'll walk you through the entire troubleshooting process, from identifying your timer's power source to checking its programming. Think of this as a friendly phone call—we’re here to help you figure it out and get your sprinklers back on schedule.
Step 1: First Things First—Identify Your Timer’s Power Source
Before we can diagnose the problem, we need to know how your sprinkler timer gets its power. Timers typically fall into two categories: some are powered solely by batteries, while most are hardwired into your home’s electrical system (AC power) and use batteries only as a backup for the clock and schedule settings.
Let’s figure out which kind you have.
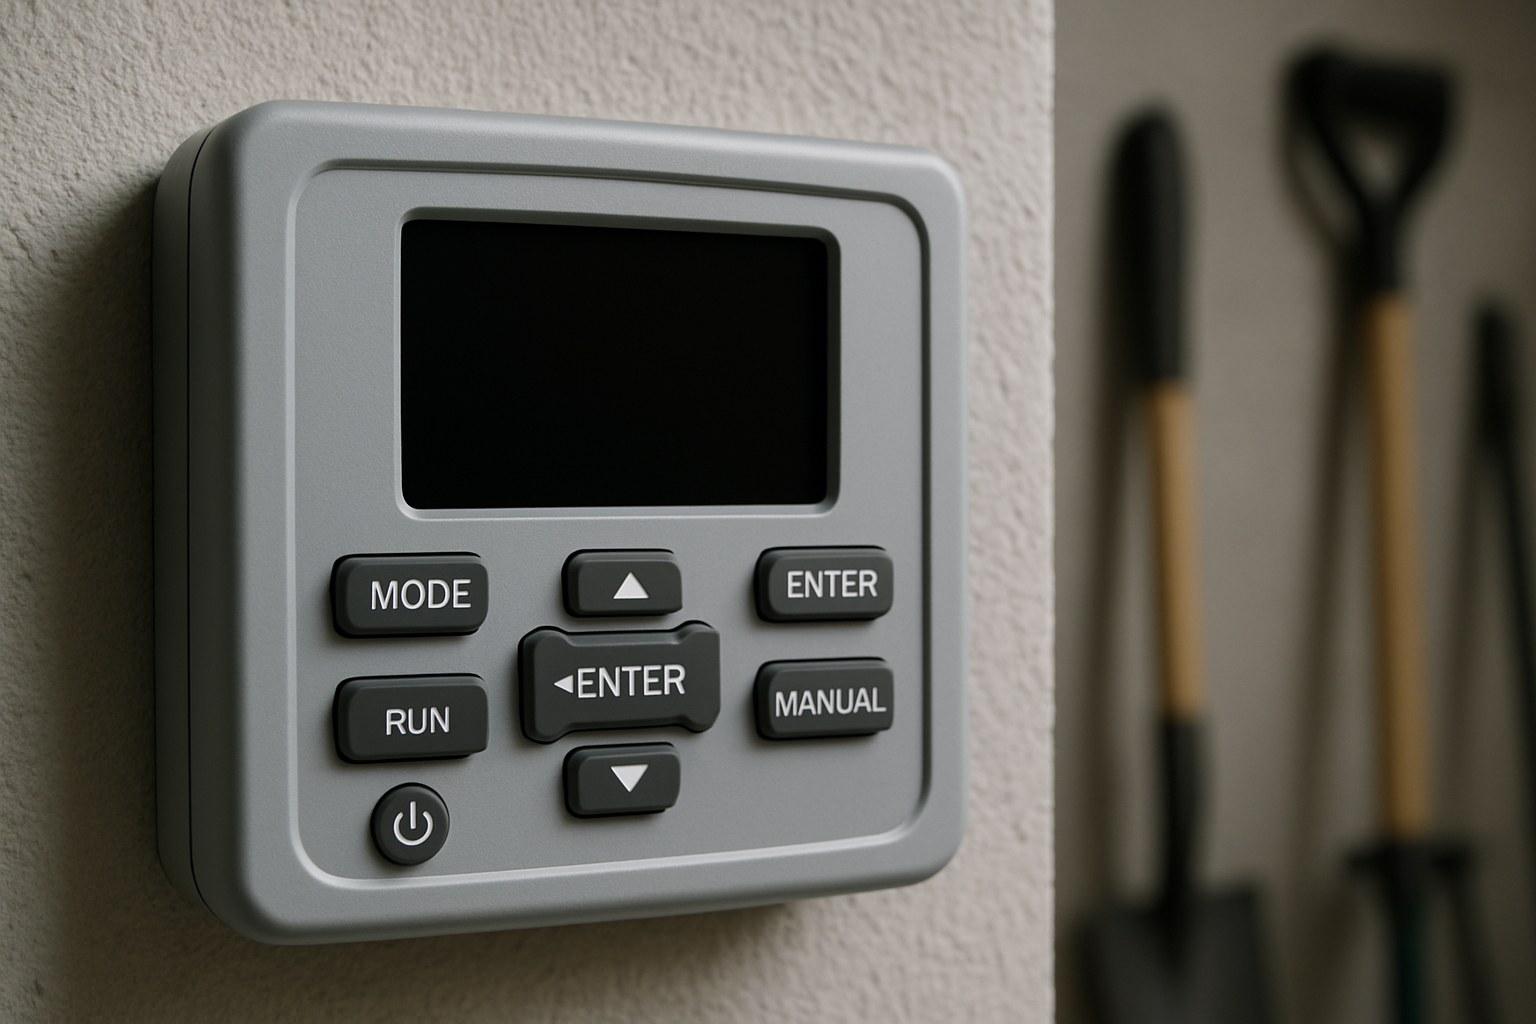
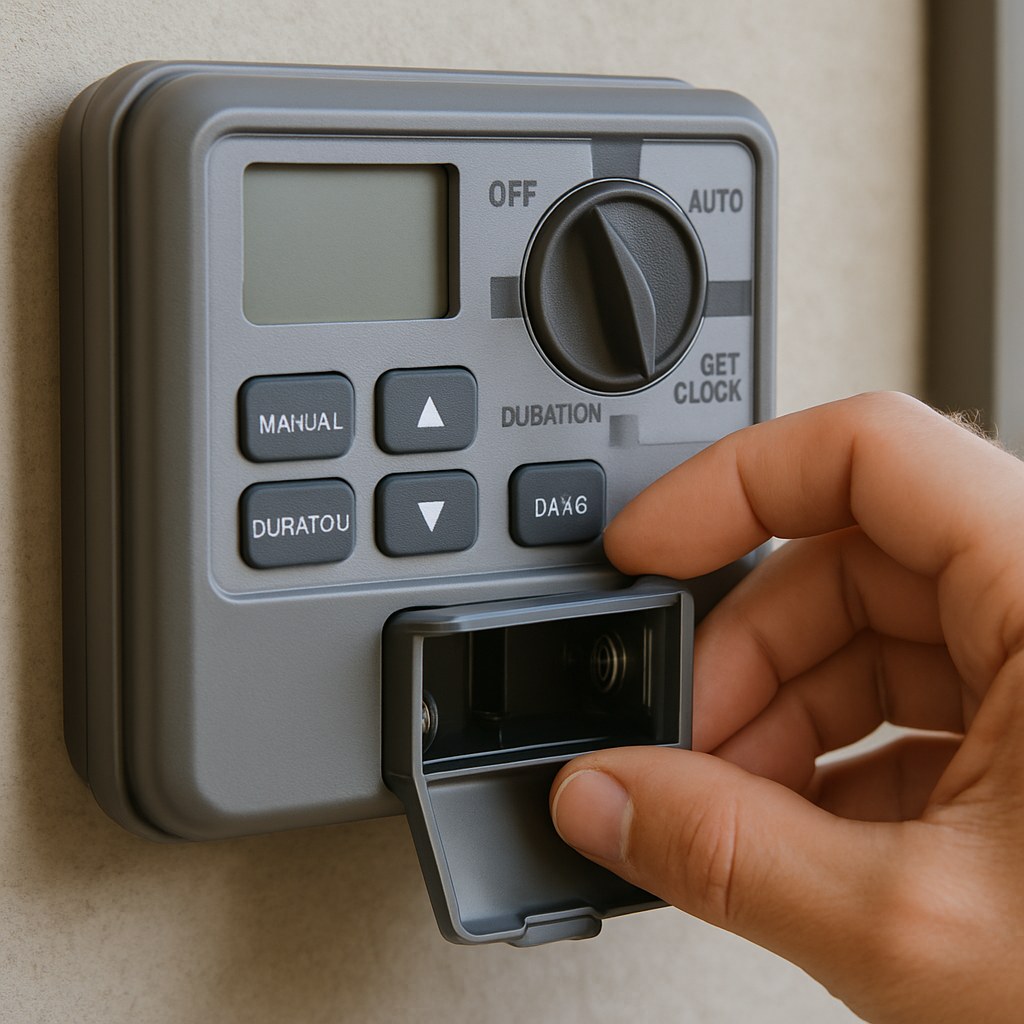
- Look for a Battery Compartment: Examine the faceplate and sides of your timer unit. You’re looking for a small cover that slides or pops off. It might be on the front, bottom, or back of the unit.
- Check for an Electrical Cord: Look around the timer for a power cord plugged into a nearby wall outlet. This is common for timers located in garages, basements, or sheds.
- Make the Call:
- If you find a battery compartment but no electrical cord, your timer is battery-operated. You can jump down to the section on "Troubleshooting a Battery-Operated Timer."
- If you see an electrical cord plugged into an outlet, your timer is AC-powered. Even if it has a battery compartment, the main issue is likely with the electrical supply. Head to the section on "Troubleshooting a Wired (AC-Powered) Timer."
Step 2: How to Fix a Battery-Operated Sprinkler Timer
If your timer relies exclusively on batteries, the solution is often as simple as swapping them out. But let’s do it the right way to make sure we cover all the bases.
- Install Fresh Batteries: Open the battery compartment and remove all the old batteries. It’s important to replace them with a full set of new, high-quality alkaline batteries (most timers use AA). Pay close attention to the positive (+) and negative (-) markings inside the compartment to ensure you install them correctly.
- Check the Display: Once the new batteries are in, securely close the cover. The timer’s display should light up or the dial should become responsive within about 30 seconds. If it powers on, that’s a great sign! If the screen remains blank, unfortunately, the timer unit itself has likely failed and will need to be replaced.
- Test the Schedule: If the display is working again, the final step is to make sure it can still run your sprinklers.
- Run a Manual Test: Most timers have a "Manual Start" or "Run" button. Press it to cycle through your sprinkler zones. Go outside and confirm that the sprinkler heads in each zone are activating and spraying water. You can cancel the test after a minute.
- Check for Delays: Look at the display for any icons that indicate a "Rain Delay" or "Freeze" sensor is active. These features intentionally prevent the timer from running, and they may need to be cleared manually after a storm.
- Set a Test Program: To be absolutely sure, set a simple new program. For example, program it to start in five minutes and run Zone 1 for just one minute. Wait and watch to see if it kicks on automatically.
If the timer powers on with new batteries and successfully runs a manual or scheduled test, congratulations—you’ve fixed it! If the timer turns on but won't activate the sprinklers, it's time to call an irrigation professional for a deeper diagnosis.
Step 3: How to Fix a Wired (AC-Powered) Sprinkler Timer
For timers plugged into an outlet, a blank screen almost always points to a loss of electrical power. Even if your backup battery is working (which is why your settings might be saved), the timer needs AC power to actually operate the sprinkler valves.
If the Display is Completely Blank: Restore Power
- Check the GFCI Outlet: Many sprinkler timers are plugged into a Ground Fault Circuit Interrupter (GFCI) outlet—the kind with the "Test" and "Reset" buttons. These outlets are designed to trip and cut power to prevent electrical shock. If the timer is plugged into one, press the "Reset" button firmly until it clicks. The display should come back on immediately.
- Check the Circuit Breaker: If resetting the outlet doesn’t work, head to your home’s main electrical panel. Look for the breaker switch that controls the area where your timer is located (it might be labeled "Garage," "Outdoors," or "Irrigation"). Sometimes a breaker can look like it's on when it's actually tripped. To be sure, flip the switch firmly to the "OFF" position, then flip it back to "ON."
- Test the Outlet Itself: Still no power? Let’s confirm the outlet is working. Unplug the sprinkler timer and plug in something you know works, like a small lamp or a phone charger. If the lamp doesn’t turn on, the problem is with your home’s wiring, and you should call an electrician. Do not attempt to fix a dead outlet yourself unless you are experienced with electrical work.
- Reconnect and Test: If the outlet works, plug your sprinkler timer back in. The display should light up. Run a manual test to make sure all the zones are working correctly.
If the Display is On But Not Working Correctly: Check the Settings
Sometimes the timer has power, but something in the programming is preventing it from running.
- Look for Error Codes: Check the display for any blinking icons or error codes (like "ERR" or "NO AC"). Consult your timer’s instruction manual to understand what they mean.
- Disable Rain/Freeze Sensors: As with battery timers, make sure a rain or freeze sensor isn't active. This is one of the most common reasons a perfectly functional timer won't run.
- Check the Zone Wires: If only certain zones aren't working, the issue could be a loose wire. On most timers, there is a panel with a series of screw terminals where each zone wire connects. Gently tug on each wire to see if it’s loose. If you find one, use a small flathead screwdriver to tighten the terminal screw.
- Reprogram the Schedule: If all else fails, try clearing the existing schedule and re-entering a simple test program. Occasionally, a programming glitch can cause issues.
How Much Does It Cost to Fix a Sprinkler Timer?
One of the best parts about this home maintenance task is how affordable it is to do it yourself.
- DIY Costs: If the fix is new batteries, you're looking at $5 - $10. If you need to reset a breaker or GFCI, the cost is $0.
- Professional Repair Costs: If you've tried everything and still can't get it working, you'll need to call an irrigation specialist or a landscape professional. According to HomeAdvisor, a service call to diagnose and repair a sprinkler system typically costs between $75 and $250, depending on the complexity of the issue.
By spending a few minutes troubleshooting yourself, you can potentially save a significant amount of money.
When It's Time to Call a Professional
While many timer issues are simple fixes, some problems require an expert. You should call a professional if:
- A battery-operated timer won't power on even with fresh batteries.
- An outlet that powers your timer is completely dead.
- The timer powers on but fails to activate any of the sprinkler zones.
- You suspect there are issues with the underground wiring or the solenoid valves.
Keep Your Lawn Green and Your Mind at Ease
A broken sprinkler timer can be a real nuisance, but it doesn’t have to ruin your day or your lawn. By systematically checking the power source, batteries, and settings, you can solve the vast majority of issues on your own. Keeping your irrigation system in top shape ensures your lawn stays healthy and you conserve water by watering on a consistent schedule.
For more easy-to-follow guides on everything from plumbing to outdoor maintenance, download the Casa app today! Casa empowers you to tackle home repairs with confidence and connects you with a network of trusted professionals for those jobs that need an expert touch. Take control of your home maintenance with Casa.


