The good news is that you don't have to immediately call a professional. Many common sprinkler zone issues are surprisingly easy to diagnose and fix yourself. With a little patience and a few simple tools, you can get your system back in top shape.
In this guide, we'll walk you through the entire troubleshooting process, from quick initial checks to testing your controller and valves. Think of us as your expert on the line, guiding you step-by-step to a solution.
Common Reasons a Sprinkler Zone Fails
Before we roll up our sleeves, let's look at the usual suspects behind a misbehaving sprinkler zone:
- Controller Programming Errors: Sometimes, the fix is as simple as a wrong setting on your sprinkler controller.
- Faulty Wiring: A loose or broken wire between the controller and the valve is a very common culprit.
- Bad Solenoid: The solenoid is the electronic "gatekeeper" on your valve. If it fails, the valve won't open or close on command.
- Stuck or Broken Valve: Debris can get lodged in the valve, preventing it from opening or closing properly.
- Water Supply Issues: A closed valve somewhere along the line can prevent water from reaching the zone.
Ready to figure out what's going on with your system? Let's get started.
Step 1: Perform Initial System Checks
Before you start digging up valve boxes, let's cover the basics. These simple checks can often solve the problem in just a few minutes without any tools.
- Check the Main Water Supply: Find the main shut-off valve for your irrigation system (often located near your water meter or where the water line enters your house). Ensure the handle is fully open.
- Verify the Backflow Preventer: Your backflow preventer (a plumbing assembly usually located outside) has two handles. For the water to flow, both handles should be parallel to the pipes. If they're perpendicular, they're closed.
- Look at Your Controller: Is the controller display on? Does it show the correct time and date? If the display is blank, it's not receiving power.
- Check the GFCI Outlet: Most sprinkler controllers are plugged into a GFCI (Ground Fault Circuit Interrupter) outlet, which has "TEST" and "RESET" buttons. If this outlet has tripped, the controller will have no power. Press the "RESET" button firmly.
- Inspect the Rain Sensor: If you have a rain sensor (a small device usually mounted on a gutter or fence), it might be preventing the system from running. Check if it's full of debris or stuck. Gently tap it and wipe it dry. Some controllers have a switch to bypass the sensor—try activating that.
- Try a Manual Run: Manually activate the problematic zone from your controller. Listen for a "click" from the controller, which indicates it's trying to send a signal. Watch the zone to see if anything happens.
If any of these steps got your zone working again, congratulations! You've solved the mystery. If not, it's time to move on to the controller itself.
Step 2: Troubleshoot Your Sprinkler Controller
The controller is the brain of your irrigation system, and if it's not sending the right signals, your zones won't work. The troubleshooting steps vary slightly depending on whether you have a smart controller or a more traditional basic timer.
For Smart Controllers (e.g., Rachio, Orbit B-hyve)
Smart controllers are fantastic, but they add a few extra layers to check.
- Check the App: Open the controller's app on your smartphone. Check for any error messages or notifications.
- Firmware Updates: Is there a pending firmware update? Install it. Manufacturers often release updates to fix bugs that can cause zone malfunctions.
- Review Schedules: In the app, double-check that the affected zone has a schedule assigned with a start time, run time, and designated watering days.
- Disable Weather Skips: Temporarily disable any "weather intelligence" or "rain skip" features. Sometimes these can be overly sensitive and prevent a zone from running.
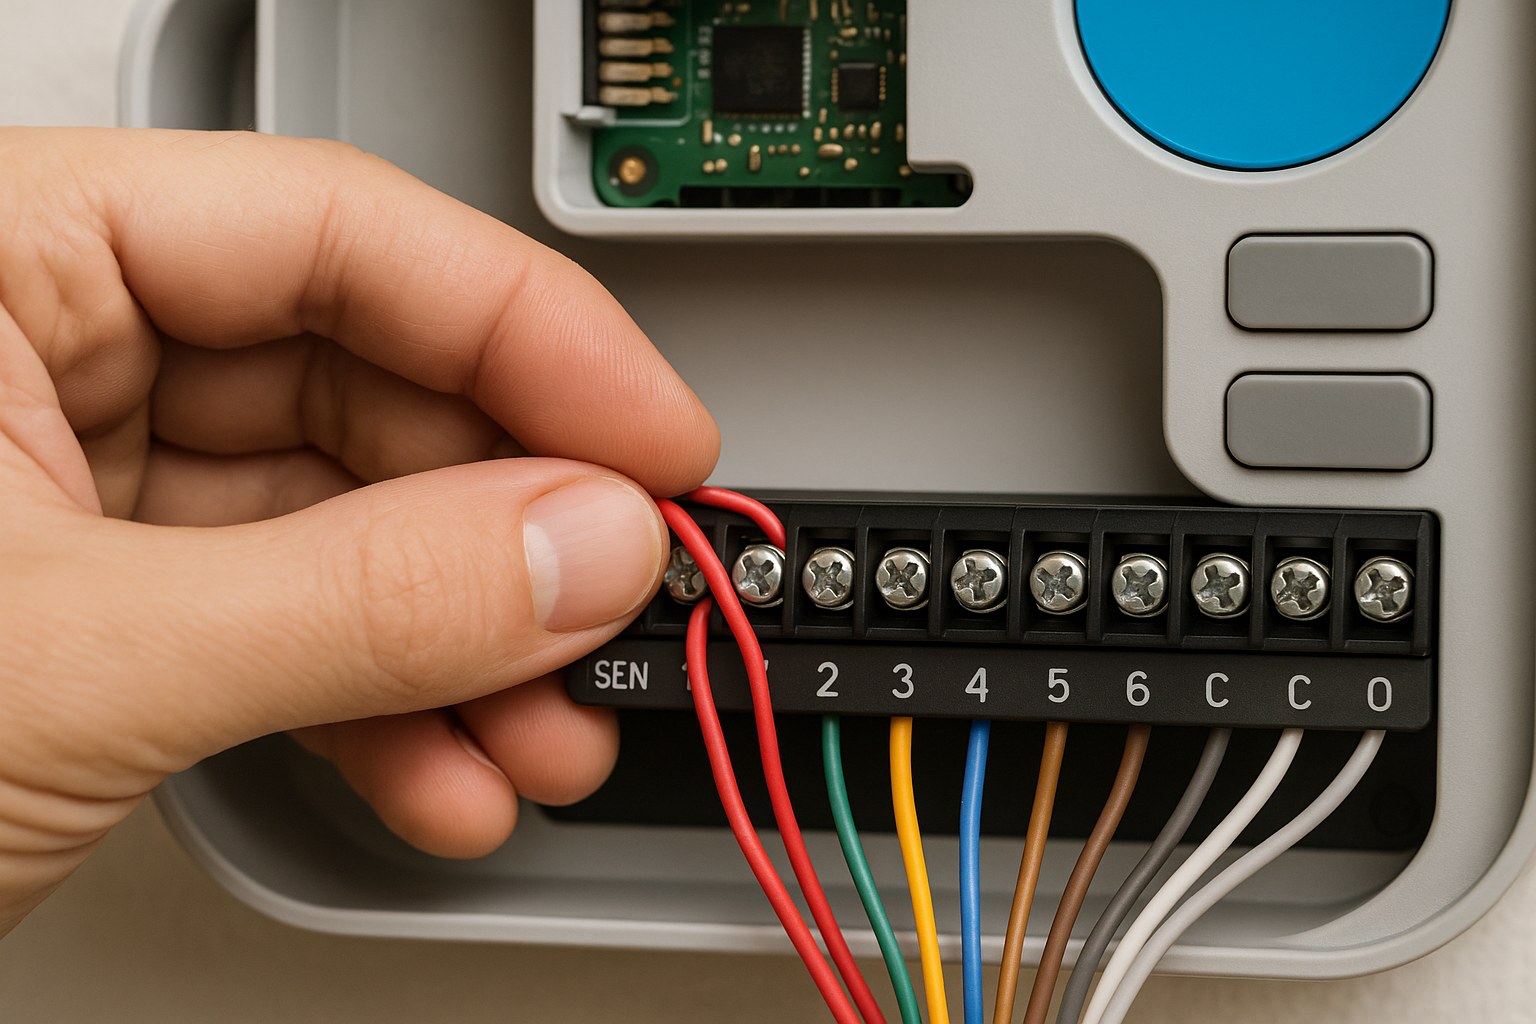
- Inspect the Wiring: Gently tug on the wire for the problematic zone and the common wire (usually white) at the controller's terminal strip. A loose wire is a frequent cause of failure. If needed, use a small screwdriver to tighten the terminal screw.
For Basic Timer Controllers
These dial-and-button controllers are straightforward but require correct settings.
- Set Time and Date: Rotate the dial and ensure the current time and day are set correctly. An incorrect time can throw off the entire schedule.
- Confirm Start/Run Times: Go through the settings for "Start Times" and "Run Times." Make sure the faulty zone has a start time and a run time of at least a few minutes assigned to it.
- Bypass the Rain Sensor: Find the rain sensor switch and move it to the "BYPASS" or "OFF" position to rule it out as the problem.
- Replace the Backup Battery: Most controllers have a 9-volt or coin-cell battery to save the schedule during a power outage. If this battery is dead, it can sometimes cause erratic behavior.
If your controller settings are all correct and the wiring looks secure, but the zone still isn't working, the problem likely lies out in the yard.
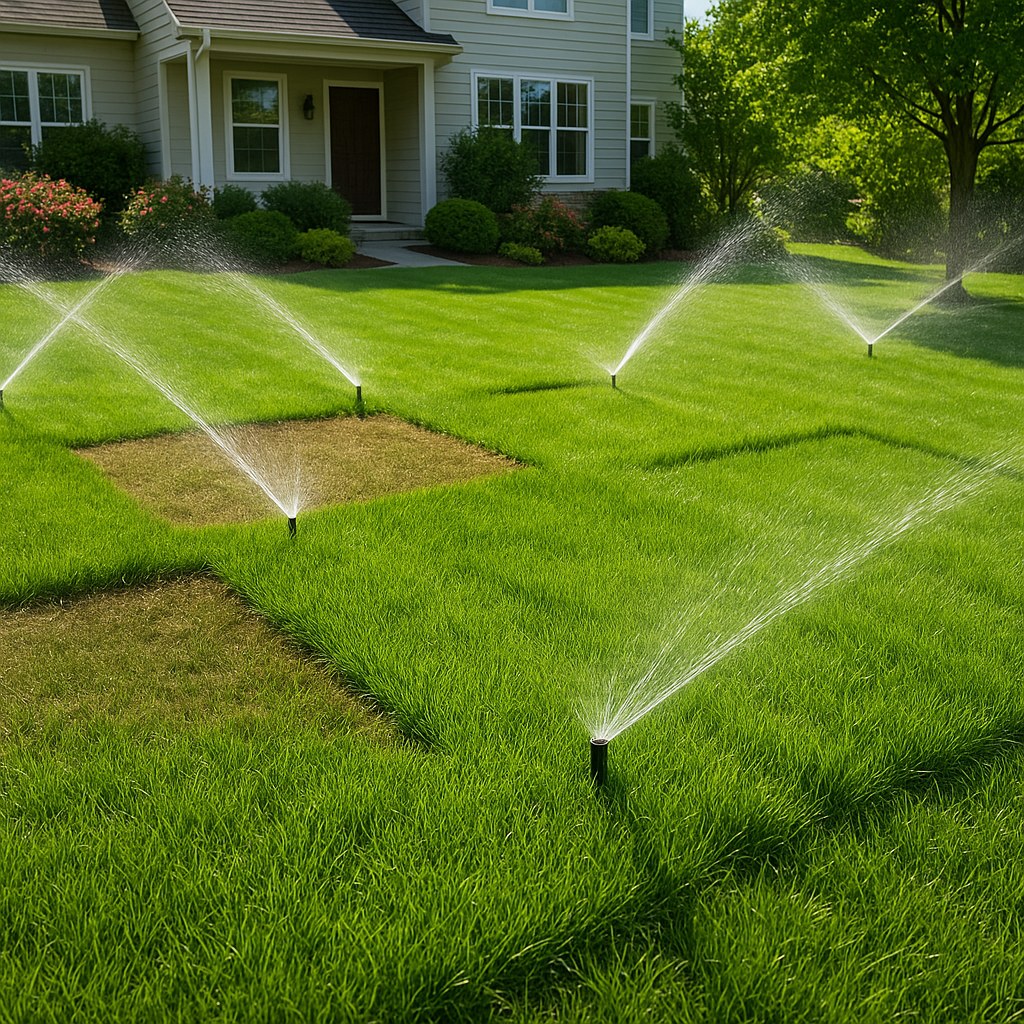
Step 3: Test the Zone Valve and Solenoid
Now we're heading out to the valve box. Most homes have one or more green, in-ground boxes that contain the irrigation valves. This is where the signal from the controller turns into a physical action.
First, you need to identify which valve controls the faulty zone. You can do this by running a working zone and listening for the sound of water to locate its valve, then using that as a reference point.
How to Test the Solenoid
The solenoid is a small cylinder on top of the valve with two wires coming out of it. It's an electromagnet that opens the valve when it receives a 24-volt signal from the controller.
- Turn the Controller Off: For safety, turn your controller to the "OFF" position before handling any wiring.
- Inspect the Wire Connections: Inside the valve box, find the solenoid for your problem zone. Look at the wire nuts connecting the solenoid wires to the main irrigation cable. Are they corroded or loose? Corrosion is common in damp valve boxes. If they look bad, cut the old nuts off, strip a fresh bit of wire, and reconnect them with new, waterproof wire nuts.
- Test for Voltage: This is the definitive test. You'll need a multimeter set to measure AC voltage (VAC). Have a helper turn the problematic zone on manually from the controller. Touch the two probes of your multimeter to the two wires coming directly from the solenoid. You should get a reading between 20-28 VAC.
- If you get voltage: The controller and wiring are working correctly. The problem is either the solenoid itself or the valve it's attached to.
- If you get no voltage: The problem is upstream—either a break in the wire between the controller and the valve or a faulty controller.
- Use the Manual Bleed Screw: Most valves have a small manual bleed screw or lever on them. Slowly turn it counter-clockwise. This manually opens the valve, bypassing the electronics. Water should start flowing to the sprinklers. If it does, you know the valve itself can open and the water supply is fine. This further points to a bad solenoid as the likely culprit. Tighten the screw to stop the water flow.

If your tests indicate a bad solenoid, they are inexpensive (typically $10-$20) and easy to replace. Simply unscrew the old one and screw on the new one, connecting the wires with waterproof nuts.
Step 4: When It's Time to Call a Professional
You've done an amazing job troubleshooting! But some issues require an expert touch and specialized tools. It's probably time to call a landscape or irrigation professional if:
- You've confirmed the solenoid is bad and don't feel comfortable replacing it.
- You detected no voltage at the solenoid, which means you have a broken wire somewhere underground that needs to be located and repaired.
- The manual bleed screw test didn't work, indicating a broken or hopelessly clogged valve that needs to be rebuilt or replaced.
Hiring a pro can feel daunting, but it ensures the job is done right. According to HomeAdvisor, the average cost for a sprinkler system repair typically ranges from $75 to $350, depending on the complexity of the issue. A simple solenoid replacement will be on the lower end, while tracking down a broken wire will cost more.
Take Control of Your Home Maintenance
Fixing a sprinkler zone is a rewarding DIY project that can save you money and keep your lawn looking its best. By following these steps, you can confidently diagnose and solve most common irrigation problems.
For more helpful home maintenance guides, expert advice, and a direct line to trusted local professionals for the jobs you can't tackle alone, download the Casa app today! Casa empowers you to manage your home with confidence, from simple fixes to major improvements. Your home is your greatest asset—let Casa help you take care of it.


