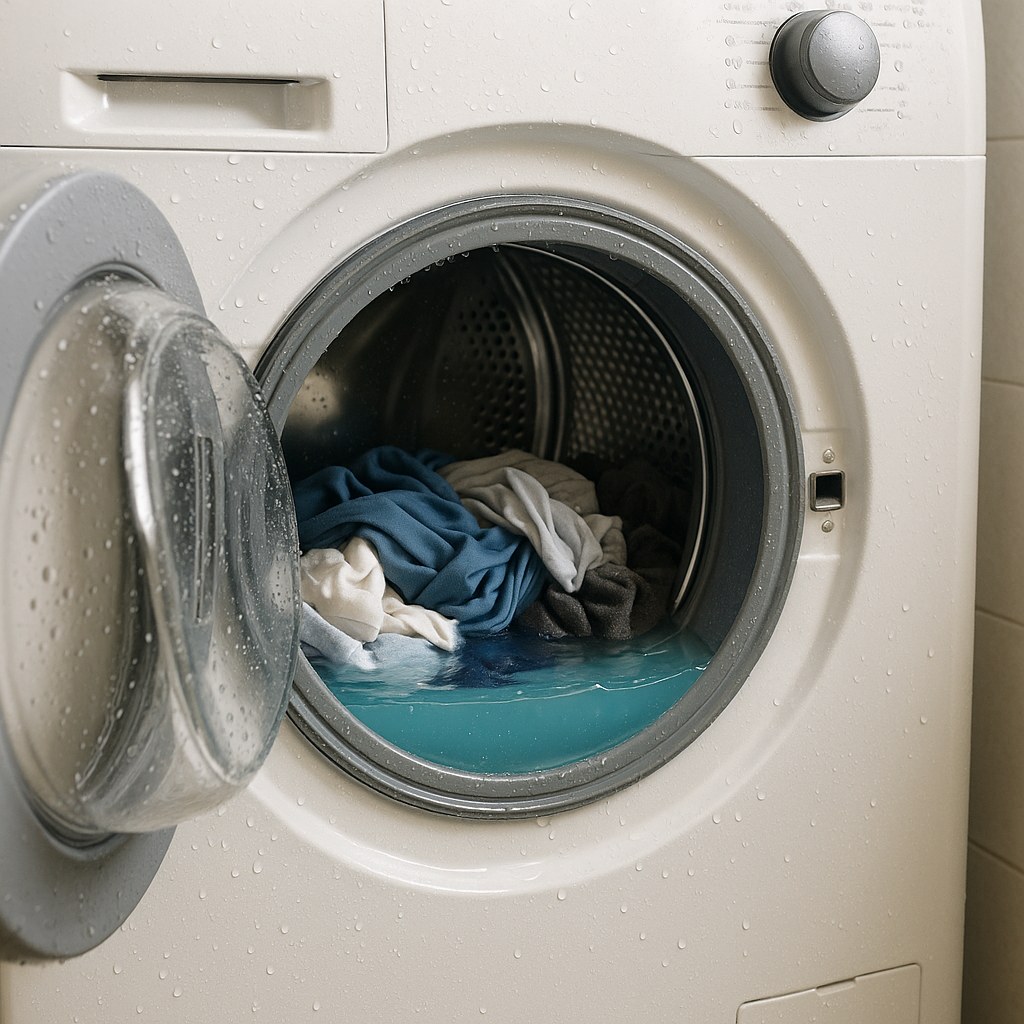
Whether you're dealing with a mysterious error code, a strange gurgling sound, or just a pool of standing water, this problem is usually caused by a simple blockage. With a little bit of troubleshooting, you can identify and clear the clog, saving yourself time, money, and a soggy mess.
In this guide, we'll walk you through the process step-by-step, just like we're on the phone with you. We'll start with the easiest fixes and work our way up to more involved solutions.
Why Is My Washing Machine Not Draining?
Before we roll up our sleeves, it helps to know what we're up against. A washer's failure to drain is almost always caused by one of these four culprits:
- A Clogged Drain Filter (or Coin Trap): Most front-loading washers have a small filter to catch lint, coins, keys, and other debris before it can damage the drain pump. When this gets clogged, water can't get out.
- A Kinked or Clogged Drain Hose: The flexible hose that runs from the back of your washer to a standpipe or sink can get twisted, pinched, or clogged with lint and sludge over time.
- A Blocked Drain Pump: If debris makes it past the filter, it can jam the drain pump's impeller, preventing it from spinning and pumping water out.
- The Lid Switch is Faulty (Top-Loaders): On many top-loading machines, a faulty lid switch can prevent the machine from advancing to the spin/drain cycle.
Now, let's get your machine draining again.
Step-by-Step Guide to Fixing a Washer That Won’t Drain
Before You Begin: Safety First!
Working with an appliance that uses both water and electricity requires caution. Before you start any inspection or repair, you must make the washer safe.
- Power Down: Press the power button to turn the machine off completely.
- Unplug It: Disconnect the washer's power cord from the wall outlet. This is non-negotiable.
- Turn Off the Water: Locate the hot and cold water inlet valves behind the machine and turn them clockwise until they are fully closed.
- Drain the Drum: This is the messy part. Open the washer door or lid. Using a plastic cup or small bucket, scoop out as much standing water as you can into a larger bucket.
- Prepare for Spills: Lay down a few old towels on the floor in front of and around the washer. You’ll be glad you did.
Once the machine is safe and you’ve managed the standing water, you're ready to diagnose the problem.
Step 1: Check the Control Panel for Error Codes
Modern washing machines are pretty smart. Often, the first clue to what's wrong is displayed right on the control panel.
Look for a flashing combination of letters and numbers. If you see one, write it down. Then, find your washer's model number (usually on a sticker inside the door frame or on the back panel) and do a quick search online for "[Your Washer Brand/Model] error code [the code you wrote down]."
The manufacturer's website or owner's manual will tell you what the code means. Codes like "ND" (No Drain), "5E," "OE," or "F9 E1" often point directly to a drainage issue, like a clogged filter or a pump malfunction. This can save you a ton of time and point you right to the solution.
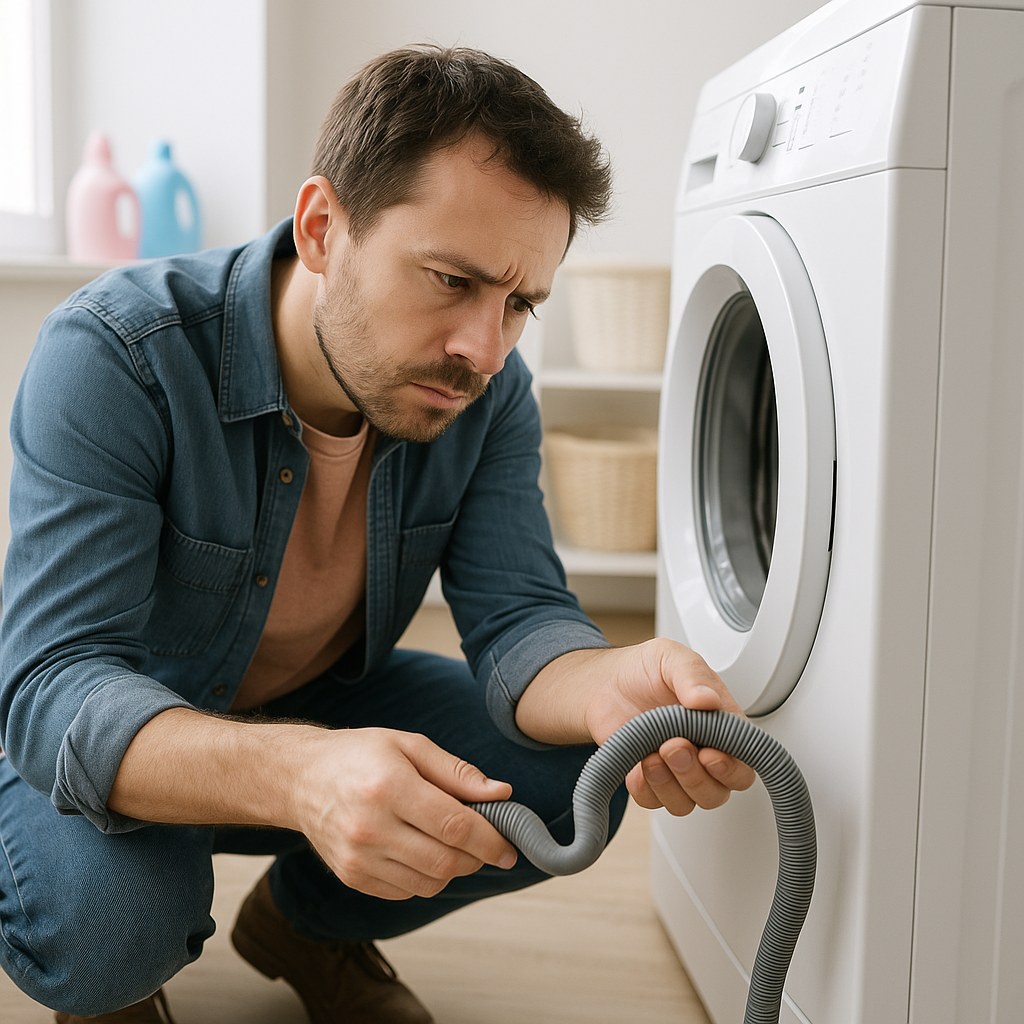
Step 2: Inspect the Drain Hose
The drain hose is a common and easy-to-fix source of drainage problems. It's the flexible, ribbed hose at the back of your machine.
- Check for Kinks: Carefully pull the washer away from the wall just enough to see behind it. Look at the entire length of the drain hose. Is it kinked, crushed, or bent at a sharp angle? If so, gently straighten it out.
- Check the Height: The drain hose needs a little help from gravity. Make sure the top of the hose, where it curves to enter the standpipe or sink drain, is not positioned higher than 96 cm (about 38 inches) from the floor. If it's too high, the pump may not be strong enough to push the water up and out.
- Check the Depth: Ensure the hose isn't pushed too far into the standpipe. Inserting it more than 15 cm (about 6 inches) can create a siphon effect that prevents proper draining. Pull it out slightly if needed.
- Check for Clogs: With the washer unplugged, disconnect the hose from the standpipe and lower its end into a bucket. A small amount of water will drain out. Try blowing through the hose. If you feel significant resistance, it's likely clogged with lint. You can often clear it by flushing it with hot water from a garden hose.
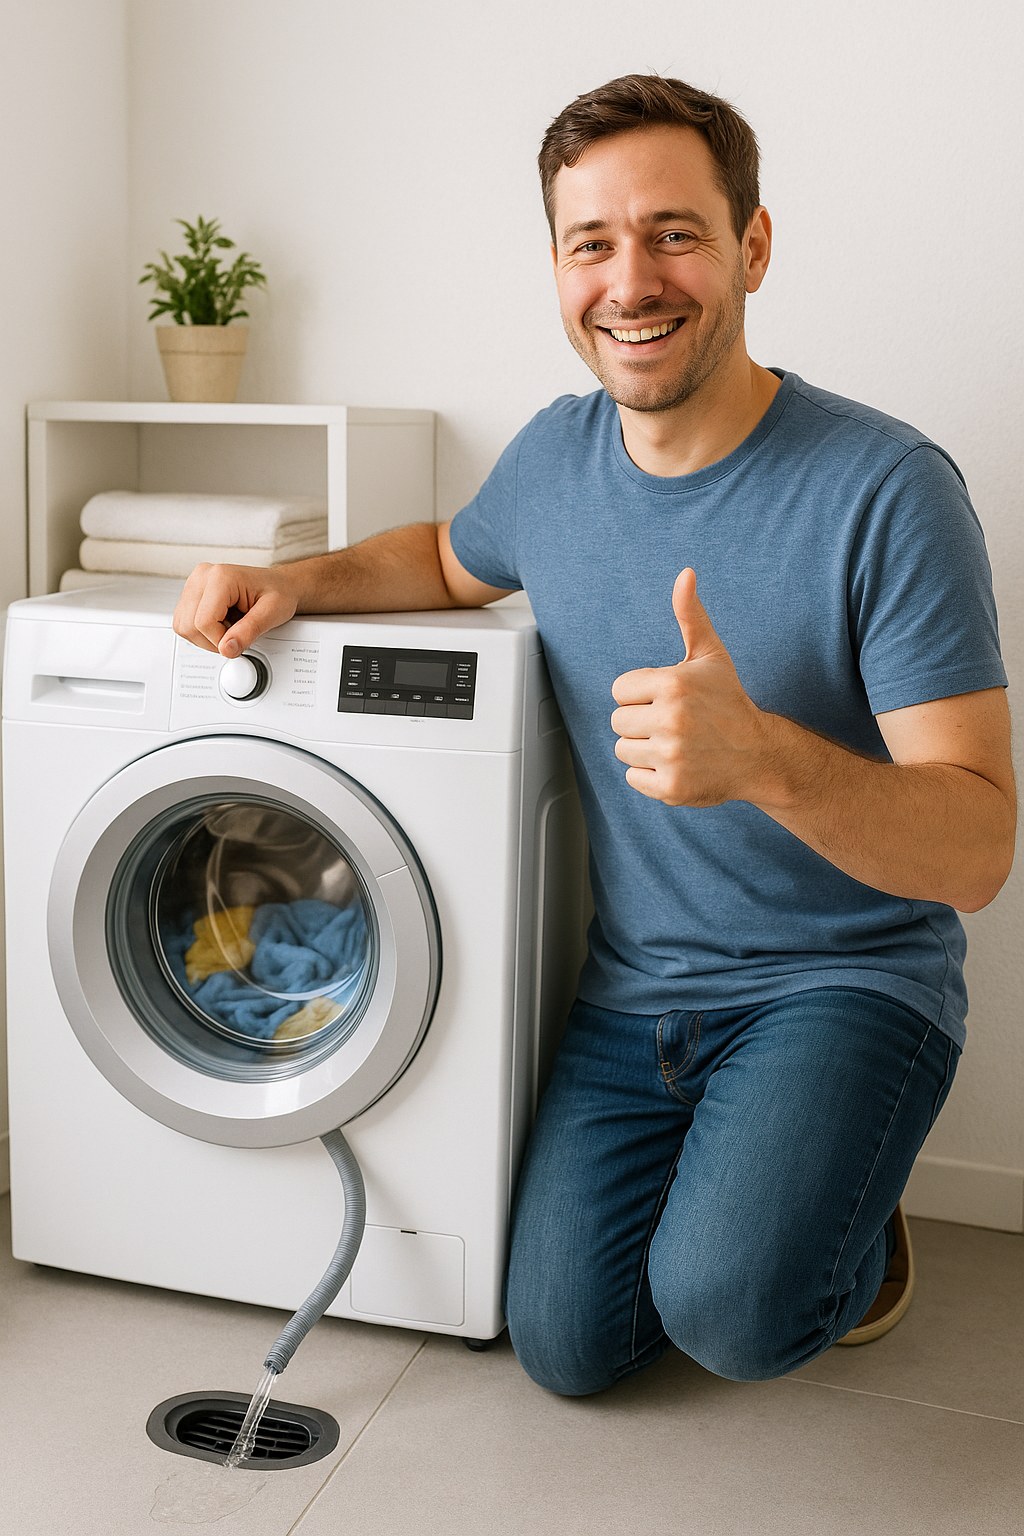
After adjusting or clearing the hose, plug the washer back in and try running a "Drain & Spin" cycle. If it drains, you've found your culprit! If not, it's time to check the filter.
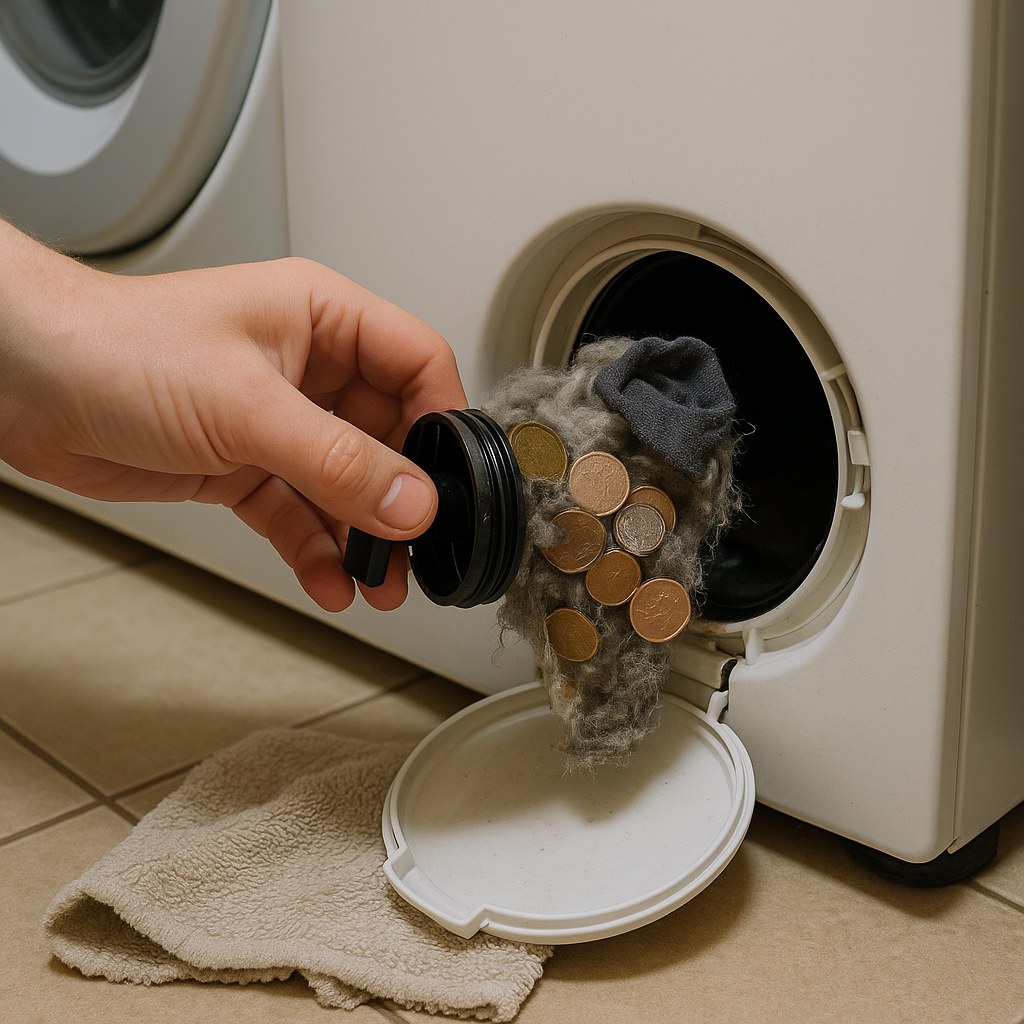
Step 3: Clean the Pump Filter (The Coin Trap)
This is the number one reason why front-loading washing machines fail to drain. The pump filter, or "coin trap," is designed to catch all the things you forgot to take out of your pockets.
- Locate the Filter: On most front-loaders, you'll find a small access door on the bottom-right or bottom-left corner of the front panel. Some top-loaders also have one, though on others you may need to remove the entire front lower panel with a nut driver.
- Prepare for Water: Place your shallow pan and a thick towel directly under the access door. Even after bailing the drum, there will be water trapped in the pump housing.
- Drain the Pump: Open the access door. You'll see a round cap, sometimes with a small emergency drain hose next to it. If there's a hose, pull it out, uncap it, and let the water drain into your pan. If not, slowly turn the main filter cap counter-clockwise. Water will start trickling out. Turn it just enough to control the flow and let the pan fill. Empty the pan and repeat until the water stops.
- Remove and Clean: Once the water is drained, fully unscrew the cap and pull out the filter. You’ll likely find a lovely collection of lint, hair, coins, buttons, and maybe even a lost sock. Remove all the debris by hand.
- Scrub and Inspect: Rinse the filter under running water and use an old toothbrush to scrub away any gunk. While it's out, shine a flashlight into the filter housing and clear any debris you see in there as well.
- Reinstall: Screw the filter back in, making sure it's snug and secure. Close the access door or reinstall the panel.
Now, run a "Drain & Spin" cycle. For many, this will solve the problem.
Step 4: A More Advanced Fix - Checking the Drain Pump
If the filter was clean and the hose is clear, the problem might be the drain pump itself. Something may have gotten past the filter and jammed the pump's impeller.
This is a more advanced step. If you're not comfortable, this is a good time to call a professional.
- With the machine unplugged and the filter removed, shine a flashlight into the housing. You should be able to see the small plastic impeller (it looks like a tiny fan).
- Using a finger or a flathead screwdriver, try to spin it. It should turn freely with a little bit of resistance from the motor's magnets.
- If it’s stuck or hard to turn, there's likely something wrapped around it, like a string or hair tie. Use needle-nose pliers to carefully pull out the obstruction.
- Once the impeller spins freely, reinstall the filter, plug the machine in, and test it.
How Much Does It Cost to Fix a Draining Issue?
One of the biggest benefits of tackling this yourself is the cost savings.
- DIY Cost: If the issue is a clogged hose or filter, the fix is free! If you need to replace a part, a new drain pump typically costs between $20 and $100.
- Professional Repair Cost: Calling an appliance repair technician will likely cost between $150 and $250 for the service call and labor, plus the cost of any parts.
By investing 30-60 minutes of your time, you can potentially save hundreds of dollars.
When to Call a Professional
If you've gone through all these steps and your washer still won't drain, the problem may be more serious. It could be a faulty drain pump motor, a bad lid switch, or even an issue with your home's plumbing. At this point, it's best to call in an expert.
Don't let home maintenance tasks overwhelm you. With the right guidance, you can handle many common repairs yourself.
For more expert-led walkthroughs, personalized maintenance reminders, and a direct line to vetted professionals when you need them, download the Casa app today. Casa empowers you to manage your home with confidence, turning daunting repairs into doable projects. Take control of your home maintenance journey and keep everything running smoothly.


