But ignoring the problem isn't a great solution. A window that doesn’t open properly can be a safety hazard in an emergency, and one that doesn’t close securely can lead to energy loss, drafts, and higher utility bills.
The great news is that you can often fix a difficult window yourself with a few basic tools and a little bit of time. Most issues stem from common culprits like built-up dirt and grime, worn-out hardware, or a frame that's slightly out of alignment.
In this guide, we'll walk you through the process just like we're on the phone with you. We'll start by identifying what kind of window you have, then dive into the specific steps to diagnose and solve the problem for good. Let’s get that fresh air flowing again!
First Things First: Identify Your Window Type
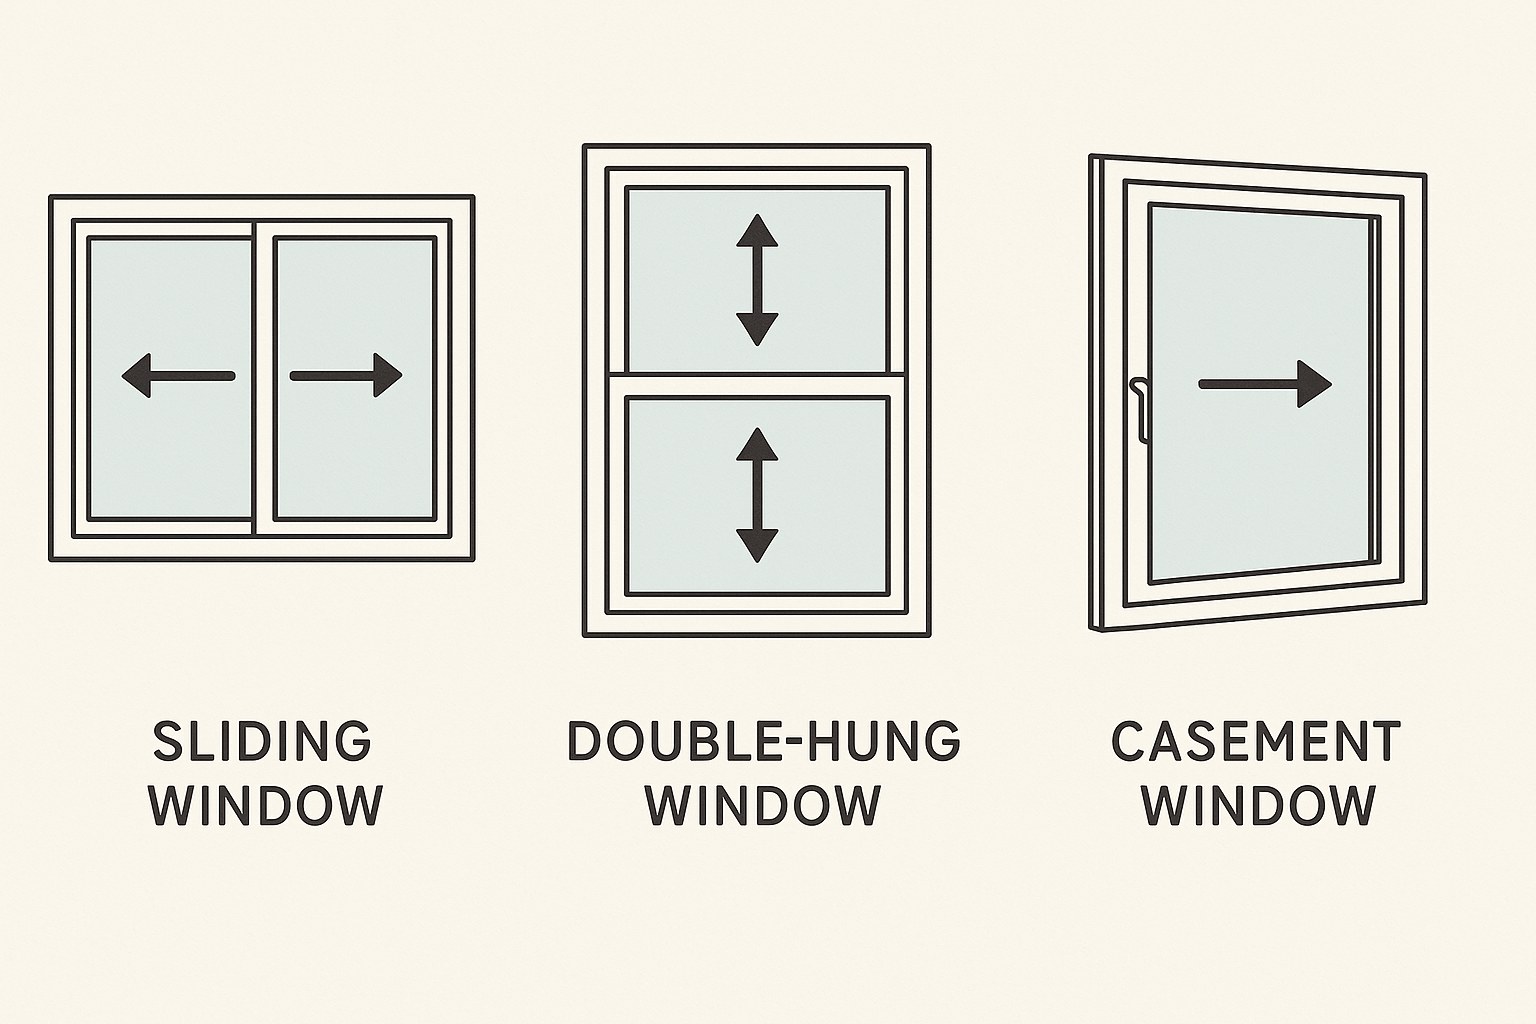
Before you can fix the problem, you need to know what you’re working with. The solution for a sliding window is very different from that of a crank-out casement window. Let’s take a quick look at the three most common types you’ll find in a home:
- Sliding Window: These windows move horizontally (side to side) along a track at the top and bottom of the frame.
- Double-Hung Window: This classic window style has two sashes (the part of the window that holds the glass) that move vertically (up and down) in channels on the side of the window frame.
- Casement or Awning Window: These windows pivot open outwards, like a door. Casement windows are hinged on the side, while awning windows are hinged at the top. Both are typically operated with a hand crank.
Got it figured out? Perfect. Now, let’s find the specific guide for your window type below and get to work.
How to Fix a Stuck Sliding Window
Sliding windows are popular for their simplicity, but that simple design relies on clean tracks and functional rollers. When they get sticky, it's usually for one of three reasons.
Step 1: Clean and Lubricate the Window Tracks
This is the most common cause of a stubborn sliding window and, thankfully, the easiest fix. Over time, the bottom track collects an amazing amount of dust, dirt, sand, pet hair, and other debris. This gunk creates friction and can even jam the rollers completely.
Here’s how to get it clean:
- Open the Window: Slide the window sash as far open as it will go to give you access to the track.
- Vacuum It Out: Use a vacuum cleaner with a crevice tool attachment to suck up all the loose dirt and debris from the track.
- Scrub the Grime: Mix a few drops of dish soap in a small bowl of warm water. Dip a stiff-bristled brush (an old toothbrush works great) into the soapy water and scrub the track thoroughly to remove any caked-on grime.
- Wipe and Dry: Use a microfiber cloth to wipe the track clean and dry it completely. You don’t want to leave any moisture behind.
- Lubricate: This is the magic step. Grab a can of silicone-based lubricant spray (avoid oil-based products like WD-40, which attract more dirt). Apply a light, even coat along the entire length of the bottom track.
- Work It In: Slide the window sash back and forth five or six times. You should immediately feel a difference as the lubricant spreads and the rollers move freely.
If your window is now gliding smoothly, you’re all set! If it’s still sticking, it’s time to check the rollers.
Step 2: Replace the Window Rollers
Underneath the window sash are small wheels, or rollers, that carry the weight of the window along the track. If they are cracked, broken, or worn down, the window will drag instead of roll.
Here’s how to replace them:
- Remove the Sash: This can be the trickiest part. You’ll need to lift the entire window sash up and out of the frame. It might take some wiggling. With the window open, lift it straight up into the top track; this should give you enough clearance to pull the bottom of the sash towards you and out of the bottom track. Lay it carefully on a soft, padded surface (like a blanket or cardboard) to avoid scratching the glass.
- Locate and Remove the Old Rollers: On the bottom edge of the sash frame, you’ll see the roller assemblies. They are usually held in place by one or two Phillips head screws. Unscrew them and pull the old, worn rollers out.
- Install the New Rollers: Take an old roller with you to the hardware store to ensure you buy an exact match. Slide the new roller assemblies into the same slots and secure them with the retaining screws.
- Reinstall the Sash: Carefully place the sash back into the frame by reversing the process: insert the top edge into the top track first, then lower the bottom edge back into the bottom track.
- Test It: Slide the window back and forth. With new rollers, it should feel like a brand-new window.
Step 3: Realign a Warped Window Frame (Advanced)
If cleaning the tracks and replacing the rollers didn’t solve the problem, the window frame itself may be out-of-square. This can happen over time as a house settles. This is a more advanced fix, so proceed with caution.
- Check for Square: Use a tape measure to measure the frame diagonally from the top-left corner to the bottom-right, and then from the top-right corner to the bottom-left. If the two measurements aren’t equal, the frame is warped.
- Loosen the Screws: Locate the installation screws in the corners of the interior window frame and loosen them slightly.
- Adjust the Frame: Gently tap the corner of the longer diagonal with a rubber mallet. This should shift the frame. Keep measuring the diagonals until they are equal.
- Shim and Tighten: Once the frame is square, insert thin plastic shims into the gaps behind the corners to hold it in its new position. Finally, tighten the installation screws.
If this feels outside your comfort zone, this is a perfect time to call in a professional.
How to Fix a Stuck Double-Hung Window
Double-hung windows operate in side channels, and issues usually arise from friction in those channels or a problem with the balance system that holds the sashes up.
Step 1: Clean and Lubricate the Sash Channels
Just like with sliding windows, dirt is the number one enemy. The side channels (also called jambs) can get gummed up with dust or, in older homes, layers of paint.
- Tilt the Sash In: Modern double-hung windows have tilt latches on the top of the lower sash. Unlock the window, raise it a few inches, then slide the latches inward. This will allow you to tilt the entire sash down toward you.
- Clean the Channels: With the sash out of the way, you have clear access to the vertical channels on both sides. Vacuum out any debris, then scrub them with a brush and soapy water.
- Dry and Lubricate: Wipe the channels dry with a cloth and apply a light coat of silicone lubricant spray.
- Put it Back and Test: Tilt the sash back up until the latches click back into place. Move both the upper and lower sashes up and down to distribute the lubricant. This simple cleaning often resolves most sticking issues.
Step 2: Replace the Sash Balance Springs
Does your window refuse to stay open, slamming shut the moment you let go? That’s a classic sign of a failed sash balance. This mechanism, hidden in the side channels, uses a spring to counteract the weight of the sash.
Replacing a sash balance is a moderately difficult job:
- Remove the Sash: Follow the same tilting procedure as above, but once the sash is tilted horizontally, lift one side up to disengage its pivot pin from the balance shoe in the track. Then remove the sash completely.
- Access the Old Balance: You’ll see the balance shoe (a small plastic piece) in the track. Use a flathead screwdriver to turn its cam 90 degrees to unlock it. You can now slide it. The old spring mechanism is attached to this shoe and anchored at the top of the channel. Unhook it and remove it.
- Install the New Balance: Hook the new spring mechanism to the top anchor point, pull it down, and attach it to the balance shoe. Use the screwdriver to lock the shoe’s cam back in place.
- Reinstall the Sash: Re-engage the sash’s pivot pins with the balance shoes on both sides, tilt it back up, and lock it in place. Test the window to see if it now moves smoothly and stays put.
How to Fix a Stuck Casement or Awning Window
Crank windows rely on a set of gears and operator arms to function. When they become difficult to turn, the problem usually lies in this mechanical hardware.
Step 1: Clean and Lubricate the Hardware
The hinges and operator arms are exposed to the elements and can easily get clogged with dirt or become rusty.
- Open the Window: Crank the window open as far as you can.
- Brush and Wipe: Use a stiff brush to remove any loose dirt, cobwebs, or rust from the hinges and the operator arms. Wipe everything down with a clean cloth.
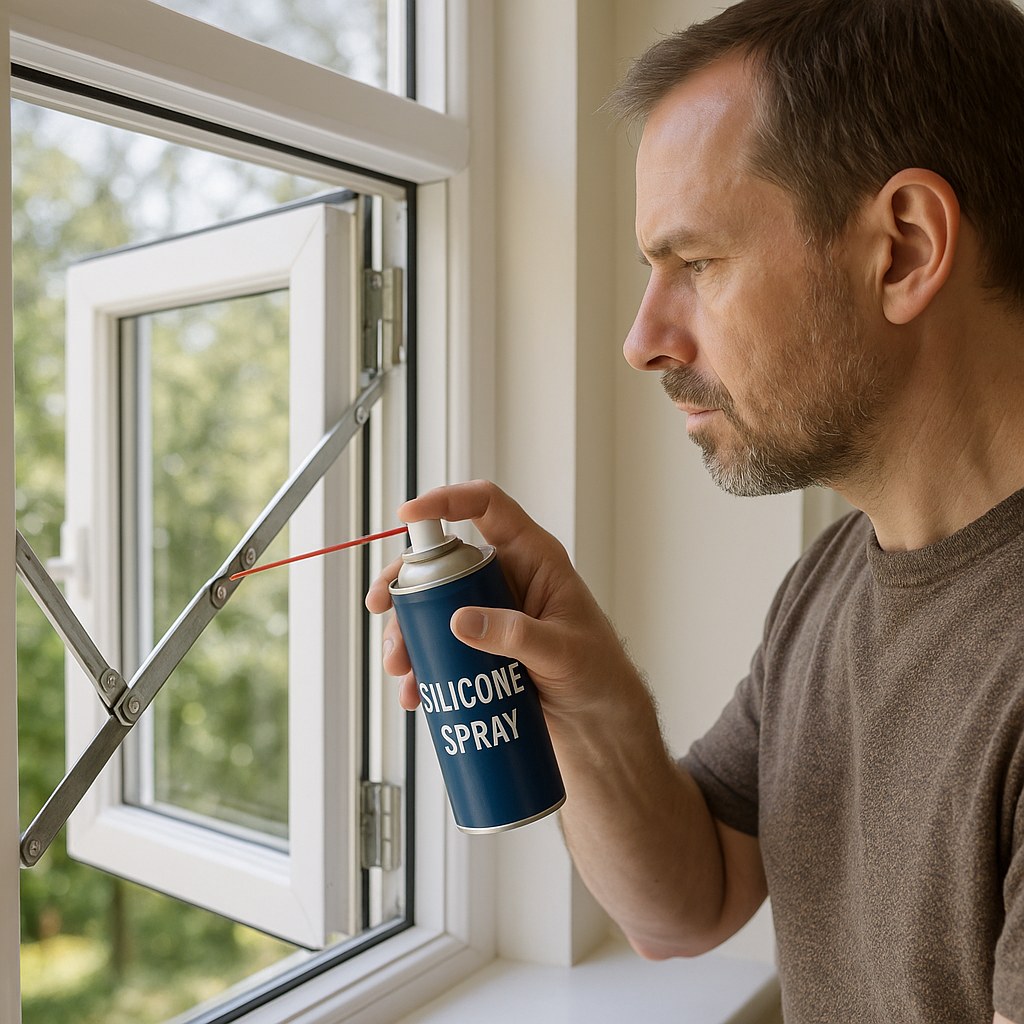
- Lubricate All Moving Parts: Apply a silicone lubricant spray generously to every single pivot point, joint, and gear you can see.
- Work it In: Crank the window fully open and fully closed several times to work the lubricant deep into the mechanism. The crank should turn much more easily.
Step 2: Replace the Crank Mechanism (Operator)
If lubricating doesn't work and the crank handle still spins loosely, grinds, or is impossible to turn, the gears inside the operator are likely stripped or broken.
- Access the Hardware: Open the window partway to get access to the screws.
- Remove the Old Operator: Unscrew the operator arms from the window sash. Then, unscrew the main crank mechanism from the window frame and remove the entire assembly.
- Install the New One: Get an exact replacement for your old operator. Position the new crank mechanism on the frame and screw it in. Then, reattach the new operator arms to the sash.
- Test: Crank the window open and closed to ensure the new hardware operates smoothly.
How Much Does It Cost to Fix a Stuck Window?
One of the best parts about these repairs is how affordable they are if you do it yourself.
- DIY Costs: A can of silicone lubricant costs around $10. New sliding window rollers can be $15-$25 a pair. A new casement window operator might cost $25-$50.
- Professional Repair: If you hire a window repair specialist, you can expect to pay significantly more. According to HomeAdvisor, the average window repair costs between $174 and $624, depending on the complexity of the issue and your location.
For simple cleaning or hardware replacement, the DIY route can save you hundreds of dollars.
Take Control of Your Home Maintenance with Casa
A stubborn window is a solvable problem. By following these steps, you can restore smooth operation and enjoy the full functionality of your home. Regular cleaning and lubrication can also prevent these issues from happening again in the future.
Feeling empowered? There are dozens of other home repairs you can tackle yourself. For more easy-to-follow guides, expert advice, and a direct line to trusted professionals when you need them, download the Casa app today. Casa is your friendly expert for everything home maintenance, putting the power to manage and repair your home right in your pocket.


