Whether you're dealing with a sunken concrete slab or some wayward pavers, this guide will walk you through the entire process. We'll help you figure out what kind of patio you have, diagnose the severity of the problem, and provide step-by-step instructions to get it level again. Let’s smooth things out!
Why Do Patios Become Uneven?
Before we jump into the fix, it helps to understand what causes a patio to shift in the first place. Knowing the root cause can help you prevent it from happening again.
- Improper Base Preparation: This is the number one culprit. A patio needs a solid, well-compacted base of gravel and sand. If the base was not prepared correctly, it will settle and shift over time, taking your patio with it.
- Water and Drainage Issues: Water is the enemy of a stable patio. Poor drainage, leaky downspouts, or improper grading can cause water to pool under the surface. This erodes the base material, leading to sinking and shifting.
- Freeze-Thaw Cycles: In colder climates, water that gets under the patio can freeze and expand, pushing pavers or concrete slabs upward. When it thaws, the surface settles back down, often unevenly.
- Soil Settlement: The ground beneath your home is always settling. Over many years, this natural process can cause sections of a heavy patio to sink.
- Intrusive Tree Roots: Large, nearby trees can have powerful roots that grow underneath your patio, pushing pavers or cracking concrete from below.
Now that you have an idea of what might be going on underneath, let's figure out how to fix what you can see on top.
Step 1: Identify Your Patio Material
The first and most important step is to determine what your patio is made of. The repair methods for concrete and pavers are completely different, so you need to know what you’re working with.
Take a walk out to your patio and look closely at the surface.
- Is it a single, solid piece of stone-like material? You have a concrete slab patio.
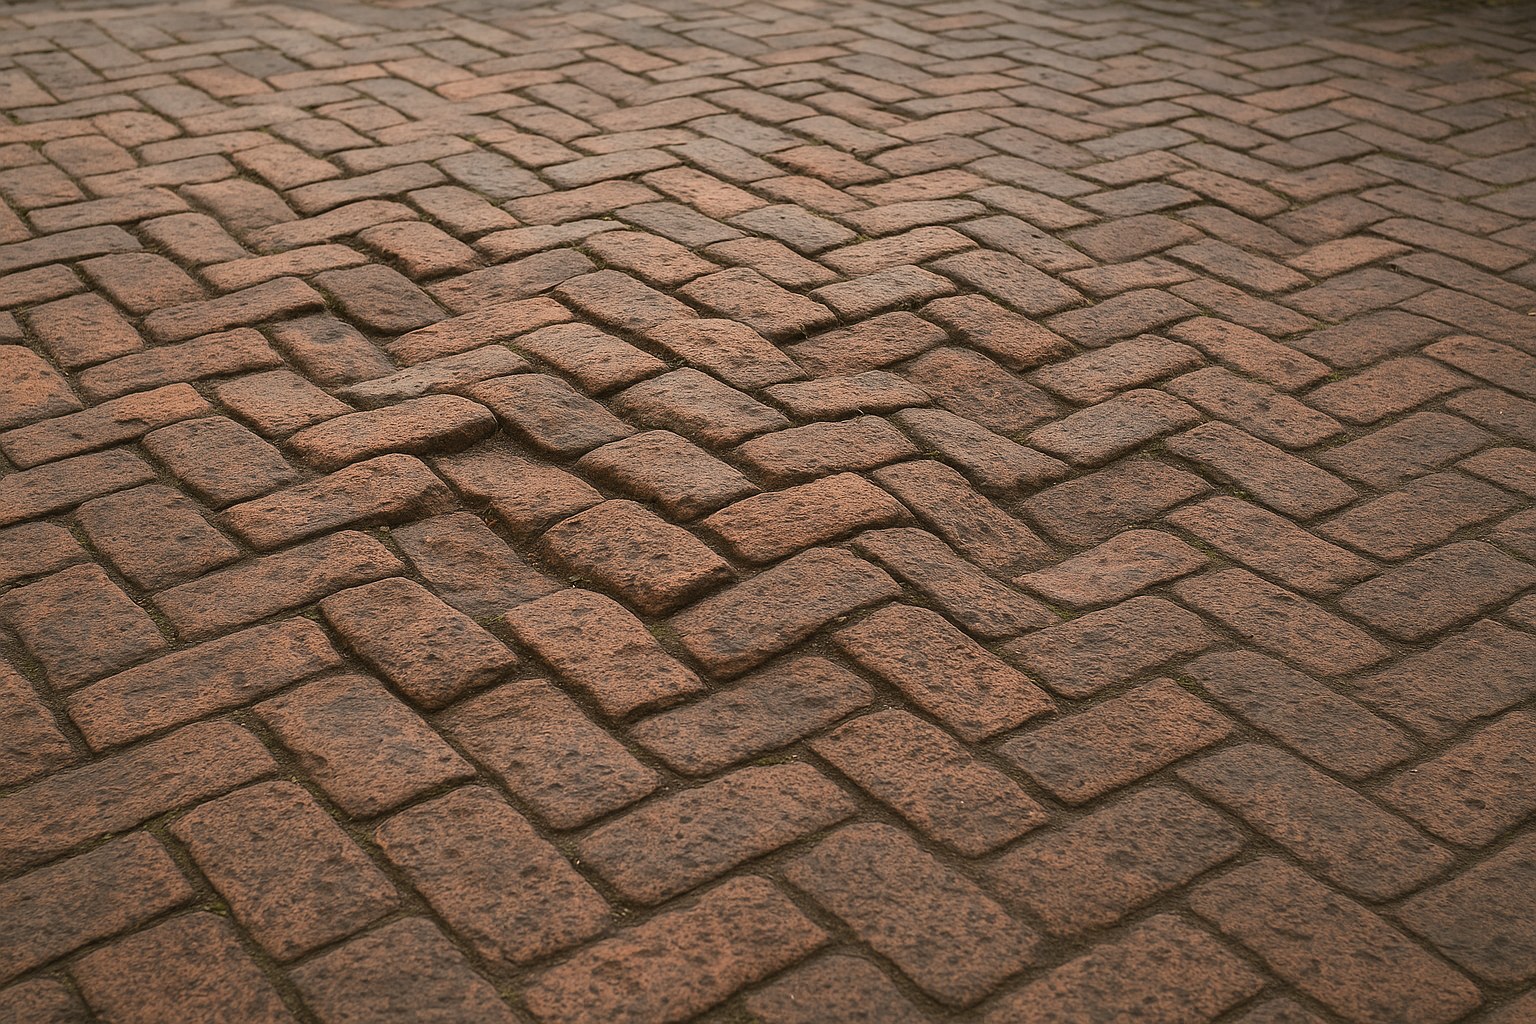
- Is it made of many individual interlocking bricks or stones? You have a paver or brick patio.
Once you’ve identified your patio type, you can move on to the correct set of instructions below.
How to Fix an Uneven Concrete Patio
Leveling a concrete slab can seem intimidating, but if the problem is minor, it's a very manageable DIY project.
Assessing the Damage
Before you grab any tools, you need to figure out how serious the issue is.
- Get a long, straight board (a 4-foot level works perfectly) and lay it across the areas that look uneven.
- Look for gaps between the bottom of the board and the patio surface. Use a tape measure to check the size of the largest gap.
- Use chalk to mark any high spots (where the board rocks) and low spots (where you see a gap).
Now, evaluate your findings. If the height difference is less than 1/2 inch and is only in one or two small spots, you're in luck! You can likely fix this yourself.
However, if you're seeing gaps larger than 1/2 inch, have large, spiderweb-like cracks, or the whole slab seems to be sinking on one side, this indicates a major issue with the foundation beneath. In these cases, it’s best to call a professional concrete contractor. They have specialized tools for "mudjacking" or "slab jacking," which involves injecting a mixture underneath the slab to lift it back into place. According to HomeAdvisor, this service can cost between $600 and $1,500, but it's far cheaper than replacing the entire patio.
A DIY Fix for Minor Concrete Unevenness
If you've determined your issue is minor, here’s how to fix it. This process involves grinding down the high spots and filling in the low spots.
Tools and Materials You'll Need:
- Safety glasses and work gloves
- Stiff broom
- Angle grinder with a diamond cup wheel
- Shop vacuum
- Concrete patch compound
- Trowel
Step-by-Step Instructions:
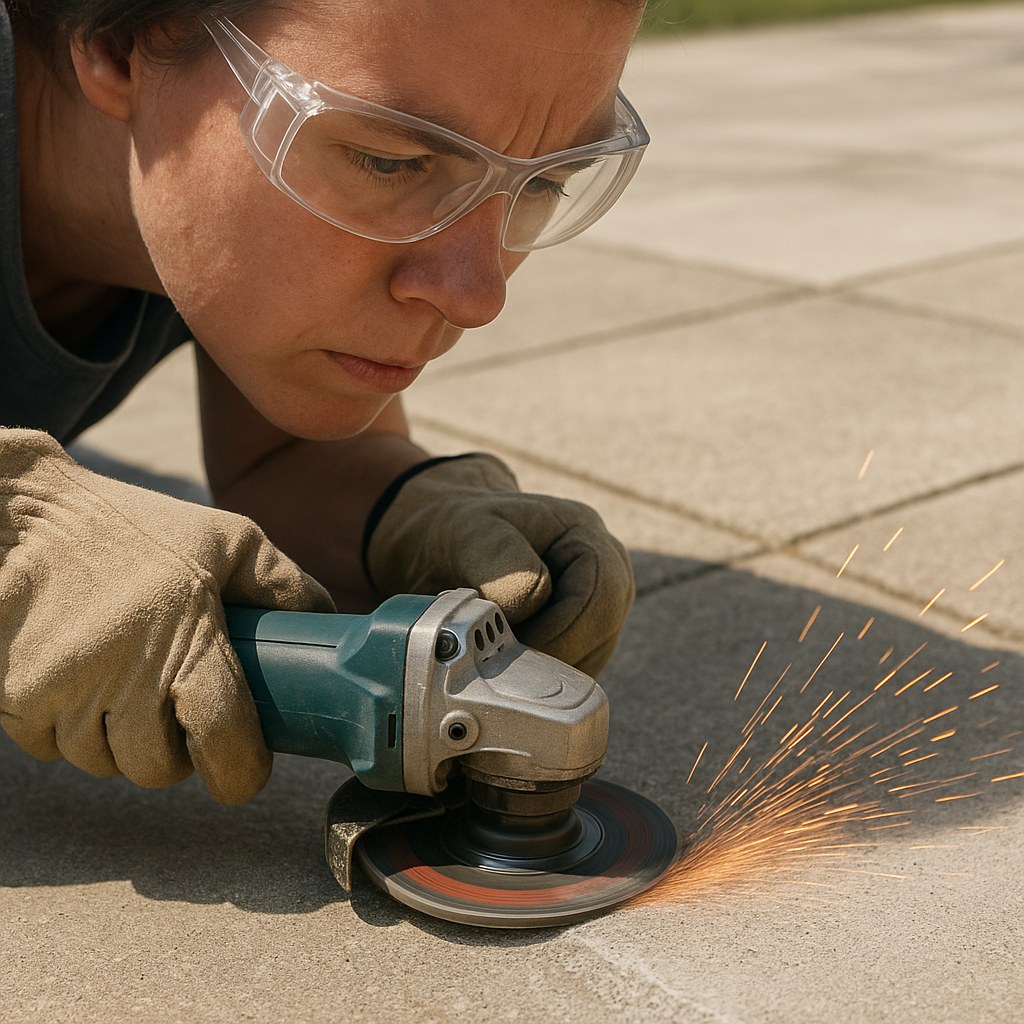
- Safety First: Put on your safety glasses and gloves. Grinding concrete creates a lot of dust and debris.
- Clean the Area: Thoroughly sweep the marked areas with a stiff broom to remove any dirt or loose material.
- Grind the High Spots: Attach the diamond cup wheel to your angle grinder. Holding the grinder level with the surface, slowly move it back and forth over the high spots you marked. The goal is to gradually wear down the concrete until it’s flush with the surrounding area. Let the tool do the work; don't apply too much pressure.
- Vacuum the Dust: Once the high spots are level, use a shop vacuum to clean up all the concrete dust from the ground-down areas and the low spots you plan to patch.
- Patch the Low Spots: Mix the concrete patch compound according to the package directions. Trowel the mixture into the low spots, pressing it down firmly to fill any voids. Add enough material so it’s slightly higher than the existing surface.
- Smooth the Patch: Use the flat edge of your trowel to smooth the patch, making it perfectly level with the surrounding concrete.
- Let it Cure: Allow the patch to cure for at least 24 hours (or as directed by the manufacturer) before walking on it.
Once cured, lay your straight board over the repaired areas. If it sits flat, congratulations! Your concrete patio is level once again.
How to Fix an Uneven Paver or Brick Patio
Fixing a few sunken or raised pavers is one of the most satisfying DIY projects. It’s relatively quick, easy, and makes a huge visual impact.
Assessing the Damage
Just like with concrete, start by identifying the problem pavers.
- Kneel down and look across the surface of the patio to easily spot any pavers that are sitting higher or lower than their neighbors.
- Use your straight board to confirm. If it wobbles when you press down on it, you’ve found your culprits.
- Count how many pavers are uneven.
If you only have a handful of uneven pavers, you can easily fix them. If, however, a large section of your patio has sunk or is heaving, this points to a failure of the base layer. Fixing that requires pulling up the entire section, re-grading and re-compacting the base, and then re-laying the pavers. For a job that big, it’s wise to call a professional hardscape contractor.
A DIY Fix for a Few Sunken Pavers
Ready to get your hands dirty? Here’s how to re-level those troublesome pavers.
Tools and Materials You'll Need:
- Work gloves
- Flat pry bar or two flathead screwdrivers
- Small brush
- Paver base sand (or leveling sand)
- Rubber mallet
- Polymeric joint sand
- Hose with a mist setting
Step-by-Step Instructions:
- Lift the Uneven Paver: Put on your gloves. Use the pry bar to carefully lift the first uneven paver straight up and out of its spot. If it's tight, you might need to use two screwdrivers on opposite sides.
- Adjust the Base: Look into the hole. The problem is almost always the sand base underneath.
- If the paver was too low: Add some paver base sand to the hole.
- If the paver was too high: Scoop out some of the existing sand.
- Create a Level Bed: Spread the sand evenly to create a flat bed for the paver to sit on. The goal is to have the top of the sand bed about 1/8 inch below the bottom of the adjacent pavers.
- Reset the Paver: Place the paver back into its spot. It should sit slightly higher than its neighbors.
- Tap it Level: Gently tap the paver with a rubber mallet. This will settle it down into the sand base. Keep tapping until it is perfectly flush with the surrounding pavers. Use your straight board to check for level.
- Repeat as Needed: Follow steps 1-5 for any other uneven pavers.
- Lock it in with Polymeric Sand: Once all the pavers are level, sweep polymeric sand over the entire repair area. Use a brush to push the sand into all the joints. Polymeric sand contains a binder that hardens when wet, which locks the pavers in place and prevents weeds.
- Activate the Sand: Gently mist the joints with your hose. Follow the manufacturer's directions, but typically a light mist is all that's needed to activate the hardening agent without washing the sand away.
Let it dry, and your paver patio will look as good as new!

Final Thoughts
An uneven patio doesn't have to be a permanent problem. With the right tools and a little bit of time, you can restore your patio to a safe, level, and beautiful surface for you and your family to enjoy. By diagnosing the problem correctly and following these steps, you can tackle minor issues yourself and know exactly when it’s time to call in a pro for the bigger jobs.
Feeling empowered to take on more home projects? Download the Casa app today! Casa is your go-to resource for straightforward DIY guides, maintenance reminders, and a direct line to trusted, vetted professionals when you need a helping hand. Take control of your home maintenance with Casa.
Related Reading


