Don't panic! Bare patches are one of the most common lawn problems, and the good news is, you can usually fix them yourself. The key isn't just to throw some seed down and hope for the best; it's to play detective first. By figuring out the root cause of the problem, you can apply the right solution and prevent it from happening again.
In this guide, we'll walk you through everything you need to know, just like a friendly expert on the phone. We'll start by diagnosing the issue—whether it's pests, disease, heavy foot traffic, or poor soil conditions—and then give you the clear, step-by-step instructions to bring your lawn back to life.
First Things First: Investigate the Scene of the Crime
Before you can fix the problem, you need to know what you’re up against. Grab a garden trowel and a screwdriver, and let’s head out to the lawn to do a little inspection. A few minutes of investigation now will save you hours of frustration later.
Here's what to look for:
-
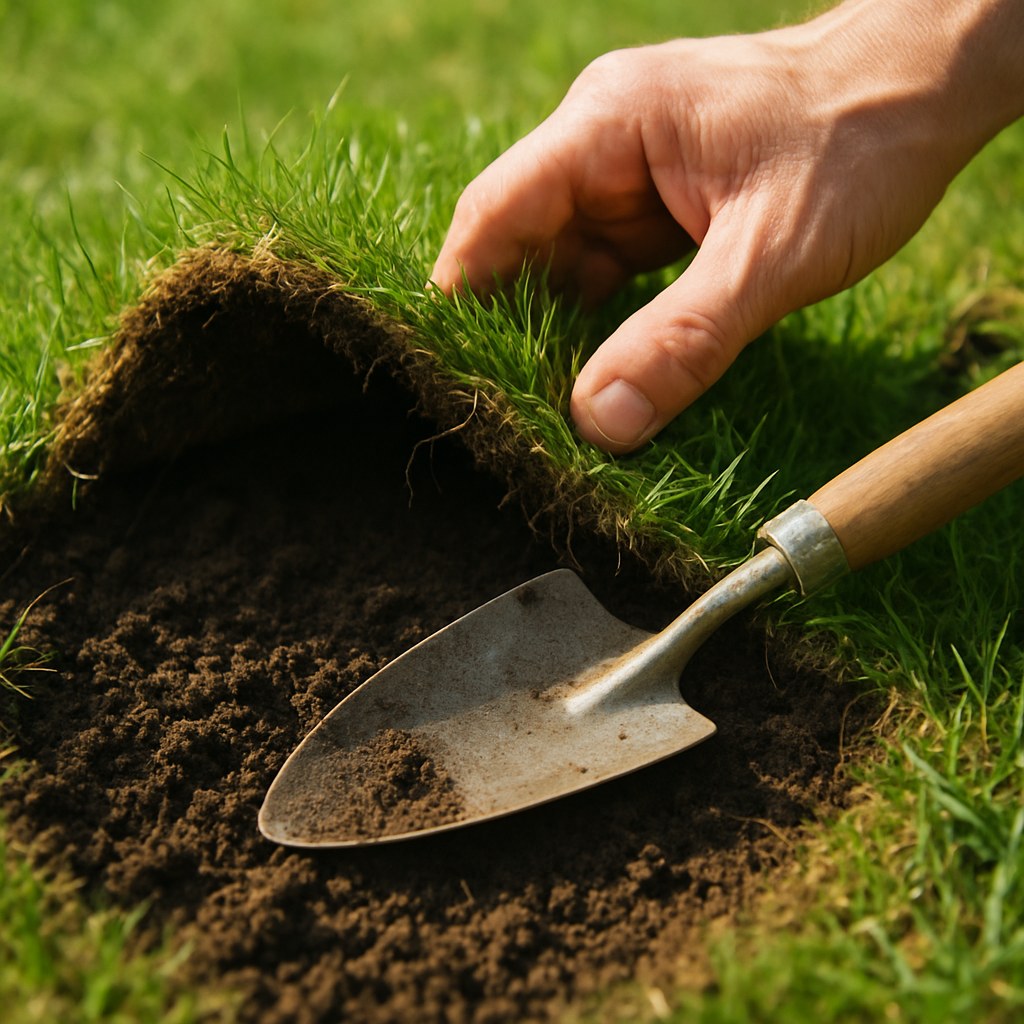
Look for Grubs: Go to the edge of a bare patch and use your trowel to cut a three-sided square flap of turf, about two inches deep. Peel it back like a carpet. Do you see more than a handful of milky-white, C-shaped critters in the soil? These are grubs, and they feast on grassroots, killing the turf from below. If the turf peels up with no resistance, grubs are a likely suspect.
-
Check for Fungal Disease: Look closely at the grass blades on the border of the patch. Do you see any unusual signs? Fungal diseases often leave tell-tale clues like grayish rings, spots on the blades, an orange or reddish dust (rust), or a slimy coating.
-
Consider Foot Traffic: Is the bare patch located right where your family, your pets, or the mail carrier always cut across the lawn? Constant foot traffic compacts the soil and wears down the grass, creating well-defined bare paths or spots.
-
Test for Soil Compaction: Take a flathead screwdriver and try to push it into the soil in the middle of the bare patch. Can you easily push it six inches deep? If you meet a lot of resistance and can barely get it in, your soil is likely compacted. Compacted soil prevents water, air, and nutrients from reaching the grass roots.
-
Observe Drainage: After the next rain or after you run your sprinkler, check on the bare patch. Is there a puddle of water that sits there for hours? Poor drainage means the soil is waterlogged, which can drown grass roots and lead to disease.
Once you’ve identified the likely culprit, you can move on to the specific fix.
How to Repair Bare Patches: Step-by-Step Solutions
Now that you're armed with a diagnosis, let's get to the solution. Find the problem that matches your findings below and follow the steps to a healthier lawn.
Problem 1: You Found Grubs
If your turf peeled up easily and you found a grub party underneath, it's time for action.
Guide: Treat Grub Damage and Reseed
- Difficulty: Moderate
- Time: 60 minutes for treatment, plus 2-3 weeks for new growth
- Apply Grub Control: Head to your local garden center and purchase a grub-control insecticide. For best results, use a broadcast spreader to apply the granules evenly across your entire lawn, not just the bare spots. This prevents them from migrating. Follow the product's instructions carefully, and always wear gloves.
- Water It In: Immediately after applying the treatment, water your lawn for about 30 minutes. This helps the insecticide penetrate the soil and reach the grubs.
- Prep the Soil: Use a lawn rake to lightly scratch up the surface of the bare patch, loosening the top ¼-inch of soil. This will help the new seeds make good contact with the earth.
- Seed the Patch: Spread a high-quality grass seed that's right for your climate (more on that below!). Apply it so you can still see a little bit of soil through the seeds.
- Water, Water, Water: For the next two weeks, water the new seeds twice a day. The goal is to keep the top inch of soil consistently moist but not soggy. You should see new grass sprouting within 7-21 days, depending on the seed type.
Problem 2: You See Signs of Fungus
Gray rings or orange dust on the grass blades? You're likely dealing with a fungal disease.
Guide: Treat Fungal Disease and Reseed
- Difficulty: Moderate
- Time: 45 minutes for treatment, plus 2 weeks for new growth
- Apply Fungicide: Purchase a lawn fungicide designed to treat the issue you’re seeing. Wearing gloves and a dust mask, use a spreader to apply it over the affected area and create a 5-foot border around it to prevent it from spreading.
- Let It Work: Keep the lawn dry for at least 24 hours. Don't run your sprinklers, and try to keep foot traffic off the area.
- Prep and Seed: Once the 24 hours are up, lightly rake the bare patch to loosen the soil. Spread your grass seed, gently rake it in, and then tamp it down with your feet to ensure good seed-to-soil contact.
- Water Carefully: Water the newly seeded area for about 10 minutes, twice daily. Consistent moisture is key for germination.
Problem 3: It's a High-Traffic Area
If your bare patch is the result of a well-worn path, you need to give the new grass a chance to establish itself.
Guide: Repair High-Traffic Bare Spots
- Difficulty: Easy
- Time: 40 minutes for prep, plus 2 weeks for new growth
- Block It Off: The most important step! Use stakes and string or a small temporary fence to block off the area. The new grass won't stand a chance if it's constantly being trampled. Keep it blocked off for at least two weeks.
- Loosen and Amend: Use a garden fork or hard rake to loosen the compacted soil in the bare patch. Spread a ½-inch layer of compost over the area to add nutrients and improve soil structure.
- Seed and Rake: Broadcast a tough, traffic-tolerant grass seed blend over the compost. Rake it in lightly to mix the seed, compost, and soil.
- Water Consistently: Water the area until the top inch of soil is damp, and continue to water once each morning for the next two weeks.

Problem 4: The Screwdriver Test Failed (Compacted Soil)
If your soil is hard as a rock, new grass will struggle to grow roots. The solution is aeration.
Guide: Relieve Soil Compaction and Overseed
- Difficulty: Moderate
- Time: 90 minutes for prep, plus 2 weeks for new growth
- Soften the Soil: Water the compacted area the day before you plan to aerate. Moist soil is much easier to work with.
- Aerate the Area: Rent a core aerator from a local hardware store. This machine pulls small plugs (or "cores") of soil from the lawn, creating channels for air, water, and nutrients. Run it over the compacted area, aiming for holes every 4-6 inches. Leave the soil plugs on the lawn—they'll break down and return nutrients to the soil.
- Top Dress and Seed: Spread a thin (¼-inch) layer of compost over the aerated patch. Then, broadcast your grass seed. Rake lightly to help the seeds fall into the aeration holes, where they will be protected and have great contact with the soil.
- Water It In: Water the area daily for two weeks to keep the soil and new seeds moist.
A Crucial Step for Success: Choosing the Right Grass Seed
You can follow all the repair steps perfectly, but if you use the wrong type of grass seed, you're setting yourself up for failure. Grasses are generally categorized as either cool-season or warm-season.
- Cool-Season Grasses (like Kentucky Bluegrass, Fescue, and Ryegrass) thrive in regions with cold winters and hot summers.
- Warm-Season Grasses (like Bermuda, Zoysia, and St. Augustine) do best in the hot, humid climates of the South.
To find out what's best for you, identify your USDA Plant Hardiness Zone and consult your local county extension office's website or a knowledgeable employee at a local garden center. They can recommend specific varieties that are adapted to your climate, soil type, and sun exposure.
What's the Cost? DIY vs. Hiring a Pro
Fixing bare patches yourself is very budget-friendly. Here’s a rough idea of what to expect:
- DIY Costs:
- Bag of quality grass seed: $20 - $60
- Bag of grub killer or fungicide: $20 - $40
- Core aerator rental (half-day): $70 - $100
For a total investment of well under $150 (and often much less), you can fix several patches and have leftover product for future issues.
- Professional Costs:
- Hiring a professional for lawn care can vary widely. According to Forbes Home, professional lawn seeding can cost between $500 and $1,500. For specific issues like grubs, Angi notes that professional treatment typically ranges from $70 to $300.
While hiring a pro costs more, it saves you time and can be a great option if you're dealing with a widespread, persistent problem.
Don’t Let Lawn Care Overwhelm You
Fixing bare patches in your lawn is a completely manageable project. By playing detective, applying the right fix, and being patient, you can restore those spots and enjoy a beautiful, uniform carpet of green.
If you’ve tried these steps and are still struggling, or if you'd just rather have a helping hand, Casa is here for you. Download the Casa app today for more easy-to-follow DIY home maintenance guides, helpful reminders, and one-tap access to vetted, local landscape professionals who can take on the job for you. Take the guesswork out of maintaining your home and lawn with Casa
Related Reading


