Don't worry, this is a very common issue for homeowners. The good news is that fixing crumbling mortar between patio pavers is often a manageable DIY project that can bring your patio back to life. Whether you need a quick patch-up or a more thorough overhaul, we're here to walk you through it.
In this guide, we'll help you diagnose the problem, decide on the best course of action, and give you step-by-step instructions for each type of repair.
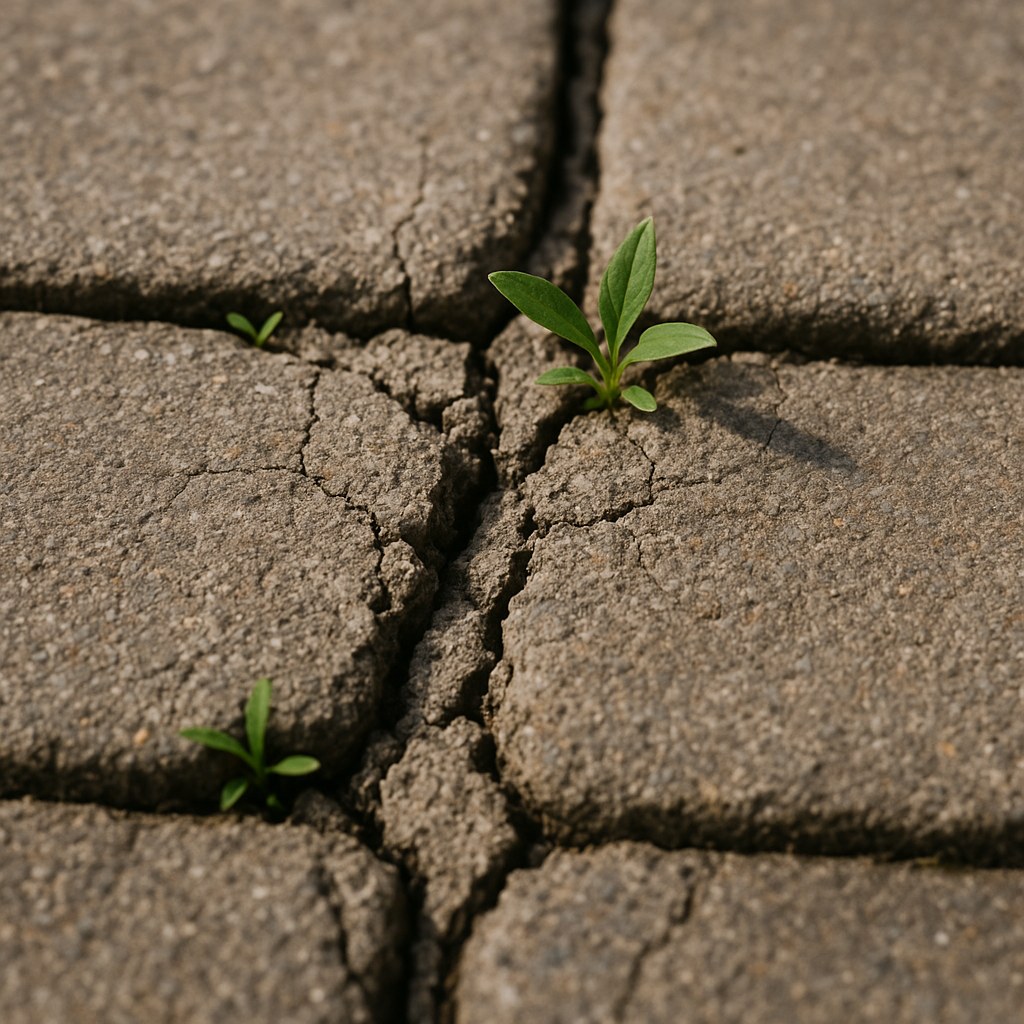
Why is Your Patio Mortar Crumbling in the First Place?
Before we jump into the fix, it helps to understand what causes mortar to fail. Knowing the root cause can help you prevent it from happening again.
- Freeze-Thaw Cycles: This is the most common culprit. Water seeps into tiny cracks in the mortar, freezes, expands, and then thaws. This repeated expansion and contraction breaks the mortar down over time.
- Improper Installation: If the mortar mix was incorrect, the base beneath the pavers wasn't properly prepared, or the joints weren't packed correctly, it can lead to premature failure.
- Age and Weathering: Like anything exposed to the elements, mortar simply wears down over years of rain, sun, and foot traffic.
- Foundation Issues: If the ground beneath your patio settles or shifts, it can put stress on the pavers and crack the joints. This is a more serious issue that we'll touch on later.
- Aggressive Cleaning: Using a high-pressure power washer too close to the joints can blast away weakened mortar and accelerate deterioration.
Now that you have an idea of the 'why,' let's figure out the 'how' to fix it.
Step 1: Diagnose the Problem – Is It Mortar or Sand?
First things first, you need to confirm what you're dealing with. Paver joints are typically filled with either traditional mortar or sand (often a special type called polymeric sand). The repair method is completely different for each.
Let's do a quick test:
- Safety First: Put on a pair of safety glasses to protect your eyes from any flying debris.
- The Screwdriver Test: Take a flathead screwdriver and gently try to scrape out the material from a few different joints on your patio.
- Observe the Material:
- If it breaks off in small, hard chips and feels like cement, you have mortar.
- If it crumbles into a powder or loose grains of sand, you have jointing sand.
Once you've identified your joint material, you can skip to the right section below.
If You Have Sand Joints: Upgrade to Polymeric Sand
If you discovered your joints are filled with sand and it's washing away, allowing weeds to grow, the best solution is to replace it with polymeric sand. This is a special sand blend mixed with polymers that harden when activated with water. It locks pavers in place, prevents weed growth, and resists erosion far better than regular sand.
This is an easy, beginner-friendly fix that can make a huge difference.
Tools & Materials:
- Safety glasses and work gloves
- Leaf blower or stiff-bristled broom
- Shop vacuum (optional, but helpful)
- Polymeric sand
- Push broom
- Garden hose with a spray nozzle
Instructions:
- Clean Out the Joints: Use a leaf blower and/or a stiff broom to remove all the old sand, weeds, and debris from between the pavers. You want the joints to be clean and empty. For stubborn bits, a shop vac works wonders.
- Pour and Sweep: Pour the polymeric sand directly onto the dry patio surface. Using a push broom, sweep the sand across the pavers until all the joints are completely filled. The sand should sit about 1/8 inch below the top of the pavers.
- Remove Excess Sand: This step is crucial! Use your leaf blower held at a shallow angle to gently blow all the excess sand off the paver surfaces. Any sand left on top will harden and leave a hazy film.
- Activate with Water: Set your hose nozzle to a gentle "shower" setting. Lightly mist the entire patio for about 30 seconds. This initial spray activates the polymers.
- Wait and Mist Again: Wait about 5 minutes, then give the patio a second, slightly more thorough misting for another 30 seconds.
- Let it Cure: Allow the patio to dry completely for at least 24 hours before walking on it or putting furniture back.
Once cured, the sand will be firm to the touch, and your pavers will be locked in place!
If You Have Mortar Joints: Assess the Damage
If you confirmed you have crumbling mortar, the next step is to figure out how widespread the problem is. This will determine if you can get away with a simple spot repair or if you need to tackle a full repointing project.
- Walk the Patio: Slowly walk across the entire patio and press on each paver with your foot. Do any of them wobble, shift, or feel loose? Make a note of these or mark them with a piece of painter's tape.
- Estimate the Damage: Take a look at all the joints. Is the crumbling limited to just a few small areas, or is it a problem across most of the patio? As a rule of thumb, if more than half of the mortar joints are cracked, crumbling, or missing, you're likely looking at a full repointing job. If any pavers are loose, that also points toward a more extensive repair.
When to DIY vs. When to Call a Contractor
Before you start chipping away at old mortar, let's do one final check. Some issues are more than just cosmetic and point to a problem with the patio's foundation. If you see these red flags, it's best to call a professional contractor:
- Rocking or Sunken Pavers: If pavers are rocking significantly or the entire patio surface looks uneven and has settled, the base has likely failed. Simply replacing the mortar won't fix this.
- Pooling Water: Major puddles that don't drain indicate a grading problem with the base.
- Widespread Instability: If large sections of the patio feel unstable, a professional needs to assess and likely rebuild the foundation.
Fixing a patio base is a major job. A professional can diagnose the underlying cause and ensure the patio is rebuilt to last. According to Angi, professional patio repairs can range from $500 to over $2,500 depending on the size and scope of the problem. A DIY mortar repair, on the other hand, might only cost you $50-$150 in materials. If the foundation is solid, a DIY repair can save you a lot of money.
How to Spot Repoint Minor Mortar Damage
If your patio's foundation is solid and you only have a few problem areas, a spot repair is the way to go. This is a moderate-level DIY task.
Tools & Materials:
- Safety glasses and work gloves
- Hammer and cold chisel
- Shop vacuum
- Spray bottle with water
- Type N premixed mortar
- Bucket for mixing
- Pointing trowel
- Damp sponge
Instructions:
- Chip Out Old Mortar: Wearing your safety gear, use the hammer and chisel to carefully chip away all the loose, crumbling mortar from the damaged joints. You need to remove enough to create a clean channel at least 1 inch deep for the new mortar to bond to.
- Clean the Joints: Use a shop vacuum to thoroughly remove all dust and debris from the cleaned-out joints.
- Dampen the Area: Lightly mist the inside of the joints and the edges of the pavers with water from the spray bottle. This prevents the dry pavers from sucking the moisture out of the new mortar too quickly, which ensures a stronger bond.
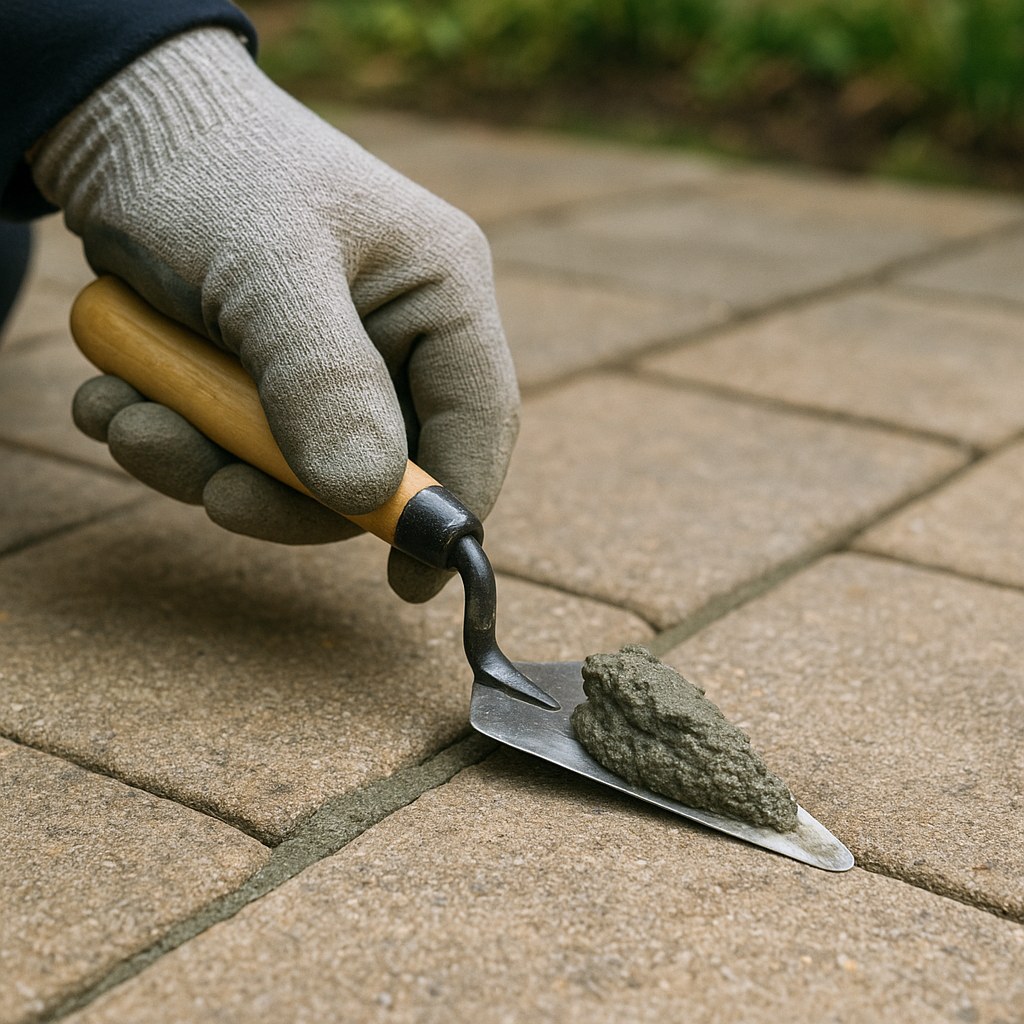
- Mix Your Mortar: Mix a small batch of Type N mortar according to the package directions. Aim for a thick, peanut-butter-like consistency that holds its shape on a trowel.
- Pack the Joints: Use the pointing trowel to pack the fresh mortar firmly into the joints. Press it in to eliminate any air pockets.
- Smooth the Surface: Smooth the mortar so it sits just slightly below the paver surface. This allows for water runoff.
- Clean Up: Immediately wipe any stray mortar off the paver faces with a damp sponge before it has a chance to harden and stain.
- Cure Properly: For the next 48 hours, keep the repaired area out of direct sun if possible and mist it lightly with water a couple of times a day. This slow curing process prevents cracking and results in much stronger joints.
How to Fully Repoint Your Entire Patio
If more than half of your joints are failing but the pavers are still stable, a full repoint is necessary. Be warned: this is a difficult, time-consuming, and dusty job. But the results are well worth the effort.
Tools & Materials:
- All tools from the spot repair list, plus:
- N95 dust mask
- Oscillating multi-tool with a diamond or masonry blade
- Grout bag (optional, but very helpful)
- Dry paintbrush
- Plastic tarp
Instructions:
- Gear Up for Safety: Put on your safety glasses, gloves, and a high-quality N95 dust mask. Grinding out old mortar creates a lot of fine dust that is harmful to breathe.
- Remove All Old Mortar: Use the oscillating multi-tool to carefully saw out all the mortar from every joint to a uniform depth of about 1 inch. Take your time to avoid chipping the edges of the pavers.
- Thoroughly Vacuum: Once all the joints are empty, use the shop vacuum to clean out every last bit of dust and debris. A clean surface is essential for a good bond.
- Mix the Mortar: Mix a full bucket of Type N mortar, following the package directions.
- Fill the Joints: Scoop the mortar into a grout bag (it works just like a pastry bag for icing) and squeeze a consistent bead deep into the joints. Alternatively, use a trowel to pack the joints. Work in small, manageable sections.
- Strike the Joints: Use a jointing tool or the edge of your trowel to smooth and compress the mortar, creating a clean, professional-looking finish.
- Brush Away Excess: Before the mortar on the surface begins to set, use a dry paintbrush to whisk away any excess.
- Protect and Cure: If there's a chance of rain, cover the patio with a plastic tarp for the first 24 hours. For the next three days, mist the new joints with water twice a day to ensure they cure slowly and strongly.
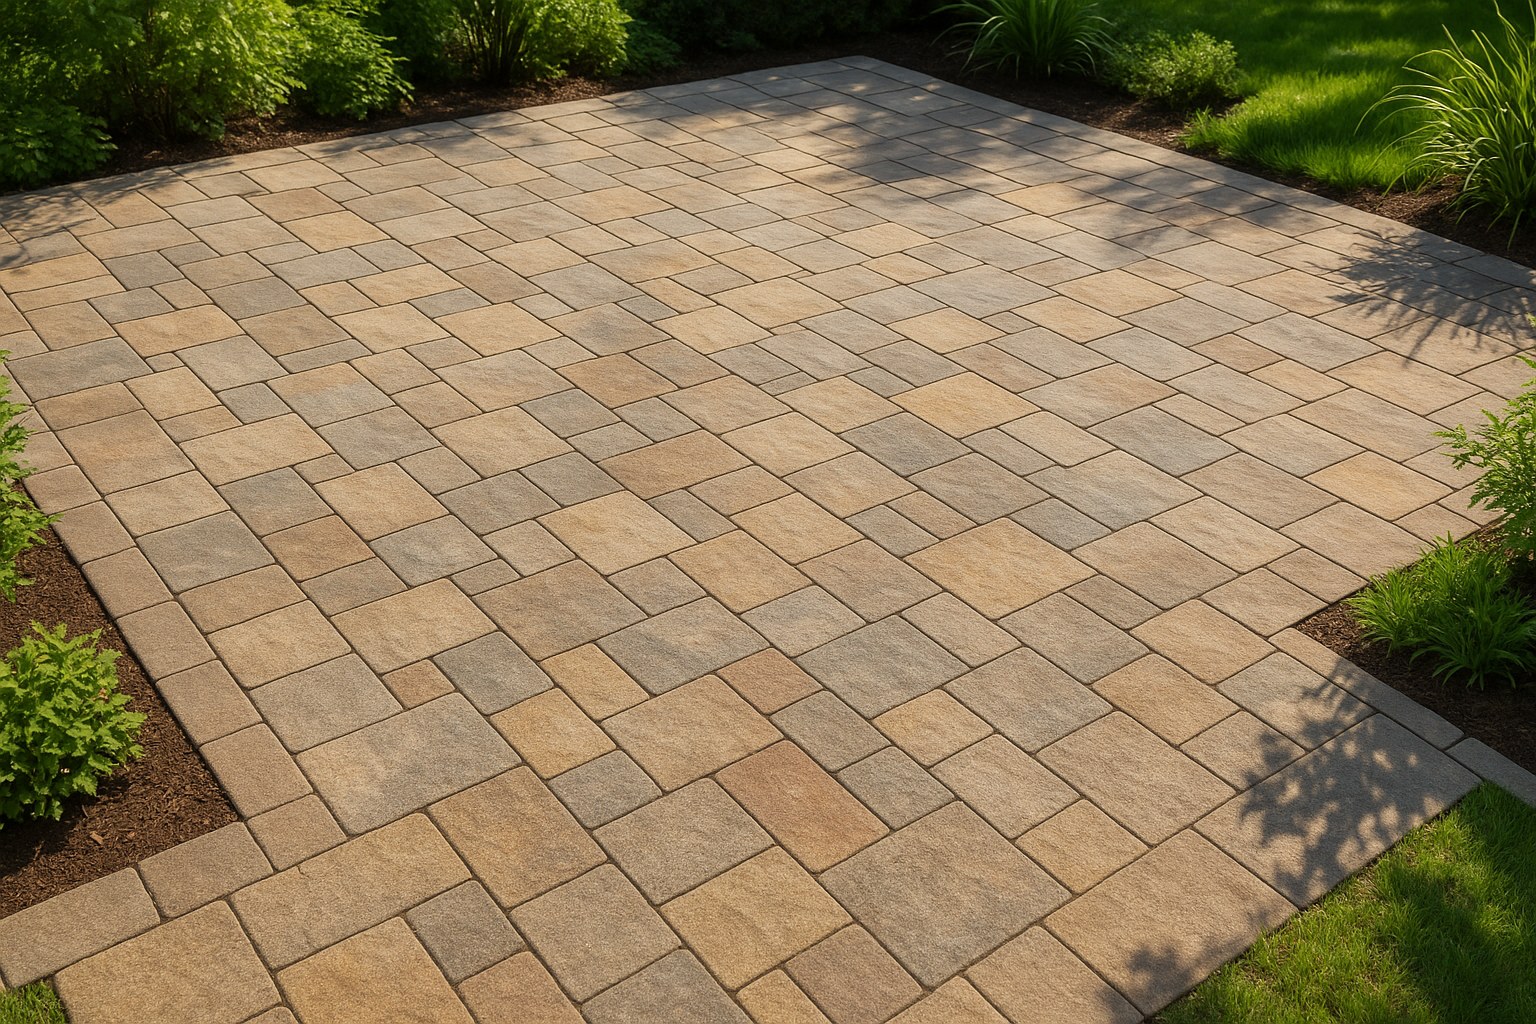
Your Patio, Restored
Fixing crumbling mortar is a project that instantly boosts your home's curb appeal and makes your outdoor space more enjoyable and safe. By correctly diagnosing the problem and choosing the right method, you can achieve professional-quality results and extend the life of your patio for years to come.
Feeling overwhelmed or discovered your patio might have bigger issues? That's where Casa comes in. For more expert home maintenance tips, step-by-step DIY guides, and easy access to vetted professionals for the jobs you can't tackle alone, download the Casa app today. We're here to help you manage and love your home, one project at a time.
Related Reading