Ignoring it can lead to worse damage, an insecure fixture, or even an unsafe situation if wiring is involved. The good news is that most of these issues are well within the grasp of a determined DIYer. Fixing that eyesore isn't just satisfying—it can save you a significant amount of money. A professional drywall repair can cost anywhere from $300 to over $800, so rolling up your sleeves for an hour or two is a fantastic investment.
Feeling a little intimidated, especially if there are wires involved? Don't be. We're here to walk you through it, just like a friendly expert on the phone. This guide will help you diagnose the problem safely, give you step-by-step instructions for the fix, and tell you exactly when it's time to put down the tools and call a professional.
Step 1: Identify Your Fixture—Is It Electrical?
Before you touch anything, the absolute first step is to figure out what you’re dealing with. Is this a simple, non-powered fixture, or is there electricity running through it? This distinction is critical for your safety.
Here’s a quick checklist to determine if your fixture is electrical:
- Does it have light bulbs, switches, or outlets? This is the most obvious sign. Sconces, outlets, and light switches are all electrical.
- Does it have a cord? Wall-mounted TVs or speakers fall into this category.
- Does it produce heat? A wall-mounted heater is a clear indicator of an electrical connection.
- When in doubt, assume it's electrical. If you can't tell for sure, it's always best to err on the side of caution and treat it as a live electrical fixture.
Once you’ve made this determination, you’ll follow one of two paths for diagnosis and repair.
Step 2: Assess the Damage—Cosmetic Blemish or Serious Problem?
Now that you know the type of fixture, it’s time to play detective. The goal is to understand the extent of the damage. Is it just a few paint chips, or is the entire fixture about to fall out of the wall?
For Electrical Fixtures (Lights, Outlets, Switches)
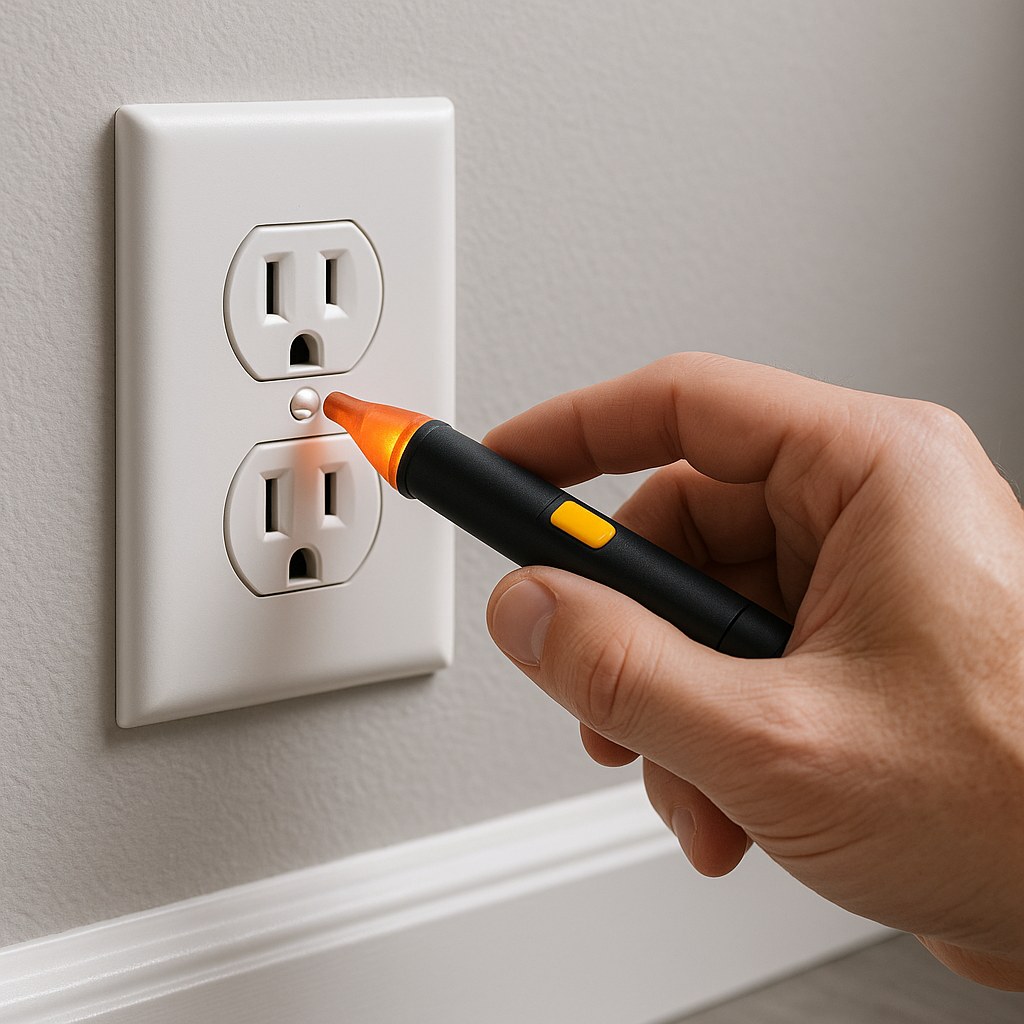
Safety is non-negotiable here. Before you get a closer look, you MUST cut the power.
- Turn Off the Power: Go to your home's electrical panel (breaker box) and find the circuit breaker that controls the fixture. Flip it to the "OFF" position.
- Verify the Power is Off: This is a crucial step. Use a non-contact voltage tester by holding its tip near the fixture's screws or openings. If it beeps or lights up, the circuit is still live. Try another breaker. Do not proceed until the tester confirms there is no power.
With the power safely off, you can inspect the damage:
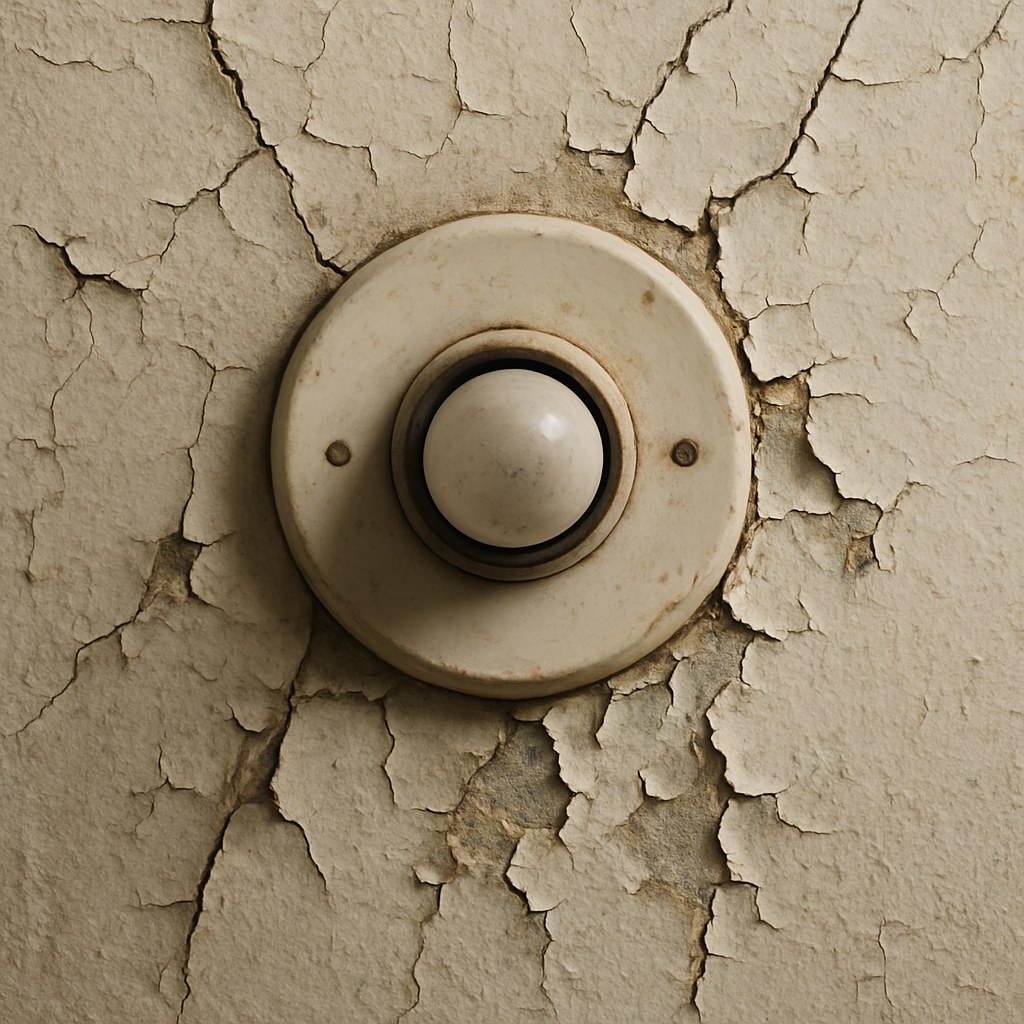
- Is the damage purely cosmetic? Look for hairline cracks in the drywall, chipped paint, or small gaps between the fixture’s cover plate and the wall.
- Is the fixture loose? Gently try to wiggle the fixture. Does it feel solid, or does it shift and move? A loose electrical box is a common problem and a safety hazard that needs to be addressed.
- Are there any red flags? Look closely for moisture stains, discoloration, mold, or any visible exposed wiring. These are signs of a more serious problem.
If you see moisture, mold, or exposed wires, STOP. This is no longer a simple DIY job. It’s time to call a licensed electrician or a general contractor.
For Non-Electrical Fixtures (Towel Racks, Shelves, Curtain Rods)
The inspection process is much simpler without the risk of electric shock.
- Check for Looseness: Gently push and pull on the fixture. Is it firmly attached to the wall, or does it wobble?
- Examine the Wall Surface: Look for the same cosmetic issues: cracks, chips, and dents.
- Check for Deeper Damage: Press gently on the drywall around the fixture. Does it feel firm, or is it soft, damp, or crumbly? Softness or crumbling can indicate that the drywall itself has been compromised, often due to a poor installation or underlying moisture.
If you find moisture stains, mold, or the wall feels like it's crumbling, STOP. This could point to a hidden plumbing leak or significant structural issue. Your best bet is to call a general contractor or a plumber to investigate.
Step 3: The Repair—From Patching to Reinforcing
You’ve diagnosed the problem and it’s a manageable DIY fix. Great! Let’s get it done. We’ll cover the two most common scenarios: fixing cosmetic damage and re-securing a loose fixture.
Scenario 1: Fixing Simple Cosmetic Damage
This process is nearly identical for both electrical and non-electrical fixtures. The only difference is that for an electrical fixture, you must ensure the power is off at the breaker for the entire duration of the repair.
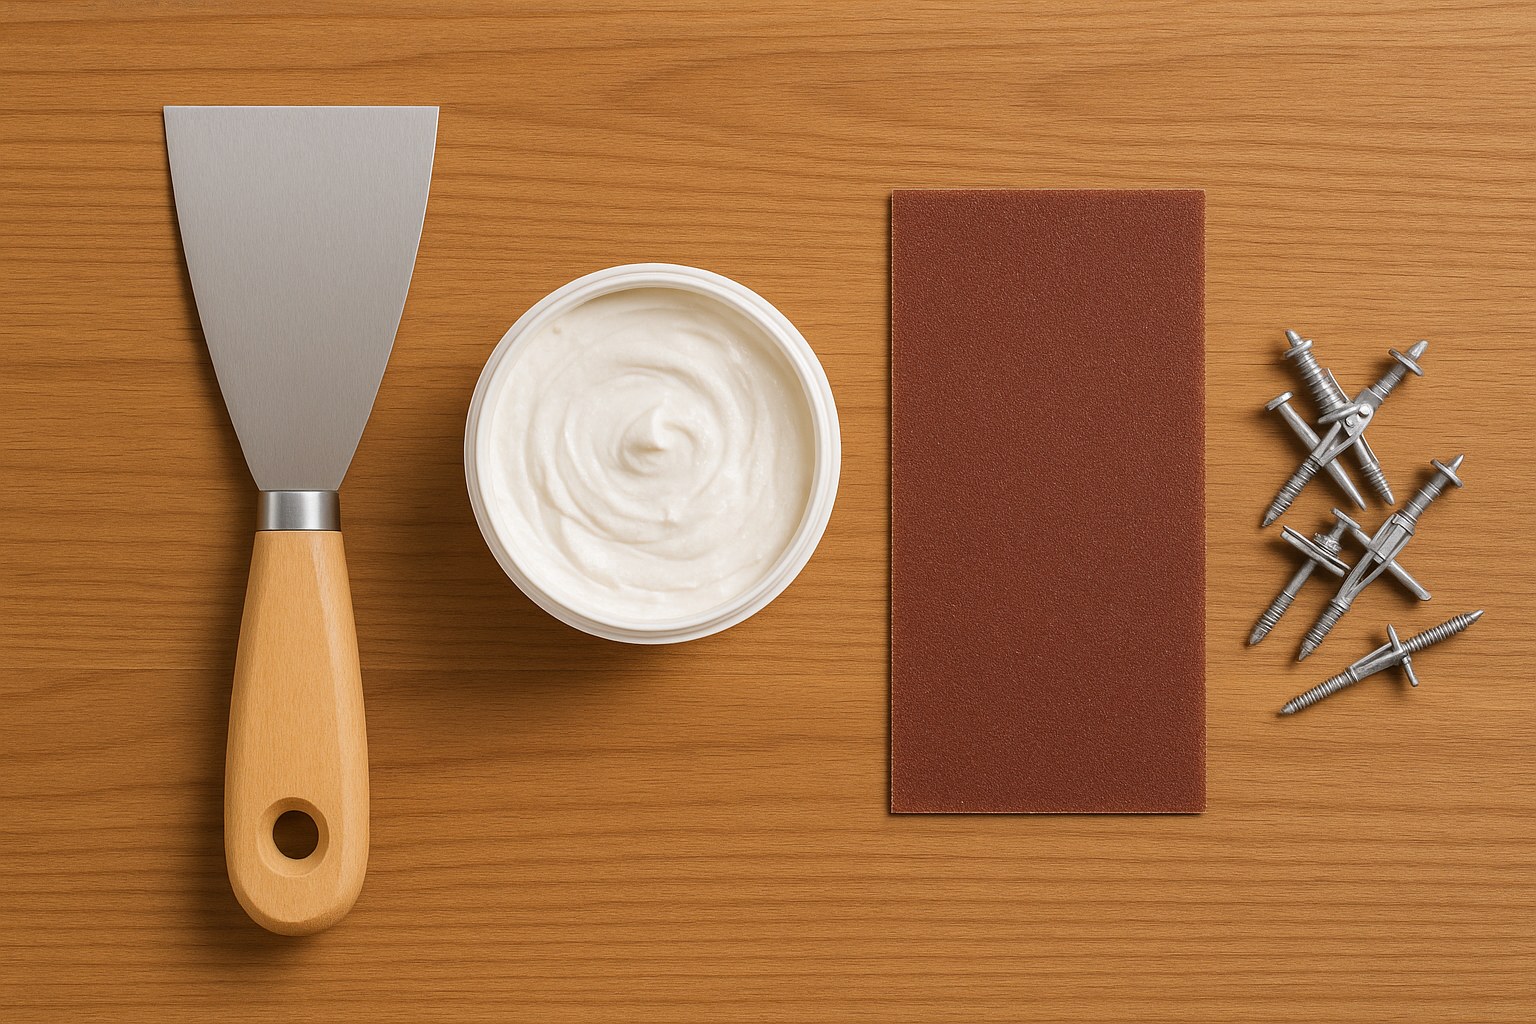
Tools You'll Need:
- Putty knife
- Spackle or joint compound
- Medium-grit sandpaper
- Microfiber cloth
- Primer
- Paint that matches your wall
The Steps:
- Prep Your Area: Lay down a drop cloth or old sheet to protect your floors.
- Clean the Damage: Use your putty knife to gently scrape away any loose paint, plaster, or drywall paper around the fixture.
- Wipe it Down: Use a slightly damp cloth to wipe away all the dust and debris. A clean surface is key for a good patch.
- Apply Compound: Scoop a small amount of joint compound onto your putty knife. Press it firmly into the cracks, holes, or chips. Smooth the surface so it's flush with the wall. Don't worry about getting it perfect on the first pass.
- Let it Dry: Wait at least 30-60 minutes for the compound to dry completely. Thicker patches may take longer.
- Sand it Smooth: Lightly sand the patched area until it’s perfectly smooth and level with the surrounding wall.
- Prime and Paint: Wipe away the sanding dust, then apply a coat of primer. Once the primer is dry, apply your matching wall paint, feathering the edges to blend it in seamlessly.
Scenario 2: Reinforcing a Loose Fixture and Patching the Wall
If the fixture itself is wobbly, a simple cosmetic patch won't solve the underlying problem. You need to secure it first.
For a Loose Non-Electrical Fixture (Moderate Difficulty):
- Remove the Fixture: Unscrew the fixture from the wall.
- Inspect the Anchors: The problem is likely that the original plastic wall anchors have failed or pulled out.
- Install New Anchors: The best solution is to move the fixture slightly so you can drill new holes. If you can align one or more screws with a wall stud (the wood framing behind the drywall), do it! This provides the strongest possible hold. For holes not over a stud, use high-quality self-drilling toggle anchors. They expand behind the drywall for a much more secure grip than standard plastic anchors.
- Re-mount the Fixture: Screw the fixture into the new anchors or stud until it's snug and secure.
- Patch the Old Holes: Use the cosmetic repair steps above to fill the old screw holes and any other wall damage.
For a Loose Electrical Fixture (Advanced Difficulty):
This is more complex and should only be attempted if you are comfortable and confident. Triple-check that the power is off with a voltage tester before you begin.
- Remove the Cover Plate: Unscrew and remove the fixture’s decorative cover.
- Expose the Box: Carefully unscrew the fixture itself (the outlet receptacle or light) from the electrical box it's sitting in. Gently pull it out a few inches, leaving the wires attached.
- Secure the Electrical Box: The reason the fixture is loose is almost always because the electrical box inside the wall is loose. Look for the screws holding the box to the wall stud. If they are loose, tighten them.
- If the Box is Damaged: If the box itself is broken or won't tighten, you may need to use an electrical box reinforcement bracket (like a "Smart Box" or "Old Work Box"). This is an advanced repair, and if you're at this stage, it might be time to call an electrician.
- Reassemble: Once the box is secure, carefully push the fixture back into place and screw it in. Reattach the cover plate.
- Patch the Wall: Perform the cosmetic repair steps to fix any drywall damage around the now-secure fixture.
- Restore Power: Once everything is dry and finished, you can flip the circuit breaker back on.
Know When to Call a Professional
DIY is empowering, but wisdom lies in knowing your limits. Here’s a quick recap of when to pick up the phone:
-
Call a Licensed Electrician if:
- You see exposed or damaged wiring.
- A non-contact voltage tester shows power is still on after you've flipped the breaker.
- The electrical box in the wall is broken or stripped.
- You are simply not comfortable working with electricity.
-
Call a General Contractor or Plumber if:
- You see moisture stains, active dampness, or mold around any fixture.
-
Call a Handyman if:
- The drywall damage is extensive (large holes, crumbling sections).
- You've tried to secure a fixture but it still won't stay put.
Take Control of Your Home Maintenance
Fixing the damage around a wall fixture is a project that delivers huge visual satisfaction. By following these steps, you can tackle the problem safely, create a lasting repair, and save yourself from a costly service call.
Want more easy-to-follow guides and expert advice for all your home projects? Download the Casa app today! Casa is your personal home management partner, helping you with everything from simple DIY repairs to finding trusted, vetted professionals when you need them. Stop worrying about your to-do list and start enjoying your home.


