Looking for more guidance? Take a look at our Repairs overview.
JAN 2, 2026
How to Fix Damaged Roof Shingles A DIY Guide

JAN 2, 2026
Looking for more guidance? Take a look at our Repairs overview.
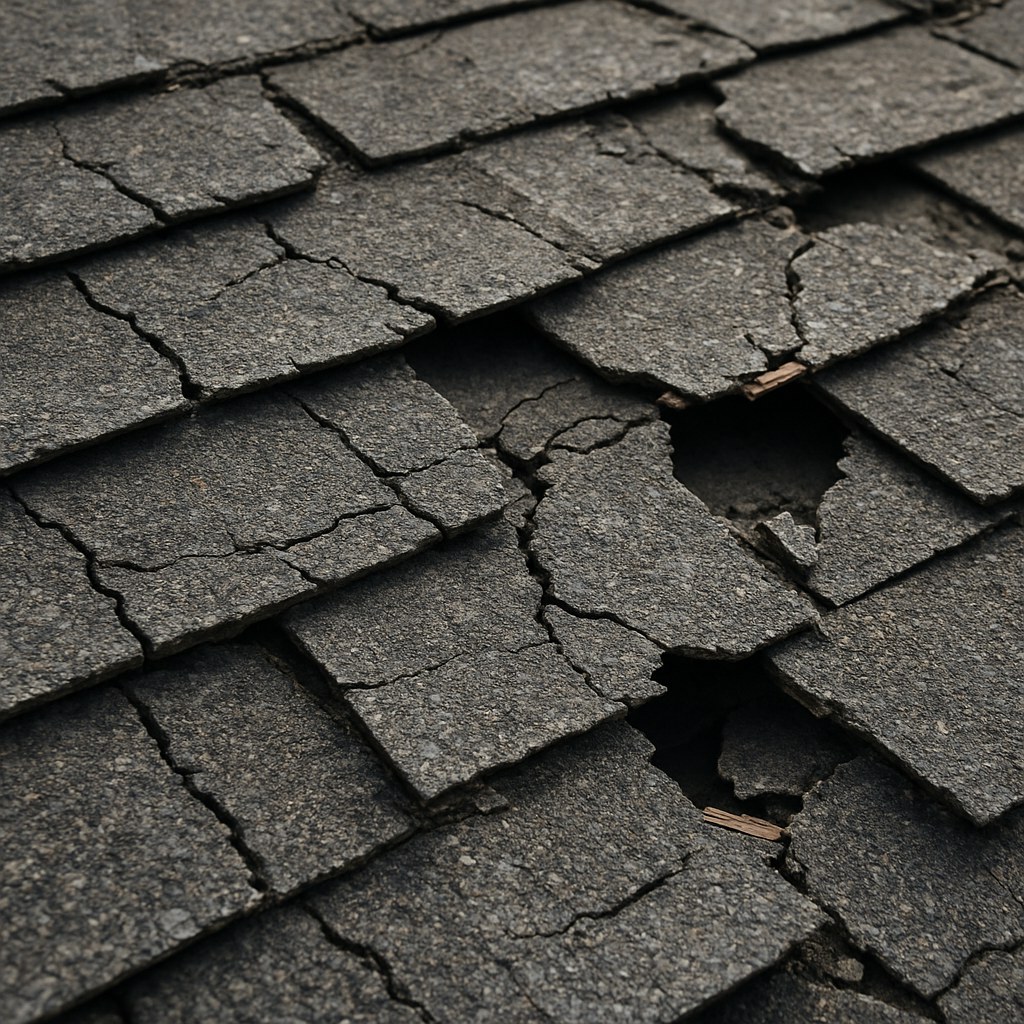
It’s a sight that makes any homeowner’s stomach drop: a single shingle lying in the yard after a windy night, or a dark water spot appearing on the ceiling. Your roof is your home’s first line of defense against the elements, and its shingles are the soldiers on the front line. When they’re damaged, cracked, or missing, it leaves your home vulnerable to leaks, rot, and serious structural issues.
The good news is that fixing a few damaged shingles is often a manageable and affordable DIY project. Ignoring the problem, however, can lead to costly repairs down the line. A minor roof repair might cost a few hundred dollars, but extensive water damage can run into the thousands. According to Forbes Home, the national average cost for roof repair is around $1,058, but a simple shingle replacement can be much less if you do it yourself.
So, let's talk about how you can tackle this project with confidence. Think of me as your expert buddy on the other end of the line, here to walk you through it. We’ll cover everything from safely assessing the damage to replacing the shingles yourself.
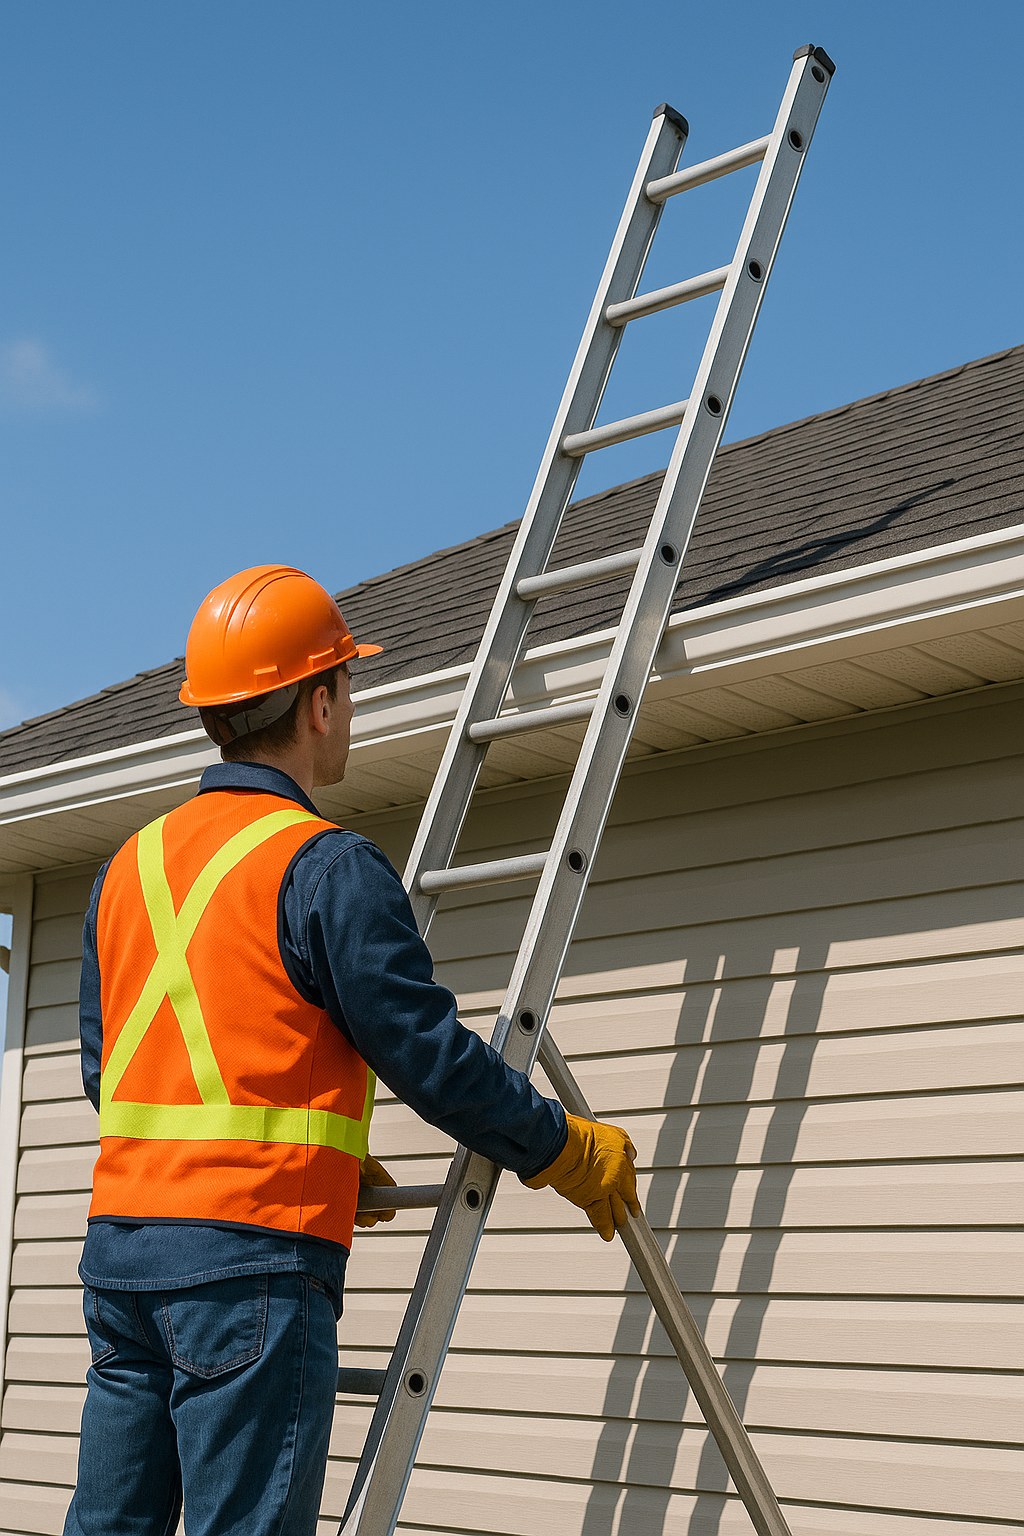
Before you even think about grabbing a ladder, we need to talk about safety. Working on a roof can be dangerous, and no repair is worth an injury. Your safety is the absolute priority.
Here’s a quick safety checklist to run through:
If at any point you feel unsafe or unsure, stop. A professional roofer has the training and equipment to handle the job safely. There’s no shame in calling for backup!
Okay, so the weather is good, the roof is accessible, and you’re ready to investigate. It’s time to climb up and see exactly what you’re dealing with.
Once you’re safely on the roof, stay low and move carefully. Your goal is to figure out if this is a small patch job or a sign of a larger problem.
The Verdict: DIY or Call a Pro?
Here’s a simple rule to follow: If you find more than 10-15 damaged shingles, or if the damage is spread across multiple sections of the roof, it’s time to call a licensed roofing contractor. This could be a sign that your roof is nearing the end of its lifespan and may need a significant repair or full replacement.
If the damage is limited to just a few shingles in one area, and you’re comfortable with the work, it’s likely a perfect DIY project.
You’ve assessed the situation and determined it’s a manageable repair. Great! Let’s get to work. We’ll break this down by the most common shingle types. Remember to wear a roof safety harness for any of these repairs.
This is the most common type of shingle and the most DIY-friendly to repair.
Tools You’ll Need:
The Process:
Wood shingles require a slightly different technique because they are more rigid.
Tools You’ll Need:
The Process:
Slate and metal are specialized materials that are heavy, fragile (in the case of slate), and tricky to work with. They often require specific tools like a slate ripper or a drill with a specific bit.
While the process is outlined in our advanced guides, we strongly recommend that for these materials, you call a professional roofer. The risk of causing more damage or installing the replacement improperly is high, which could lead to much bigger problems.
Fixing a few damaged shingles is one of the most impactful maintenance tasks you can perform as a homeowner. By catching it early, you’re not just replacing a shingle—you’re protecting your home’s structure, preventing mold, and saving yourself from a massive headache down the road.
This guide should give you the confidence to assess the situation and tackle minor repairs. But remember, every home and every roof is different. If you get up there and feel like you’re in over your head, that’s perfectly okay.
That’s where Casa comes in. We designed the Casa app to be your trusted partner in home maintenance. You can find more detailed, step-by-step guides for hundreds of projects, get reminders for important maintenance tasks, and—when you need one—connect with a vetted, licensed professional in your area.
Don’t let a small roof issue keep you up at night. Download the Casa app today and take control of your home maintenance with confidence.