There are few home appliance frustrations as immediate as a dryer that won’t start. You have a full load of wet clothes, a busy schedule, and a control panel that’s completely dark or unresponsive. It’s a moment that can easily send your day into a tailspin.
But before you start looking up the number for an appliance repair technician, take a deep breath. The good news is that many issues with dryer controls are surprisingly simple to fix yourself. Often, the problem isn't a major mechanical failure but a tripped circuit, an engaged child lock, or a simple electronic glitch.
We’re here to walk you through it, just like a friend on the phone. In this step-by-step guide, we’ll help you diagnose why your dryer controls aren't working and provide the solutions to get your laundry routine back on track.

Common Reasons Your Dryer Controls Aren't Working
Before we dive into the fixes, let’s quickly cover the usual suspects. Your dryer’s unresponsiveness likely stems from one of these common issues:
- No Power: The dryer isn’t receiving electricity due to a tripped breaker or a loose plug.
- Child Lock is On: A safety feature is preventing the controls from being used.
- An Error Code Needs Clearing: The dryer has detected a fault and has locked the controls until the code is addressed.
- A Temporary Electronic Glitch: Like any computer, your dryer's control board can sometimes need a simple reset.
- Moisture or Debris: Spills or even high humidity can interfere with the electronic connections in the control panel.
Ready to figure out which one is causing your headache? Let’s get started.
Step-by-Step Guide to Fixing Unresponsive Dryer Controls
We'll start with the easiest and most common solutions first and work our way to more involved troubleshooting.
Step 1: Verify Your Dryer Has Power
It might sound obvious, but you’d be surprised how often the root of the problem is a simple lack of power. An electric dryer uses a significant amount of electricity and requires a dedicated 240-volt circuit, which is more prone to tripping than a standard outlet.
How to Check and Restore Power:
- Check the Plug: First, go behind the dryer and make sure the heavy-duty power cord is pushed firmly into the wall outlet. Sometimes vibrations can work it loose.
- Test the Outlet: To be certain the outlet itself is working, carefully unplug the dryer and plug in a small lamp or phone charger you know works. If it doesn’t light up, the outlet has no power.
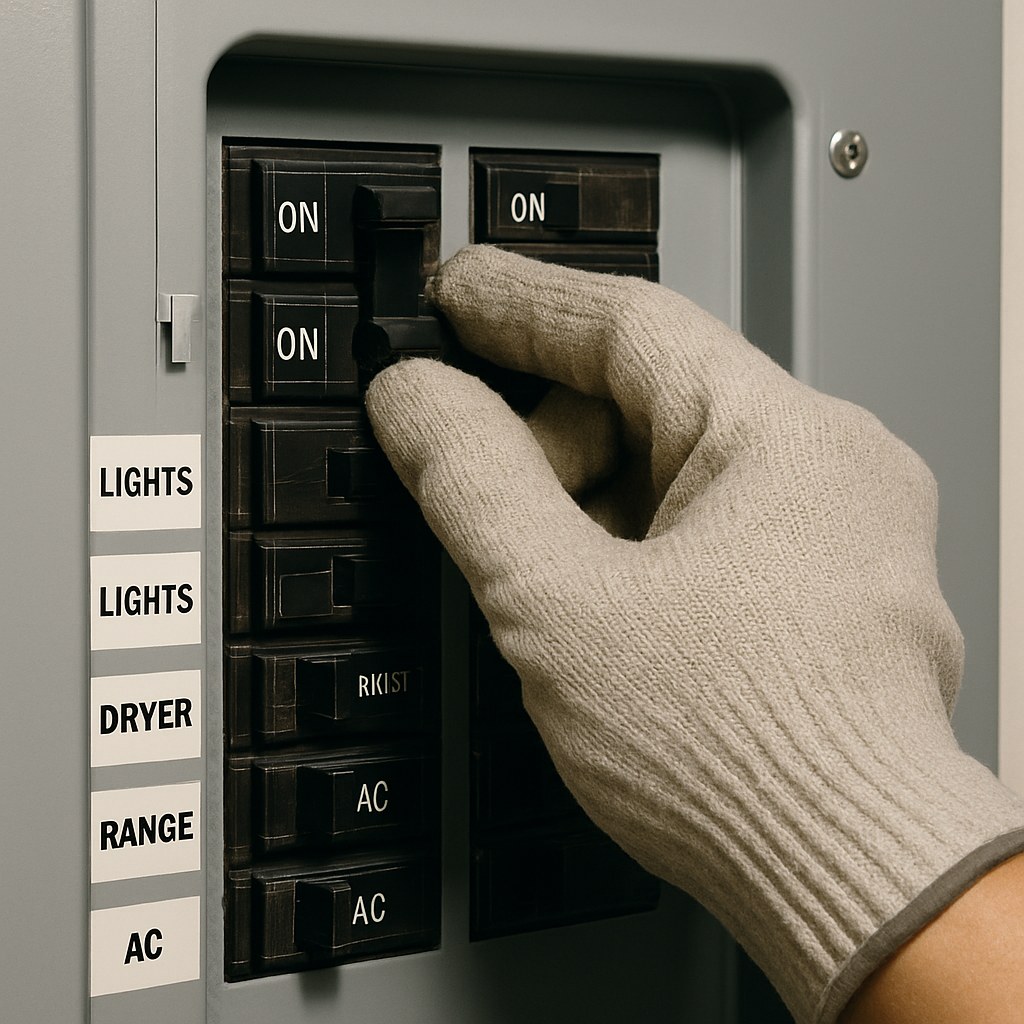
- Find Your Electrical Panel: Locate your home's main circuit breaker panel (it's usually in the garage, basement, or a utility closet).
- Reset the Dryer's Circuit Breaker: Open the panel door and look for the breaker labeled "Dryer." Dryers use a "double-pole" breaker, which is twice as wide as standard breakers and may have two switches linked together.
- Flip the breaker all the way to the "OFF" position.
- Wait a few seconds, then flip it firmly back to the "ON" position.
- Check for Lights: Go back to your dryer, open the door, and see if the drum light comes on. If it does, or if the control panel lights up when you press the power button, you've likely solved the problem!
If you’ve reset the breaker and the outlet still has no power, you may have a larger electrical issue that requires a licensed electrician.

Step 2: Is the Control Lock or Child Lock On?
This feature is a lifesaver for parents with curious toddlers, but it’s also a frequent cause of "my dryer won't work" service calls. The control lock (or child lock) deactivates all the buttons on the panel to prevent accidental cycle changes.
How to Disable the Child Lock:
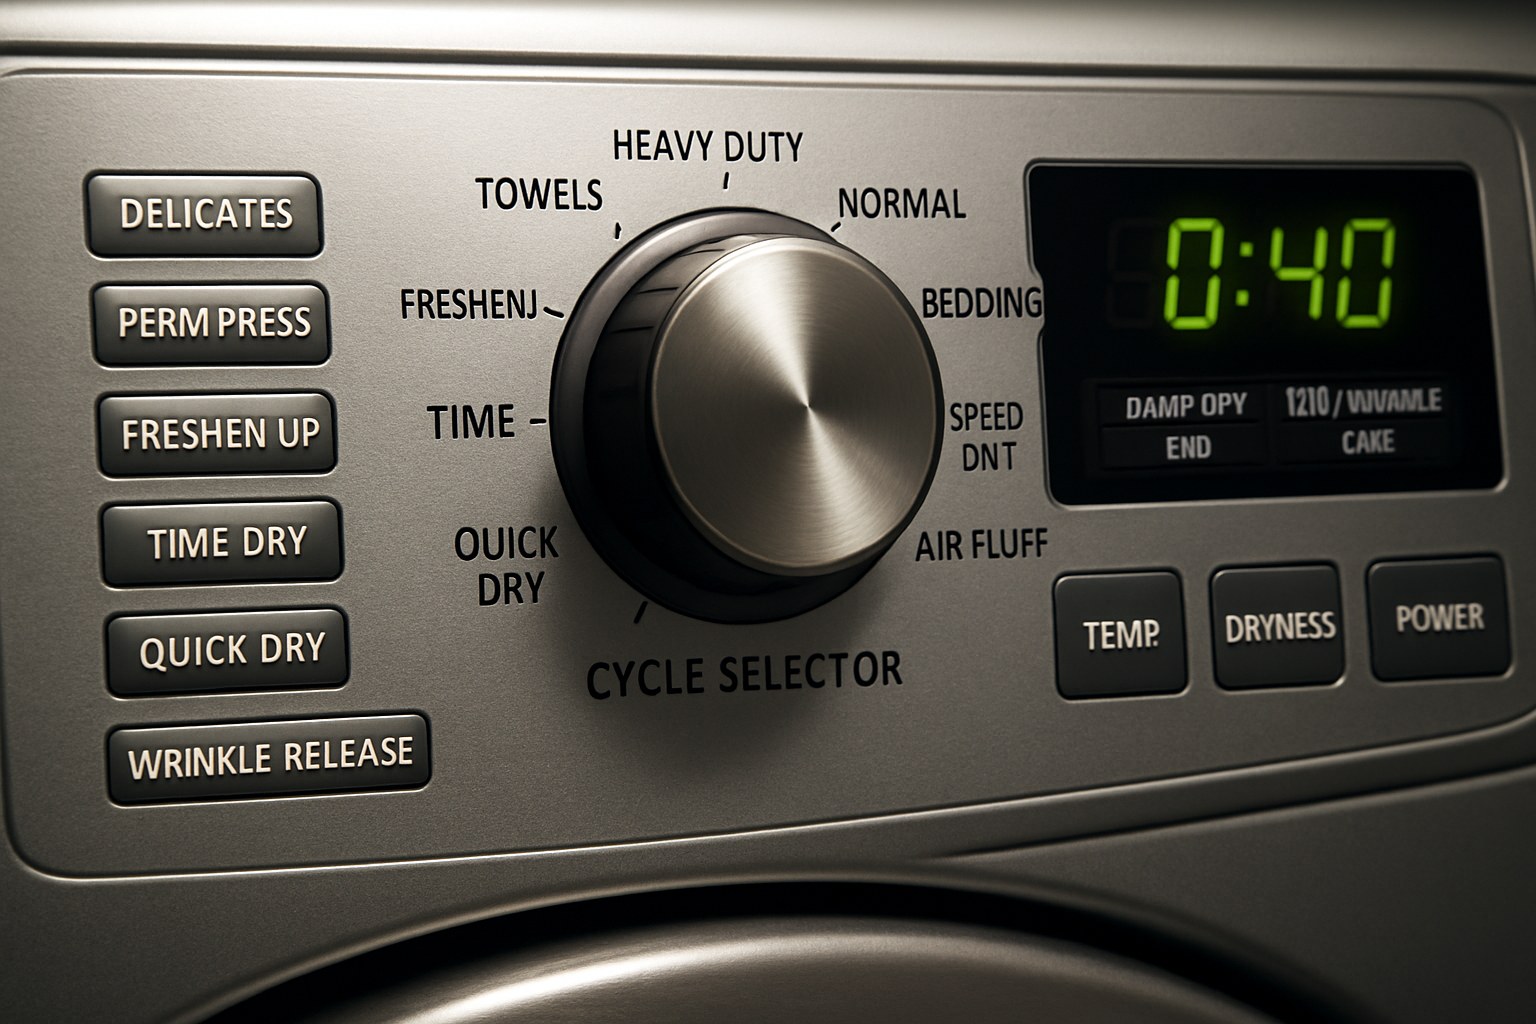
- Look for the Lock Icon: Scan your dryer’s control panel for a small light next to a padlock icon or words like "Control Lock" or "Child Lock."
- Find the Unlock Combination: Most dryers require you to press and hold a specific button or a combination of two buttons for 3-5 seconds. The correct button is often labeled right on the panel (e.g., "Hold 3 Sec to Lock"). Common buttons include "Start," "Options," or a dedicated "Control Lock" button.
- Press and Hold: Press and hold the designated button(s) until you hear a beep or see the lock light turn off.
Once the light is off, try pressing the power button or selecting a cycle. If the controls are now responsive, you can get back to your laundry.
Step 3: Check for and Clear Any Error Codes
Modern dryers use digital displays to communicate when something is wrong. If you see a code like "F1," "d80," or "E4," the dryer has diagnosed a specific problem (like a blocked vent or a faulty sensor) and may lock the controls until it's addressed.
How to Handle an Error Code:
- Write Down the Code: Note the exact code displayed on the screen.
- Consult Your User Manual: Grab your dryer's user manual (if you can't find it, a quick search for your dryer's model number online will bring up a digital copy). Look for the "Troubleshooting" or "Error Codes" section.
- Follow the Manual's Instructions: The manual will tell you what the code means and what steps to take. It might be something simple like cleaning the lint filter or checking the exhaust vent for blockages.
- Perform a Reset: After addressing the issue, the manual will typically instruct you to clear the code by unplugging the dryer for one minute and then plugging it back in. This often resets the control board and restores normal function.
Step 4: Try a Soft Reset of the Electronics
Sometimes, the electronic control board just needs a quick reboot, much like a frozen computer. This process, known as a soft reset or power cycle, can clear temporary glitches that cause the panel to become unresponsive.
How to Perform a Soft Reset:
- Unplug the dryer’s power cord from the wall outlet.
- Wait for at least 60 seconds. This gives the internal capacitors time to fully discharge.
- While it's unplugged, press and hold the "Power" or "Start" button for 5 seconds to get rid of any residual power.
- Plug the power cord back into the outlet.
- Press the power button to see if the controls have come back to life.
This simple step resolves a surprising number of issues with modern, computer-controlled appliances.
Step 5: Clean and Dry the Control Panel
If you've recently cleaned your laundry room or if the area is particularly humid, moisture could have gotten into the control panel and shorted out the connections. Similarly, dirt or grime around buttons and knobs can prevent them from making proper contact.
How to Safely Clean and Dry the Panel:
- Disconnect Power: Unplug the dryer from the wall outlet for safety.
- Wipe Down Moisture: Use a soft, dry cloth to wipe away any visible moisture from the control panel and the seams around it.
- Use a Hair Dryer (Carefully): Set a hair dryer to its lowest, coolest setting. Hold it about 12 inches away from the control panel and move it back and forth for 5 minutes to help evaporate any hidden moisture.
- Clean Grimy Knobs: If your dryer has knobs, gently pull them straight off their shafts. Use a cloth lightly dampened with rubbing alcohol to clean any grime from the knob and the shaft it connects to. Let it dry completely before pushing the knobs back on.
- Wait and Reconnect: Let the dryer sit for another 15-20 minutes to ensure it's completely dry. Then, plug it back in and test the controls.
When to Call a Professional Appliance Technician
If you’ve worked through all the steps above and your dryer's controls are still on strike, it might be time to call for backup. The problem could be a faulty control board, a broken wire, or a failed thermal fuse—issues that are best left to a trained professional.
According to Angi, the cost to repair a dryer can range from $100 to $400. Replacing a faulty main control board is one of the more expensive repairs, typically falling between $150 and $500, including parts and labor. While calling a pro costs more than a DIY fix, it ensures the job is done safely and correctly.

Take Control of Your Home Maintenance with Casa
Fixing your dryer is a great reminder of how empowering it can be to tackle home repairs yourself. With the right guidance, you can save money and gain the confidence to handle whatever your home throws at you next.
That’s why we built the Casa app. It’s your all-in-one partner for home maintenance, offering step-by-step DIY guides for hundreds of common repairs. And for those jobs that are too big or complex to handle alone, Casa connects you with a network of vetted, trusted professionals in your area.
Don't let a broken appliance ruin your day. Download the Casa app today and take the stress out of homeownership.


