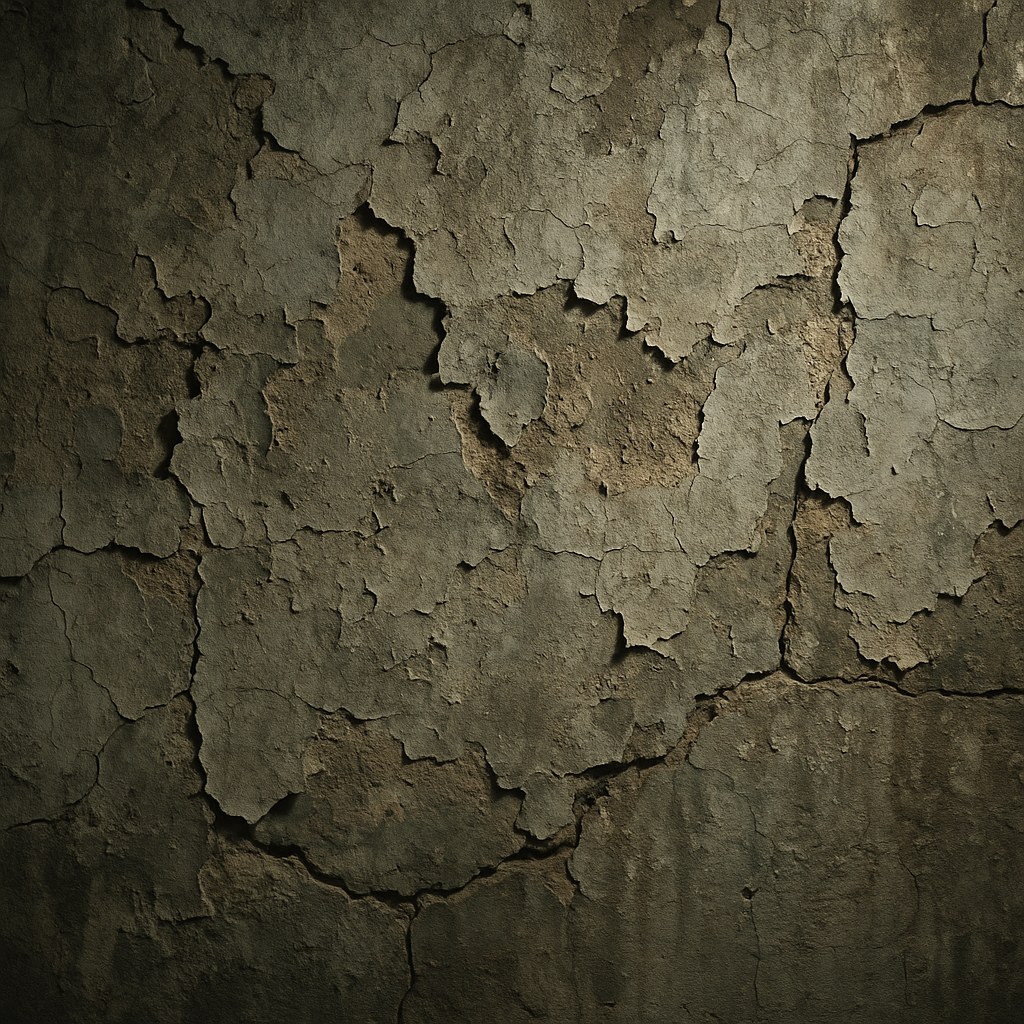
Often, flaking concrete is a sign of moisture moving through the wall. The good news is that for small areas, you can often diagnose the cause and make a lasting repair yourself. The key is to understand what the wall is telling you before you start mixing any patch material.
This guide will walk you through inspecting the damage, understanding when it’s safe to handle yourself, and knowing the clear signs that it’s time to call a professional.
What Causes Concrete to Flake or Crumble?
Flaking or crumbling on a concrete surface is often referred to as spalling. It usually happens when moisture gets trapped within the concrete. As the water evaporates, it can leave behind salt deposits that push the surface layer of the concrete off. This white, powdery substance you might see is called efflorescence, and it's a clear indicator of moisture.
While minor spalling from ambient dampness can be a simple fix, it can sometimes point to more serious issues like water intrusion or corroded internal steel reinforcement (rebar). Your first step is to figure out how serious the problem is.
Step 1: Inspect the Wall Carefully
Before you do anything else, put on some safety glasses and a dust mask. Concrete dust is not something you want in your eyes or lungs. Once you’re protected, take a close look at the entire wall, not just the damaged spot.
Here’s what to look for:
- Deep Cracks: Are there any cracks wider than a quarter-inch (1/4")?
- Rust Stains: Do you see any reddish-brown streaks running down the wall? These can indicate that the steel rebar inside the concrete is rusting and expanding, which is a serious structural concern.
- Hollow Sounds: Gently tap the area around the flaking spot with a hammer or a rubber mallet. Does it sound solid, or does it make a hollow thud? A hollow sound can mean the damage is deeper than it appears on the surface.
- The Size of the Problem: Is this one small spot, or is the flaking widespread? Estimate the total square footage of the damaged areas. Is it smaller or larger than a standard doorway (which is about 20 square feet)?
Your answers to these questions will determine your next move.
When to Stop and Call a Professional
Some concrete issues are not suitable for a DIY approach. If your inspection revealed any of the following, the safest and most effective solution is to call a professional contractor or a structural engineer.
Call a pro if you see:
- Cracks wider than 1/4 inch.
- Any rust-colored stains on the concrete. This is a strong sign of corroding rebar, which can compromise the wall's strength.
- A total flaking area larger than about 10 square feet. Patching a large area requires specialized surface preparation and materials to ensure a durable finish.
- The wall seems to be bowing, bulging, or leaning.
Attempting to patch over these problems is like putting a bandage on a broken bone—it hides the issue but doesn't solve it. A professional can assess the structural integrity of the wall and recommend the correct course of action.
How to Patch Small Flaking Areas Yourself
If the damage is limited to a small area (less than 10 square feet) and you don’t see any of the serious warning signs listed above, you can likely handle the repair yourself.
The most important step in this process is ensuring the wall is completely dry. If you patch over a damp wall, the moisture will simply push your new patch off, and you’ll be back where you started.
Part 1: The Moisture Test
- Use a stiff wire brush to clear away all the loose, crumbling material from the damaged spot.
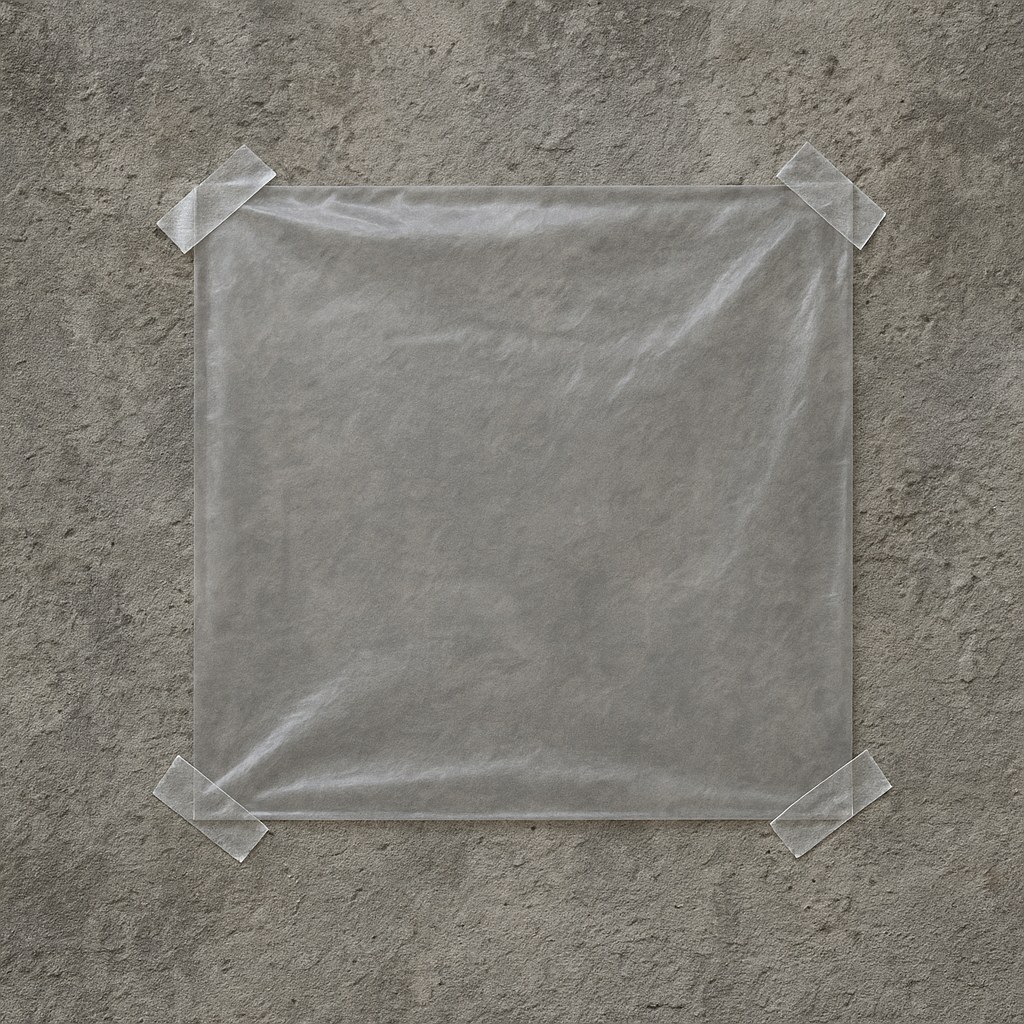
- Take a 12-by-12-inch square of plastic sheeting (a piece of a plastic garbage bag works well).
- Tape the plastic square flat against a solid, undamaged part of the wall near the repair area. Seal all four edges securely with painter's tape.
- Leave the plastic in place for 24 hours.
- After a day, peel it off and check the underside of the plastic and the surface of the wall. Is there any condensation, dampness, or fresh white powder (efflorescence)?
Part 2: Address the Moisture Source
If you found moisture: Your wall has an active water issue that you must resolve before patching.
- Check outside first. Look at your gutters and downspouts. Are they clogged? Is water pooling near the foundation? Make sure the ground slopes away from your house so water drains properly.
- Wait for dry weather. Allow the area to dry out completely. For an interior wall, you can place a fan or dehumidifier nearby to speed up the process.
- Retest. Once you've addressed any obvious external issues and the wall seems dry, perform the plastic sheet test again.
If the wall is still damp after you’ve taken these steps, the moisture source is likely more persistent. At this point, it's wise to call a waterproofing specialist. They can identify the source of the water and provide a lasting solution. Applying a patch now would be a waste of time and money.
Part 3: The Patching Process
If your wall is dry: You’re ready to patch.
Tools & Materials:
- Stiff wire brush
- Bucket for mixing
- Steel trowel
- Concrete patching compound
- Spray bottle with water
- Masonry waterproofer (for exterior walls)
- Prepare the Surface: Use your wire brush to remove any remaining loose debris from the flaking spot. The goal is a clean, solid surface for the patch to bond to.
- Dampen the Area: Lightly mist the repair area with water from a spray bottle. You want the old concrete to be damp, but not dripping wet. This prevents it from pulling moisture out of the new patch too quickly, which can cause cracking.
- Mix the Patching Compound: Follow the manufacturer's instructions to mix the concrete patch powder with water in your bucket. Aim for a consistency similar to smooth peanut butter.
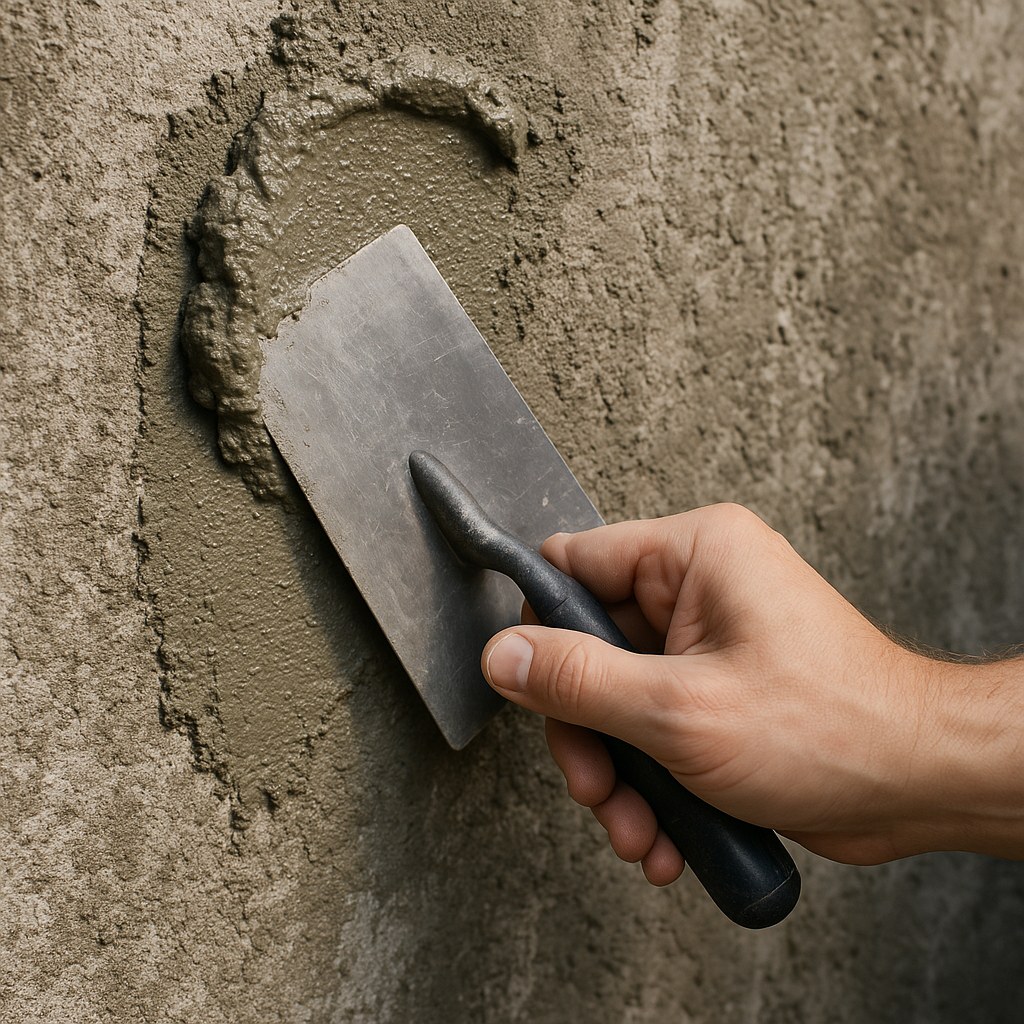
- Apply the Patch: Scoop some of the mixture onto your trowel and press it firmly into the damaged area. Use pressure to ensure you fill any small voids and eliminate air pockets.
- Smooth the Surface: Once the area is filled, smooth the surface with your trowel. Try to "feather" the edges, creating a thin, smooth transition from the patch to the surrounding wall.
- Cure: Let the patch cure according to the product directions, which is typically 24 hours. If it's hot or windy, you may need to lightly mist the patch occasionally to keep it from drying out too fast. For exterior patches, consider covering them with plastic sheeting.
Typical Time and Cost
- DIY Repair: For a small patch, you can expect to spend under $50 on materials like a bag of patching compound, a wire brush, and a trowel. The work itself might take an hour or two, but you’ll need to account for at least 2-3 days to include the moisture test and curing time.
- Professional Help: If you need to call a professional, a consultation and diagnosis might cost anywhere from $200 to $700. The cost of the actual repair will vary widely depending on the cause and extent of the problem, from several hundred dollars for simple waterproofing to many thousands for structural repairs.
A Stronger, More Stable Wall
Dealing with flaking concrete is a matter of careful observation. By taking the time to inspect the wall and test for moisture, you can ensure you’re applying the right solution. A successful patch not only looks better but also protects the area from further deterioration.
Keeping track of home repairs and knowing when to check on them is simple with the right tools. You can use the Casa app to set a reminder for yourself to inspect the patch in six months to ensure everything is still dry and stable.
Ready to feel more confident in your home? Download the Casa app to get personalized maintenance reminders, access expert advice, and manage all your home information in one place.


