The good news? Most common gutter leaks are surprisingly easy and inexpensive to fix yourself. You don’t need to be a professional roofer to tackle a leaky seam or a small crack. You just need a little guidance, the right tools, and a bit of confidence.
Think of me as your expert on the other end of the line. I’m going to walk you through everything you need to know, from safely inspecting your gutters to identifying the exact cause of the leak and fixing it for good. Let’s get started and stop that drip!

Why You Can't Afford to Ignore a Leaking Gutter
Before we grab the ladder, let's talk about why this is a job you shouldn’t put off. Gutters have one critical job: to channel thousands of gallons of rainwater away from your house. When they fail, that water goes where it shouldn't.
According to the Insurance Information Institute, water damage is one of the most common and costly disasters your home can face, with the average insurance claim for water damage being over $12,500. A leaking gutter can be the start of that disaster, causing problems like:
- Foundation Damage: Water pooling around your foundation can cause soil to erode, leading to cracks and structural instability over time.
- Basement Flooding: If water saturates the ground around your home, it will find its way into your basement or crawlspace, causing flooding and mold growth.
- Siding and Trim Rot: Water splashing back onto your home can stain siding, peel paint, and cause the wooden fascia boards and soffits to rot.
- Landscape Erosion: A concentrated stream of water from a leak can wash away mulch, soil, and even kill your plants.
Fixing a small leak now can save you thousands of dollars and a major headache later.
Your Toolkit: What You’ll Need
Let’s gather our supplies. Having everything ready before you climb the ladder makes the job safer and faster.
Safety Gear:
- Sturdy Ladder
- Ladder Stabilizer (highly recommended to prevent damaging the gutters)
- Work Gloves
- Safety Glasses
Tools:
- Bucket
- Gutter Scoop or Small Trowel
- Garden Hose
- Putty Knife & Stiff Wire Brush
- Drill or Screwdriver
- 4-Foot Level
- Hacksaw (for vinyl gutters)
- Tin Snips (for metal patches)
Materials (depending on the fix):
- Exterior-Grade Gutter Sealant
- Roofing Cement
- Aluminum Flashing (for patching metal)
- New Vinyl Gutter Section & Couplers (for vinyl repair)
- New Gutter Hangers & Exterior Screws
Step-by-Step Guide: How to Fix a Leaking Gutter
Ready to get to work? We’ll start by safely finding the source of the leak and then tackle the specific repair needed.
Step 1: A Safe Inspection to Pinpoint the Leak
You can’t fix a leak if you don’t know exactly where it’s coming from. Guessing from the ground is often inaccurate, so a safe, up-close inspection is key.
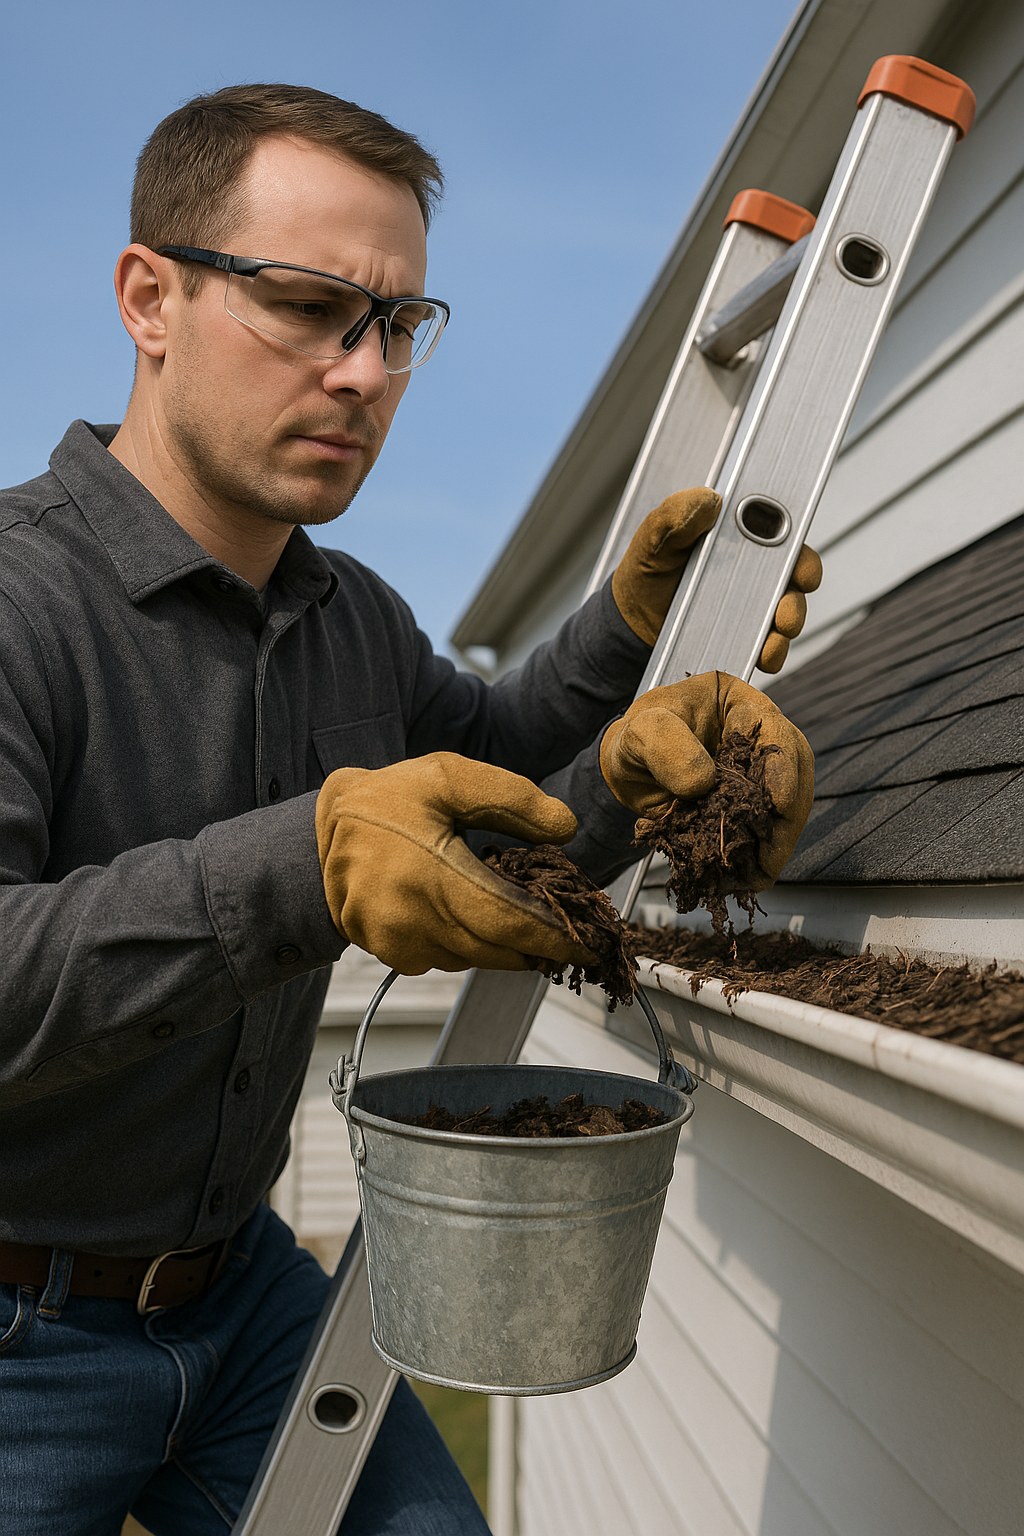
- Set Up Your Ladder: Place your ladder on firm, level ground. Attach a ladder stabilizer to the top; this will give you a much more stable base and prevent the ladder from crushing or denting the gutter.
- Gear Up: Put on your work gloves and safety glasses.
- Get a Helper: Ask a friend or family member to stay on the ground to hold the ladder steady and watch for the leak from below.
- Perform a Water Test: Carefully climb the ladder until you can see inside the gutter. Have your helper hand you a bucket of water (or use a hose on a gentle setting) and pour it into the gutter a few feet upstream from where you think the leak is.
- Observe: Watch closely as the water flows. Your helper on the ground should be able to see exactly where the water is escaping.
Now, what did you find? The source of the leak will tell you what to do next.
Step 2: Diagnose and Fix the Problem
Let's break down the most common culprits and how to fix them.
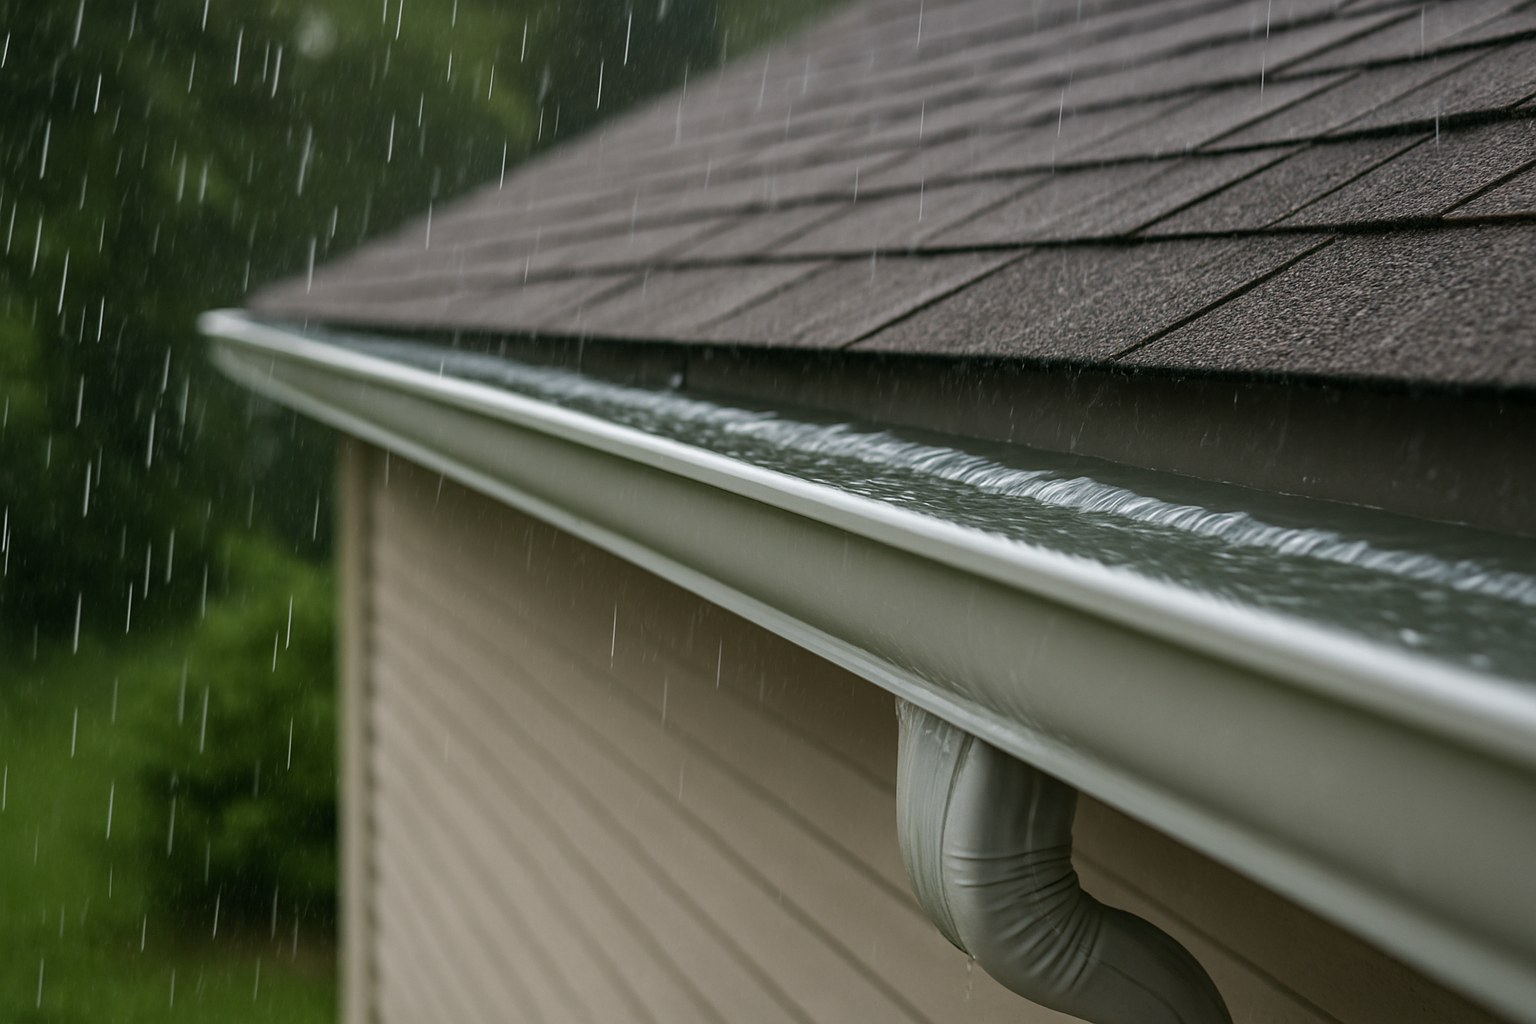
Problem A: The Gutter is Overflowing
If water is spilling over the edge of the gutter instead of dripping from a specific spot, you almost certainly have a clog. This is the most common gutter issue.
The Fix: Clear Clogs and Flush the Downspout
- Remove Gutter Guards: If you have them, carefully lift off the gutter guard panel covering the overflowing section.
- Scoop Out Debris: Use your gutter scoop or trowel to remove all the leaves, twigs, and gunk. A bucket hooked onto a ladder rung is perfect for collecting the debris.
- Clear the Downspout: The connection to the downspout is a hotspot for clogs. Use your trowel to clear any packed-in debris.
- Flush it Out: Place your garden hose into the downspout opening and turn the water on full blast for a minute. This will flush out any remaining obstructions. If the water backs up, the clog is further down the spout.
- Test Your Work: Pour another bucket of water into the gutter. It should now flow freely down the spout with no overflow. Re-install your gutter guard, and you’re done!
Problem B: The Leak is at a Seam or Joint
On sectional gutters, the seams where two pieces connect are the most common failure points. The sealant used at the factory or during installation can degrade over time.
The Fix: Reseal the Leaking Seam
- Clean and Dry: After clearing any debris, use a cloth to thoroughly dry the area around the leaking seam.
- Scrape Away Old Sealant: Use a putty knife to scrape out all the old, cracked sealant from inside the seam.
- Scrub the Surface: Use a stiff wire brush to scrub the metal or vinyl, removing any remaining residue or corrosion. A clean surface is essential for a good seal.
- Apply New Sealant: Cut the tip of your exterior-grade gutter sealant tube. Apply a generous, continuous bead of sealant along the entire inside of the seam.
- Smooth the Bead: Use a gloved finger to smooth the sealant, pressing it firmly into the joint to ensure there are no gaps.
- Let it Cure: Wait at least 30 minutes (or as directed by the product instructions) for the sealant to set before testing. After it cures, pour water into the gutter to confirm the leak is sealed.
Problem C: The Gutter is Sagging or Pulling Away
If the gutter is sagging or has pulled away from the fascia board, water will pool in that low spot instead of flowing to the downspout. Eventually, the weight of the water will cause a leak.
The Fix: Correct the Pitch and Reattach Hangers
- Check the Slope: Place a 4-foot level against the bottom of the sagging section. For proper drainage, gutters should have a slight downward slope toward the downspout—about 1/4 inch for every 10 feet of gutter.
- Adjust the Hanger: If the slope is off, use a drill to remove the screw from the nearest gutter hanger.
- Reposition the Gutter: Push the gutter up or down until your level shows the correct pitch.
- Secure It: Drive a new, longer exterior screw through the hanger and firmly into the fascia board.
- Add Support: If the gutter was sagging between hangers, add a new hanger within a foot or two of the leaking area for extra support.
- Test the Flow: Run water through the adjusted section to ensure it now drains properly without pooling.
Problem D: There's a Visible Hole or Crack
Corrosion, falling branches, or sun exposure can cause holes and cracks to form in the gutter itself. The fix depends on whether your gutters are metal or vinyl.
The Fix for Metal Gutters: Patch the Hole
- Clean the Area: Thoroughly clean a 4-inch area around the hole with soap and water, then dry it completely.
- Scrub Away Corrosion: Use a wire brush to remove any rust or corrosion.
- Cut a Patch: Using tin snips, cut a patch from aluminum flashing that is at least 1 inch larger than the hole on all sides.
- Apply Roofing Cement: Spread a layer of roofing cement on one side of the patch.
- Press it in Place: From the inside of the gutter, press the patch firmly over the hole.
- Seal the Edges: Spread another layer of roofing cement around the edges of the patch to create a watertight seal. Allow it to cure for at least 30 minutes before testing.
The Fix for Vinyl Gutters: Replace the Damaged Section
Vinyl is prone to cracking from UV damage or impact. Patching is usually not a long-term solution, so it’s best to replace the damaged section.
- Mark Your Cuts: Use a pencil to mark the gutter 6 inches on either side of the crack.
- Cut Out the Damage: Use a hacksaw to carefully cut and remove the damaged piece.
- Install Couplers: Slide a vinyl gutter coupler onto one of the cut ends.
- Insert the New Section: Measure and cut a new piece of vinyl gutter to fit the gap. Insert it into the coupler and connect it to the other side with a second coupler.
- Add Support: Install a new gutter hanger under the replacement section to support the new joints.
When to Call a Professional Gutter Contractor
While many leaks are DIY-friendly, some jobs are best left to the pros. Call a professional if:
- You've tried these fixes and the gutter still leaks.
- The gutters are severely damaged, bent, or pulling away in large sections.
- The fascia board behind the gutter is soft or shows signs of rot.
- You are not comfortable or safe working on a tall ladder.
The average professional gutter repair costs between $150 and $600, depending on the extent of the damage. While it's more than the cost of a tube of sealant, it's a worthwhile investment for complex issues that could cause major damage to your home.
Protect Your Home with Casa
Fixing a leaking gutter is a rewarding project that protects your biggest investment—your home. By following these steps, you can confidently tackle the most common gutter problems and keep your water drainage system working perfectly.
For more easy-to-follow DIY guides, personalized home maintenance reminders, and a direct line to trusted, vetted professionals for the jobs you can't handle alone, download the Casa app today. Casa is your all-in-one partner for home care, empowering you to manage and maintain your home with ease. Stop small problems before they become big ones, with Casa in your corner.


