The good news is that you don't have to live with it or immediately call in a professional. Fixing a loose carpet edge is a very manageable DIY project for most homeowners. With a little bit of investigation and the right tools, you can secure those edges and restore the seamless, safe finish to your floors.
In this guide, we'll walk you through everything you need to know, from identifying your carpet type to the specific techniques for tucking, stretching, or gluing it back into place. Let's get that carpet looking great again!
Why You Shouldn't Ignore a Loose Carpet Edge
It's tempting to just push that lifting edge back down and hope for the best, but ignoring the problem can lead to bigger issues down the line. Here’s why it’s worth fixing sooner rather than later:
- Safety: This is the biggest concern. A loose carpet edge, especially in a high-traffic area or doorway, is a serious tripping hazard. According to the CDC, falls are a leading cause of injury at home, and a simple carpet fix can help make your space safer for everyone.
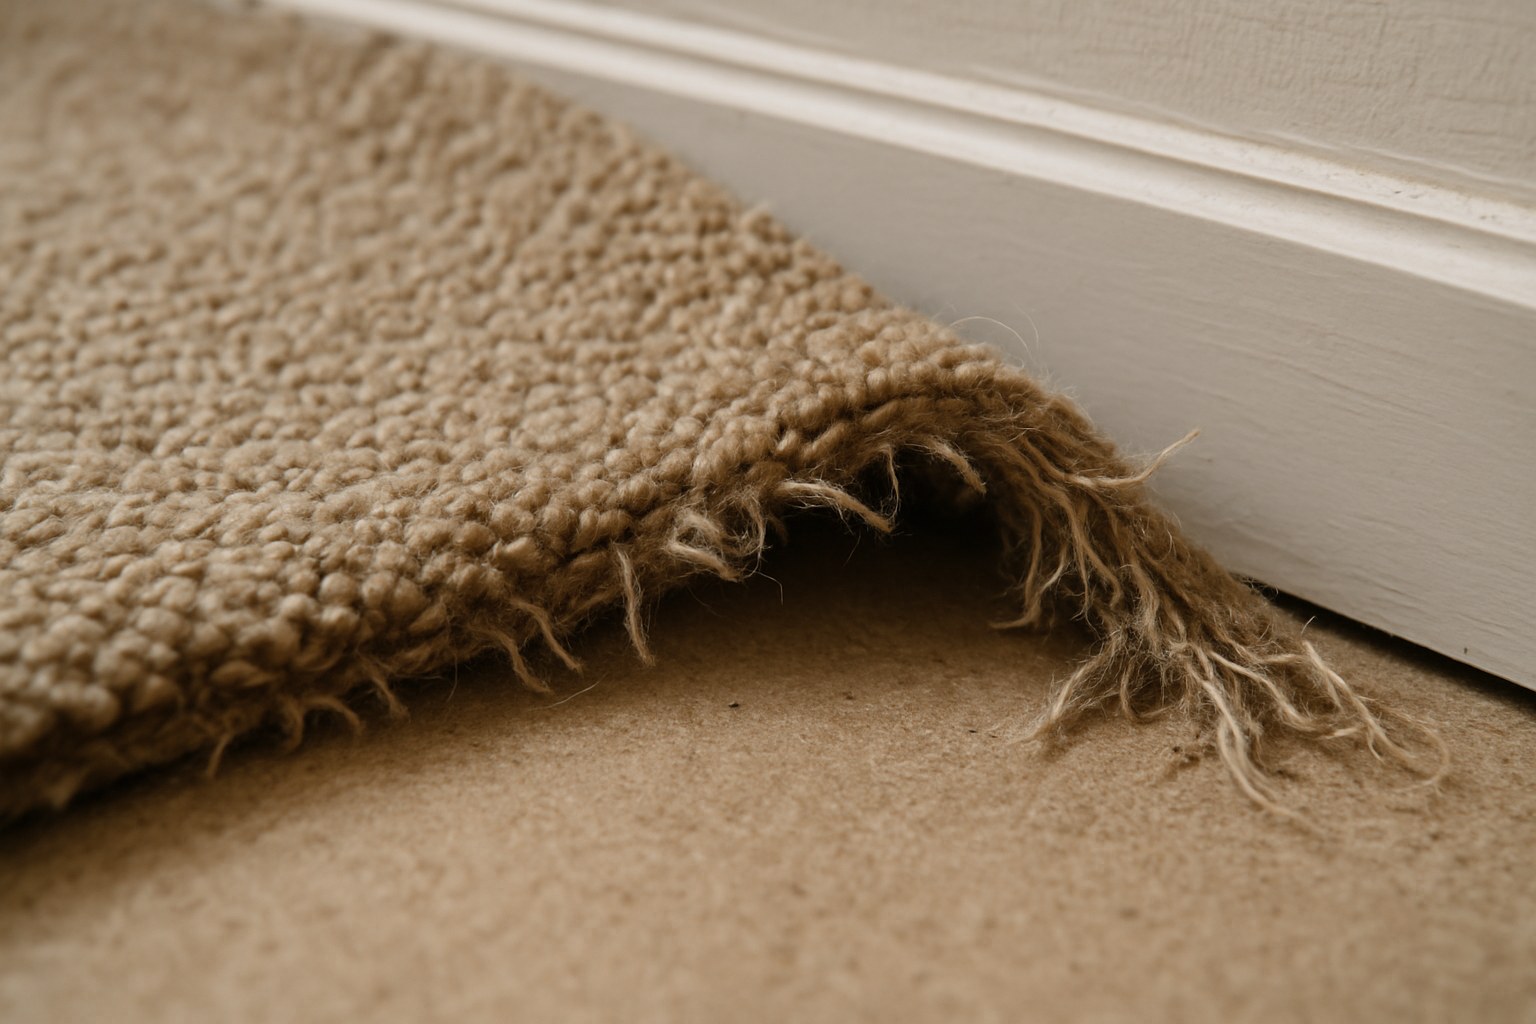
- Prevents Further Damage: Once an edge starts to lift, it's exposed to more wear and tear. The backing can delaminate, the fibers can fray and unravel, and the problem can spread, causing larger ripples or bubbles in the middle of the room. A small repair now can prevent a costly replacement later.
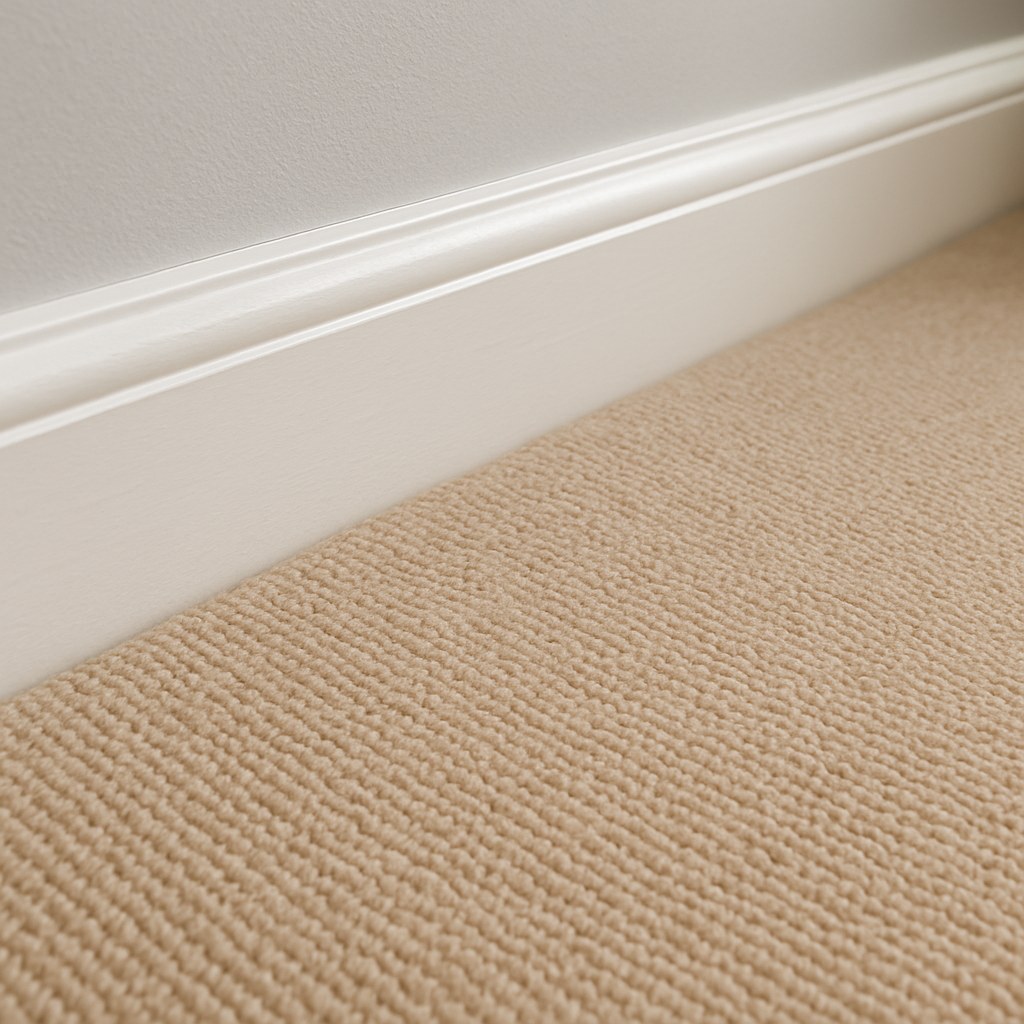
- Maintains Your Home's Appearance: Let’s face it, a frayed carpet edge just doesn't look good. It can make a well-maintained room look messy and neglected. Securing the edge restores that clean, finished look along your baseboards and doorways.
Step 1: Your Initial Inspection
Before you can fix the problem, you need to play detective. How your carpet was installed will determine the right method for repair. Most residential carpet is installed in one of two ways: stretched over tack strips or glued directly to the subfloor.
Put on a pair of work gloves to protect your hands from sharp tack strips or staples, get down on the floor, and gently lift the loose edge.
- Is it stretch-installed? If you see a narrow wooden strip lined with sharp, angled pins running along the wall, your carpet is stretch-installed. This is the most common method for residential homes. The tack strips grip the back of the carpet, holding it in place under tension.
- Is it glued down? If you see patches of old, dried adhesive on the subfloor and the carpet backing feels stiff, it's a glue-down installation. This is more common in commercial spaces or on concrete subfloors like in a basement.
- Is it loose-lay? If there are no tack strips and no signs of glue, it might be a loose-lay carpet or area rug. These are simply held in place by their own weight and friction, often with tape at the edges.
Once you’ve figured out your installation type, you’re ready to gather your tools and get to work.
Method 1: How to Fix Stretch-Installed Carpet Edges
This is the most common scenario you'll encounter. The fix usually involves checking the tack strips and then re-stretching the carpet to hook it back on.
What You'll Need:
- Work gloves and safety glasses
- Pry bar and hammer (if replacing tack strips)
- Carpet knee kicker
- Stair tool or a sturdy putty knife
- Utility knife
Assess the Tack Strip Condition
First, take a closer look at the tack strip under the loose edge. Is it in good shape?
- Check for Damage: Look for broken wood, rusty or missing nails.
- Check for Looseness: Use a flathead screwdriver to gently press on the strip. If it wiggles or moves, it’s not secure enough to hold the carpet.
- Look for Moisture: Check the subfloor for any dark stains, which could indicate a moisture issue that caused the tacks to rust and fail. If you see signs of water damage, you’ll need to address that leak before fixing the carpet.
If the tack strip is loose or damaged, you’ll need to replace it. If it’s in good condition, you can skip to the next step.
How to Replace Damaged Tack Strips
- Safety First: Put on your safety glasses. Removing old strips can send nails flying.
- Pry It Up: Slide a pry bar under the damaged tack strip and carefully lift it off the subfloor.
- Clean the Area: Vacuum up any dust, wood splinters, or debris.
- Install the New Strip: Position the new tack strip about ½ inch away from the baseboard. Crucially, the angled nails must face the wall. This is what allows the strip to grip the carpet when it's stretched over it.
- Secure It: Use a hammer to drive the nails on the tack strip firmly into the subfloor. Ensure it’s secure and doesn’t rock.
Securing the Carpet Edge
Now that your tack strips are solid, it's time to get the carpet back on them. The technique varies slightly depending on where the loose edge is located.
For Edges Along a Wall
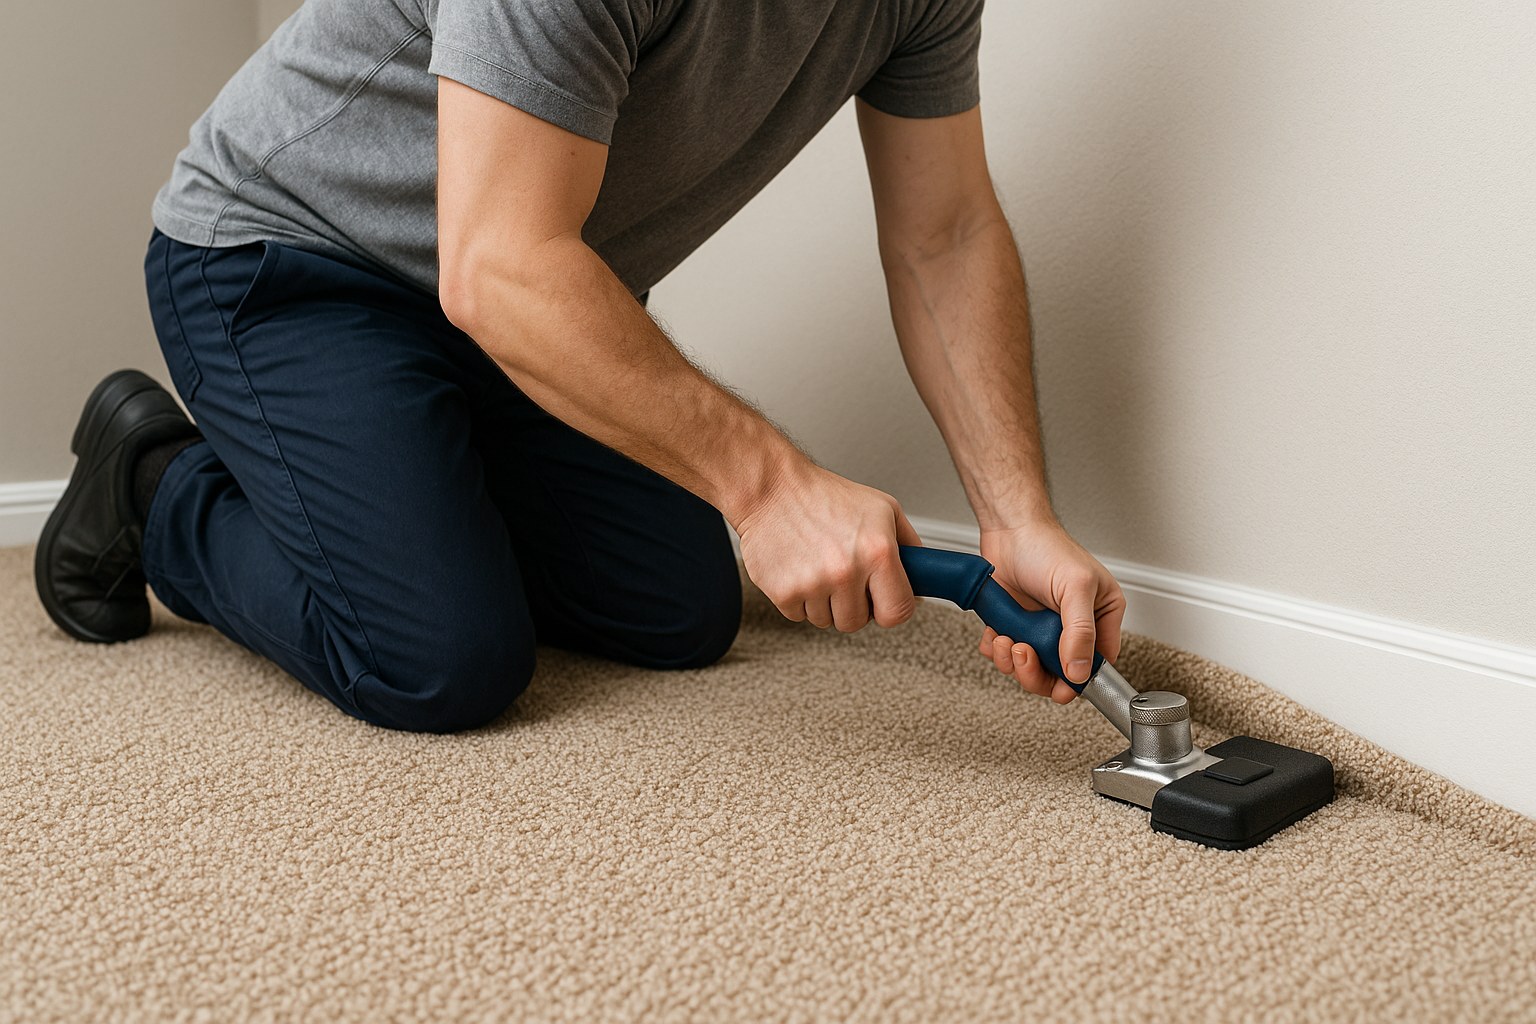
This is where a tool called a carpet knee kicker comes in. It’s a special tool that lets you stretch the carpet just enough to re-engage it with the tack strip. You can rent one from most home improvement stores.
- Position the Knee Kicker: Place the head of the knee kicker (the part with teeth) onto the carpet about 4 to 6 inches away from the wall.
- Stretch the Carpet: Firmly strike the padded end of the tool with your knee. This will stretch the carpet forward and over the tack strip. You should feel the carpet’s backing catch on the angled pins.
- Tuck the Edge: Use a putty knife or a stair tool to press the edge of the carpet down into the gap between the tack strip and the baseboard. This creates a clean, professional-looking finish.
- Trim if Needed: If you have a raw, cut edge with excess material, carefully trim it with a sharp utility knife after tucking, using the baseboard as a guide.
For Edges at a Doorway
When carpet meets another type of flooring like tile or wood, a transition strip is essential for a clean, durable edge.
- Measure and Cut: Use a tape measure to find the width of the doorway. Cut a new metal or wood transition strip to that length using a miter saw or hacksaw.
- Position the Strip: Center the transition strip over the seam where the carpet meets the other flooring. The edge of the strip should cover the raw carpet edge.
- Secure the Strip: Drill pilot holes through the strip and into the subfloor. Then, drive in the provided screws to fasten it securely.
- Tuck the Carpet: Use a putty knife to tuck the carpet edge neatly under the lip of the transition strip. Give it a gentle tug to make sure it's secure.
Method 2: How to Re-Glue a Carpet Edge
If your inspection revealed that your carpet is glued down, the fix is much simpler. You just need the right kind of adhesive.
What You'll Need:
- Shop vacuum
- Carpet adhesive (look for a product in a squeeze bottle for easy application)
- A heavy object, like a stack of books or a brick wrapped in plastic
Steps to Re-Glue the Edge:
- Clean the Subfloor: Lift the loose edge and thoroughly vacuum any dust and debris from the subfloor. The adhesive needs a clean surface to bond properly.
- Apply Adhesive: Squeeze a thin, continuous bead of carpet adhesive onto the subfloor, about an inch from where the edge of the carpet will sit.
- Press It Down: Firmly press the carpet edge down into the adhesive.
- Add Weight: Place a heavy object on top of the repaired section. This ensures strong contact while the glue cures. Leave it in place for at least an hour, or as long as the adhesive manufacturer recommends.
- Finish Up: Once cured, remove the weight and use your fingers to brush the carpet fibers upright to blend the repaired area.
Method 3: How to Secure a Loose-Lay Carpet or Rug
For area rugs or carpet tiles that are simply laid on the floor, the best solution is high-quality, double-sided carpet tape.
What You'll Need:
- Vacuum or broom
- Double-sided carpet tape
Steps to Secure with Tape:
- Clean the Floor: Lift the edge and thoroughly clean and dry the subfloor underneath. The tape won’t stick to a dusty or dirty surface.
- Apply the Tape: Unroll the double-sided carpet tape and apply it to the subfloor along the loose edge. Press it down firmly.
- Expose the Adhesive: Peel off the paper backing from the top of the tape.
- Secure the Carpet: Carefully press the carpet edge down onto the exposed tape. Smooth it out from the center toward the edge to prevent any bubbles or wrinkles.
When to Call a Professional
While most minor loose edges are perfect for a DIY fix, some situations are best left to a professional flooring specialist. Consider calling for help if:
- The carpet is loose or rippled across a large area.
- You suspect significant subfloor damage from moisture.
- You've tried the DIY methods, but the carpet won't stay put.
- You don't feel comfortable using a tool like a knee kicker.
The cost to have a professional restretch a room can range from $100 to $250, depending on the size and complexity of the job. While it's more expensive than a DIY fix, it's a worthwhile investment for a perfect, long-lasting repair.
Keep Your Home in Top Shape with Casa
Fixing a loose carpet edge is a satisfying project that makes your home safer and look better. By correctly identifying your carpet type and using the right technique, you can achieve a professional-quality result and extend the life of your flooring.
For more easy-to-follow home maintenance guides, expert advice, and a simple way to connect with trusted pros for the jobs you can't handle yourself, download the Casa app today! We're here to help you manage and maintain your home with confidence.


