The good news is that you don’t have to live with it or immediately call a professional. In many cases, fixing a loose or sagging cabinet is a straightforward DIY project that you can tackle in an afternoon.
Whether your upper cabinets are pulling away from the wall or your base cabinets are no longer level, we're here to walk you through it. Think of me as your friendly expert on the other end of the line, guiding you step-by-step to get those cabinets stable, level, and looking great again.
Why Do Cabinets Become Loose in the First Place?
Before we grab our tools, it helps to understand what causes this common household problem. Knowing the "why" can help you prevent it from happening again.
- Improper Installation: This is the number one culprit. For wall-mounted cabinets to be secure, their mounting screws must be driven directly into wall studs—the vertical wood beams that frame your walls. If the installer missed the studs and only anchored the cabinet into drywall, it’s only a matter of time before gravity wins.
- Heavy Loads: Your cabinets are workhorses, but they have their limits. Consistently overloading them with heavy dishes, canned goods, or small appliances puts immense strain on the mounting screws and the cabinet structure itself, causing them to loosen over time.
- The House Settling: All homes settle and shift slightly over the years. This natural movement can cause fasteners and screws to gradually work themselves loose.
- Material Fatigue: Over time, the materials of the cabinet itself, especially particleboard, can degrade. The wood around the screw holes can weaken, reducing the screw's ability to hold firm.
Now that we know what we’re up against, let's get ready to fix it.
Gather Your Tools and Materials
Having everything you need on hand will make this job much smoother. You likely have most of these items already.
Tools:
- Drill with Phillips head bit
- 4-foot level
- Stud finder
- Step stool or ladder
- Flashlight
- Adjustable wrench (for base cabinets with legs)
- Rubber mallet (for shimming base cabinets)
- Utility knife
Materials:
- 3-inch #10 wood screws (for wall cabinets)
- 2-inch wood screws (for base cabinets)
- Washers (to fit the #10 screws)
- Wood shims (thin, wedge-shaped pieces of wood)
Safety First: When working with wall cabinets, it's always best to have a helper. They can help support the cabinet's weight while you work, making the job safer and easier.
Step 1: Assess the Situation
First, we need to figure out exactly what’s going on. Is it a wall cabinet or a base cabinet? How loose is it?
- Empty the Cabinet: Carefully take everything out of the affected cabinet. This removes the weight, making it safer to work on and easier to move.
- Check for Movement: If it's an upper cabinet, get on your step stool. Firmly grip the bottom of the cabinet with both hands and gently try to lift it up and pull it forward. This will give you a feel for how much movement you’re dealing with.
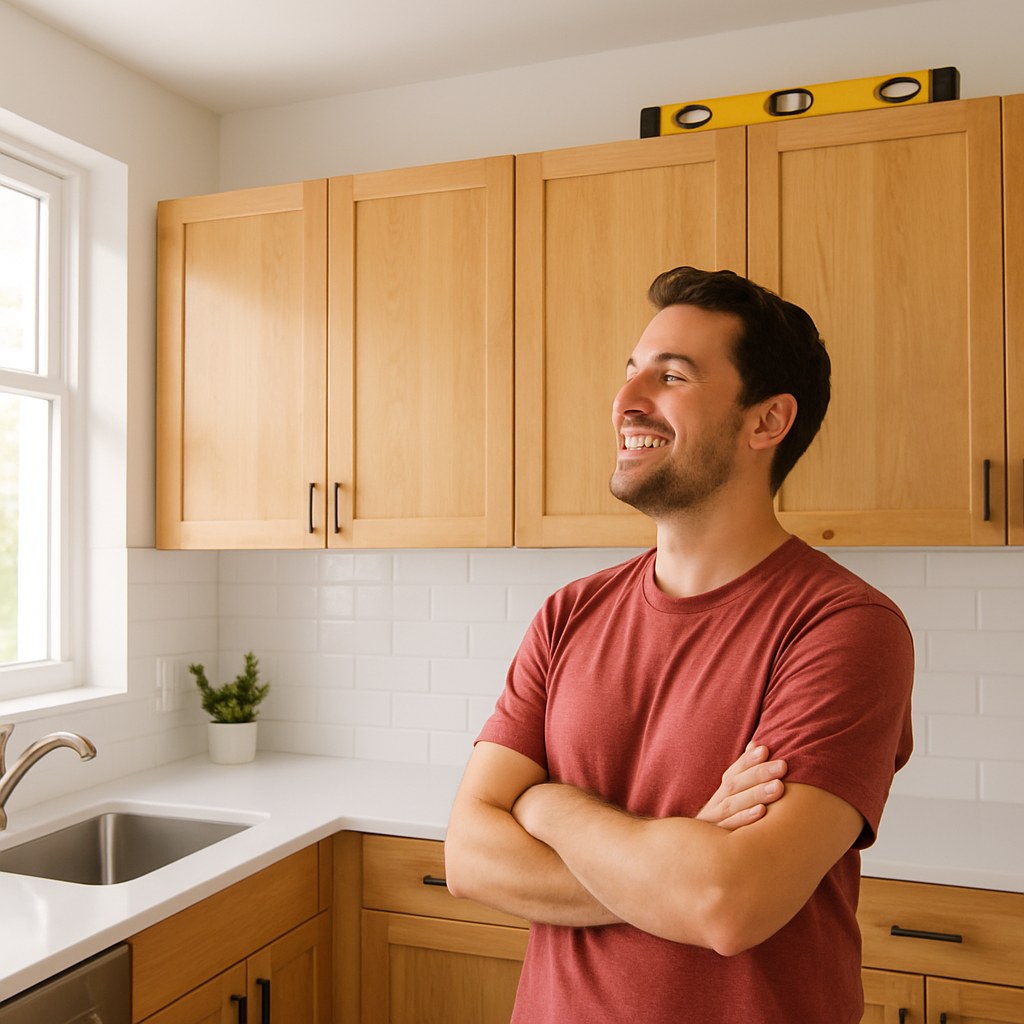
- Use Your Level: Place your 4-foot level against the bottom front edge of the cabinet. Is the bubble centered? If not, you'll know which way it's sagging. Do the same for base cabinets by placing the level on the countertop directly above.
- Look for Gaps: Visually inspect the top, bottom, and sides of the cabinet. Do you see a gap between the cabinet and the wall? This is a clear sign it's pulling away.
Once you’ve done this initial check, you’ll know which type of cabinet you’re working with and can proceed to the correct set of instructions below.
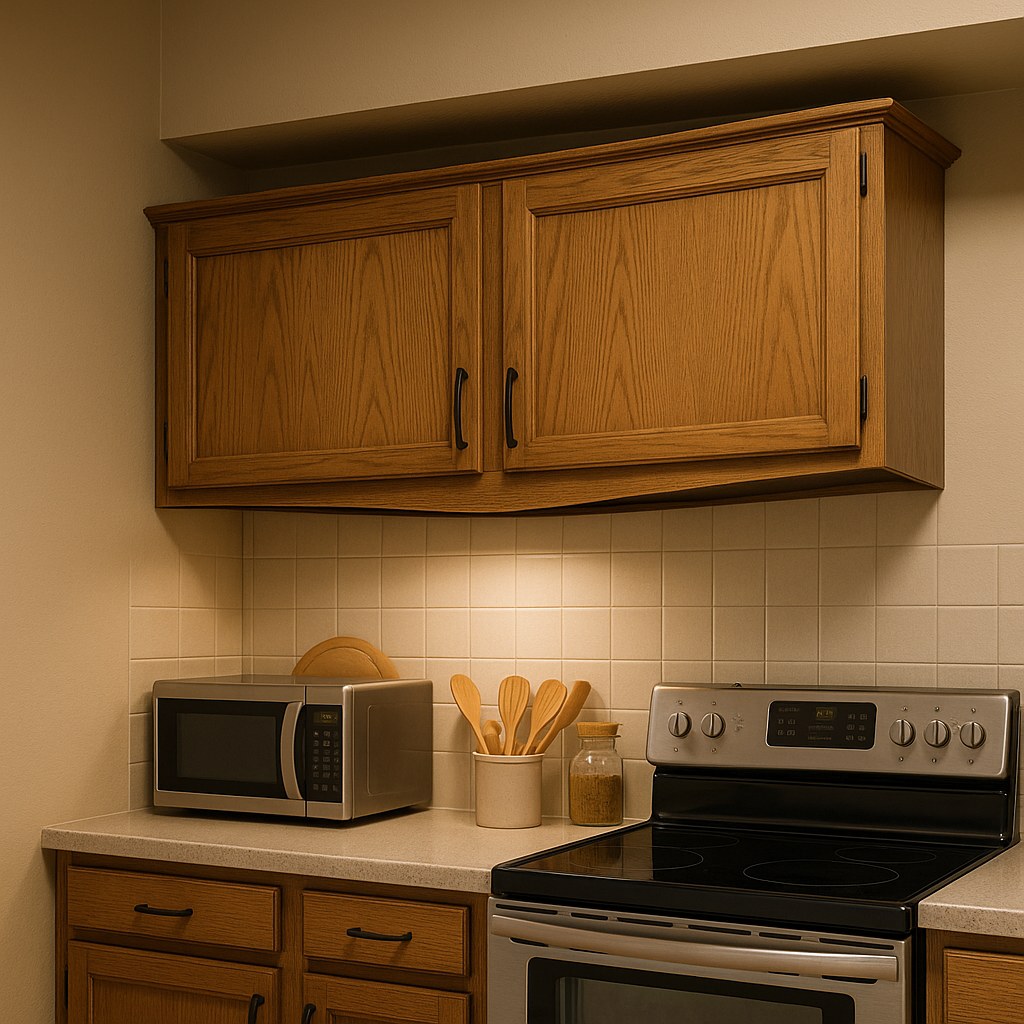
How to Fix a Loose Wall-Mounted Cabinet
Wall cabinets are held up by long screws drilled through a "hanging rail" inside the cabinet and into the wall studs. The problem is almost always related to these screws.
Part A: Inspect the Mounting
- Remove the Doors: To make the cabinet lighter and give you better access, remove the cabinet doors. Simply unscrew the hinges from the cabinet frame with your drill or a Phillips screwdriver. Set the doors and screws aside somewhere safe.
- Find the Mounting Screws: Look inside the cabinet along the top back edge. You should see a row of screw heads. These are the mounting screws holding your cabinet to the wall.
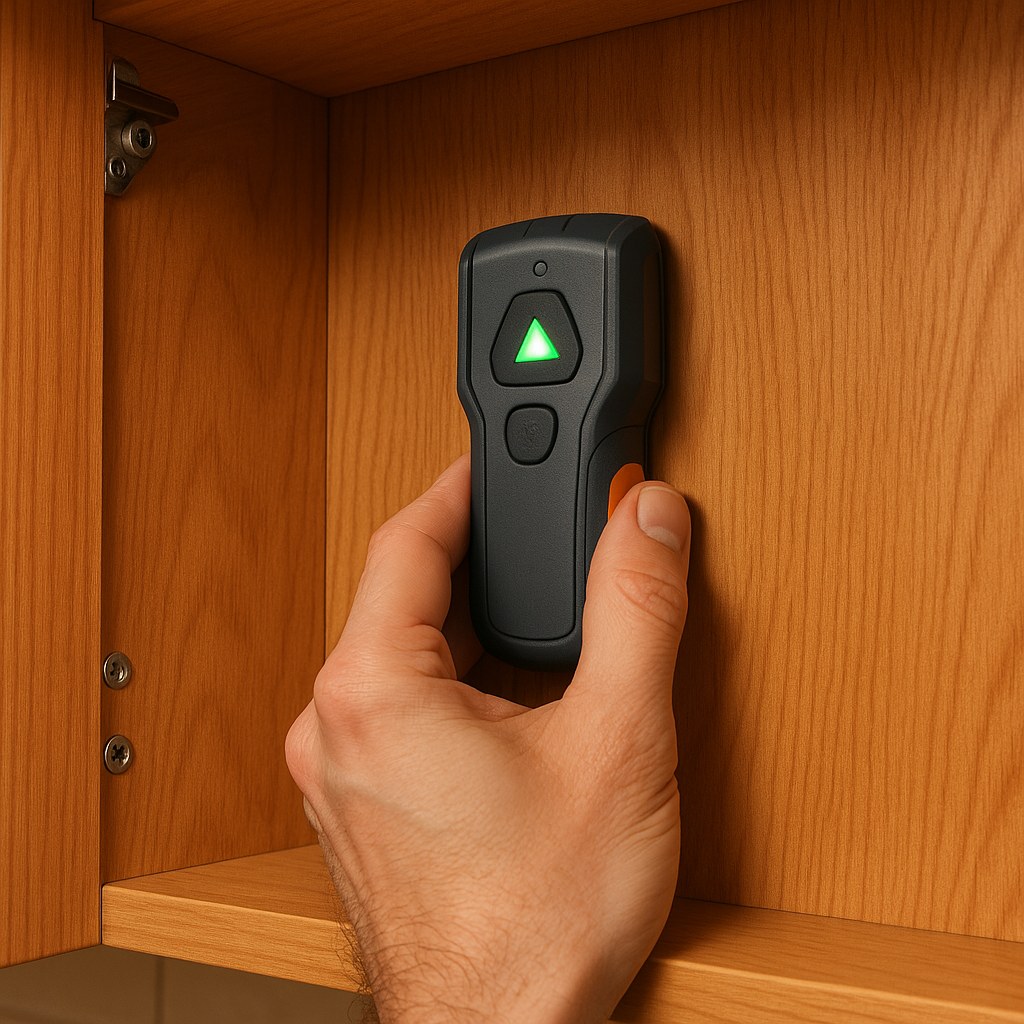
- Locate the Studs: This is the most important step. Grab your stud finder. Run it horizontally across the wall just above where the screws are. Use a pencil to mark the location of each stud.
- Compare Screws to Studs: Now, check if the existing mounting screws line up with the stud locations you just marked. This will tell you what to do next.
Part B: Secure the Cabinet
Scenario 1: The screws are already in studs.
If the screws are in the studs but the cabinet is still loose, they’ve likely just loosened over time. This is a relatively easy fix.
- Get Your Helper: Ask your helper to push the cabinet flush against the wall and support the bottom, lifting it slightly until it's level.
- Tighten and Reinforce: While your helper holds it in place, use your drill to tighten all the existing mounting screws. For extra security, drive a new 3-inch #10 wood screw (with a washer) into each stud where there's a gap of more than 16 inches between existing screws. Don't overtighten, just make them snug.
- Check for Level: Place your level on the bottom edge to confirm it's straight. If one side is low, slightly loosen the screws on that side, have your helper lift it into position, and then retighten the screws.
- Re-install the Doors: Screw the doors back on, and you’re done! Your cabinet should now be rock solid.
Scenario 2: The screws are NOT in studs.
If you discovered that the original installer missed the studs entirely, this is a more serious issue. The cabinet needs to be completely re-anchored.
While it's technically a DIY job, it involves completely detaching a heavy, awkward cabinet, holding it in place while drilling new pilot holes, and re-hanging it perfectly level. This can be tricky and risky without experience.
Our Recommendation: For this scenario, we strongly advise calling a professional handyman or carpenter. They have the tools, experience, and an extra set of hands to re-hang the cabinet safely and securely. It's a small investment for peace of mind.
How to Fix a Sagging Base Cabinet
Base cabinets rest on the floor, so they won't fall off the wall, but they can become unlevel, causing issues with countertops, drawers, and doors. The fix depends on the type of support they have.
Part A: Inspect the Supports
- Check for Legs: Open the cabinet doors and use a flashlight to look underneath. Some modern cabinets (especially from places like IKEA) have adjustable plastic or metal legs.
- Look for a Toe-Kick: If you don't see legs, you likely have a traditional toe-kick—a recessed base. The cabinet is resting either directly on the floor or on wood shims.
- Use Your Level: Place your 4-foot level on the countertop above the cabinet. Note which way it's sloping.
Part B: Level the Cabinet
Scenario 1: Your cabinet has adjustable legs.
This is the easiest fix of all!
- Adjust the Legs: The legs can be twisted to raise or lower each corner of the cabinet. You may need an adjustable wrench to turn them. Turn a leg clockwise to raise that corner and counterclockwise to lower it.
- Level as You Go: Make small adjustments, checking the level on the countertop after each one. You’ll want to check it both front-to-back and side-to-side.
- Lock it In: Continue until the bubble is perfectly centered. If the legs have locking nuts, tighten them to secure the legs in their new position.
Scenario 2: Your cabinet needs shims.
If there are no adjustable legs, you'll use thin wood shims to level the cabinet from the bottom.
- Find the Low Spot: Use your level on the countertop to identify the lowest corner.
- Insert the Shims: Gently tap wood shims into the gap between the floor and the cabinet base at the low corner. Use a rubber mallet for a little extra persuasion. Add shims until the cabinet feels solid and the level on the countertop reads perfectly.
- Trim the Excess: Once you're satisfied, score the excess part of the shim sticking out with a utility knife, and it should snap off cleanly.
- Secure it to the Wall: To prevent future sagging, drive a 2-inch wood screw through the back panel of the cabinet into a wall stud. This anchors the base cabinet and stops it from shifting.
When to Call a Professional
While most cabinet issues are fixable, some situations are best left to the pros. According to Angi, professional cabinet repair can range from $150 to $600 depending on the complexity. It's worth the cost if you encounter:
- Re-anchoring a heavy wall cabinet.
- Water damage: If the wood is soft, swollen, or moldy, the cabinet's structural integrity is compromised and it may need to be replaced.
- Structurally broken cabinets: If the cabinet box itself is cracked or falling apart, simple tightening won't solve the problem.
Your Cabinets Are Secure—Now What?
Congratulations! By following these steps, you’ve secured your cabinets, protected your dinnerware, and made your kitchen a safer place. It’s a satisfying job that makes a huge difference in your home.
Feeling empowered? Homeownership is full of moments like these, and you don’t have to face them alone. For your next project, whether it’s a simple DIY fix or a job that needs a professional touch, download the Casa app. We provide clear, step-by-step guides for hundreds of home repairs and can connect you with vetted, local pros when you need one. Keep your home running smoothly with Casa in your corner.


