The good news is that loose patio pavers are a common issue, and fixing them is a very manageable DIY project. You don't need to live with a wobbly, uneven patio. With a little bit of time and the right technique, you can restore your patio to its former glory.
I'm here to walk you through it, just like I would over the phone. We’ll figure out why your pavers are loose and then go step-by-step to get them secure and level again. Let’s get that patio back in perfect shape!
Why Do Patio Pavers Become Loose in the First Place?
Before we jump into the fix, it helps to understand what causes pavers to shift. It’s rarely the pavers themselves that are the problem; it’s almost always an issue with what’s underneath or around them.
Here are the three most common culprits:
- Compromised Edge Restraints: Your patio should have a sturdy border, usually made of plastic, metal, or concrete, that holds everything in place. If this edge restraint breaks, shifts, or was never installed correctly, the pavers along the perimeter can start to spread apart, creating gaps and causing looseness.
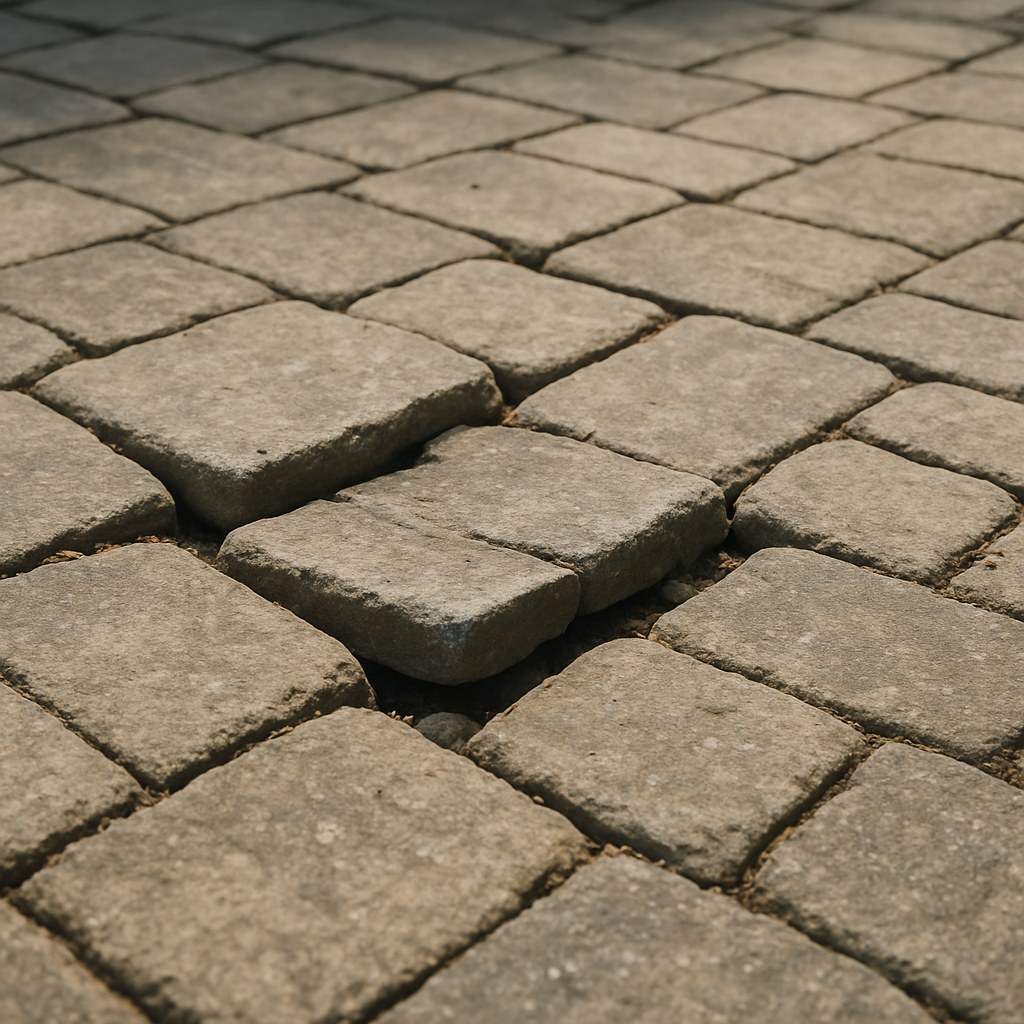
- Base Failure and Poor Drainage: A paver patio sits on a layered foundation: a compacted gravel sub-base and a layer of bedding sand. If water gets under the pavers and can’t drain away properly, it can wash away the bedding sand. This creates empty pockets, causing the pavers above to sink and wobble. This is often visible as pooling water after it rains.
- Natural Settling: Over years, the ground underneath your patio can settle. If the base wasn't compacted thoroughly during installation, this process can happen faster and more unevenly, leading to low spots and loose pavers.
By identifying the root cause, you can ensure your repair is a long-term solution, not just a temporary patch.
Your Step by Step Guide to Fixing Loose Pavers
Ready to get your hands dirty? We'll start by figuring out the scale of the problem and then dive into the repair.
Step 1: Inspect and Diagnose the Problem Area
First, we need to play detective. Grab some chalk or painter's tape to mark the problem spots.
- Do the Paver Walk: Carefully walk across your entire patio. Step on each paver and feel for any rocking, shifting, or sinking. It’s often more than just the one paver you first noticed.
- Mark the Culprits: Every time you find a loose paver, mark it with your chalk or tape. This gives you a clear visual map of the affected areas.
- Check the Edges: Walk the perimeter of your patio. Look closely at the edge restraints. Are they visible? Have they lifted out of the ground or bowed outwards? A failed edge is a smoking gun for loose pavers nearby.
Once you’re done, take a step back. Are you looking at just a few marked pavers in one spot, or is the problem more widespread? The answer will determine our plan of attack.
Step 2: Remove the Pavers and Prepare the Area
Whether you're fixing one paver or twenty, the process starts the same way: getting the loose ones out of the way.
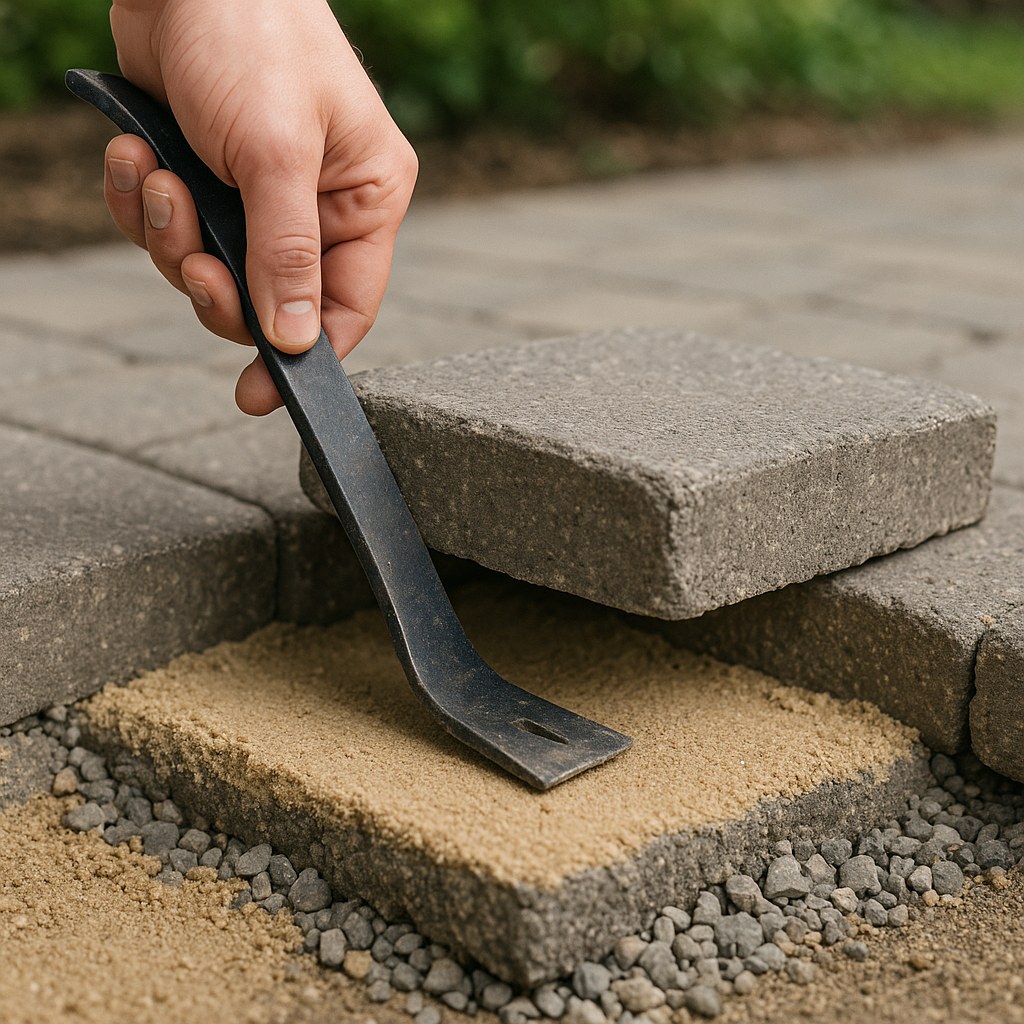
You’ll need a couple of flathead screwdrivers or a pry bar for this.
- Pry with Care: Gently insert your pry bar or screwdrivers into the joints around a loose paver. Wiggle it back and forth to lift the paver straight up and out. Try not to chip the edges.
- Expand the Area: It's a good practice to also remove the pavers directly surrounding the loose ones. This gives you more room to work and helps you blend the repair seamlessly with the rest of the patio.
- Set Pavers Aside: Keep the pavers you remove close by and in the order you removed them. This will make putting the puzzle back together much easier.
Step 3: Fix the Foundation (The Most Important Part!)
This is where the real magic happens. We need to fix what caused the paver to loosen in the first place.
If You Have Failed Edge Restraints:
If you noticed the patio edge was bulging or loose, you need to fix it before re-leveling the pavers.
- For an Isolated Area: Pry up the first couple of rows of pavers next to the failed edge. Remove the old, damaged restraint. Secure a new piece of plastic edge restraint tightly against the remaining pavers, hammering 10-inch landscape stakes every 12 inches.
- For the Entire Patio Edge: If the whole edge is failing, you'll need to remove the entire outer row of pavers. Pull up all the old restraints and install a new, continuous border around the patio, ensuring the corners are tight.
If You Have Drainage or Base Issues:
Once the pavers are out, look at the bedding sand. Is it wet, muddy, or are there visible low spots?
- Remove Old Sand: Scoop out the wet or washed-out bedding sand until you reach the firm gravel sub-base underneath.
- Add New Gravel (If Needed): If you had to dig deep, pour in some new crushed gravel to build the base back up. A good rule of thumb is to fill it to about 2 inches below the final paver height.
- Compact, Compact, Compact: This is crucial. Use a hand tamper (for small areas) or a plate compactor (for large areas) to pack the gravel down until it's solid. A poorly compacted base is guaranteed to sink again.
- Add New Bedding Sand: Spread about 1 inch of fresh bedding sand over the compacted gravel.
- Screed the Sand: Grab a straight 2x4 board and drag it across the sand to create a smooth, level surface. Make sure to maintain a slight slope (about 1/8 inch per foot) away from your house to ensure proper water drainage.
Step 4: Re-Level the Pavers and Lock Them In
Now we put the puzzle back together.
-
Place the Pavers: Carefully place your pavers back onto the freshly screeded sand in their original pattern.
-
Set Them with a Mallet: Use a rubber mallet to gently tap each paver into place. The goal is to make its surface perfectly flush with the surrounding, stable pavers. You can lay your straight 2x4 across the repaired section to check for high or low spots.
-
Fill the Joints: This final step is what locks everything together.
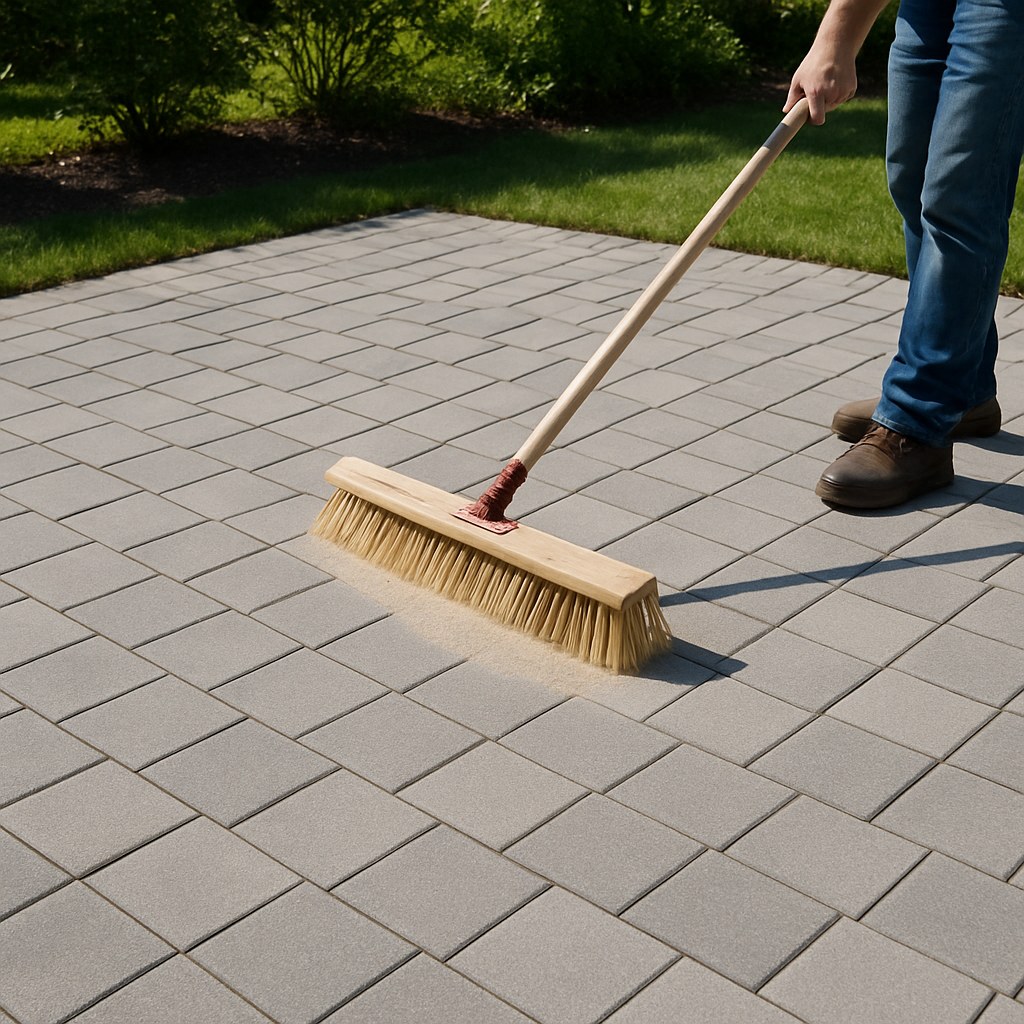
- For Concrete Pavers: The best choice is polymeric sand. It’s a fine sand mixed with a polymer that hardens when you add water. Pour it over the dry pavers and sweep it into the joints with a broom. Go over the area with a plate compactor to vibrate the sand deep into the joints, then sweep in a little more.
- For Natural Stone Pavers: Use stone dust, as polymeric sand can sometimes stain natural stone. Sweep it into the joints until they are full.
-
Activate the Sand: For polymeric sand, use a garden hose on a light mist setting to wet the patio. This activates the polymers. Follow the product's instructions carefully to avoid washing the sand out. For stone dust, a light mist helps it settle.
Finally, block off the repaired area for at least 24 hours to allow the jointing sand to fully cure and harden.
How Much Does It Cost to Fix Loose Pavers?
One of the best parts about this project is how much you can save by doing it yourself.
- DIY Cost: You can expect to spend between $50 - $150 on materials. This includes a bag of gravel, a bag of bedding sand, polymeric sand, and perhaps a new section of edge restraint. You may need to rent a plate compactor for larger jobs (around $50-$80 per day).
- Professional Cost: Hiring a professional landscaper or hardscape contractor to repair a section of a paver patio typically costs between $500 and $1,500, depending on the size of the area and the extent of the underlying damage, according to data from Angi.
Final Thoughts
Fixing loose patio pavers is a project that delivers huge satisfaction. You’re not just making your patio look better; you’re making it safer and extending its life. By taking the time to address the root cause—whether it's the edge, the base, or drainage—you're ensuring your hard work will last for years to come.
Feeling overwhelmed or discovered the problem is bigger than you thought? That's okay, too. For complex drainage issues or full patio rebuilds, sometimes calling a pro is the right move.
And for all your home maintenance needs, from simple DIY guides like this one to finding trusted local contractors, the Casa app has you covered. Download Casa today to manage your home with confidence, knowing expert help is always just a tap away.
Related Reading


