The good news? You don't have to live with it. In most cases, fixing a misaligned drawer is a surprisingly simple DIY project that you can tackle in less than 30 minutes with just a screwdriver. You don’t need to be a cabinet expert to get those clean, even lines back.
Here at Casa, we believe in empowering you to handle these common home fixes yourself. Think of us as your friendly expert on the other end of the line. We’ll walk you through how to diagnose the problem, identify what kind of drawers you have, and make the right adjustments to get everything looking and working like new.
Why Do Drawers Get Misaligned in the First Place?
Before we grab our tools, it helps to understand what causes this common problem. Drawer misalignment usually boils down to one of a few culprits:
- Loose Hardware: This is the most frequent cause. Over time, the constant opening and closing can loosen the screws that hold the drawer slides to the cabinet or the drawer front to the drawer box.
- Overloading: Packing a drawer with heavy items puts a lot of stress on the slides and the drawer box itself, potentially causing them to sag or bend.
- Worn or Damaged Slides: The drawer slides, which are the metal tracks that the drawer runs on, can wear out. The tiny ball bearings can fall out, or the tracks can get bent, preventing the drawer from moving smoothly and sitting level.
- Shifting House or Cabinets: Believe it or not, houses settle over time. This can cause cabinets to become slightly out-of-square, throwing off the alignment of doors and drawers.
- Improper Installation: If the drawers were never installed perfectly level to begin with, the issue might only become more noticeable over time.
Now, let's figure out which one is causing your headache and get it fixed.
Step 1: The Initial Inspection
First, we need to do a little detective work. This initial inspection will tell us whether the problem is with the drawer front itself or with the underlying hardware and slides.
- Empty the Drawer: Remove everything from the drawer so you can move it easily and see what you're working with.
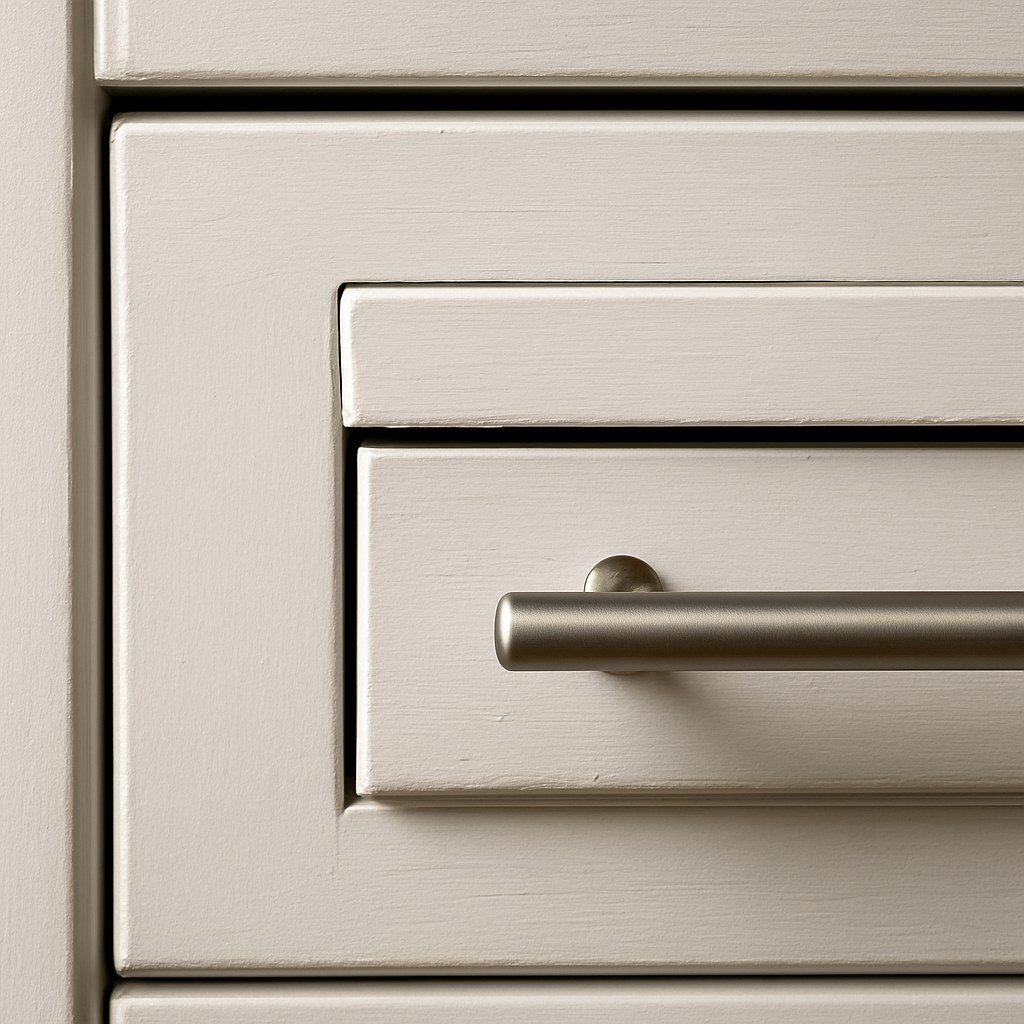
- Observe the Gaps: Close the drawer and take a close look at the gaps around the drawer front. Is the gap wider at the top than the bottom? Or wider on one side than the other?
- Watch it Close: Open the drawer about halfway and then close it slowly. Pay attention to whether one of the top corners hits the cabinet frame before the other. This is a big clue.
- Check for Looseness: With the drawer closed, gently wiggle the drawer front. Does it feel loose and disconnected from the drawer box behind it?
- Remove the Drawer: Now, let's get a look at the slides. Most modern drawers can be removed by pulling them all the way out until they stop, then lifting the front of the drawer up slightly to disengage it from the slides. Some may have small plastic levers on the underside of the drawer on each slide; you'll typically push one up and the other down to release the drawer.
With the drawer completely removed, you can clearly see the two main types of drawer slides: side-mount (tracks attached to the side of the drawer box) and undermount (tracks hidden underneath the drawer box). This distinction is key to our next step.
After your inspection, ask yourself this question: Is the misalignment limited to just the drawer front, while the drawer box itself seems to slide smoothly?
- If YES, the fix is likely a simple adjustment of the drawer front. Proceed to Step 2.
- If NO, and the drawer feels wobbly, sticks, or scrapes on its tracks, the problem is likely with the slides or hardware. Skip ahead to Step 3.
Step 2: Adjusting the Drawer Front
If your drawer box is sliding fine but the front is crooked, you're in luck! This is the most common and easiest problem to fix. The method depends on the type of slides you have.
Fixing Drawers with Undermount Slides
Undermount slides are popular in modern cabinetry because they're hidden from view, giving a clean, high-end look. They also often come with built-in adjustment mechanisms.
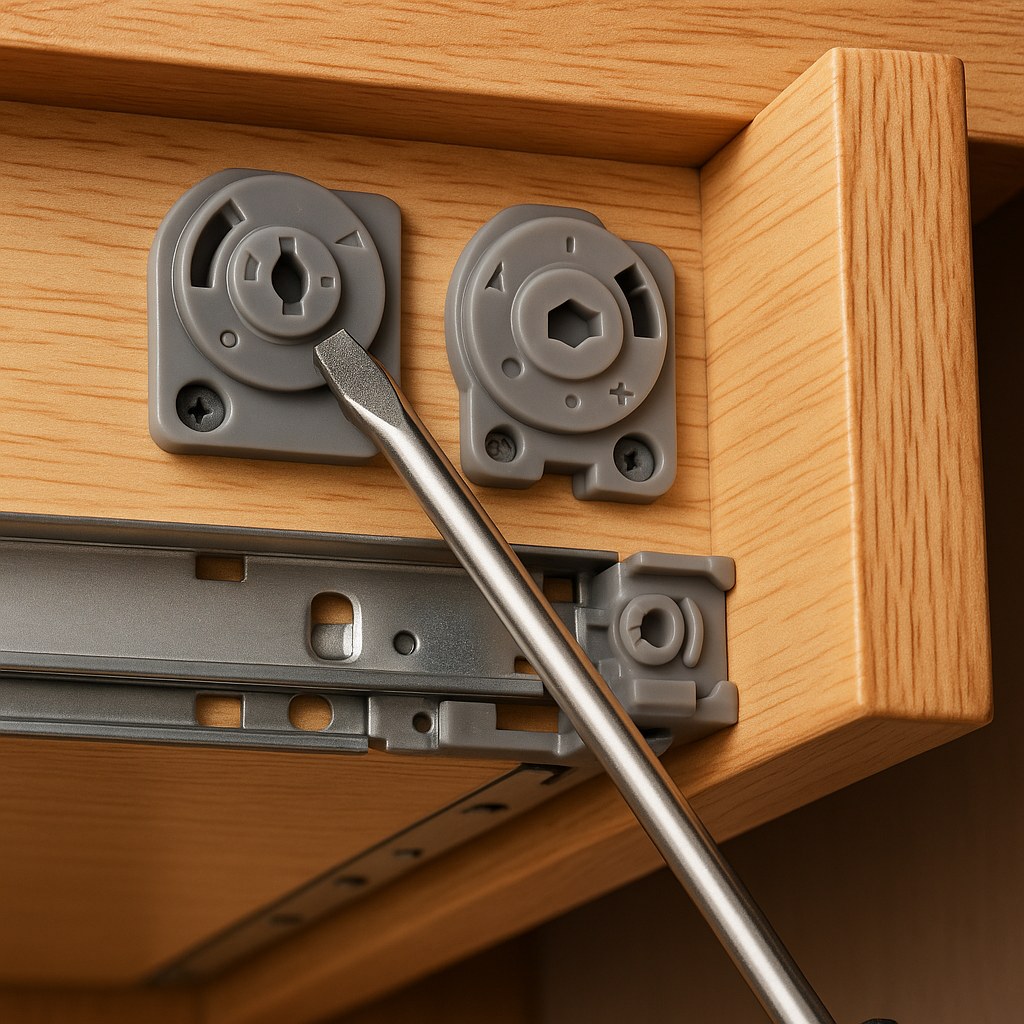
- Look for Adjustment Cams: Flip your removed drawer over. Look at the bottom, near the front corners. You should see locking clips that hold the drawer to the slides. Near these clips, you'll often find small plastic dials or cams, sometimes with little plus/minus or arrow icons. These are your adjustment points.
- Make Adjustments: Use a flathead or Phillips screwdriver to turn these cams.
- Side-to-Side: There's usually a cam or screw that, when turned, will shift the entire drawer front left or right.
- Up-and-Down: A separate cam will raise or lower that specific corner of the drawer front. Turning it clockwise usually raises it, while counter-clockwise lowers it.
- Test and Repeat: Make small adjustments to one cam at a time. Place the drawer back on its slides and close it to check your work. It might take a little trial and error, but by adjusting the cams on both sides, you can dial in the position perfectly until all the gaps are even.
Fixing Drawers with Side-Mount Slides
Side-mount slides are very common and are attached to the sides of the drawer box. Aligning the front on these is a more manual, but still very simple, process.
- Locate the Mounting Screws: Open the drawer and look inside at the back of the drawer front. You will see two or more screw heads. These screws go through the drawer box and into the back of the drawer front, holding the two pieces together.
- Loosen the Screws: Using a Phillips screwdriver, loosen each of these screws by about one full turn. You don't want to remove them completely, just loosen them enough so the drawer front can move independently of the box.
- Reposition the Front: Close the drawer. Because the screws are loose, you can now nudge the drawer front up, down, left, or right. Use your hands to shift it until the gaps around it are perfectly even.
- Tighten and Secure: Once you have it in the perfect position, carefully hold it in place with one hand. With your other hand, open the drawer just enough to get your screwdriver inside and tighten one of the screws. Once one is snug, tighten the rest.
- Final Check: Close the drawer again to make sure it didn't shift while you were tightening. It should now be perfectly aligned.
Step 3: Troubleshooting the Slides and Hardware
If your drawer was rocky or sticking on its tracks, the problem goes beyond the drawer front. It's time to inspect the slides.
- Check for Loose Slides: With the drawer still removed, grab the part of the slide that's attached to the inside of the cabinet. Gently try to wiggle it. Does it move? Do the same for the piece attached to the drawer box.
- Tighten All Screws: If you find any loose sections, use your screwdriver to tighten all the mounting screws on both the cabinet and the drawer. A single loose screw can cause the entire drawer to sag and misalign. If a screw is missing, find a matching one at a hardware store and replace it.
- The Stripped Screw Hole Trick: If you find a screw that just spins in its hole and won't tighten, the wood fibers are stripped. A classic handyman trick is to remove the screw, dip a couple of wooden toothpicks in wood glue, break them off inside the hole, and let the glue dry. You can then drive the screw back in for a tight fit.
- Re-install and Test: Once all the hardware is secure, put the drawer back on its slides. In many cases, this simple tightening is all that's needed to solve the problem.

When to Call a Professional
What if you've tightened everything and the drawer is still crooked, or you noticed a slide is visibly bent or has lost its ball bearings? At this point, you may be dealing with a more significant issue.
- Damaged Slides: If a slide is bent or broken, it will need to be replaced. This is a more involved job that requires purchasing the correct size and type of slide and installing it perfectly level.
- Out-of-Square Cabinet: You can check this yourself. Measure the cabinet opening diagonally from top-left to bottom-right, then measure the opposite diagonal (top-right to bottom-left). If the two measurements differ by more than 1/8 of an inch, your cabinet box is racked, or "out-of-square."
For these more complex issues, it might be time to call in a professional. A handyman can typically replace drawer slides or make adjustments to an out-of-square cabinet. According to Angi, hiring a professional for minor cabinet repairs like this can range from $100 to $250, depending on the complexity of the job.
Get Your Home in Perfect Alignment
A misaligned drawer is a small annoyance that can throw off the whole look of a room. But with a little patience and a screwdriver, it's a problem you can almost always fix yourself. By following these steps, you can restore order to your cabinets and get that satisfying, solid "thunk" of a perfectly closing drawer.
Feeling proud of your work? Don't stop there! For more easy-to-follow DIY guides, home maintenance reminders, and a direct line to trusted local pros for the jobs you can't handle alone, download the Casa app today. We're here to help you love your home, one small fix at a time.


