The good news is that you don’t have to live with a waterlogged outdoor space. Most causes of patio puddles are straightforward to diagnose and can be fixed with a little DIY effort. Whether you have a solid concrete slab or a stylish paver setup, standing water is a sign that something is preventing proper drainage.
In this guide, we'll walk you through the process of figuring out why your patio has puddles and how to fix it. Think of me as your friendly expert on the other end of the line, ready to help you reclaim your outdoor oasis.

Why Does My Patio Have Puddles?
Before we grab our tools, let's understand the common culprits. Water is supposed to flow away from your house and off your patio. When it doesn't, it's usually due to one of these issues:
- Improper Slope: Your patio should have a slight, almost unnoticeable, grade that directs water away from your home. If it's perfectly flat or, worse, slopes inward, water has nowhere to go.
- Low Spots or Depressions: Over time, concrete can sink or pavers can settle, creating shallow bowls where water collects.
- Clogged Drains or Joints: Paver patios rely on the gaps between them to drain water. If those joints are filled with dirt and debris, they act like a solid surface. Similarly, if you have a channel drain, a clog will cause water to back up.
- Misdirected Runoff: Gutters and downspouts are designed to move roof water away from your foundation. If they dump water directly onto your patio, they can easily overwhelm its drainage capacity.
The first step to a dry patio is figuring out what kind of surface you're working with, as the solutions are quite different.
Step 1: Identify Your Patio Surface
Is your patio made of a single, smooth slab of concrete, or is it constructed from individual pavers (like bricks or stones) with visible joints between them?
- If you have a concrete patio, your main concerns will be surface imperfections and runoff from other areas.
- If you have a paver patio, the issue is likely related to the joints between the stones or a dedicated drainage system.
Once you know your patio type, you can jump to the right section below.
Fixing Puddles on a Concrete Patio
A concrete patio is essentially a waterproof surface. For it to drain properly, it must be sloped correctly. Puddles usually mean that slope has been compromised by low spots or is being overwhelmed by an external water source.
Diagnose the Low Spots
The best time to find the problem areas is right after it rains.
- Observe and Mark: Head out to your patio while it's still wet and see exactly where the puddles form.
- Use a Level: Lay a long, straight board or a 4-foot level across a puddle. The gap between the level and the patio surface will show you the depth of the depression.
- Chalk It Up: Use a piece of chalk to draw a circle around the entire perimeter of each puddle. This way, you’ll know exactly where to work once the patio is dry.
If you only have a few small, shallow puddles, you can likely fix them yourself. If your entire patio is a giant, shallow pool, you might have a larger grading issue that requires a professional.
First, Check Your Gutters and Downspouts
Before you start mixing concrete, check for the easiest fix. Are any of your home's downspouts emptying directly onto the patio? If so, you're fighting a losing battle. All that water from your roof is being funneled to the one place you want it to stay dry.
How to Redirect a Downspout:
This is a simple, 20-minute fix that can make a huge difference.
- Get an Extension: Purchase a flexible or rigid downspout extension from any hardware store. They are inexpensive and designed to slide right over your existing downspout.
- Attach the Extension: Slide the extension onto the end of the downspout.
- Direct the Water: Point the extension away from the patio and your home’s foundation. Aim for a lawn or garden area at least six feet away that can absorb the water.
- Secure It: Use the built-in clamp or a small screw to secure the extension in place.
- Test It: Run a garden hose in the gutter above to simulate rain and ensure the water now flows where you want it.
If redirecting your downspout solves the problem, you're done! If you still have puddles from rainwater alone, it's time to patch those low spots.
Fill Shallow Depressions in the Concrete
For low spots up to about half an inch deep, a concrete resurfacer is the perfect tool for the job. It’s designed to be applied in thin layers and bonds well to existing concrete.
Tools You'll Need:
- Stiff broom
- Hose and mild soap
- Bucket for mixing
- Concrete resurfacer mix
- Steel trowel
Step-by-Step Patching Process:
- Clean the Area: Sweep the chalk-marked low spots thoroughly with a stiff broom to remove all dirt and debris. Then, scrub the area with a little soap and water and rinse completely. A clean surface is crucial for a strong bond.
- Let It Dry: Allow the surface to dry completely. This may take 30 minutes to an hour, depending on the weather.
- Mix the Resurfacer: In a clean bucket, mix the concrete resurfacer powder with water according to the package directions. Mix only what you can use in about 15-20 minutes, as it sets up quickly. The consistency should be like a thick pancake batter.
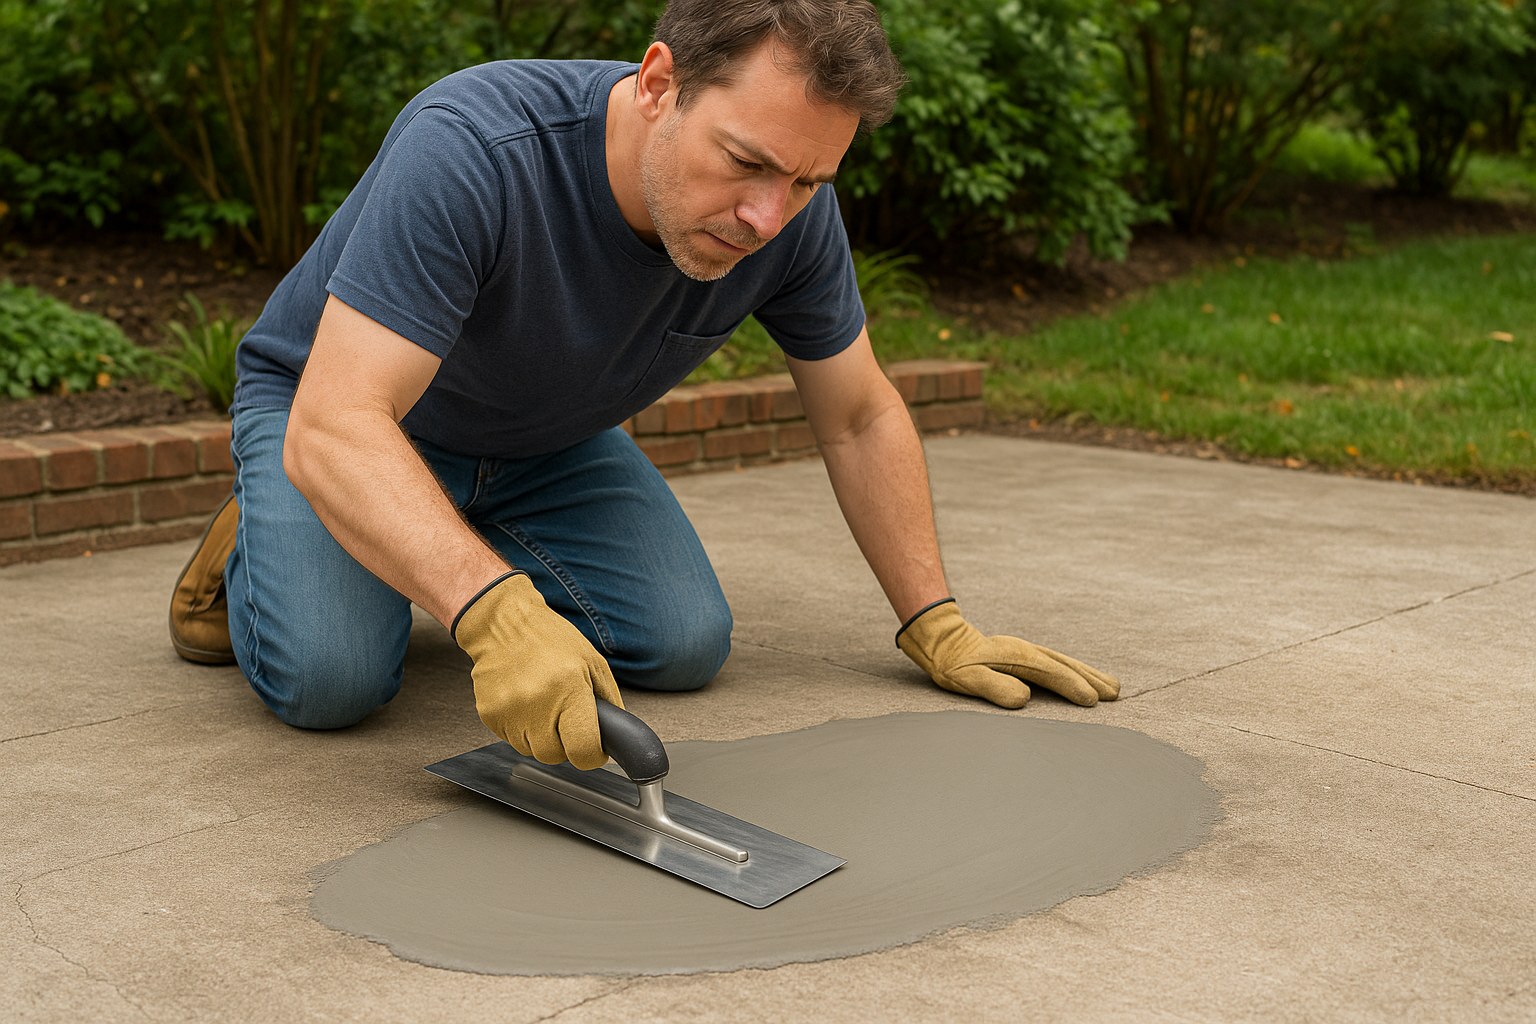
- Pour and Spread: Pour the mixture into the lowest point of the depression.
- Trowel Smooth: Using a steel trowel, spread the material from the center outward, feathering the edges so they are perfectly flush with the surrounding patio surface. The goal is to make the patch invisible and level.
- Repeat as Needed: Repeat this process for all the low spots you marked.
- Cure Properly: Let the patches cure for at least 24 hours before walking on them. Avoid any heavy foot traffic for a few days.
After the next rainfall, check your work. If the patched areas are now puddle-free, congratulations—you've solved the problem!
Fixing Puddles on a Paver Patio
Paver patios are designed to be permeable, meaning water should seep through the sand-filled joints and into the gravel base below. If water is pooling on top, it means that system has failed.
Diagnose the Drainage Issue
- Inspect the Joints: Get down close and look at the gaps between your pavers. Are they packed tight with dirt, mud, moss, or weeds? If so, water can't get through.
- Look for a Drain: Some paver patios have a built-in channel drain or a pop-up emitter at the edge to handle excess water. Check if this drain is clogged with leaves or debris.
- Check for Settling: If a group of pavers has settled lower than the surrounding ones, it can create a dip where water collects. This usually points to a problem with the base underneath.
Clean and Re-Sand the Paver Joints
If your joints are clogged, restoring drainage is a multi-step process that will make your patio look brand new.
Tools You'll Need:
- Stiff broom
- Pressure washer (optional, but helpful)
- Polymeric jointing sand
- Garden hose with a misting nozzle
Step-by-Step Restoration:
- Sweep Clean: Give the entire patio a thorough sweep to remove all loose leaves and debris.
- Clear the Joints: Use a pressure washer on a low-fan setting to carefully spray out the packed dirt from the joints. Be careful not to dislodge the pavers themselves. If you don't have a pressure washer, a strong jet from a hose nozzle and a utility knife to scrape the joints can also work.
- Let It Dry: The patio and the joints must be completely dry before adding new sand. Wait at least 30-60 minutes on a sunny day.
- Pour the Polymeric Sand: Pour bags of polymeric sand onto the patio surface. This special sand contains polymers that harden when wet, which locks the pavers in place and helps prevent future weed growth.
- Sweep Sand into Joints: Using your stiff broom, sweep the sand back and forth across the patio diagonally. Continue until every joint is completely full.
- Activate the Sand: Lightly mist the entire patio with your garden hose from about three feet up. This gentle watering activates the binding polymers without washing the sand out of the joints.
- Let It Cure: Allow the sand to cure for 24 hours before walking on the patio or exposing it to heavy rain.
Clear a Clogged Patio Drain
If you have a drain channel or pop-up emitter that's clogged, clearing it is usually a quick fix.
- Remove the Grate: Use a flathead screwdriver to pry off the drain grate.
- Put on Gloves: This can be a messy job, so wear rubber gloves.
- Scoop Out Debris: Reach into the drain catch basin and pull out all the leaves, mud, and gunk.
- Use an Auger: If you suspect a deeper clog in the pipe, feed a small drain auger (or snake) into the pipe to break it up.
- Flush It Out: Use a strong stream from a garden hose to flush the drain and pipe for a minute, ensuring water flows freely.
- Replace the Grate: Snap the grate back into place.
When Should You Call a Professional?
While many patio puddle problems are perfect for a DIY weekend, some issues require an expert. It's time to call a landscaper or drainage contractor if:
- Your concrete patio has major sloping issues or widespread cracking and sinking.
- A large section of your paver patio has settled, as this indicates the base needs to be re-graded.
- You've tried all the DIY fixes and the puddles persist.
Hiring a professional to re-grade a patio or install a new drainage system can be an investment. According to HomeAdvisor, re-grading can cost anywhere from $1,000 to over $3,000, depending on the size and complexity of the job. However, it's a permanent solution that protects your home and investment.

Enjoy Your Puddle-Free Patio
Fixing a waterlogged patio not only improves its look and safety but also gives you the satisfaction of solving a problem with your own two hands. By correctly identifying your patio type and following these steps, you can send those pesky puddles packing and get back to enjoying your outdoor space, rain or shine.
For more expert home maintenance guides, personalized reminders, and help connecting with trusted professionals for the bigger jobs, download the Casa app today. We're here to make owning a home easier, one project at a time.


