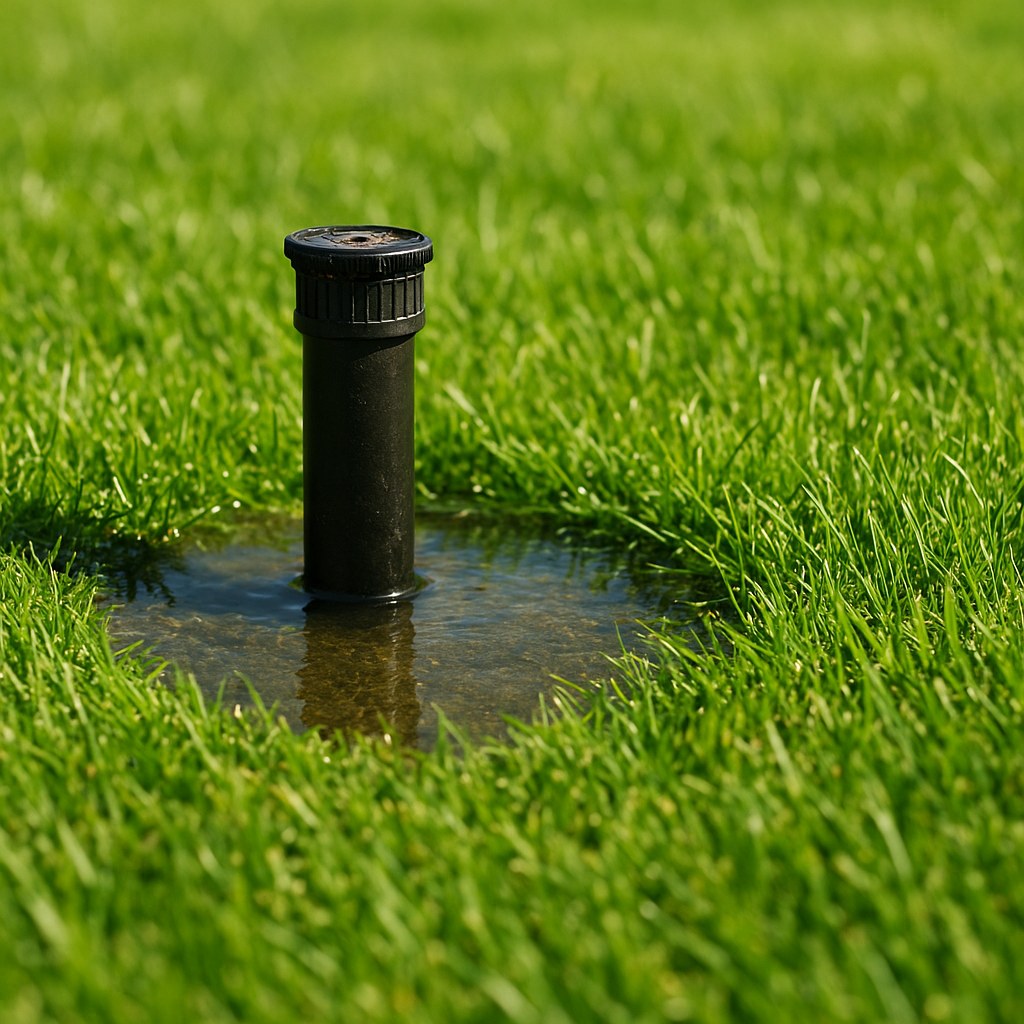
When a sprinkler head gets stuck in the ground, it can’t do its job of distributing water evenly. This not only harms your lawn but also wastes a significant amount of water, which can show up on your next utility bill.
The good news is that you don't need to be an irrigation expert to solve this problem. Most of the time, fixing a sprinkler head that won’t pop up is a straightforward DIY task that you can tackle in under an hour. In this guide, we'll walk you through the process, step by step, just like we were on the phone with you. Let's get that lawn back to its glorious green self!
Why Is My Sprinkler Head Stuck? Common Causes
Before we roll up our sleeves, it helps to understand what might be causing the issue. A sprinkler head that fails to pop up is usually a symptom of one of these four common problems:
- Debris and Obstructions: This is the most frequent cause. Over time, dirt, sand, grass clippings, and lawn overgrowth can pack around the sprinkler head, physically blocking it from rising.
- Low Water Pressure: Your sprinkler system relies on sufficient water pressure to push the heads up from the ground. If the pressure in a specific zone is too low, none of the heads may pop up correctly. This could be due to a partially closed valve, a leak in the line, or a clogged zone valve.
- A Worn-Out or Broken Head: The internal components of a sprinkler head, particularly the spring and riser seal, can wear out over time. A broken spring won’t have the tension to retract the head, and a damaged seal can cause leaks that reduce pressure.
- Damage from Mowers or Foot Traffic: A lawnmower blade hitting the top of a sprinkler head or heavy foot traffic can crack the body or damage the internal mechanism, preventing it from operating correctly.
Now that you have an idea of what we're looking for, let's start troubleshooting.
Step-by-Step Guide to Fixing Your Sprinkler Heads
We'll approach this like a detective, starting with the simplest and most common solutions first.
Step 1: The Initial Test – One Head or the Whole Zone?
Our first clue is to figure out if we’re dealing with a single lazy sprinkler or a whole group of them. This will tell us whether to focus on an individual head or look for a system-wide problem in that zone.
- Go to Your Sprinkler Controller: Find your irrigation controller, usually located in the garage or a utility closet.
- Select the Problem Zone: Identify the zone where the head isn't popping up.
- Run a Manual Cycle: Use the 'manual run' or 'manual start' function to turn on that specific zone for just a few minutes (2-3 minutes is plenty).
- Observe the Scene: Go outside and watch what happens. Is it just the one sprinkler head that's stuck, or are multiple heads in that zone either stuck down or only partially popping up?
- Turn Off the Zone: Head back to the controller and turn the zone off.
If only one sprinkler head is misbehaving, the problem is localized to that specific head. You can jump down to our next section, "Fixing a Single Stuck Sprinkler Head."
If multiple (or all) heads in the zone are failing to pop up, you likely have a water pressure issue affecting the entire zone. Skip ahead to "Troubleshooting Low Water Pressure."
Step 2: Fixing a Single Stuck Sprinkler Head
If your investigation points to a single problem head, let's start with the easiest fix first.
A. Clear Away Debris and Obstructions
Nine times out of ten, a stubborn sprinkler head is simply being held down by compacted dirt or overgrown grass.
- Locate the Head: Find the sprinkler head in your lawn.
- Dig a Little Moat: Using a small garden trowel, carefully dig out a circle of soil and grass about 6 inches in diameter around the sprinkler cap. You want to expose the top of the sprinkler body.
- Clean the Cap: Grab an old toothbrush or a stiff brush and clean off any dirt caked onto the sprinkler cap and around the riser (the part that pops up).
- Pull and Rinse: Gently pull the riser up with your fingers. It might be a little stiff. Once it's fully extended, use a hose to rinse it off, washing away any grit or sand that might be caught in the seal.
- Test It: Let the riser retract back into the body. Go back to your controller and run the zone again.
Did it pop up? If so, great! You’ve fixed it. Just replace the sod you removed, making sure to leave a little space around the head so it doesn’t get blocked again. If it’s still stuck, it’s time to look inside the head itself.
B. Service the Internal Mechanism
If cleaning the outside didn't work, there might be debris trapped inside the head. Let's take it apart and clean it.
- Unscrew the Cap: With the water off, grip the sprinkler body with one hand and use your other hand (or a flathead screwdriver for some models) to unscrew the top cap counter-clockwise.
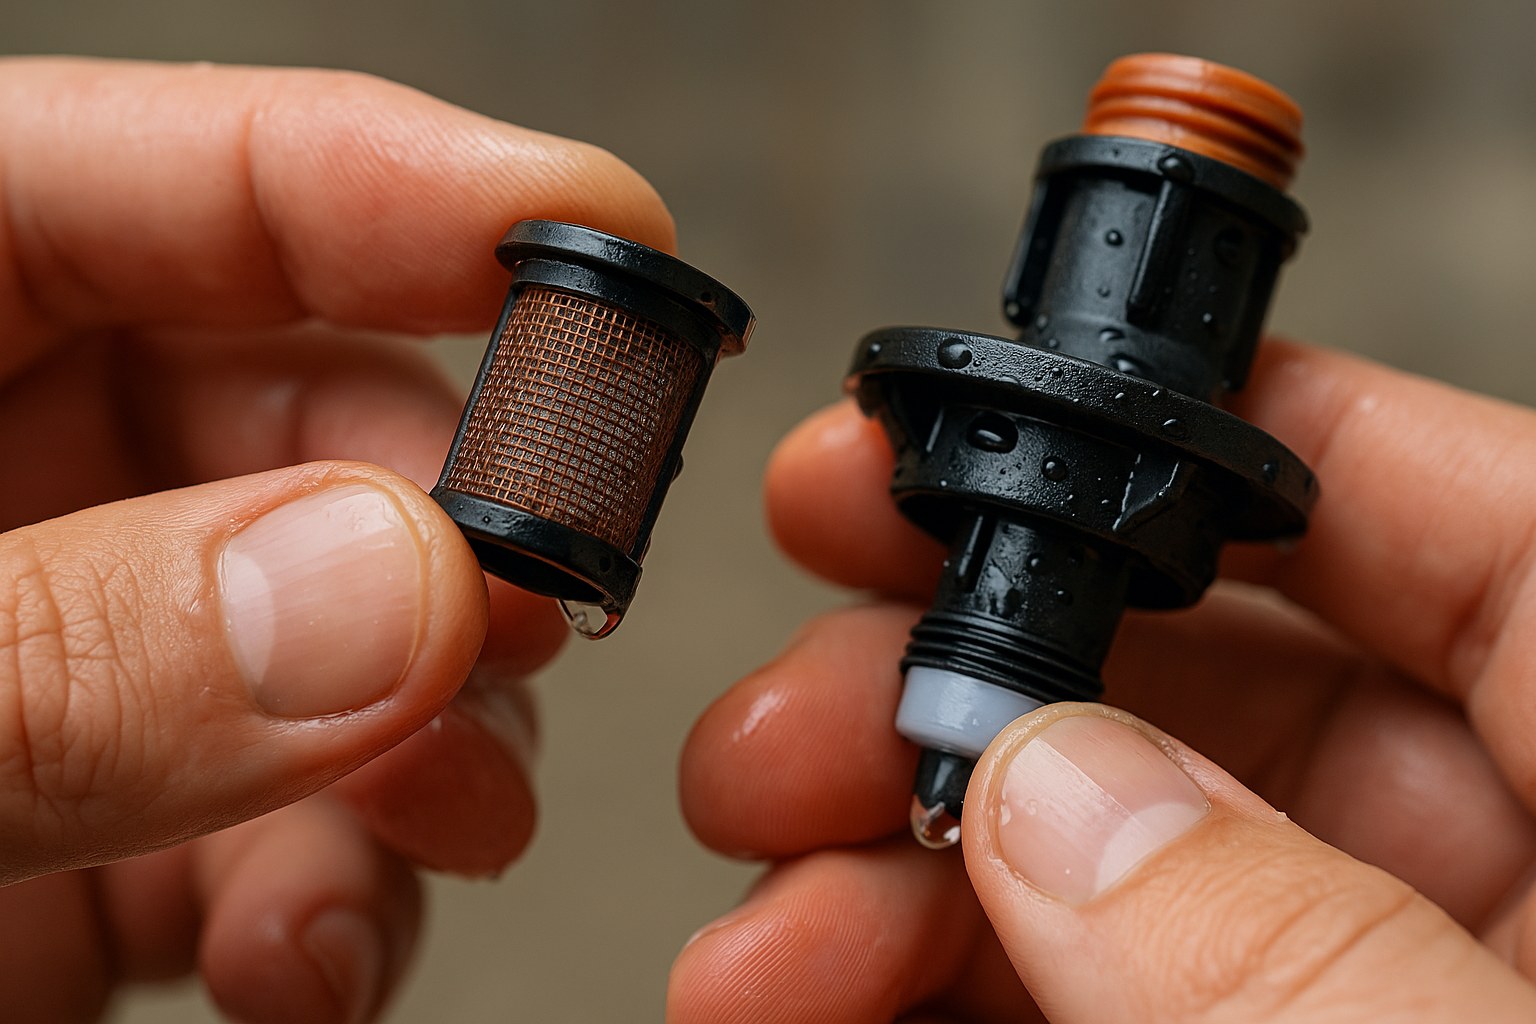
- Remove the Guts: Carefully lift the entire internal assembly out of the sprinkler body. This includes the cap, spring, riser, and filter screen. Keep all the parts together so you don’t lose anything.
- Clean the Filter: At the bottom of the assembly, you'll find a small filter screen. This is designed to catch debris before it clogs the nozzle. Pull it out and rinse it thoroughly under a hose. A clogged filter is a common cause of poor performance.
- Inspect the Parts: While you have it apart, check the spring for heavy rust or breaks. Look at the plastic riser for any cracks. If you see obvious damage, the entire head will need to be replaced (see the next step).
- Flush the Body: Before reassembling, run the sprinkler zone for about 10 seconds. This will send a gush of water through the empty sprinkler body, flushing out any dirt that fell inside. Stand back so you don’t get soaked! Turn the water off.
- Reassemble and Test: Put the clean filter screen back in, place the assembly back into the body, and screw the cap on until it's snug. Run the zone one more time.
If the head now pops up and sprays correctly, you're a DIY champion! If it's still stuck or you noticed broken parts, it's time for a replacement.
C. Replace the Sprinkler Head
Replacing a sprinkler head sounds intimidating, but it's surprisingly simple.
- Buy a Matching Head: Unscrew the old head and take it with you to the hardware store to ensure you get an identical replacement. This guarantees it will fit the threads and have the same spray pattern.
- Dig It Out: Dig around the old sprinkler body until you have enough room to unscrew it from the riser pipe it's connected to.
- Unscrew the Old Head: Using channel-lock pliers or your hands, unscrew the entire head from the pipe fitting in the ground. Be careful not to let dirt fall into the open pipe.
- Screw on the New Head: Screw the new sprinkler head onto the riser pipe. Hand-tight is usually enough, followed by a final quarter-turn with pliers to snug it up.
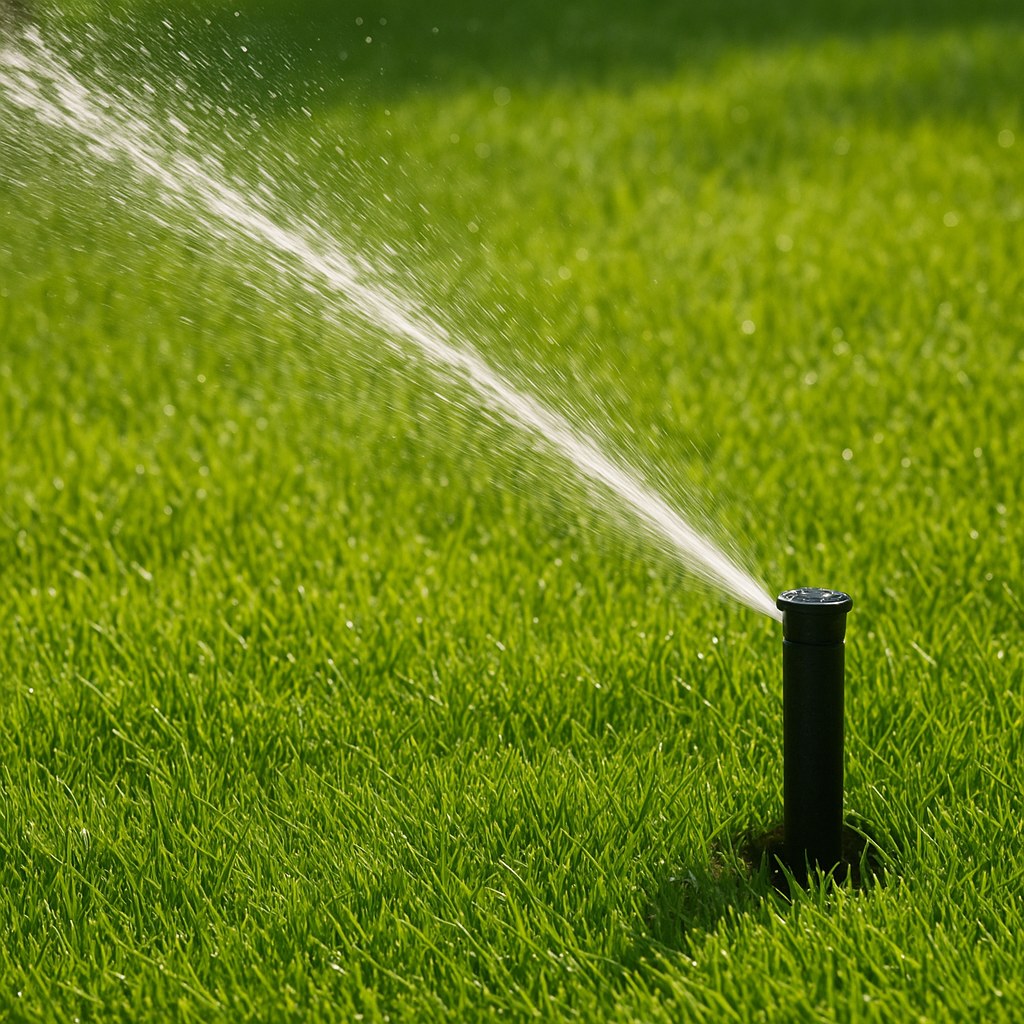
- Test and Backfill: Turn the water on briefly to confirm the new head pops up and sprays correctly. Once you're satisfied, fill the dirt back in around the head and replace the sod.
Step 3: Troubleshooting Low Water Pressure in a Zone
If multiple heads in a zone are failing, the problem isn't the heads themselves—it's the water supply to that zone.
- Check Your Shut-Off Valves: Your irrigation system has a main shut-off valve, often near your water meter. Ensure this valve is turned completely on.
- Inspect the Zone Valve: Each zone is controlled by a valve, usually located in a green plastic box buried in the ground. Open the box and find the valve for the problem zone. Look for a flow control screw or handle on top. Turn it counter-clockwise one full turn to make sure it's fully open.
- Look for Leaks: With the zone running, walk the line between the sprinkler heads. Look for unusually soggy soil, pooling water, or geysers. A leak in the pipe will cause a major drop in pressure, preventing heads from popping up. A leak will require digging up and repairing the pipe.
- Clean the Solenoid Filter: The zone valve is opened by an electrical component called a solenoid. Unscrew the solenoid (it's the cylindrical part with wires) from the valve. There may be a small filter or screen inside that can get clogged. Rinse it clean and reinstall it.
After trying these steps, run the zone again. If the heads pop up, you’ve solved the pressure problem! If they still won’t rise, you may have a failed zone valve or a more complex leak, and it might be time to call a professional.
Cost of Fixing a Sprinkler Head
One of the best parts of this DIY project is the savings.
- DIY Cost: A replacement pop-up sprinkler head typically costs between $5 and $20. The tools required are basic gardening tools you likely already own.
- Professional Cost: According to Angi, hiring a landscape or irrigation professional can cost between $50 to $100 per hour, with a typical service call fee starting around $75 to $150.
Fixing it yourself can easily save you over $100.
Take Control of Your Lawn Care
A sprinkler head that won’t pop up is more than just an annoyance—it's a threat to the health and beauty of your lawn. By following these simple diagnostic steps, you can pinpoint the cause and, in most cases, fix it yourself in under an hour.
Feeling empowered? This is just one of the many home maintenance tasks you can conquer. For more easy-to-follow guides, personalized maintenance reminders, and a direct connection to vetted professionals for those bigger jobs, download the Casa app today. We're here to give you the confidence to manage your home like a pro.


