The good news? You probably don't need to start budgeting for a full replacement. Many common laminate countertop issues are surprisingly easy to fix yourself. With a little patience and the right materials, you can restore your countertop's smooth, clean finish and get it looking great again.
In this guide, we'll walk you through everything you need to know, just like we're on the phone with you. We’ll start by figuring out exactly what kind of damage you're dealing with and then dive into two step-by-step repair methods for the most common problems: minor surface flaws and more serious peeling or bubbling.
First Things First: Assess the Damage
Before you can fix the problem, you need to understand its scope. Is it a simple cosmetic issue, or is there something more serious going on underneath? Let's take a closer look.
This initial inspection is the most crucial step, as it will determine which repair path you need to follow.
1. Clear and Clean the Area: Remove everything from the countertop—your toaster, the fruit bowl, everything. Give the surface a quick wipe-down with a general-purpose cleaner so you can see exactly what you're working with.
2. Turn Up the Lights: Use the brightest overhead lights you have. If needed, grab a flashlight and shine it across the surface at a low angle. This technique is great for revealing subtle scratches and imperfections that you might otherwise miss.
3. Perform a Visual and Tactile Check:
- Look for any obvious chips, deep scratches, stubborn stains, or areas where the laminate seems to be bubbling up or peeling away from the edge.
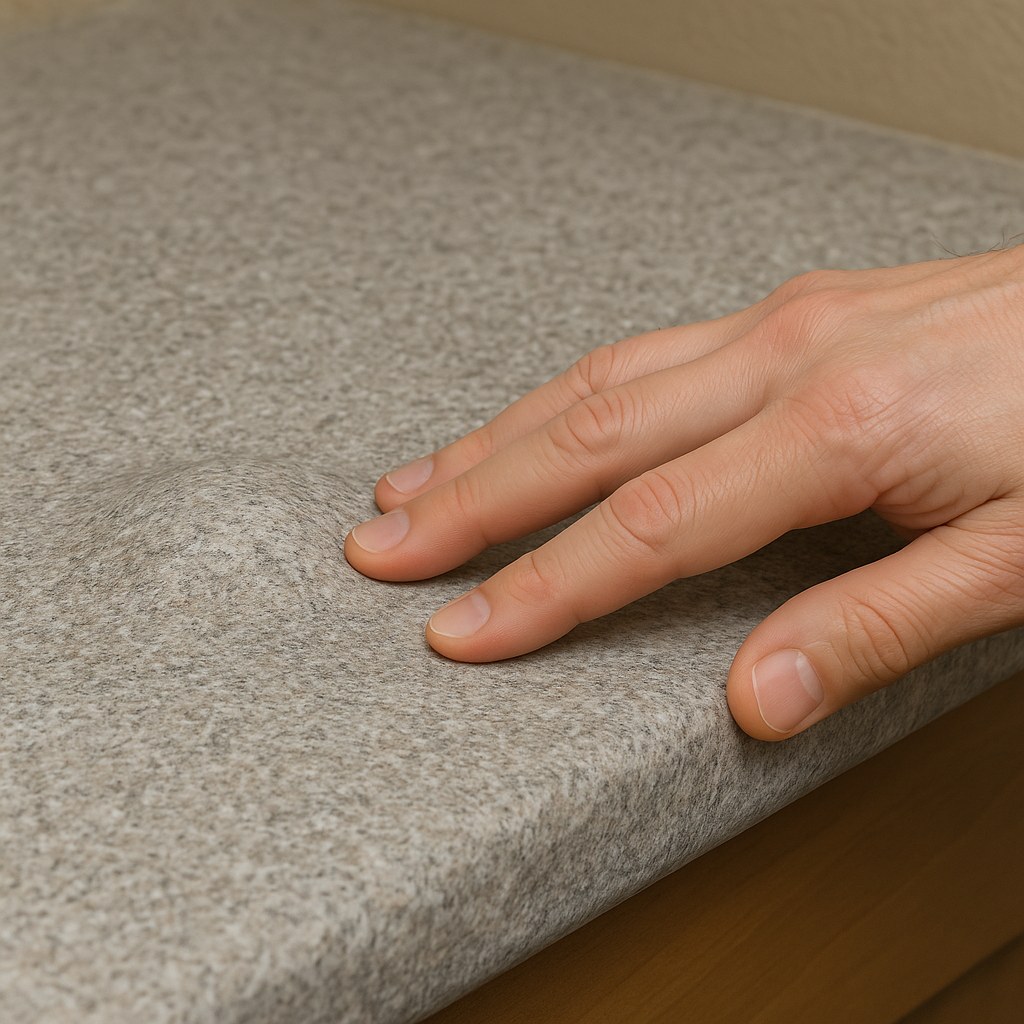
- Feel the surface. Gently press down on any suspicious spots, especially bubbles or lifted seams. Does the area feel solid, or is it soft and spongy? A soft spot is a red flag for moisture damage in the particleboard substrate underneath, which is a more serious problem.
4. Use the "Dollar Bill" Test: This is our simple way of categorizing the damage.
- Is the damage small and surface-level? We're talking about a single chip, a scratch, or a stain that's smaller than a dollar bill. If so, you're likely looking at a minor repair.
- Is the damage larger? Does it involve a section of laminate that's bubbling or peeling away from the substrate below? If you've checked this area and the substrate still feels firm and dry, you can likely re-adhere it.
- Is the substrate soft or swollen? If you press on a bubble and it feels mushy, water has gotten underneath and damaged the wood composite core. Unfortunately, this isn't something a surface repair can fix, and it's time to consider calling a professional.
Once you’ve assessed the situation, you can move on to the right solution.
Solution 1: How to Fix Minor Chips and Scratches in a Laminate Countertop
For those small but annoying nicks and scratches, a dedicated laminate repair paste is your best friend. This filler material is designed to fill in gaps and blend seamlessly with your existing countertop.
Difficulty: Easy
Working Time: 20 minutes
Total Time (including drying): About 1 hour
What You'll Need:
- General-purpose cleaner
- Soft cloths
- Laminate repair paste (choose a color that closely matches your countertop)
- Small putty knife
Step-by-Step Instructions:
- Ventilate Your Space: The repair paste can have a strong odor, so open a window or turn on an exhaust fan before you start.
- Clean and Dry the Damaged Spot: Thoroughly clean the chip or scratch with your cleaner and a cloth to remove any grease or debris. Make sure the area is completely dry before moving on.
- Prepare the Repair Paste: Most pastes require a good shake for at least 30 seconds to ensure the color is evenly mixed.
- Apply the Paste: Squeeze a small amount of the paste onto the tip of your putty knife. Press the paste firmly into the chip or scratch. The goal is to fill the damaged area completely so the paste is level with the surrounding surface. You may need to apply it from a couple of different angles to ensure it's fully packed in.
- Scrape Away the Excess: Holding the putty knife at a 45-degree angle, gently scrape it across the repair to remove any excess paste. This should leave you with a smooth, flat surface.
- Let It Dry: Patience is key. Let the paste cure for at least 30 minutes, or as long as the manufacturer’s instructions recommend. Don't touch it during this time.
- Buff to a Shine: Once the paste is fully dry, take a clean, soft cloth and gently buff the repaired spot. This helps blend the sheen of the patch with the rest of your countertop, making the repair nearly invisible.
After buffing, step back and look at the result. If the chip is gone and the color blends well, congratulations—your countertop is fixed!
Solution 2: How to Fix Bubbling or Peeling Laminate
When the top laminate layer starts to lift away from the substrate, it's usually due to a failure of the original adhesive, often caused by heat or moisture. As long as the substrate underneath is still dry and solid, you can fix this by re-gluing it with contact cement.
Difficulty: Moderate
Working Time: 30 minutes
Total Time (including drying): About 2 hours
What You'll Need:
- Dust mask and safety glasses
- Utility knife
- A thin piece of cardboard or a wooden shim
- Contact cement
- Small disposable paintbrush
- J-roller (or a rolling pin in a pinch)
- Damp cloth
- Heavy books or other weights
Step-by-Step Instructions:
- Safety First: Contact cement produces strong fumes, so proper ventilation is non-negotiable. Open all nearby windows and wear a dust mask.
- Gently Lift the Laminate: Carefully slip the blade of a utility knife under the peeling edge. Lift it just enough to create a small gap to work in. Be very gentle to avoid cracking or snapping the laminate.
- Prop It Open: Slide your piece of thin cardboard or a shim into the gap to hold the lifted laminate open. This will free up your hands for applying the adhesive.
- Apply the Contact Cement: Use your small brush to apply a thin, even coat of contact cement to the underside of the lifted laminate. Then, apply another thin, even coat to the exposed substrate below. It's crucial to coat both surfaces.
- Wait for It to Get Tacky: This is the most important step for a strong bond. Don't press the pieces together right away. You need to wait about 15 minutes. The cement is ready when it feels tacky to the touch but doesn't transfer to your finger when you poke it.
- Press and Roll: Carefully remove the cardboard prop. Starting from the tightest corner and working your way out, press the laminate firmly back into place. Immediately grab your J-roller and roll over the entire repaired area with firm pressure. Roll from the center outward to push out any trapped air bubbles.
- Clean Up Squeeze-Out: If any contact cement squeezed out from the edges, wipe it away immediately with a damp cloth.
- Apply Weight: Place a stack of heavy books or other flat, heavy objects directly on top of the repaired section. This ensures strong, continuous pressure while the bond fully sets. Leave the weights in place for at least one hour.
After an hour, remove the books and inspect your work. The patched area should be flat, smooth, and securely bonded.

When is it Time to Call a Contractor?
DIY repairs are fantastic for saving money, but it's also important to know your limits. You should call a countertop professional if you encounter any of the following:
- Widespread Damage: If you have multiple large chips, long scratches, or several areas of peeling laminate.
- Water-Damaged Substrate: If the particleboard underneath the laminate is soft, swollen, or crumbling. This indicates a deeper issue that patching won't solve.
- Large Burn Marks: Severe burns can't be fixed with paste and may require a section to be professionally cut out and replaced.
- A Failed DIY Attempt: If your repair doesn't look right or fails to hold, an expert can assess the situation and provide a more permanent solution.
Hiring a professional for laminate repair can be quite affordable compared to a full replacement. According to Forbes, a professional repair typically costs between $100 and $450, depending on the extent of the damage.
Protecting Your Countertops for the Future
Once your countertop is repaired, keep it looking its best with these simple preventative tips:
- Always use cutting boards. Never cut directly on the laminate surface.
- Use trivets or hot pads. Don't place hot pots, pans, or curling irons directly on the countertop.
- Wipe up spills quickly. Liquids, especially around seams and sinks, can seep underneath and damage the substrate.
- Avoid abrasive cleaners. Stick to mild, all-purpose cleaners and soft cloths.
Your Partner in Home Maintenance
Fixing a chipped or peeling laminate countertop is a rewarding project that can make a huge difference in the look and feel of your room. By following these steps, you can confidently tackle the job and extend the life of your countertops.
For more expert guides, personalized maintenance reminders, and a direct line to trusted professionals when a job is too big, download the Casa app today! We're here to help you manage and maintain your home with confidence, one project at a time.


