The truth is, it’s a more common problem than you might think. Ants are incredibly resourceful, and your bathroom often provides the three things they need to thrive: water, shelter, and surprisingly, food. The good news is that you can usually solve the problem yourself with a bit of detective work and the right strategy.
According to the National Pest Management Association, ants are the number one nuisance pest in the United States, frequently found in both kitchens and bathrooms. They aren't just looking for last night's leftovers; they're on a mission for survival, and your bathroom can be an oasis for them.
In this guide, we'll walk you through how to identify why ants have chosen your bathroom, eliminate the current infestation, and take steps to make sure they don’t come back.

Why Are Ants in My Bathroom Anyway?
Before you can effectively get rid of ants, you need to understand what’s attracting them in the first place. It’s rarely just one thing. Let's break down the main culprits.
1. The Abundance of Moisture
This is the single biggest attractant for ants in a bathroom. Like all living things, ants need water to survive. Your bathroom is a constant source:
- Leaky Faucets: A slow, steady drip from a sink or showerhead is a perfect, reliable water source.
- Condensation: Sweating toilet tanks and pipes create droplets of water for them to drink.
- Puddles and Dampness: Water splashed out of the shower, damp bathmats, and wet towels all contribute to a humid environment that certain ant species love.
- Hidden Leaks: A small leak in the P-trap under the sink or around the base of the toilet can create a damp, protected space ideal for ants like carpenter ants, which are drawn to water-damaged wood.
2. Unexpected Food Sources
You might not be eating in your bathroom, but ants aren't picky. They can find sustenance in places you'd never expect:
- Soap Scum and Residue: The buildup of soap, shampoo, and body oils contains organic materials that ants can feed on.
- Sugary Spills: A stray glob of toothpaste or a sticky drip of mouthwash on the counter can be a feast for sugar ants.
- Hair and Dead Skin Cells: Clogged drains and dusty corners accumulate organic debris that provides another food source.
3. Plentiful Shelter and Easy Access
Ants are tiny, and they can exploit the smallest imperfections in your home for shelter and entry. Bathrooms are full of ideal hiding spots:
- Cracks and Gaps: Tiny cracks in tile grout, gaps along baseboards, or unsealed areas around window frames are like open doors.
- Under Sinks and Toilets: The dark, often undisturbed spaces under your sink cabinet or behind the toilet are perfect for nesting.
- Wall Voids: Ants can travel through wall voids, using the entry points around pipes and plumbing fixtures to emerge into your bathroom.
Step-by-Step Guide to Get Rid of Bathroom Ants
Ready to send those ants packing? Let's get started. Our approach is simple: first, we investigate to find the source of the problem. Then, we execute a targeted plan to eliminate them.
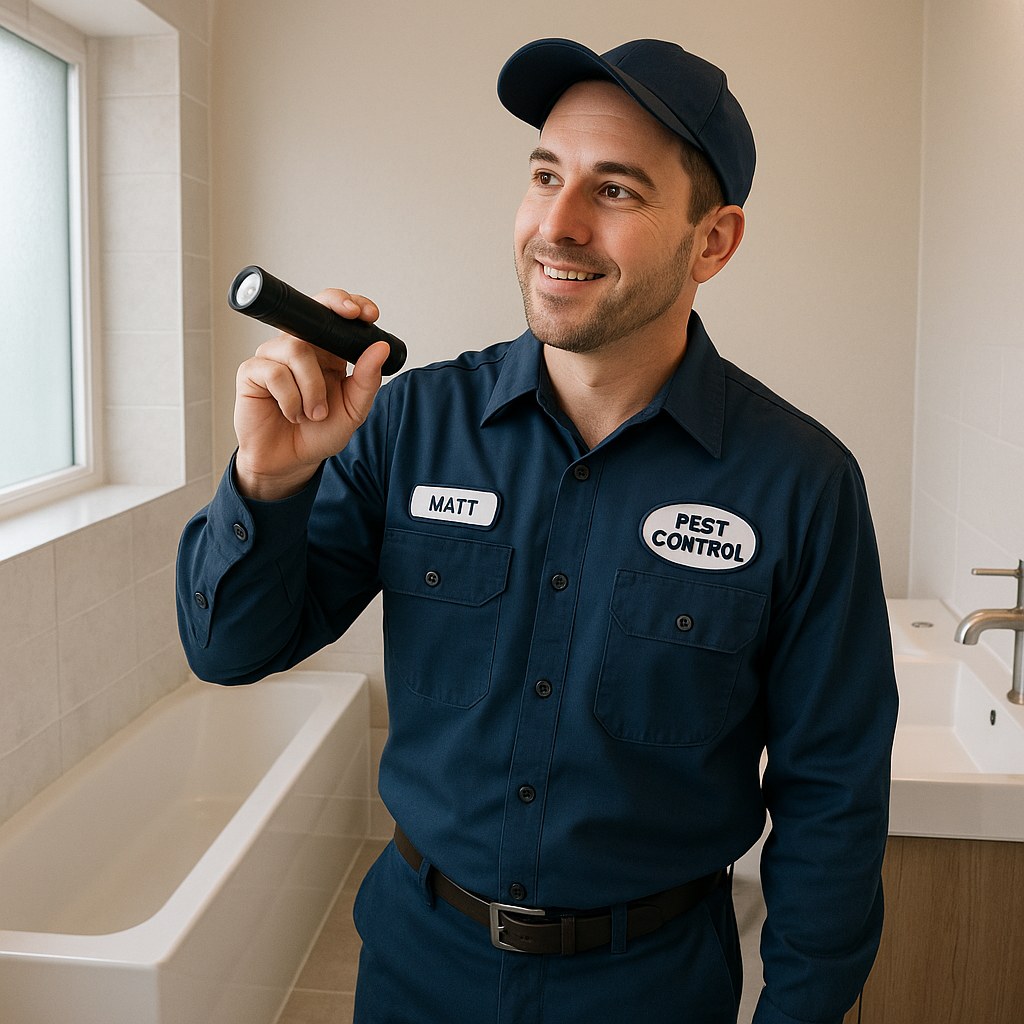
Step 1: Inspect Your Bathroom for Ant Activity
Grab a flashlight—even in a well-lit bathroom, it will help you spot tiny ants and cracks. Your goal is to figure out how and why the ants are there.
- Follow the Trail: Look for a continuous line of ants. If you find one, try to follow it back to its entry point. This could be a tiny crack in the wall, a gap under the baseboard, or an opening around a pipe. This trail is your biggest clue.
- Check for Moisture: Carefully inspect for any signs of excess water. Look for drips under the sink, condensation on the toilet tank, damp spots on the floor, or signs of a leak around the toilet base.
- Search High and Low: Don't just look at the floor. Check countertops, the inside of the medicine cabinet, the shower ledge, and the window sill.
- Note Your Findings: Do you see a single, clear trail? Or are there just scattered ants with no obvious path? Do you see standing water or a leaky faucet? Your answers will determine your next step.
Step 2: Choose Your Battle Plan
Based on your inspection, pick the strategy that best fits your situation.
- If you found a single, continuous ant trail: The ants have established a clear route. Your job is to erase that route and eliminate the source. Proceed to Guide A: Eliminate the Ant Trail.
- If you found excess moisture but no clear trail: The ants are likely attracted to the water source. Addressing the moisture is your top priority. Proceed to Guide B: Reduce Bathroom Moisture.
- If you see scattered ants with no clear trail or obvious moisture: The ants probably have multiple hidden entry points. Your mission is to find and seal them off. Proceed to Guide C: Seal Multiple Entry Points.
Guide A: How to Eliminate a Single Ant Trail
When you find a distinct trail, you have a direct line to the problem. Don't just spray the ants you see—that's a temporary fix. You need to wipe out their navigation system and then the colony itself.
What You'll Need: Disposable gloves, paper towels, white vinegar, water, and ant bait (gel or liquid bait stations work best).
- Erase the Pheromone Trail: Mix a 50/50 solution of white vinegar and water. Wearing gloves, use paper towels to wipe down the entire ant trail, from start to finish. This solution destroys the invisible pheromone trail that ants use to communicate and navigate, instantly confusing them.
- Place the Bait: Instead of killing the ants you see, you want them to carry poison back to the nest. Place a pea-sized drop of ant bait gel or a bait station directly at the entry point you identified. The worker ants will think it's food, carry it back to the colony, and share it, effectively eliminating the nest from the inside.
- Clean Up Food Sources: Thoroughly scrub the sink, shower floor, and toilet base with a general-purpose cleaner to remove any soap scum, toothpaste residue, or other potential food sources.
- Be Patient: This is the most important step. It can take 48 hours or more for the bait to work its way through the colony. Resist the urge to spray the ants feeding on the bait. Check the bait daily and reapply it if it's gone.
- Assess the Situation: After two days, you should see a significant drop in ant activity, or they may be gone completely. If so, you've won! If activity persists, you may be dealing with a larger, more established colony inside your walls, and it's time to call a professional.
Guide B: How to Reduce Bathroom Moisture
If your inspection revealed dampness, leaks, or heavy condensation, this is your priority. Remove the water source, and the ants will often look elsewhere.
What You'll Need: Absorbent towels, an adjustable wrench, and potentially a small dehumidifier.
- Dry Everything: Start by thoroughly drying any visible water on floors, countertops, and around the toilet with towels.
- Stop the Drips: Use an adjustable wrench to gently tighten any dripping faucet aerators or showerheads. Check the connections for the water supply lines to the sink and toilet; if you see beading water, give the nuts a gentle snug-up (don't overtighten).
- Improve Ventilation: Run your bathroom's exhaust fan for at least 30 minutes after every shower. If you don't have a fan, crack open a window to let humidity escape.
- Consider a Dehumidifier: If your bathroom is chronically damp, place a small dehumidifier inside and let it run for a day or two to pull excess moisture out of the air and surfaces.
- Clean and Bait: Once the area is dry, clean the surfaces with the 50/50 vinegar and water solution to remove any scent trails. Place a drop of ant bait near where you previously saw ant activity. Thirsty ants will be especially attracted to liquid bait.
- Monitor for Dryness: Keep a close eye on the area for the next few days. If ant activity stops, you've successfully identified and removed their primary attractant. If the ants persist, you may have a hidden leak behind a wall that requires a plumber or exterminator.
Guide C: How to Seal Multiple Ant Entry Points
If you have scattered ants without a clear trail or water source, they're likely getting in through numerous tiny openings. It's time to fortify your bathroom's defenses.
What You'll Need: Flashlight, painter's tape, silicone caulk, and a caulk gun.
- Identify the Gaps: Use your flashlight to meticulously inspect every seam and corner. Look for cracks where the floor meets the wall, around window and door frames, along baseboards, and where plumbing pipes enter the room. Mark each potential entry point with a small piece of painter's tape.
- Clean and Prep: Wipe down the marked areas with a dry cloth to remove any dust or debris, which will ensure the caulk adheres properly.
- Apply the Caulk: Apply a steady bead of silicone caulk into each gap. Use a damp, gloved finger to smooth the bead, pressing it firmly into the crack to create a seamless, waterproof seal.
- Let it Cure: Allow the caulk to cure completely according to the manufacturer's instructions, which is typically 24 hours. This step is critical for creating a durable barrier.
- Set a Trap: After the caulk has cured, place a few drops of ant bait near the previously active areas just in case any foragers were left behind. Monitor for two days. If no more ants appear, you've successfully locked them out.
When Is It Time to Call a Professional?
DIY methods are incredibly effective for most minor ant problems. However, some situations require an expert. It might be time to call a licensed pest control professional if:
- You've tried these methods, and the ants keep coming back.
- You suspect a nest is inside your walls (e.g., you see ants emerging from electrical outlets or see small piles of sawdust-like material, a sign of carpenter ants).
- The infestation is very large and overwhelming.
Hiring a professional exterminator for an ant problem typically costs between $150 and $300 for an initial visit. While it's an investment, it can save you a lot of time and frustration, especially for stubborn infestations.
Final Thoughts: Your Ant-Free Bathroom Awaits
Dealing with ants in your bathroom is a three-part process: investigate the cause, execute a targeted solution, and prevent them from returning. By addressing the root cause—whether it’s a pheromone trail, a moisture problem, or easy entry points—you can reclaim your space and keep it ant-free for good.
For more expert home maintenance tips, step-by-step repair guides, and a direct line to trusted professionals for those jobs you can't handle alone, download the Casa app today. We're here to help you manage your home with confidence, one project at a time.


&w=1920&q=75)