We get it. The thought of drills, wall anchors, and stud finders can be intimidating. But I'm here to walk you through it, just like a friend on the phone. Hanging a picture frame is one of the most satisfying and straightforward DIY projects you can tackle. With the right know-how and a little preparation, you can hang anything from a small print to a heavy mirror with confidence.
This guide will show you how to do it right, regardless of your wall type—be it drywall, plaster, or even solid brick. Let's get that art up on the wall where it belongs!
Step 1: Gather Your Tools and Plan Your Placement
Before you even think about making a mark, let's get organized. A little prep work makes the entire process smoother.
Your Toolkit:
- Essential Tools: Tape measure, pencil, 4-foot level, and a step stool.
- For Heavy Artwork (over 20 lbs): Stud finder, drill, drill bit set, and 3-inch wood screws.
- For Masonry Walls: Safety glasses, hammer drill, masonry drill bit set, and masonry anchors with screws.
- For Plaster Walls: Painter's tape, drill, and self-drilling toggle anchors.
- For Standard Drywall: Picture hanging kit with hooks and nails.
Finding the Perfect Spot:
The "right" spot is subjective, but there's a gallery-standard rule of thumb that works beautifully. The center of your artwork should be about 57 inches from the floor. This places it at the average human eye level, making it comfortable to view.
- Measure Your Artwork: Measure the height of your framed piece and divide by two to find its center.
- Mark the Wall: Measure 57 inches up from the floor and make a light pencil mark. This is where the center of your art will be.
- Position and Trace: Hold the artwork against the wall, aligning its center with your 57-inch mark. Use your level to make sure it's straight, then lightly trace the top edge of the frame with your pencil.
- Final Check: Take a step back. Make sure the location isn't in a high-traffic area where it could be bumped, or directly above a doorway where it might feel cramped.
Now that you've marked your spot, we need to answer the most important question of all.
Step 2: The Weight Test - Light, Medium, or Heavy?
The single most critical factor in choosing your hanging method is the weight of your artwork. A simple nail won't cut it for a heavy mirror, and a heavy-duty anchor is overkill for a small photo.
A good rule of thumb is the 20-pound threshold.
- Under 20 pounds: You can likely hang it directly on the wall material using an appropriate hook or anchor.
- Over 20 pounds: You absolutely need to anchor it to a wall stud for safety.
If you’re unsure, use a bathroom scale. Weigh yourself, then weigh yourself holding the artwork. The difference is your item's weight.
How to Hang Heavy Artwork (Over 20 lbs)
When you're dealing with a heavy piece, security is everything. Drywall alone is not strong enough to support significant weight. You need to find the solid wood stud behind the wall.
1. Locate a Wall Stud
A stud finder is your best friend here. These inexpensive electronic devices detect density changes behind the drywall.
- Start about six inches to the left of where you want to hang your picture.
- Press the stud finder against the wall and turn it on.
- Slowly slide it horizontally across the wall. It will beep or light up when it detects the edge of a stud. Mark this spot.
- Continue sliding until the device stops beeping. This is the other edge. Mark that, too.
- The center of the stud is halfway between your two marks. This is your drilling target!
- Confirm you've found the stud by running the device vertically through your target mark.

2. Mount Your Artwork on the Stud
- Measure the Drop: On the back of your frame, measure the distance from the top of the frame to the hanging point (the peak of the wire or the top of the D-ring).
- Mark the Screw Point: Go back to the wall. Measure down from your traced top-edge line by the "drop" distance you just found. Mark this spot on the center line of your stud. This is exactly where the screw will go.
- Drill a Pilot Hole: Using a drill bit slightly smaller than your screw, drill a 2-inch-deep pilot hole. This prevents the wood from splitting.
- Insert the Screw: Drive a 3-inch wood screw into the pilot hole, leaving about ¼ inch sticking out from the wall.
- Hang and Level: Carefully hang your artwork on the screw. Once it’s settled, place your level on top and adjust until the bubble is perfectly centered.
What if there's no stud where I want to hang it?
For a truly heavy piece, this is a non-negotiable stopping point. Do not try to use a drywall anchor. Your options are to adjust the placement to align with a stud or call a professional. A handyman can install blocking between studs to provide a secure anchor point exactly where you need it.
How to Hang Light & Medium Artwork (Under 20 lbs)
If your piece is under 20 pounds, you have more flexibility. Here, the type of wall you have is the deciding factor.
1. Identify Your Wall Material
Not sure what your walls are made of? Try these simple tests:
- The Knock Test: Knock on the wall. A hollow sound usually means drywall. A dull, solid thud suggests plaster or masonry.
- The Pushpin Test: Try pushing a thumbtack into the wall in an inconspicuous spot. If it goes in easily, it's drywall. If it meets strong resistance or won't go in at all, you likely have plaster or concrete.
- Visual Cues: Drywall has a smooth, papery surface. Plaster may have subtle, hairline cracks. Brick and concrete are, well, brick and concrete!
2. Hanging on Drywall
This is the most common wall type in modern homes.
- For very light items (under 5 lbs): A simple picture-hanging nail tapped in at a 45-degree angle is often sufficient.
- For items up to 20 lbs: A classic picture hook with an included nail is perfect. The angled design uses physics to distribute the weight effectively. Just tap it in until it’s flush with the wall.
- Installation: Mark your hanging point (using the same drop-measurement method as above). Tap the hook into the wall, hang your picture, and level it. It's that simple!
3. Hanging on Plaster
Plaster is harder and more brittle than drywall, so it requires a bit more care.
- Prevent Cracking: Place a small piece of painter's tape over the spot where you plan to drill. This simple trick helps prevent the plaster from chipping and cracking.
- Drill Slowly: Choose a regular drill bit and drill a slow, steady pilot hole through the plaster. You'll feel a change in resistance when you hit the wood lath behind it.
- Use the Right Anchor: A self-drilling toggle anchor is an excellent choice for plaster. Insert the anchor into your pilot hole until it's flush. As you drive the screw in, the "toggle" on the back will expand behind the lath, creating a very secure hold.
- Hang and Level: Leave the screw sticking out about ¼ inch, carefully remove the painter's tape, hang your art, and use your level to get it perfect.
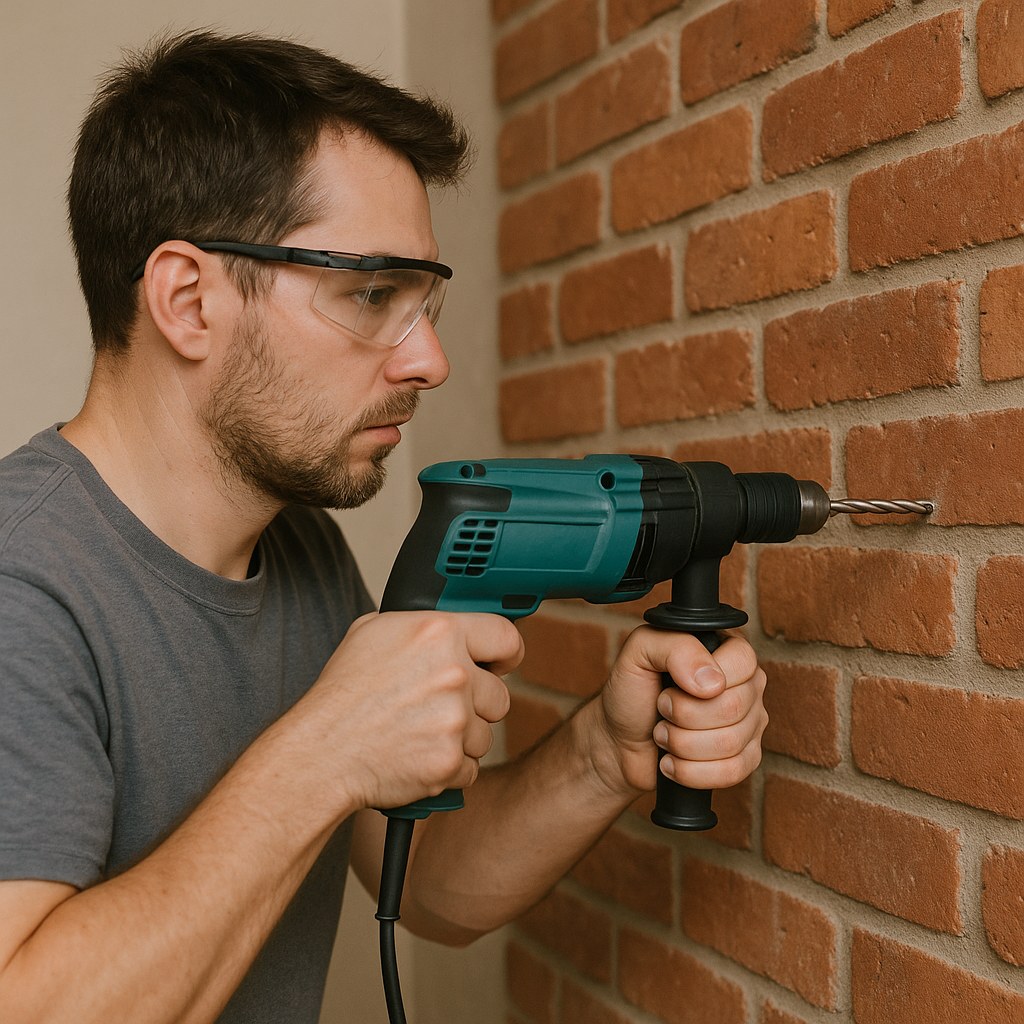
4. Hanging on Brick or Concrete
Hanging on masonry is the most intensive process, but it creates an incredibly strong anchor.
- Safety First: Always wear safety glasses when drilling into masonry.
- Use the Right Tools: You will need a hammer drill and a masonry drill bit. A regular drill will not be powerful enough.
- Drill the Hole: Mark your hanging spot. Using a 3/16-inch masonry bit, drill a 1-inch-deep hole with your hammer drill.
- Insert the Anchor: Tap a plastic or lead masonry anchor into the hole until it is flush with the wall's surface.
- Add the Screw: Drive a screw into the anchor, leaving ¼ inch exposed to hang your art on.
- Hang and Level: Mount your piece and use your level for the final adjustment.
When to Call a Professional
While hanging pictures is a great DIY task, there are times when calling for backup is the smartest move. According to Angi, the average cost to have a professional hang pictures is between $75 and $150, a small price for peace of mind. Consider calling a handyman if:
- You need to hang a very heavy (40+ lbs) or expensive item and can't find a stud.
- You're uncomfortable using a hammer drill on a brick or concrete wall.
- You've tried to hang something and it doesn't feel secure.
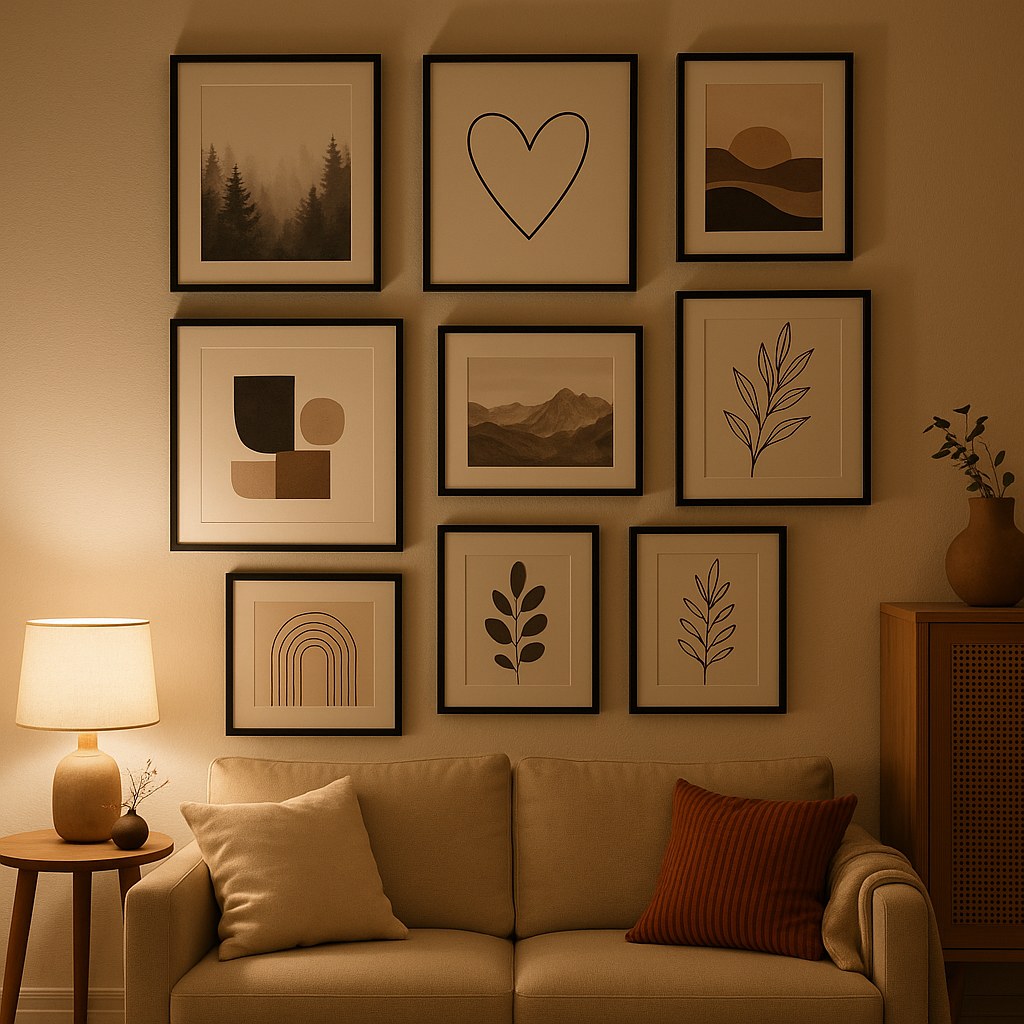
- You want to create a complex gallery wall and want perfect alignment.
Your Walls, Your Style
You’ve done it! By taking a few extra minutes to assess your artwork's weight and your wall type, you can hang your favorite pieces with total confidence. No more crooked frames, no more unnecessary wall damage, and no more worrying about a crash in the middle of the night.
For more easy-to-follow home maintenance guides and instant access to trusted, local handymen for the jobs you'd rather not tackle, download the Casa app today. We're here to help you love your home, one project at a time.


