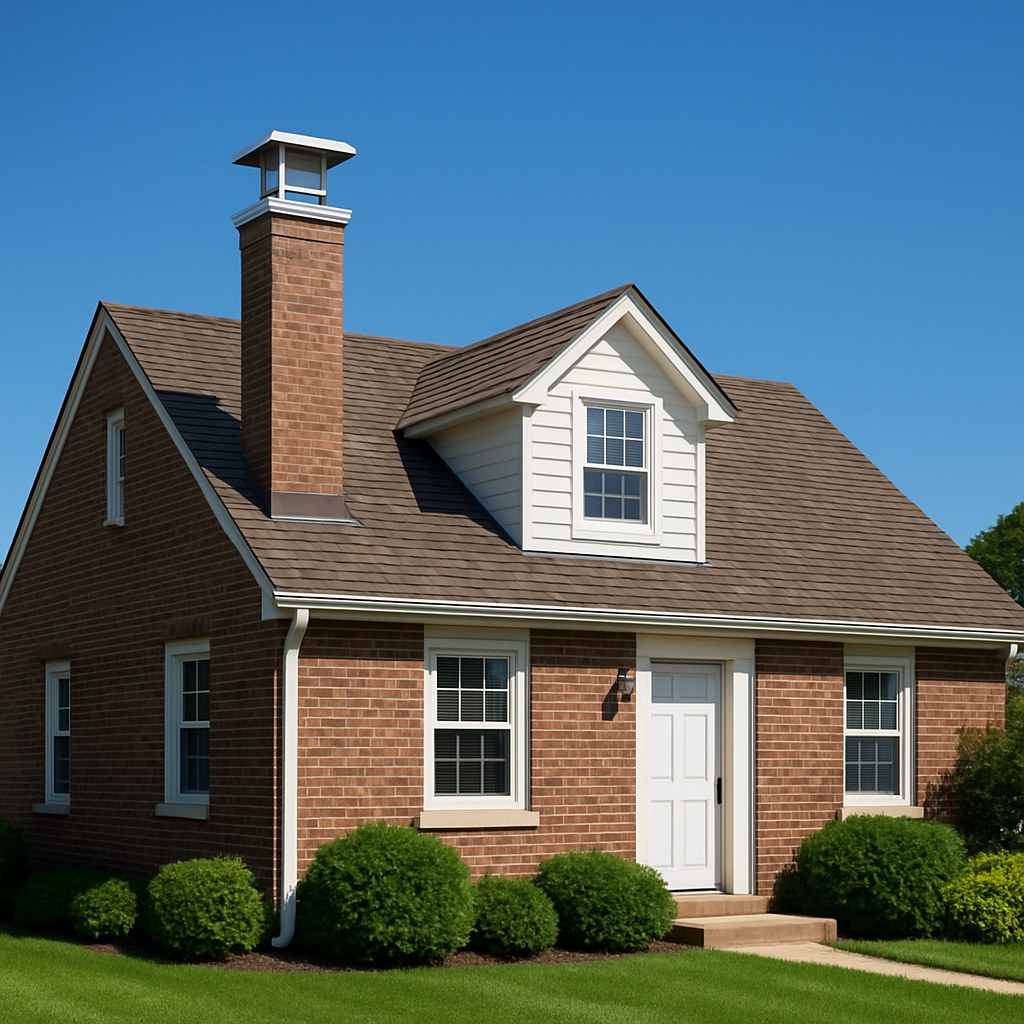
A chimney without a cap is like a house without a roof—an open invitation for rain, snow, animals, and debris. These elements can cause thousands of dollars in damage over time, from rusted dampers and eroded masonry to dangerous flue blockages.
The good news is that installing a chimney cap is a straightforward project that many homeowners can tackle in an afternoon. This guide will walk you through every step, from the initial safety checks and inspection to the final installation. Let's get that chimney covered!
Why a Chimney Cap Isn't Just Optional—It's Essential
Before we grab the ladder, let's break down exactly what this small-but-mighty device does for your home. Understanding its function will make you feel even better about getting one installed.
-
It’s Your Chimney’s Raincoat: Water is the number one enemy of a masonry chimney. Rain and snow can seep into the mortar joints, and through freeze-thaw cycles, can cause the bricks to crack and crumble—a phenomenon known as "spalling." Water can also rust out your damper assembly, damage the flue liner, and even leak into your attic or ceilings, leading to wood rot and mold. A chimney cap deflects precipitation, keeping the entire system dry and structurally sound.
-
It’s a Wildlife Eviction Notice: To a squirrel, raccoon, or bird, an open chimney looks like the perfect place to build a nest. These animal intruders not only bring in flammable nesting materials like twigs and leaves, but their presence can lead to unpleasant odors, unwanted noises, and even insect infestations. A cap with a mesh screen acts as a humane barrier, keeping critters out for good.
-
It Prevents Dangerous Blockages: Falling leaves, twigs, and other debris can easily accumulate in an uncapped chimney. This buildup can create a dangerous blockage, preventing smoke and toxic gases like carbon monoxide from venting properly. This can cause smoke to back up into your home or, worse, lead to a chimney fire.
-
It Acts as a Spark Arrestor: The mesh screen on a chimney cap does double duty. It also prevents hot embers and sparks from escaping the chimney and landing on your roof or nearby flammable materials like dry leaves or overhanging tree branches. In many areas, especially those prone to wildfires, building codes actually require spark arrestors.
Safety First: Preparing for a Rooftop Job
Working on a roof is inherently dangerous and should never be taken lightly. Your safety is the absolute top priority. If you are uncomfortable with heights, don't have the proper equipment, or have a particularly steep or slippery roof, your best move is to call a professional.
If you feel confident and prepared to proceed, here is the essential safety protocol:
- Use the Right Gear: You will need a sturdy pair of work gloves and, most importantly, a roof safety harness. A harness connected to a secure roof anchor is your last line of defense against a serious fall.
- Ladder Stability is Key: Place your ladder on firm, level ground. Use the 4-to-1 rule: for every four feet of height, the base of the ladder should be one foot away from the wall. The ladder should extend at least 3 feet above the edge of the roof to give you something to hold onto as you transition.
- Secure Everything: Use a tie-down rope to secure the top of your ladder to the roof gutter or another solid anchor point to prevent it from shifting.
- Mind Your Footing: Once you’re clipped into your safety harness, walk slowly and deliberately to the chimney. Always try to maintain three points of contact (two feet and one hand, or two hands and one foot) with the roof surface.
If at any point you cannot safely reach the chimney, stop immediately. It’s time to call in a pro. The Casa app can connect you with a certified and insured roofer or chimney professional who can handle the job safely.
Step 1: Inspect Your Chimney Type and Condition
Once you’re safely at the chimney, the first task is to assess what you’re working with. There are two common types of chimneys, and the cap you need will depend on which one you have.
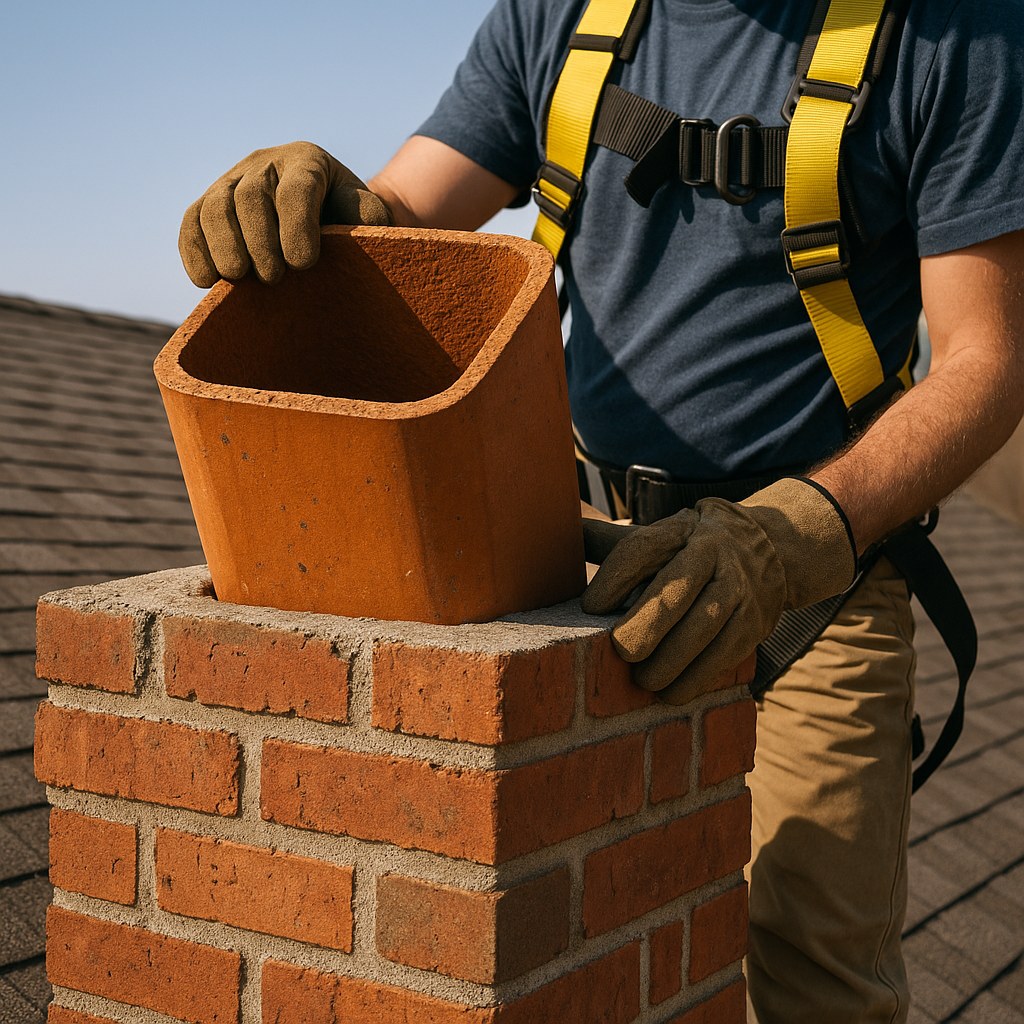
For Masonry Chimneys (Brick or Stone):
- Check the Flue Liner: This is the tile or metal pipe that extends slightly from the top of the chimney. This is what the cap will attach to.
- Inspect the Chimney Crown: The crown is the concrete or mortar slab that covers the top of the brick structure. Look for any visible cracks, gaps, or crumbling sections. A damaged crown will allow water to penetrate the masonry, defeating the purpose of the cap.
If you see significant damage to the crown or the flue liner, these issues must be repaired before you install a cap. Sealing moisture inside a damaged chimney will only make the problem worse. This is a job for a certified chimney professional.
For Metal Chimneys (Prefabricated):
- These chimneys are essentially a large metal pipe. Your inspection here is focused on the integrity of the pipe itself.
- Look for any signs of rust holes, significant dents, or joints that appear loose or separated.
A damaged metal chimney pipe can leak dangerous gases and is a serious fire hazard. If you spot any of these issues, it needs to be repaired or replaced by a professional before a cap is installed.
Step 2: How to Install a Chimney Cap
Assuming your chimney is in good condition, it's time for the installation! The process is slightly different for masonry and metal chimneys.
Installing a Standard Masonry Chimney Cap
These caps typically attach directly to the flue liner with set screws.
- Measure the Flue: Use a tape measure to get the exact length and width of the outside of your flue liner opening. Write these dimensions down.
- Purchase the Right Cap: Head to a home improvement store or order a cap online. You’ll want a stainless-steel chimney cap with an integrated spark screen that matches your measurements. Stainless steel is highly recommended for its durability and resistance to rust.
- Position the Cap: Place the new chimney cap over the flue liner. Ensure the base of the cap sits flat and the mesh screen fully surrounds the opening.
- Secure the Screws: The cap will have four stainless-steel set screws. Use a flathead screwdriver to tighten them evenly against the flue liner. Tighten them in an alternating pattern, like you would the lug nuts on a car tire, to ensure even pressure.
- Test the Fit: Once all screws are snug, give the chimney cap a gentle tug upward and a wiggle from side to side. It should feel solid and not move at all. If it feels loose, retighten the screws. If it still doesn't feel secure, the size may be wrong, and it's best to consult a professional for a proper fitting.
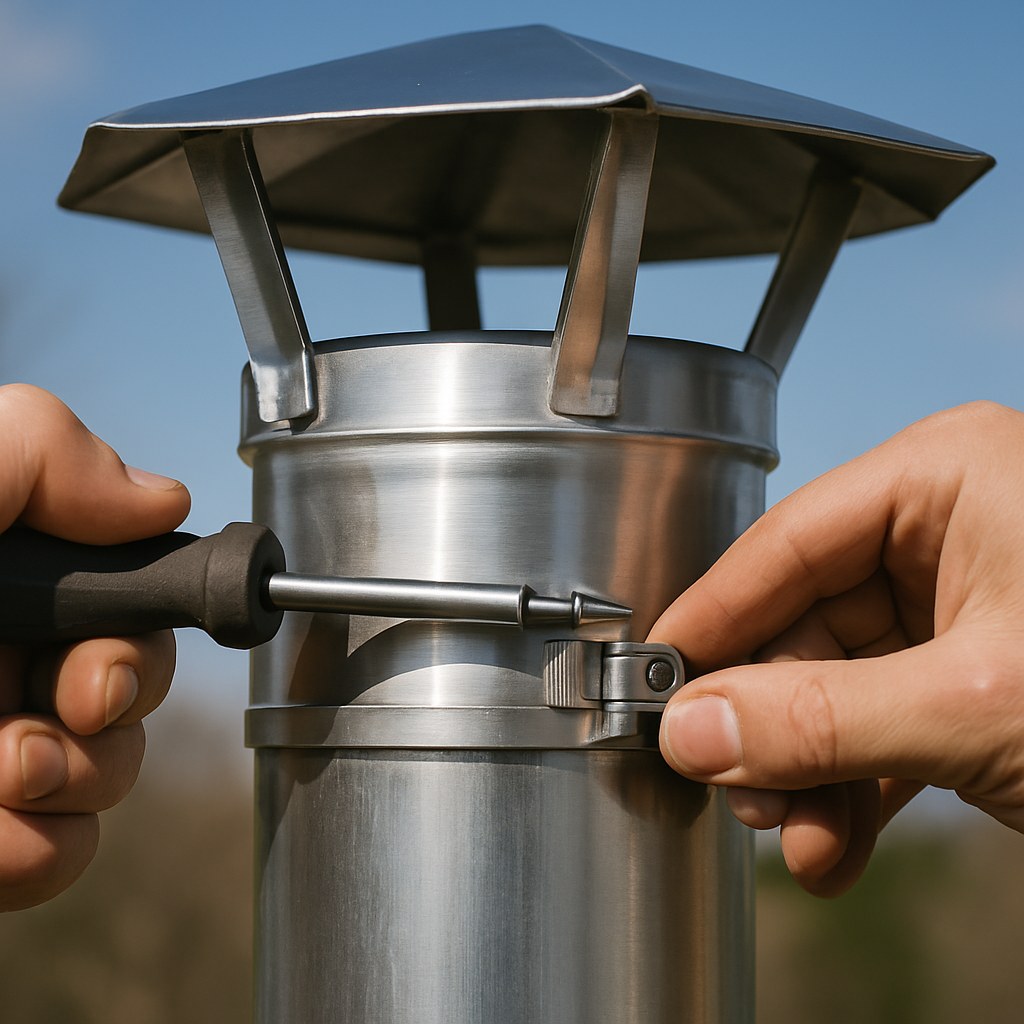
Installing a Clamp-On Metal Chimney Cap
These caps are designed to slide over the pipe and are secured with a band clamp.
- Measure the Pipe: Use your tape measure to find the outside diameter of the metal chimney pipe.
- Buy the Correct Cap: Purchase a stainless-steel, clamp-on chimney cap with a built-in spark arrestor that is sized for your pipe's diameter.
- Place the Cap: Slide the new chimney cap down over the top of the metal chimney pipe. It should slide on snugly and be fully seated against the top edge of the pipe.
- Tighten the Clamp: Use a nut driver or a wrench to tighten the built-in band clamp around the chimney pipe until it is secure.
- Test the Fit: Wiggle the cap from side to side to make sure it doesn’t shift. If it moves, tighten the clamp a little more. A secure fit is crucial to ensure it doesn't blow off in high winds.
Cost of Installing a Chimney Cap: DIY vs. Pro
One of the best things about this project is the high return on investment.
- DIY Cost: A quality stainless-steel chimney cap typically costs between $50 and $200, depending on the size and style. If you already have the necessary tools and safety gear, this will be your only expense.
- Professional Installation Cost: According to Angi, hiring a professional to supply and install a chimney cap usually costs between $300 and $700. The price can vary based on your location, the height and accessibility of your roof, and the type of chimney you have.
While the DIY route can save you a few hundred dollars, remember that a professional's fee also covers their expertise, insurance, and the guarantee of a safe, secure installation.
Your Home is Now Protected
Congratulations! By installing a chimney cap, you’ve taken a major step in protecting your home from water, animals, and fire hazards. It’s a simple fix that prevents complex and expensive problems down the road.
Home maintenance is a journey, and every project you complete makes your home safer and more valuable. Whether you're tackling a DIY fix or need to find a trusted expert, Casa is here to help.
Download the Casa app today to get access to more easy-to-follow repair guides, create a personalized maintenance schedule for your home, and connect with certified professionals for those jobs that are best left to the experts. Protect your home from the top down with Casa.


