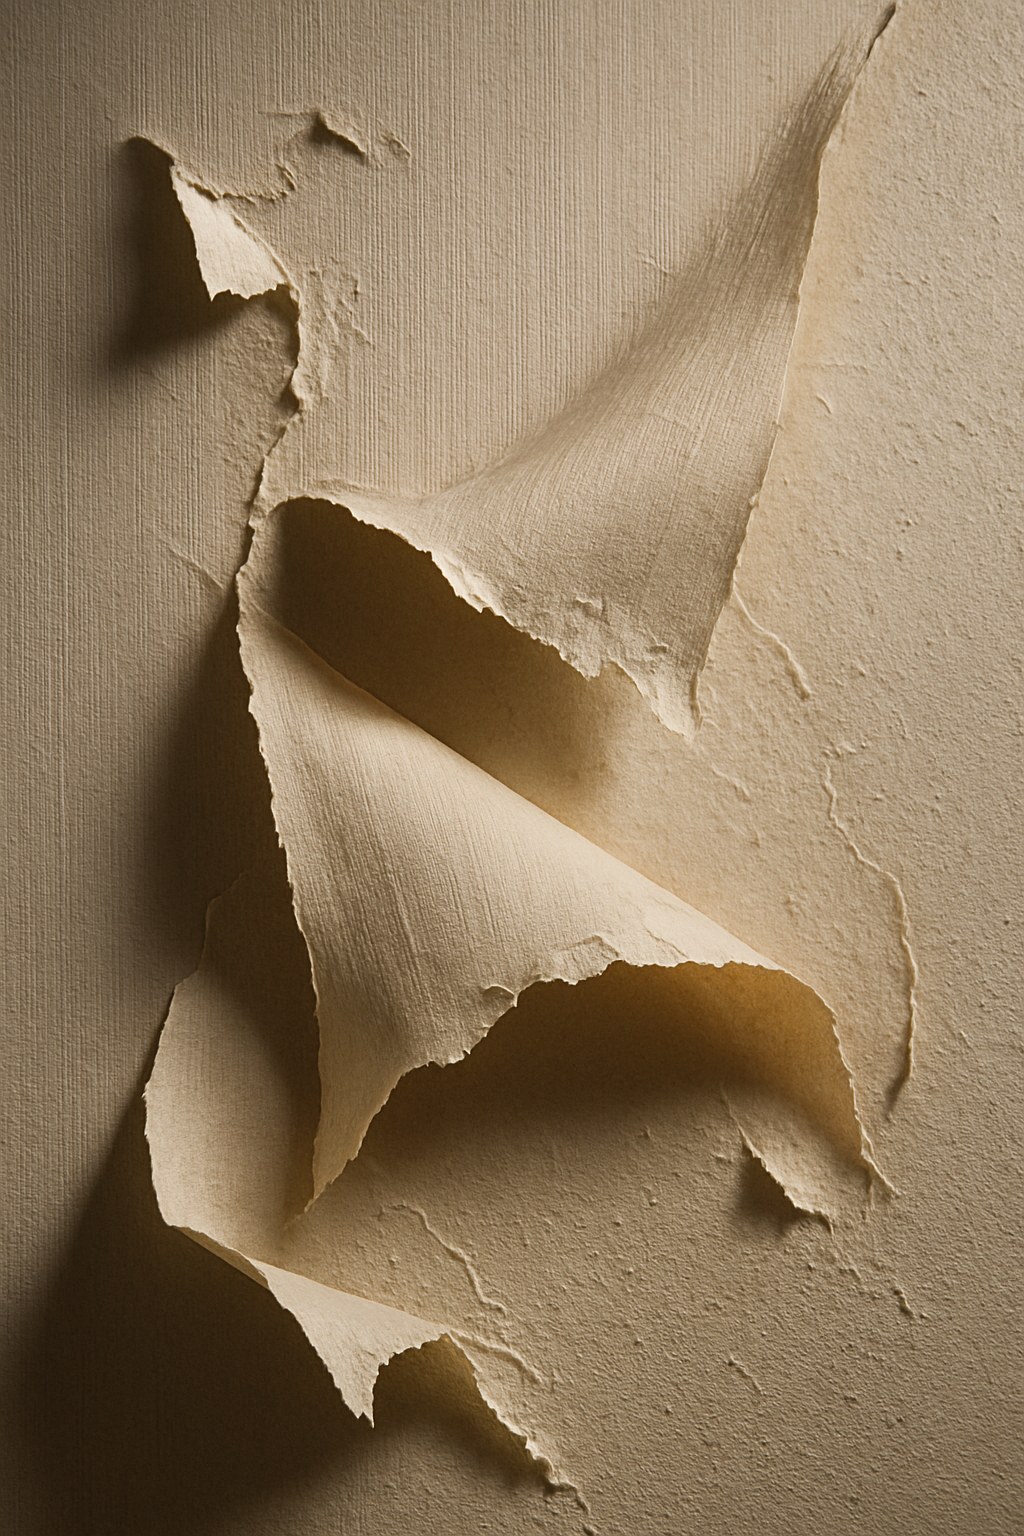
Hey, I'm Tyler from Casa, and I want to walk you through this. Don't throw in the towel (or the wallpaper brush) just yet. This is a surprisingly common issue, and the good news is that it’s almost always fixable. The problem usually isn’t the wallpaper itself, but the preparation or the environment.
Whether you're seeing loose edges, frustrating bubbles, or entire strips giving up the ghost, we can get to the bottom of it. In this guide, I’ll talk you through the three main culprits behind a wallpaper fail and give you a clear, step-by-step plan to ensure your wallpaper sticks—and stays stuck.
Why Your Wallpaper Isn't Sticking: The Most Common Culprits
Before we can fix the problem, we need to play detective. Wallpaper adhesion is a bit of a science, and it relies on a perfect trifecta of conditions. If one of these is off, you’ll run into trouble.
-
The Wall Surface: This is the number one reason for wallpaper failure. You can’t stick a perfect sheet of paper onto an imperfect surface. If your wall is dusty, greasy, overly textured, or still has old adhesive on it, you’re creating a barrier between the new glue and the wall itself. A smooth, clean, and properly primed surface is non-negotiable.
-
The Adhesive Application: Wallpaper comes in two main types: pre-pasted (where the adhesive is on the back and just needs water to activate) and unpasted (where you apply a separate adhesive). Each has a specific process that must be followed. Applying too little paste, letting it dry out, or not activating it correctly will result in a weak bond.
-
The Room Environment: This is the secret saboteur many people overlook. The temperature and humidity in the room play a massive role in how wallpaper adhesive cures. If it’s too hot, the paste can dry too quickly before it bonds. If it’s too cold or humid, the paste can take too long to dry, leading to sagging, peeling, and even mold growth behind the paper.
Now that we know what we’re looking for, let’s get our hands dirty and fix this thing for good.
A Step-by-Step Guide to Perfect Wallpaper Adhesion
Think of this as your troubleshooting checklist. We’re going to start with the most likely problem—the wall itself—and work our way through each potential issue.
Step 1: Create a Flawless Foundation (Clean and Prep Your Walls)
I can't stress this enough: proper wall preparation is 90% of the job. If you’ve already hung the paper and it’s failing, you may need to take it down and start this step from scratch. It’s frustrating, I know, but it’s better than watching your investment peel away.
What you’ll need:
- Drop cloth
- Plastic scraper
- Spackle
- Medium-grit sandpaper
- Vacuum with a brush attachment
- Sponge and mild dish soap
- Wallpaper primer (also called "sizing")
- Smooth-surface paint roller
Here’s how to prep your wall like a pro:
- Protect Your Space: Move furniture out of the way and cover your floors with a drop cloth.
- Scrape Away the Past: Use your plastic scraper to gently remove any bumps, old paint drips, or lingering patches of old wallpaper glue. You want the surface to be as smooth as possible.
- Fill and Sand: Inspect the wall for any holes, cracks, or dents. Fill them with a small amount of spackle, let it dry completely (usually about 30 minutes), and then sand the patched areas until they are perfectly flush with the wall.
- Get Rid of Dust: Run a vacuum with a brush attachment over the entire wall surface. Dust is one of adhesive’s worst enemies.
- Wash the Walls: Mix a few drops of mild dish soap into a bucket of warm water. Use a damp (not soaking wet) sponge to wipe down the walls. This removes any grease or grime that could prevent the adhesive from sticking. Rinse with a clean, damp sponge afterward.
- Let it Dry Completely: Wait at least 2-4 hours for the wall to air-dry. Applying primer or wallpaper to a damp wall is a recipe for disaster.
- Prime, Prime, Prime: This is the most crucial step. Roll on a coat of wallpaper primer, also known as sizing. This special primer creates an ideal, uniform surface for the adhesive to grip onto. It also makes removing the wallpaper much easier down the road. Let the primer dry completely according to the manufacturer's instructions.
Once your wall is clean, smooth, and primed, you’ve created the perfect canvas. Now, let’s talk about the adhesive.
Step 2: Master Your Adhesive Method
How you handle the adhesive depends entirely on what kind of wallpaper you're using. Check the product label to confirm if it's pre-pasted or unpasted.
For Pre-Pasted Wallpaper:
Pre-pasted paper seems simpler, but it has a critical activation step that many people rush.
What you'll need:
- Wallpaper trough (or a clean bathtub)
- Clean folding table
- Wallpaper brush or smoothing tool
- Damp sponge
How to activate and hang it:
- Prepare the Water Bath: Fill your wallpaper trough with lukewarm water.
- Roll and Submerge: Gently roll your cut strip of wallpaper with the pattern side facing in. Submerge the entire roll in the water for the time recommended on the label (usually around 30 seconds). Don't soak it for too long, as this can wash away the glue.
- "Book" the Wallpaper: This is key. Lift the strip out of the water and lay it glue-side-up on your table. Gently fold both ends toward the middle, with the glued sides touching each other (like closing a book). Do not crease the folds. Let it sit like this for about 5 minutes. This "booking" process allows the water to activate the paste evenly across the entire surface.
- Hang and Smooth: Unfold the top half of the strip and position it on the wall. As you press it into place, use your wallpaper brush to smooth it from the center outwards, pushing out any air bubbles. Unfold the bottom half and continue smoothing downwards.
- Clean Up: Use a damp sponge to gently wipe away any excess glue that may have squeezed out from the edges.
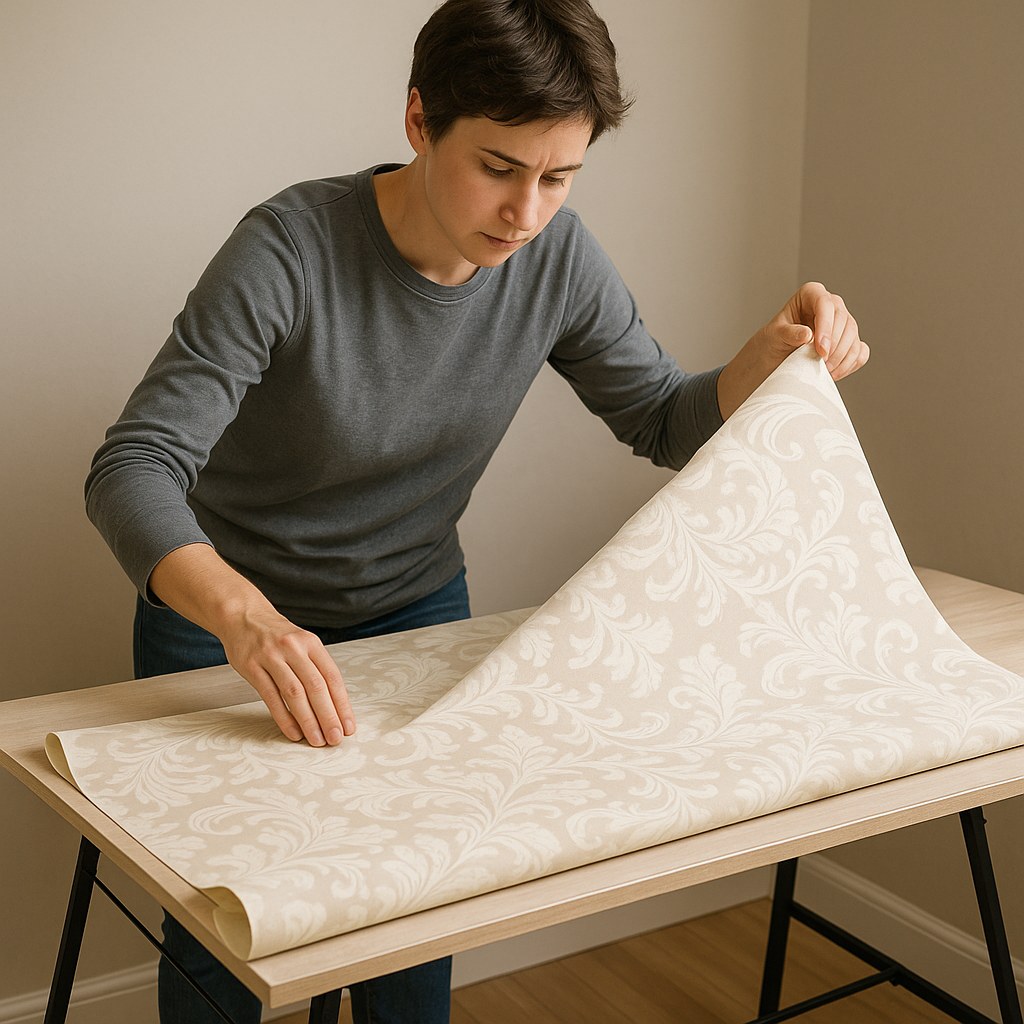
For Unpasted Wallpaper:
With this type, you have more control over the adhesive, but you need to be methodical.
What you'll need:
- Wallpaper adhesive/paste
- Stir stick
- Clean folding table
- Smooth-surface paint roller (for paste)
- Wallpaper brush or smoothing tool
- Utility knife
- Damp sponge
How to apply paste and hang it:
- Mix Your Paste: If your adhesive requires mixing, follow the instructions precisely. Otherwise, give the pre-mixed paste a thorough stir.
- Apply an Even Coat: Lay your wallpaper strip pattern-side-down on the table. Use your roller to apply a thin, even layer of adhesive to the entire back of the paper. Pay special attention to the edges—unpasted edges are the first to peel.
- Book It: Just like with pre-pasted paper, "book" the strip by folding the pasted sides together and letting it rest for about 5 minutes. This allows the paper to relax and the adhesive to become tacky.
- Hang, Smooth, and Trim: Position the strip on the wall, smoothing from the center out to remove bubbles. Once it’s in place, use a straight edge and a sharp utility knife to trim any excess at the ceiling and baseboard.
- Wipe Clean: Use your damp sponge to clean up any adhesive that gets on the front of the paper or the wall.
Step 3: Get Your Room's Climate Under Control
You’ve prepped the wall and hung the paper perfectly. Now you need to ensure the environment is right for the adhesive to cure into a rock-solid bond.
- Ideal Temperature: Aim for a room temperature between 65°F and 75°F (18°C to 24°C).
- Ideal Humidity: Keep the humidity below 50%.
How to create the perfect curing conditions:
- Seal the Room: Close all windows and doors to prevent drafts, which can cause the paste to dry unevenly.
- Adjust the Thermostat: Use your air conditioner or heater to bring the room into the ideal temperature range.
- Dehumidify if Necessary: If you live in a humid climate or it's a damp day, run a dehumidifier in the room to get the humidity level down.
- Be Patient: Leave the room sealed and the climate controlled for at least 24 to 48 hours. This gives the adhesive ample time to cure completely. During this time, resist the urge to peek or press on the seams.
What If It Still Won't Stick?
If you've meticulously followed all these steps and are still facing adhesion issues, it might be time to call for backup. Some underlying problems, like moisture seeping through the walls or an incompatible paint surface (like high-gloss or oil-based paint that wasn't primed over), can require a professional eye.
Hiring a professional wallpaper installer typically costs between $3 to $7 per square foot, but their expertise can save you a lot of time and frustration, especially with expensive wallpaper.
You've Got This!
Fixing peeling wallpaper is all about patience and process. By giving your walls the prep they deserve, handling your adhesive correctly, and controlling the room's environment, you can achieve a stunning, professional-looking result that lasts for years.
For more expert-led home maintenance guides, easy-to-follow DIY tutorials, and a direct line to vetted professionals when you need them, download the Casa app today. We're here to help you tackle any home project with confidence.
Related Reading


